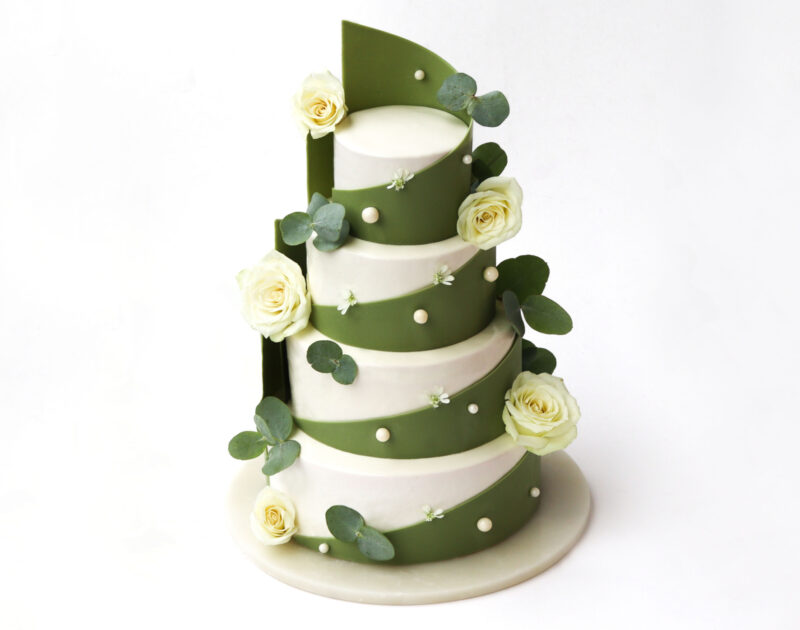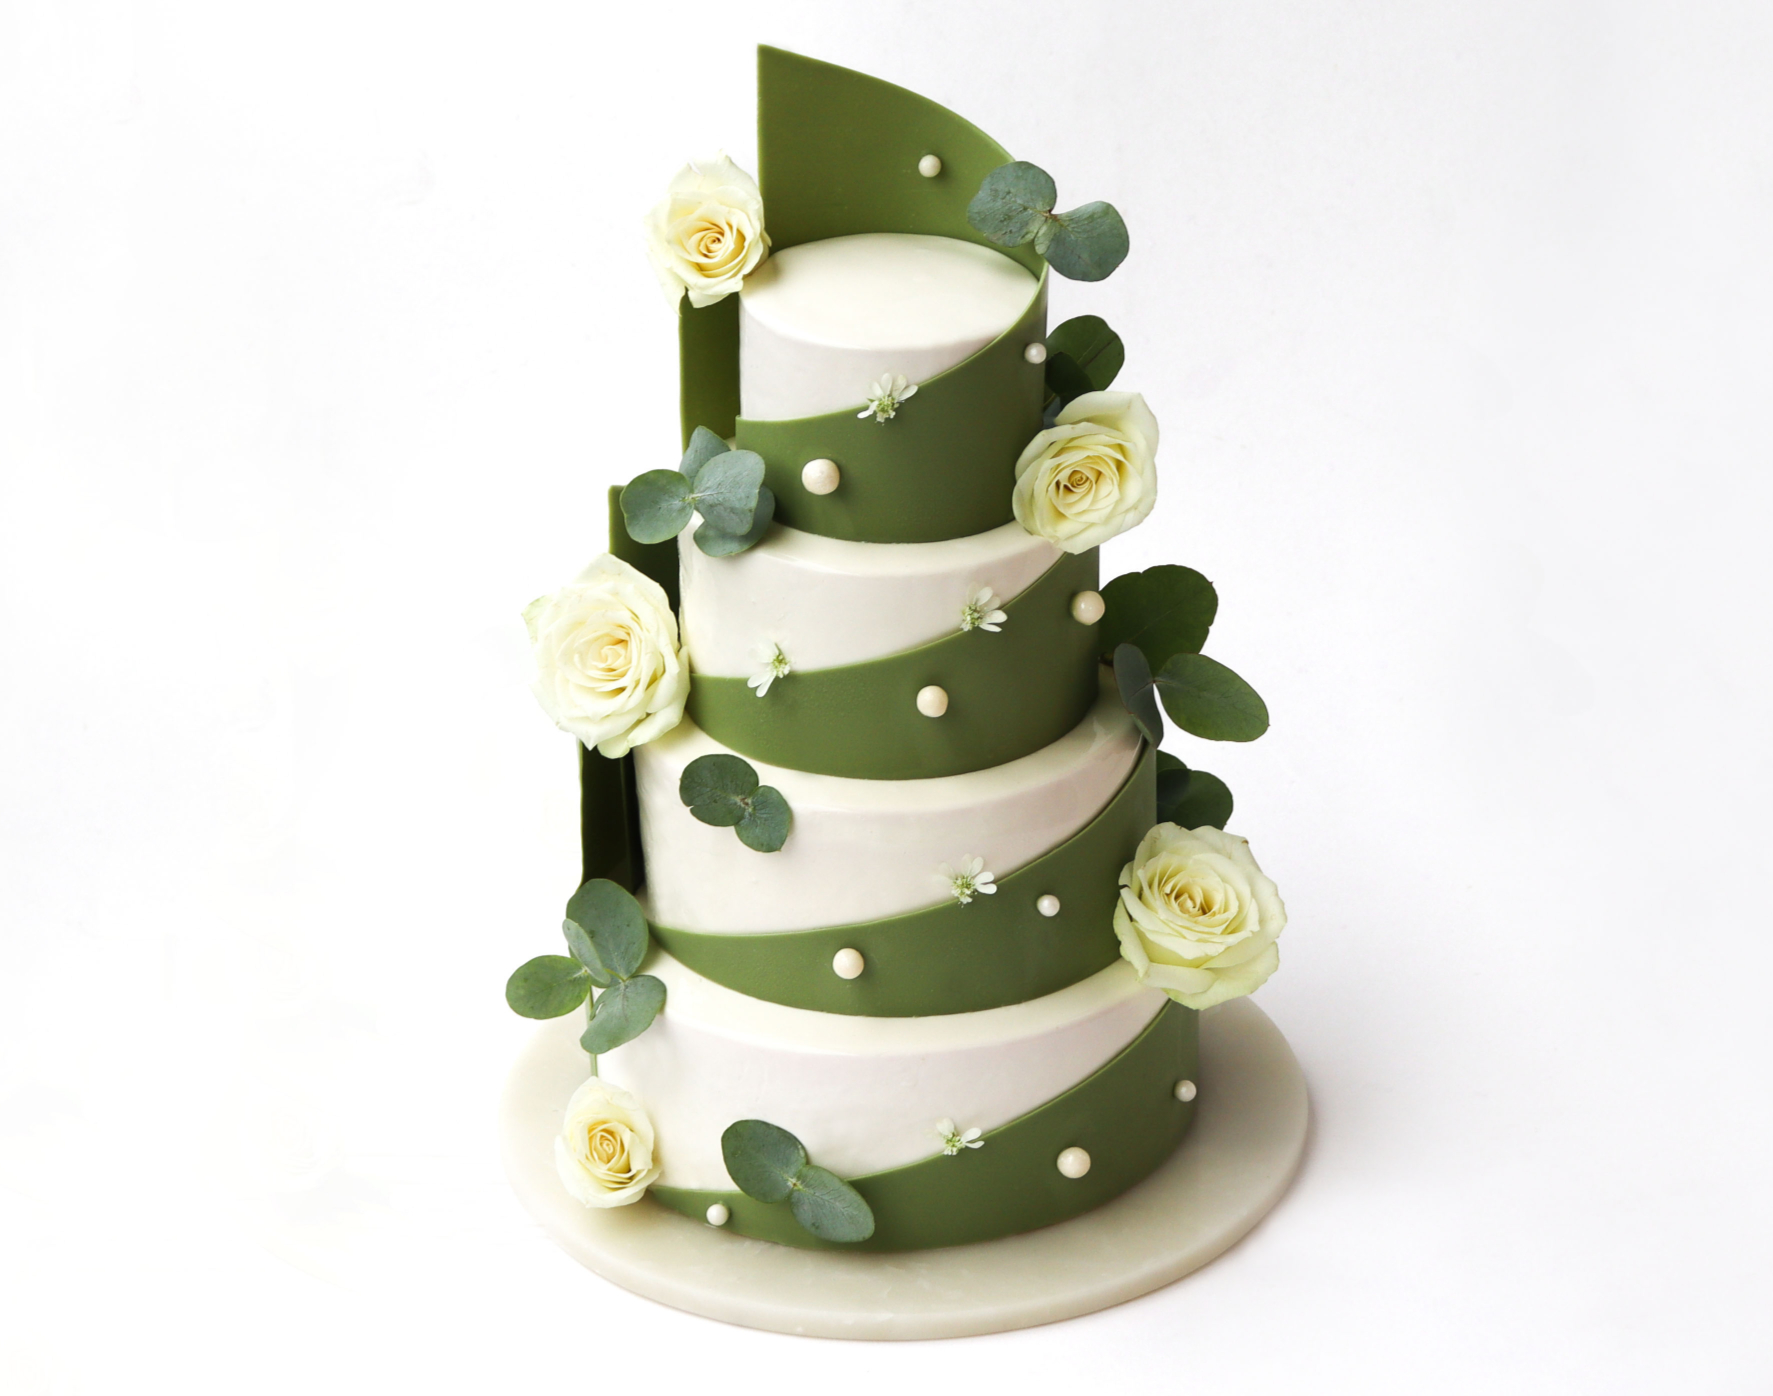

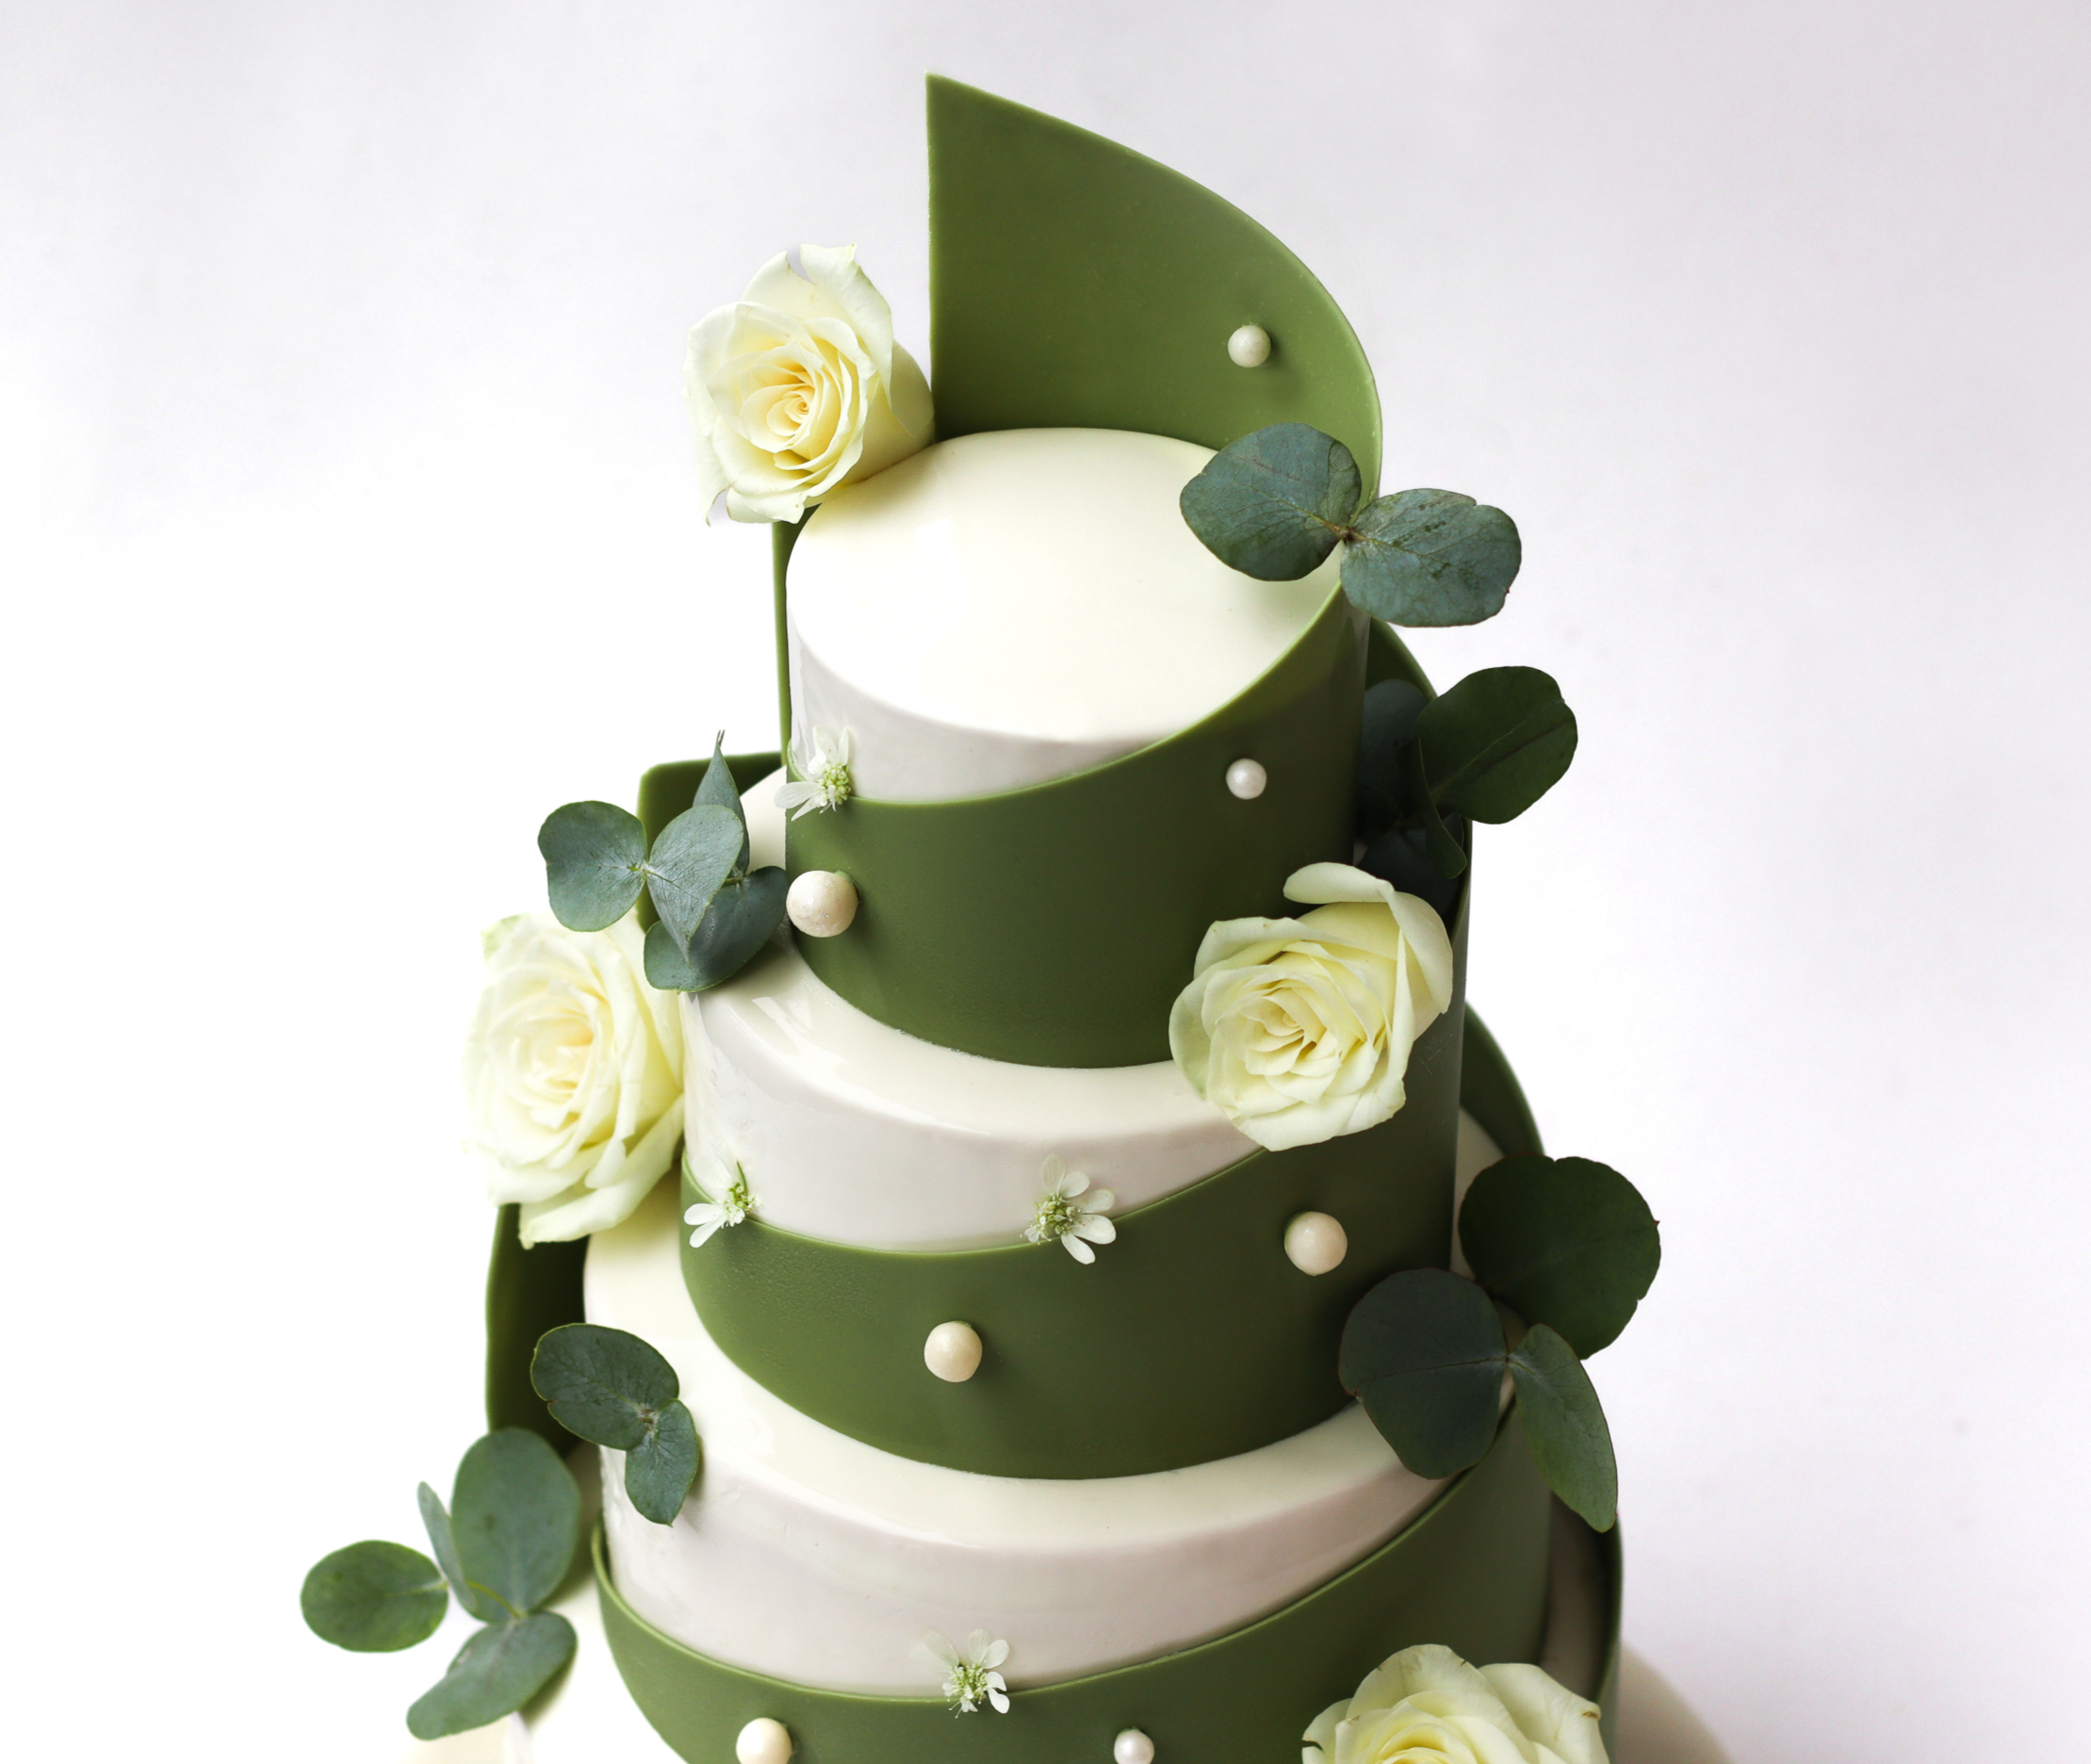

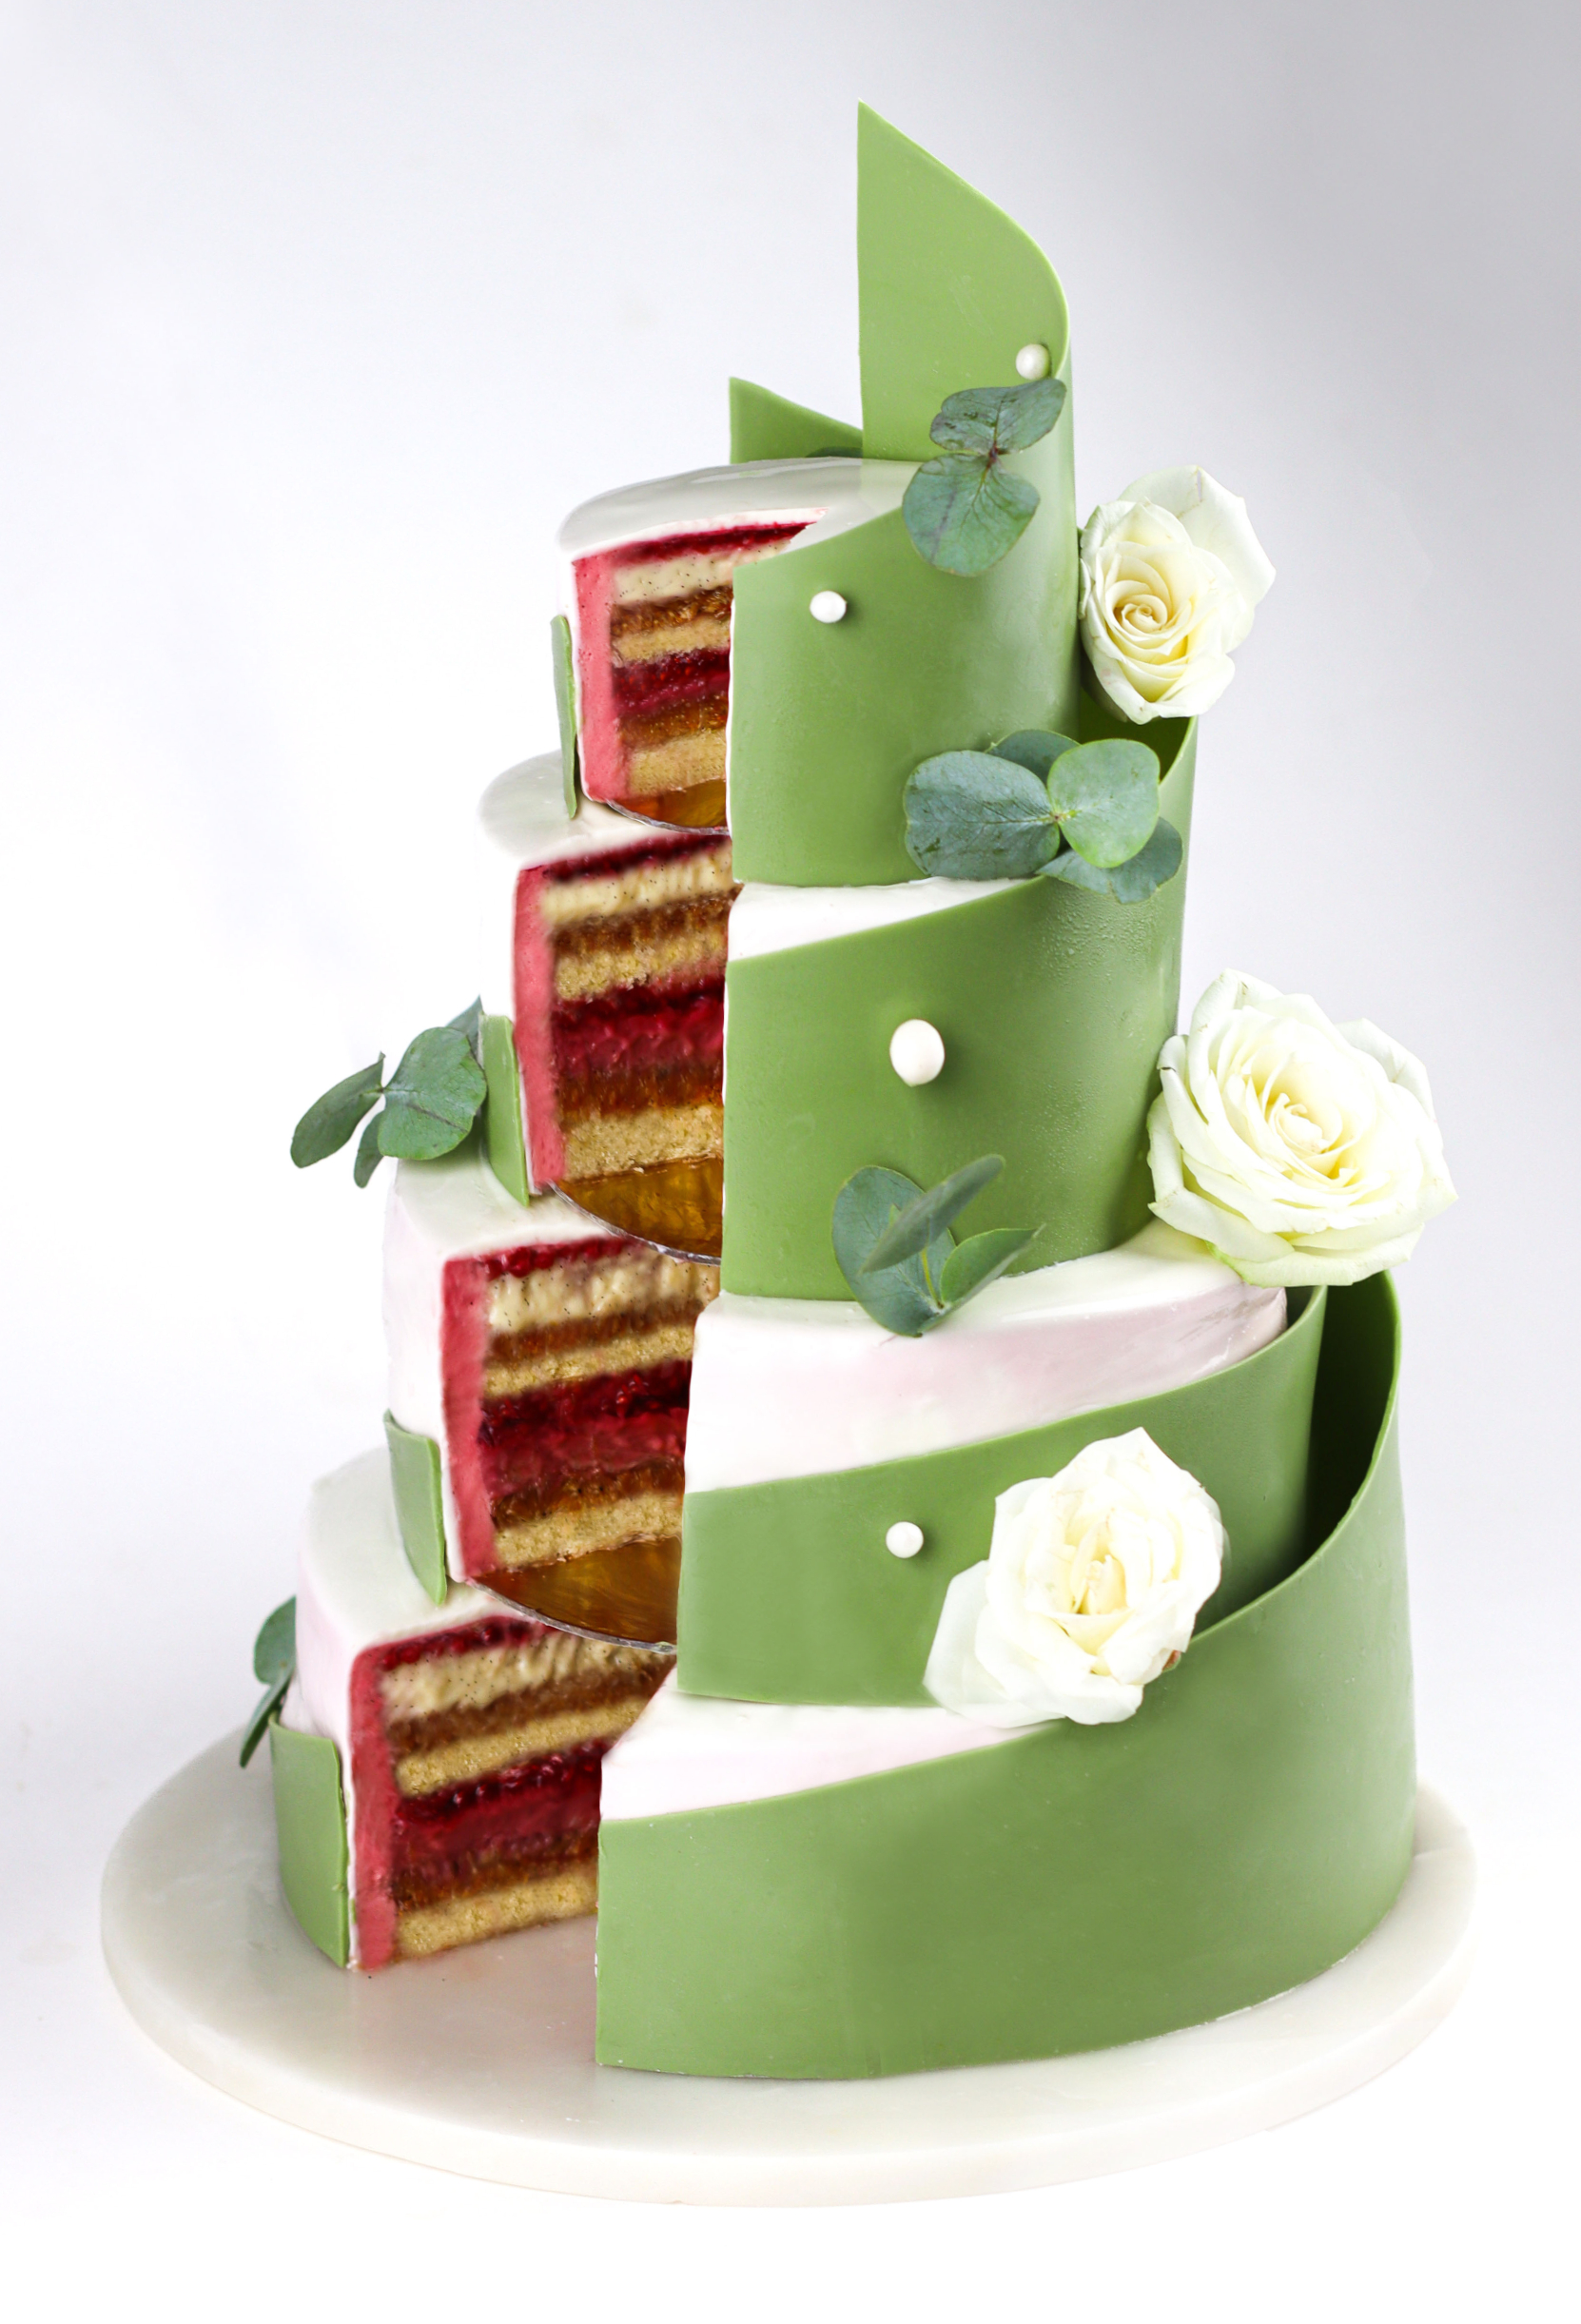
Since it is wedding season, I thought it would be such a fun project to create a tiered entremet wedding cake!
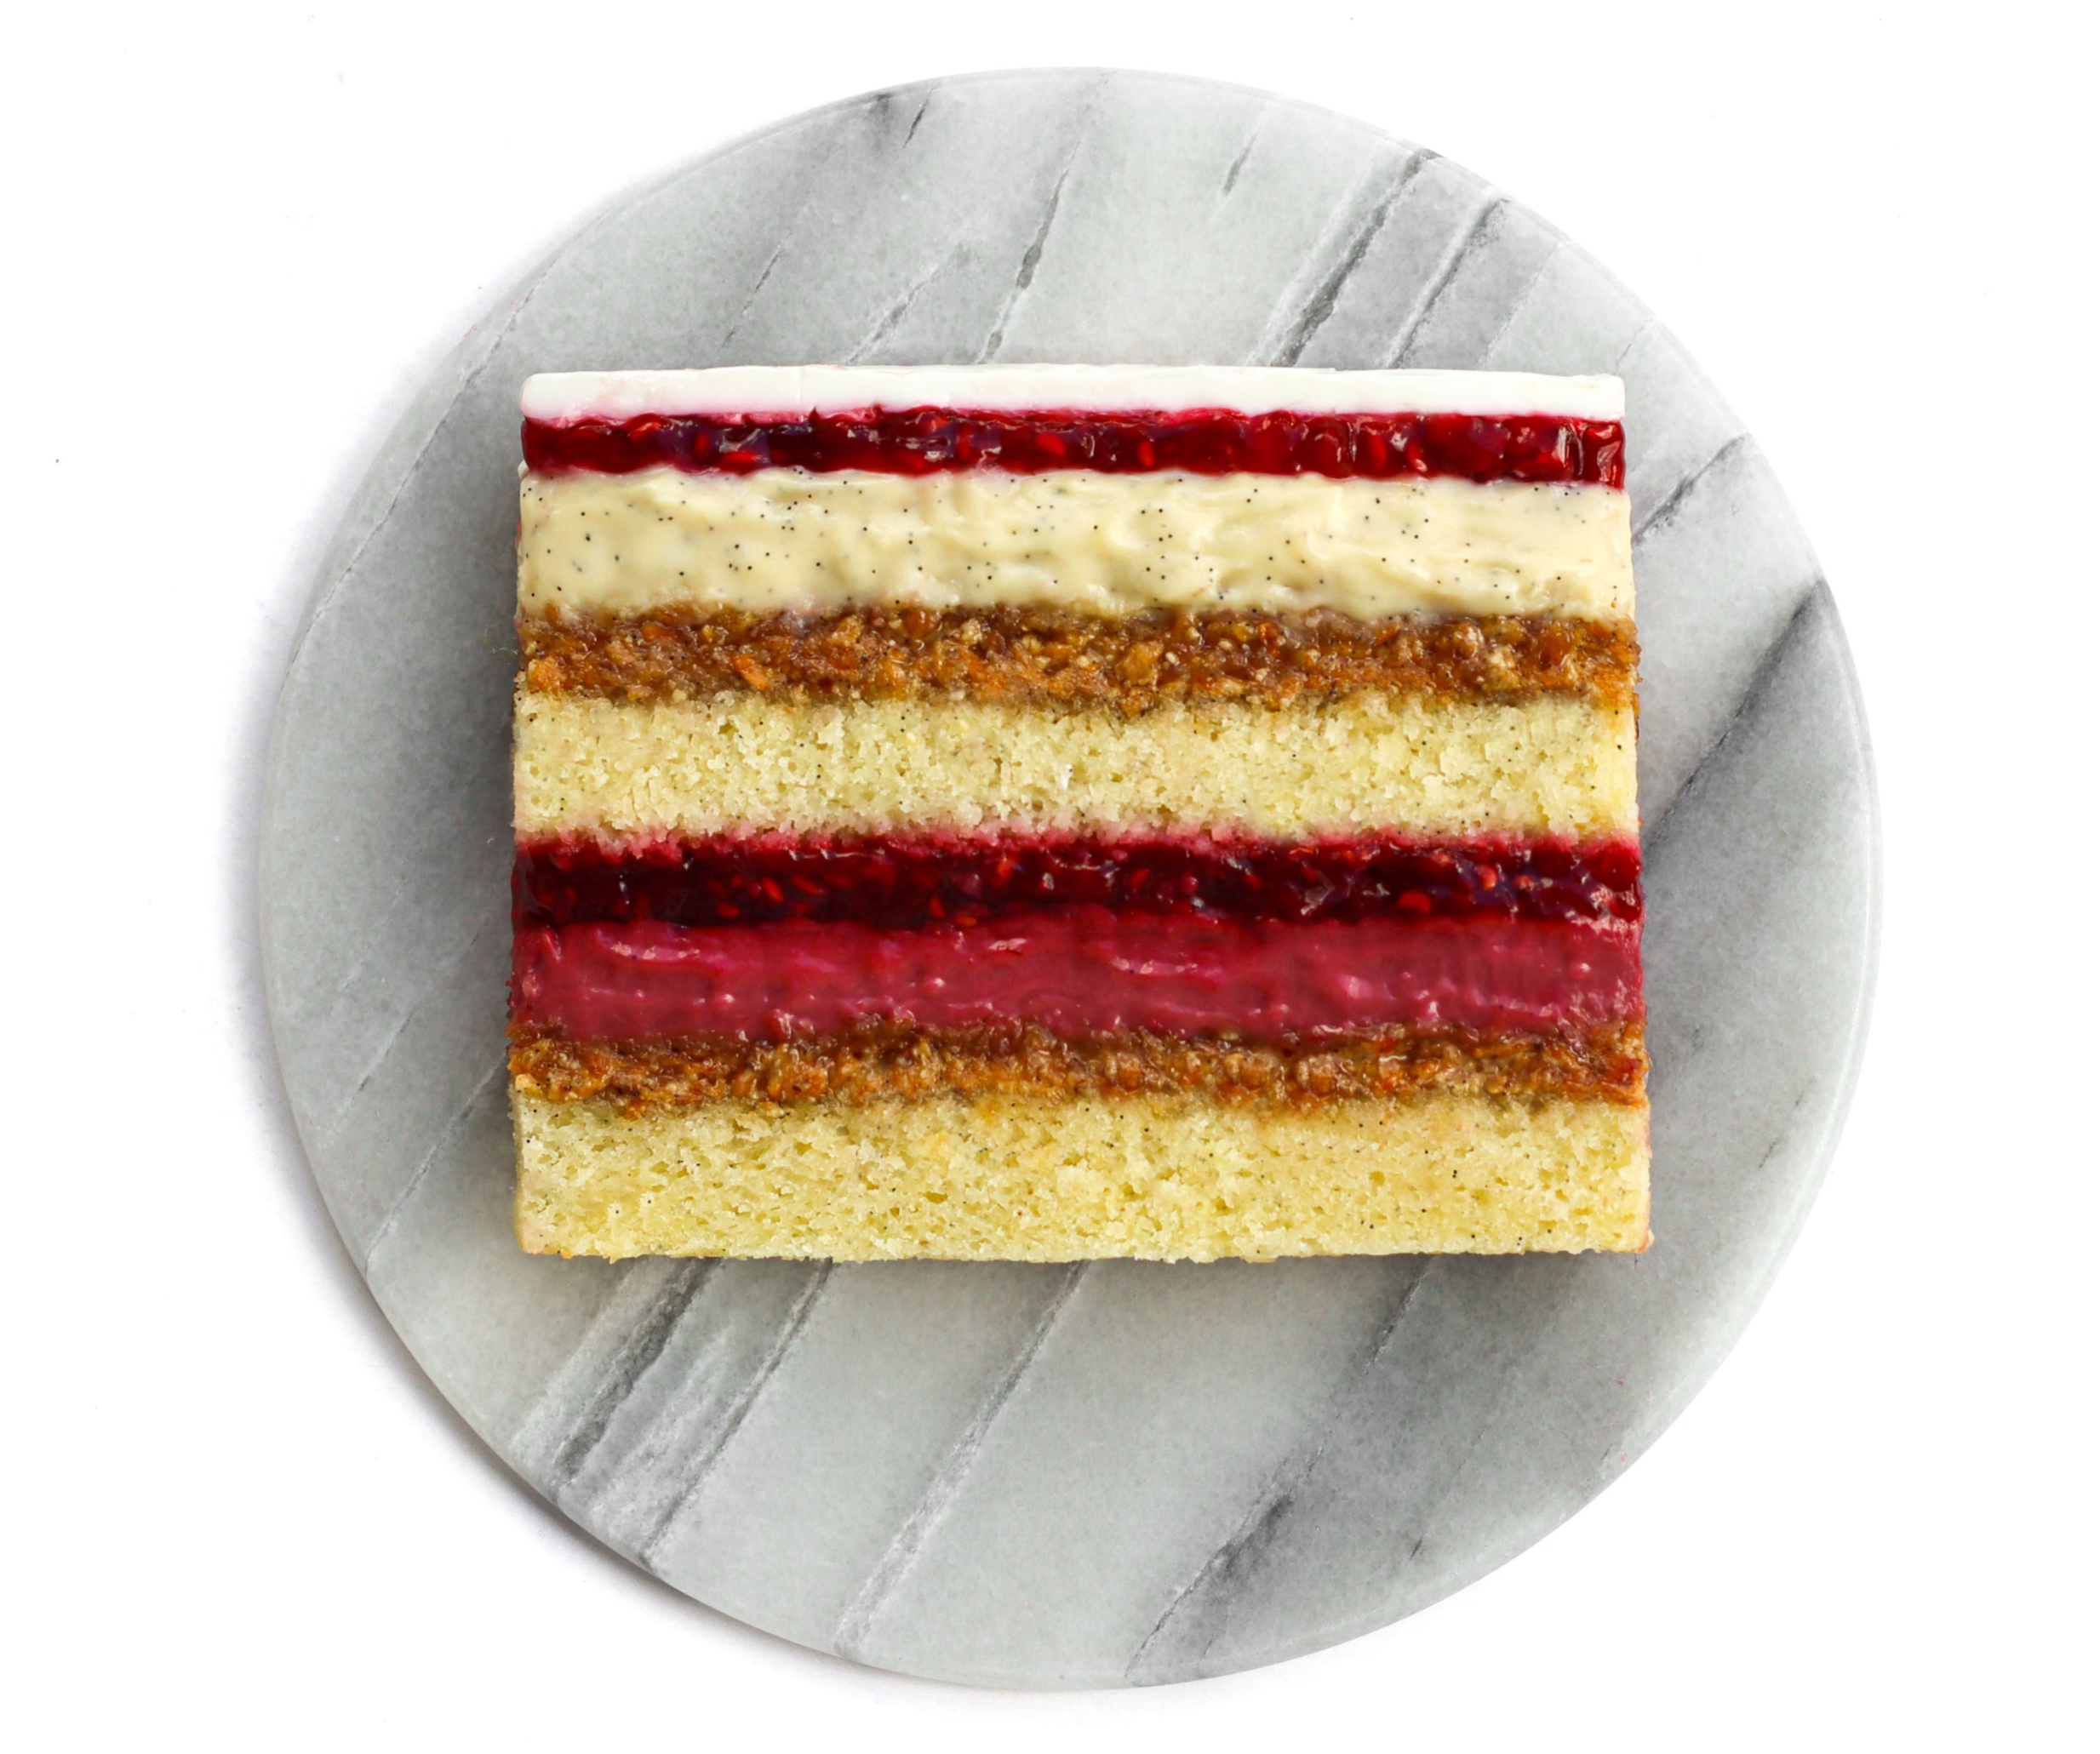
A 4-tier entremet wedding cake is not something you see every day, but when I’m making wedding cakes, I want them to be in my usual style: layered, elegant, and full of different textures.
I asked on Instagram which flavor you would like to see, and you voted for vanilla and raspberry, so that is exactly what I made. It is also such a beautiful pairing, as I think the soft vanilla is perfectly balanced by the fresh raspberry.
This is a more detailed and technical recipe than my usual cakes, so I’ve written everything as clearly as possible to guide you through the full process step by step.
So if you want to try making it, do not feel intimidated. I will walk you through each part, from preparing the cake inserts to glazing, stacking, supporting, transporting, and decorating the final cake.
The full recipe is written for a 4-tier wedding cake serving approximately 50 people, but you can also adapt it for a smaller occasion or celebration. The recipe includes a spreadsheet with scaling guidance and different size options.
And if you simply want to make this cake as a regular entremet, you can click here to see the 18 cm version, which serves approx. 10 people, just like my usual cake recipes.
I hope you’ll have as much fun making this cake as I did!
Happy baking <3
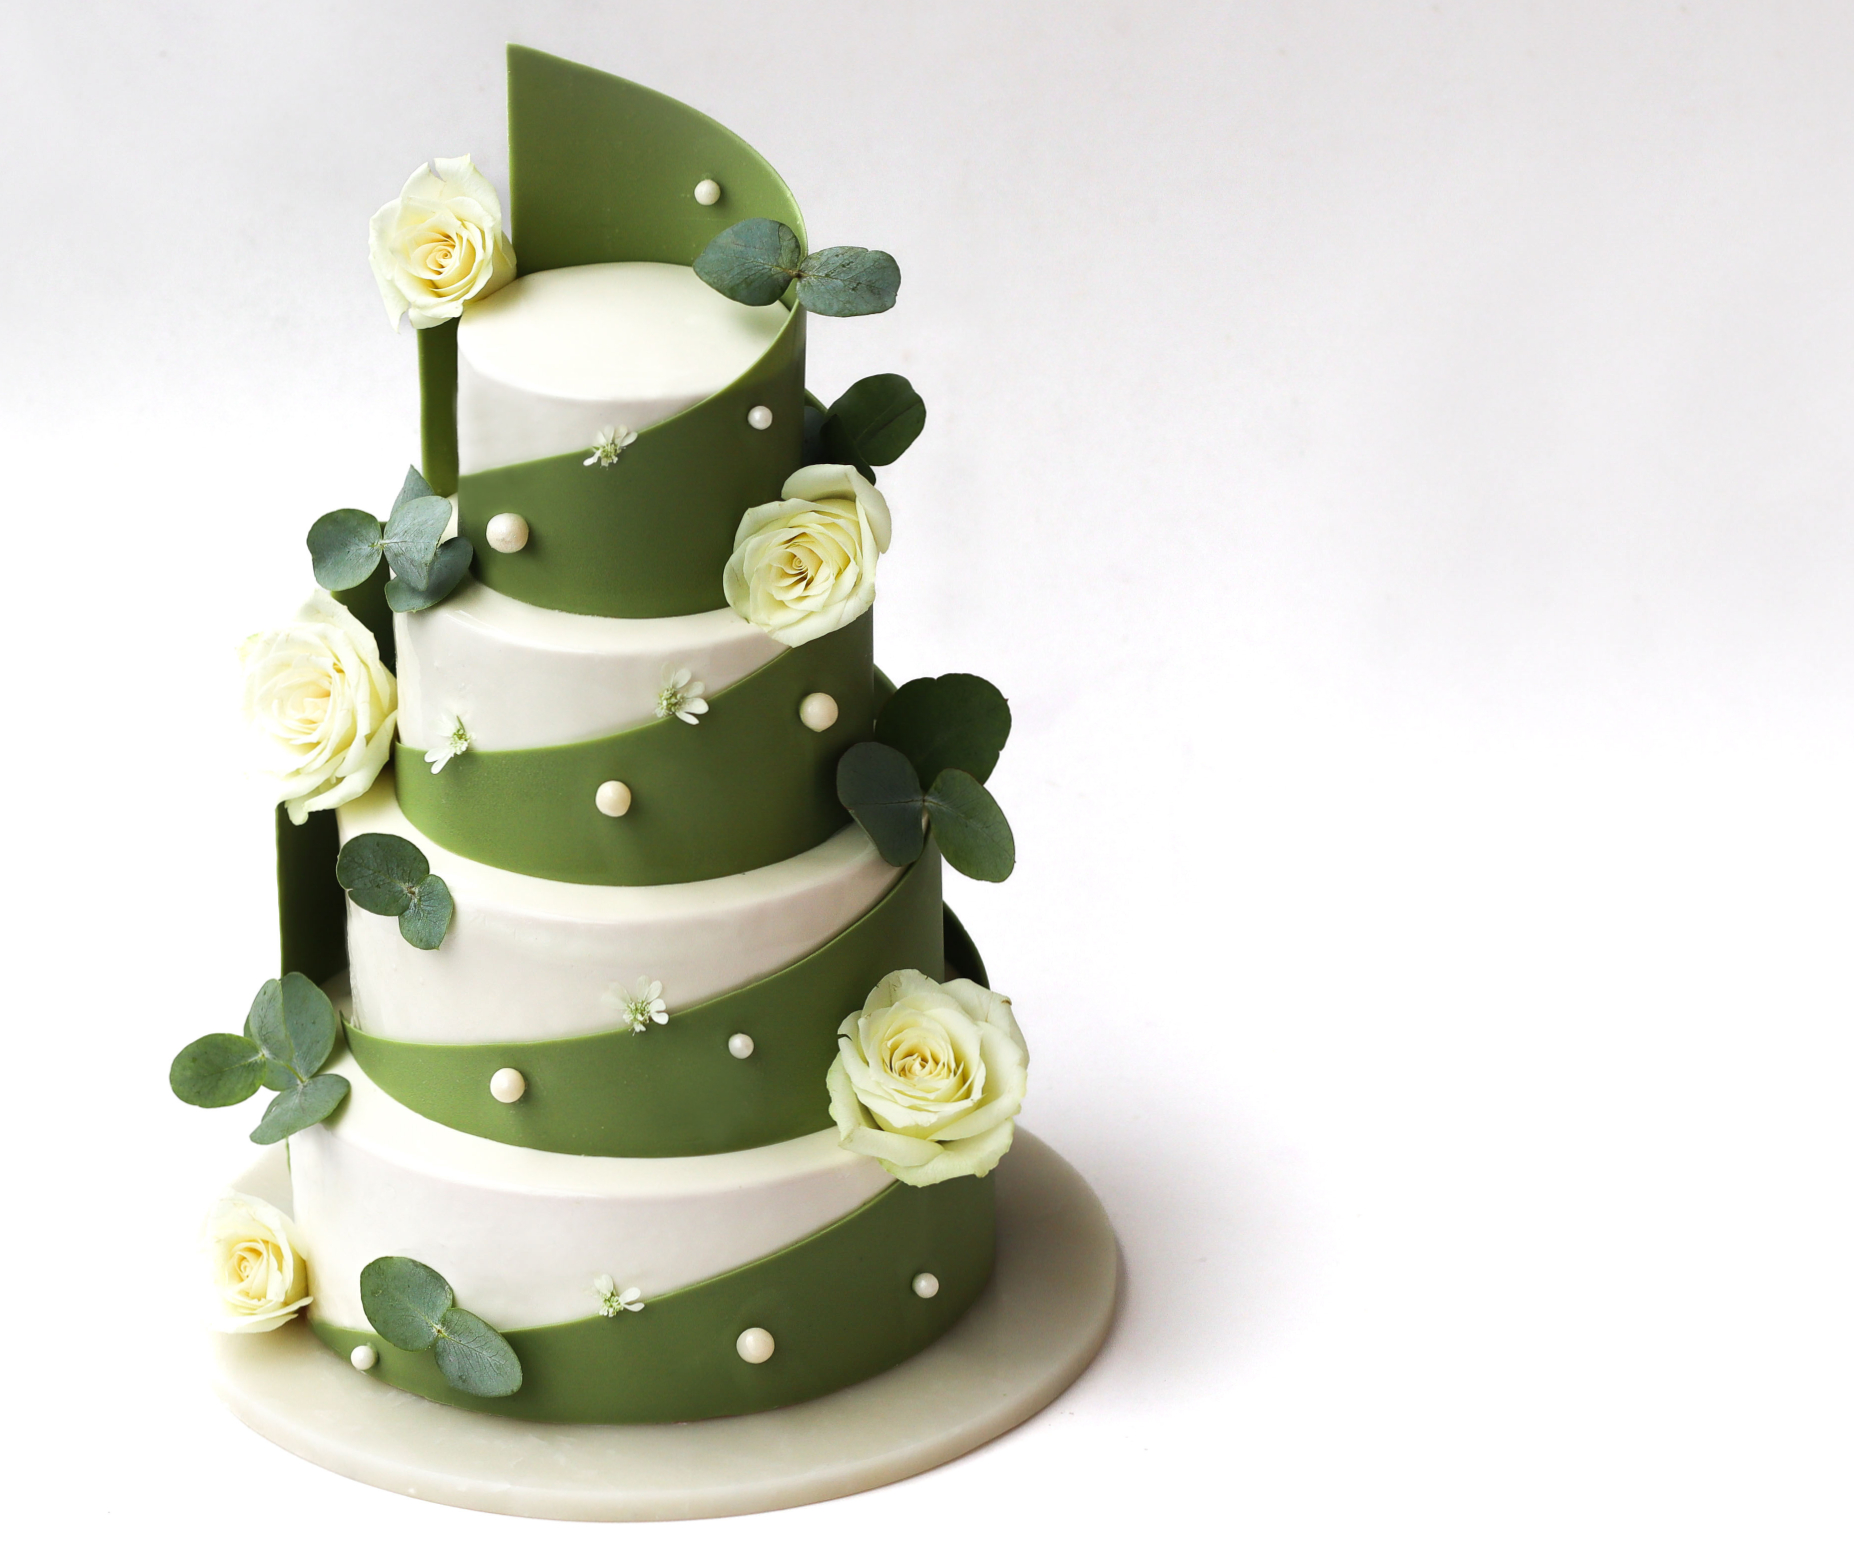
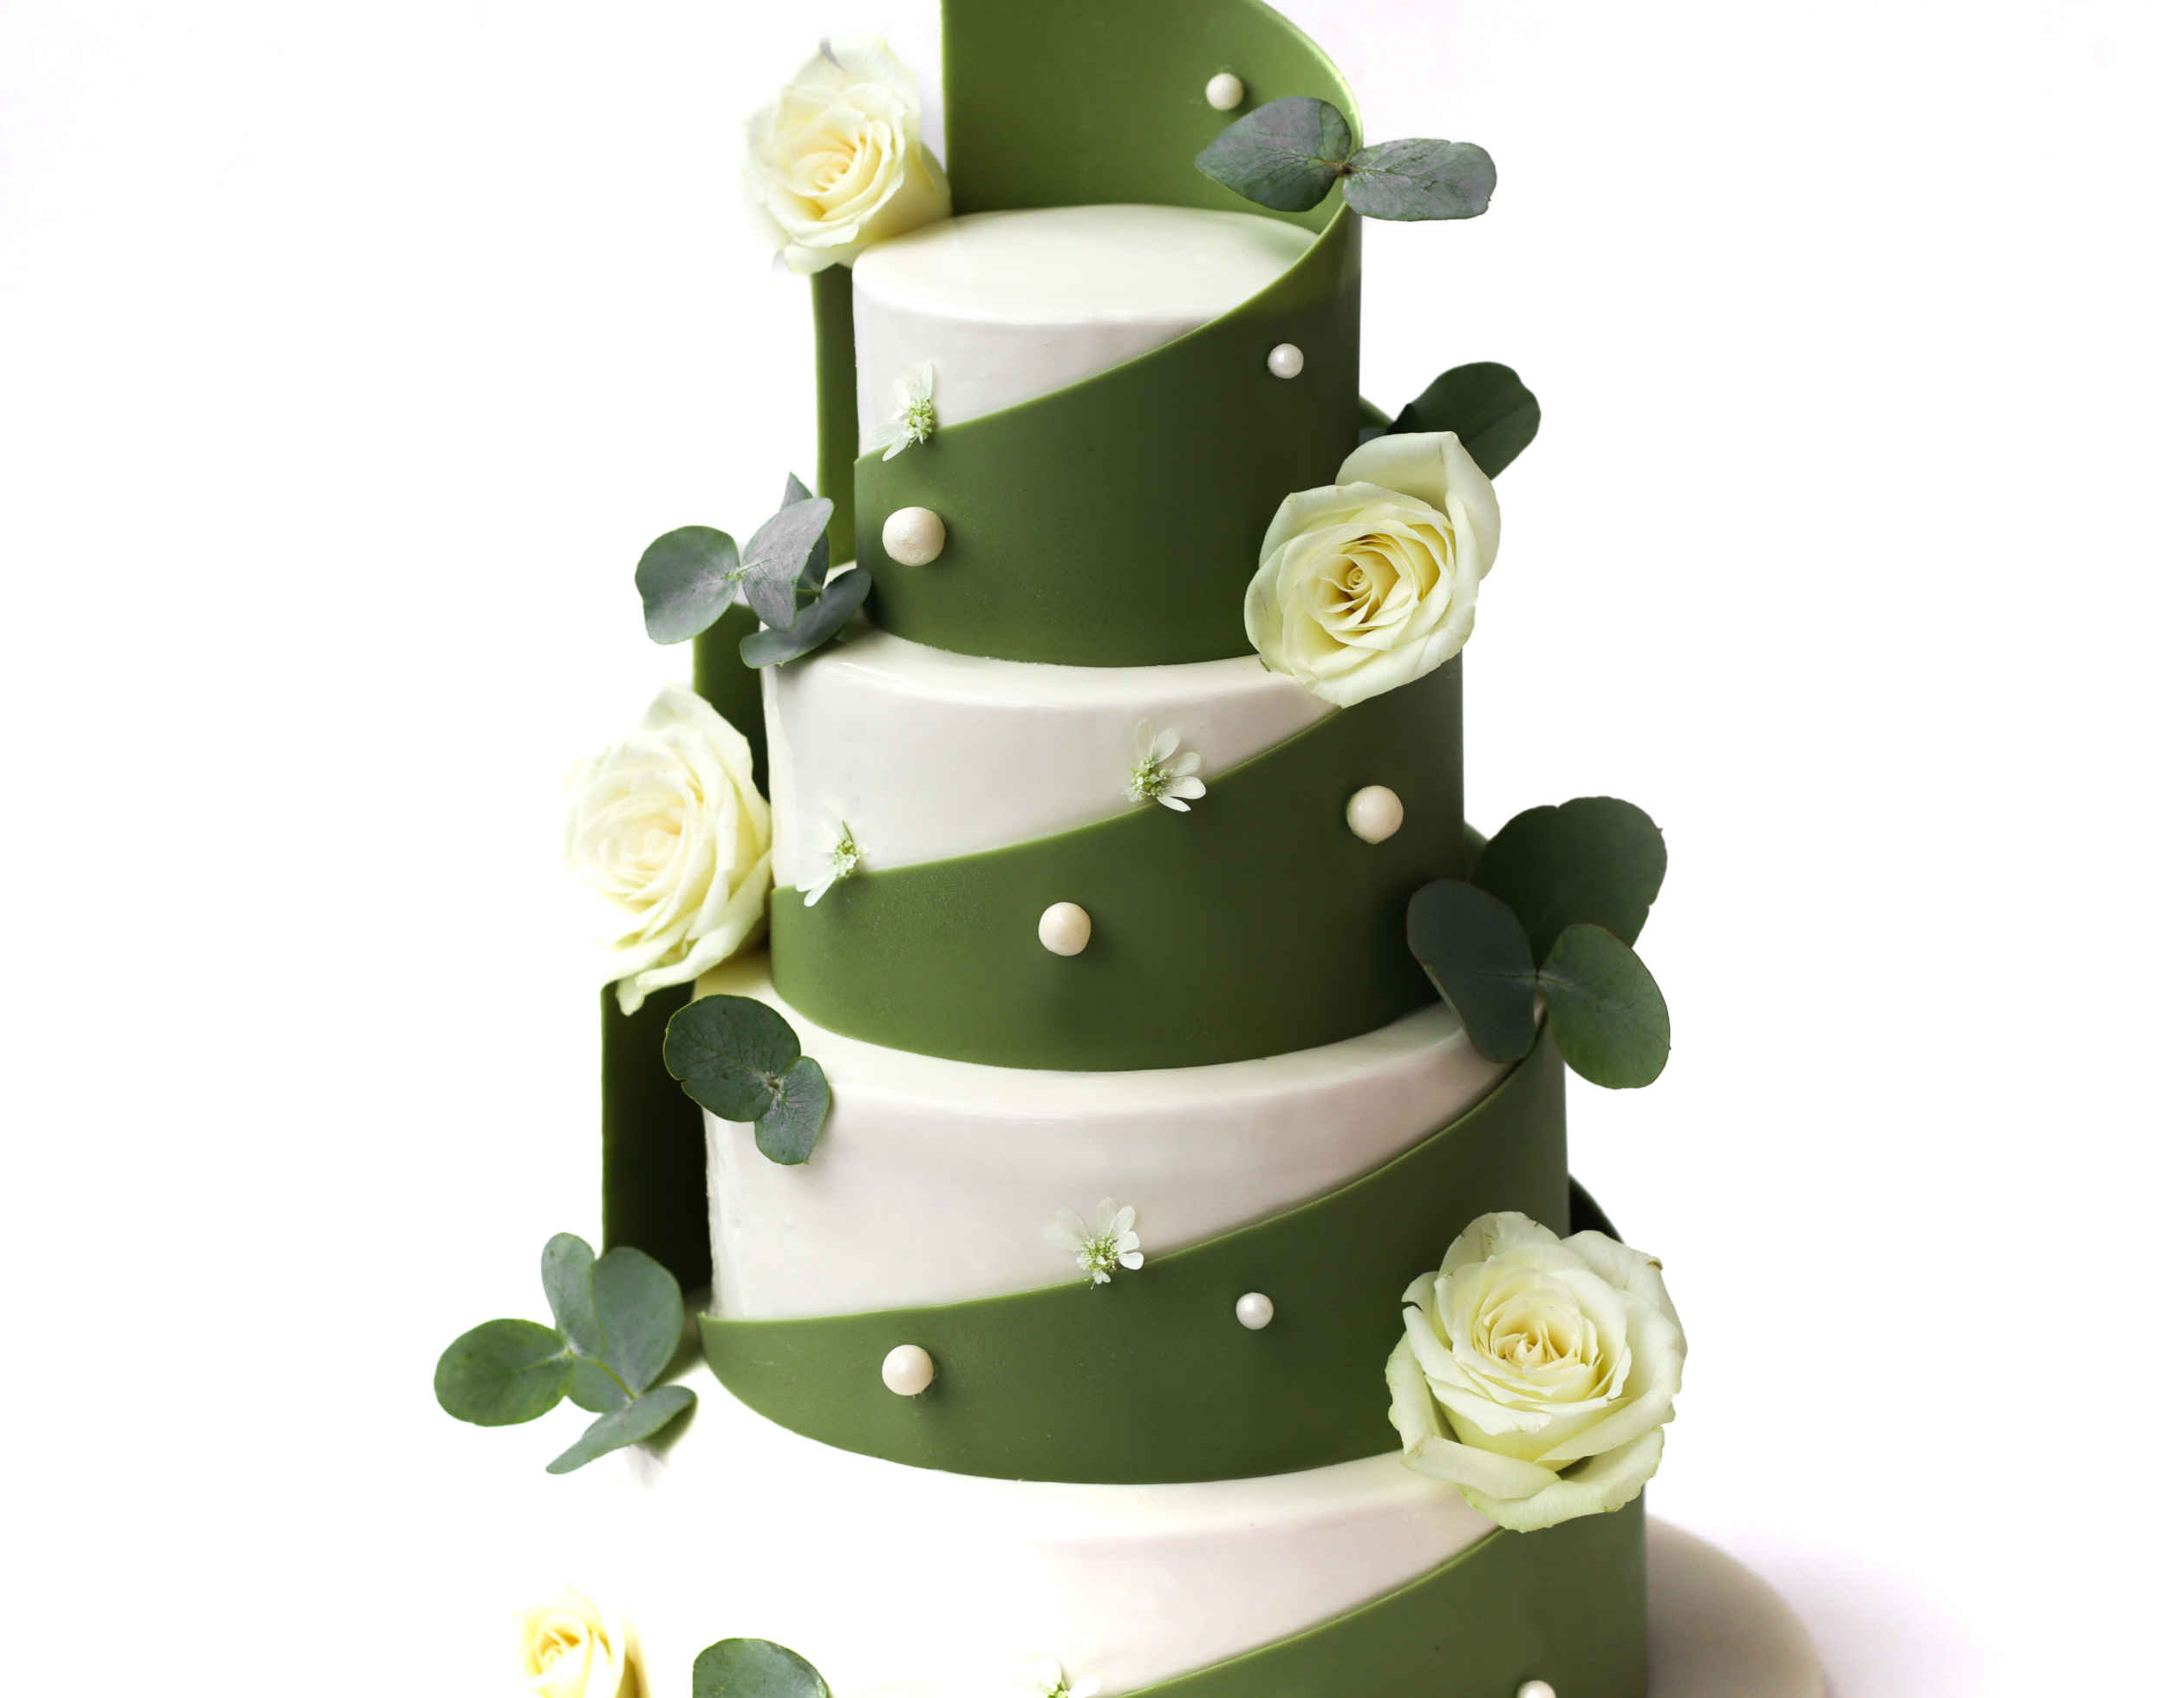
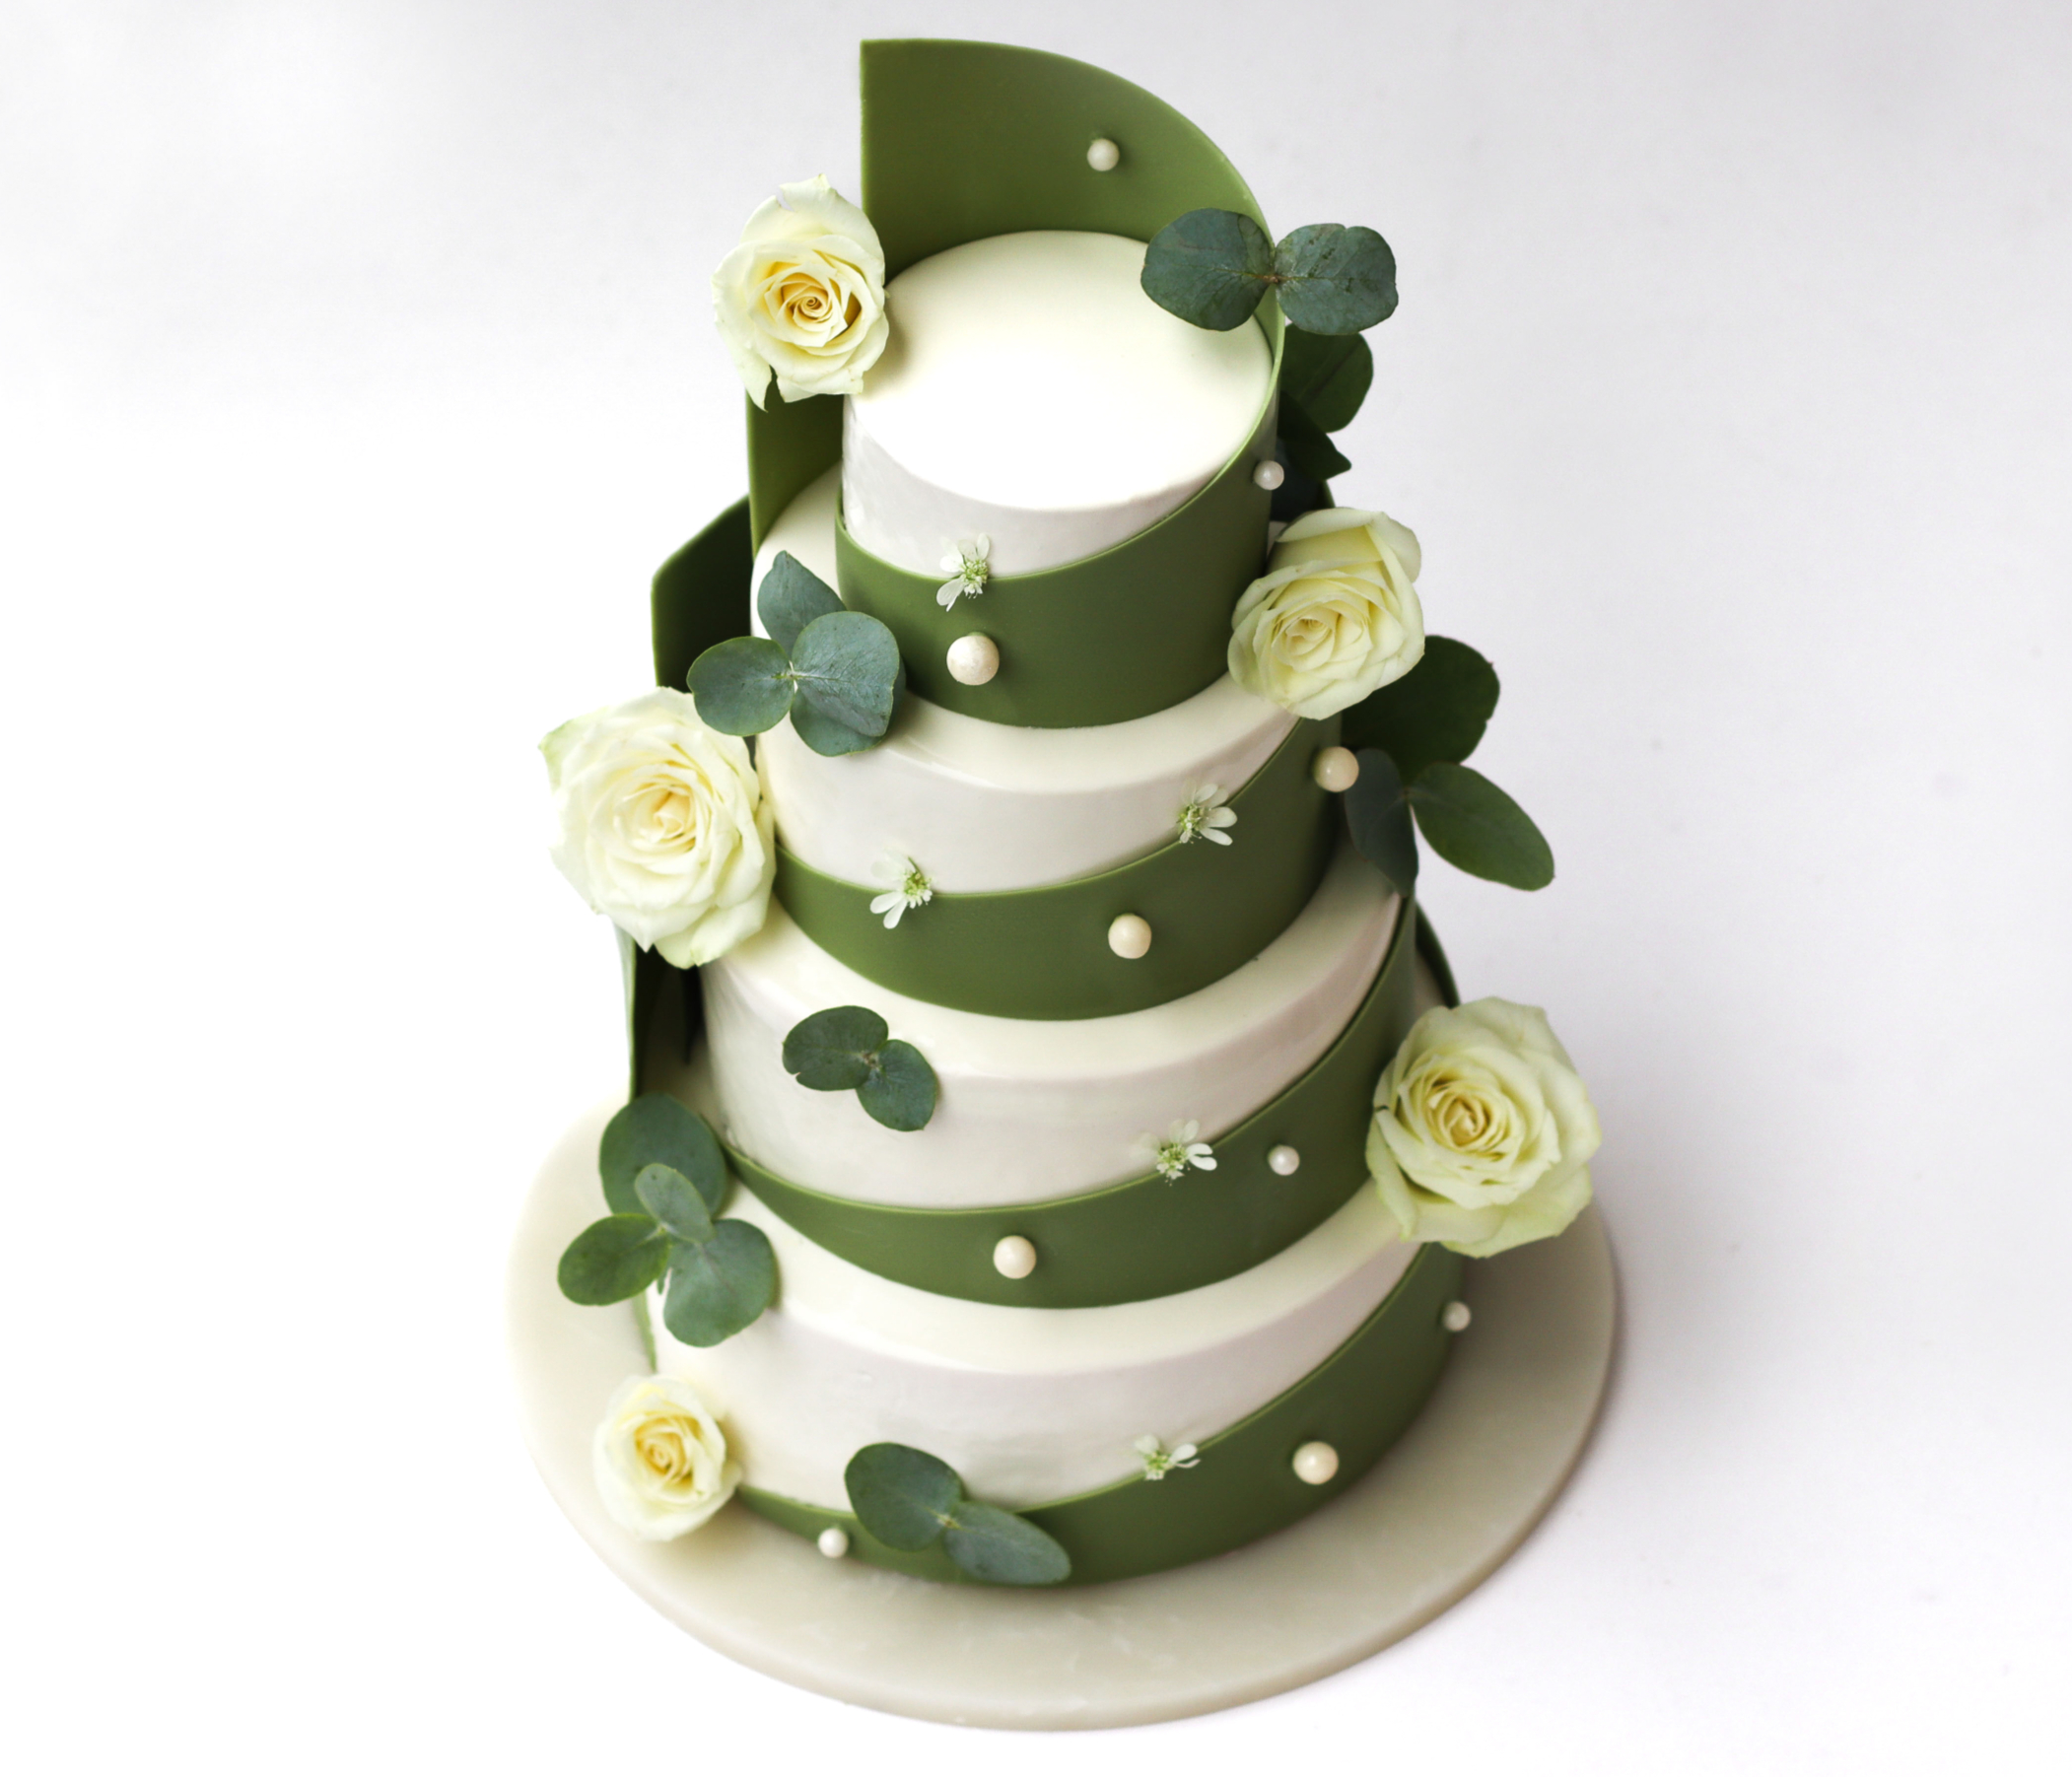
For extra guidance while baking, watch my step-by-step video tutorial, where I show you how to make the cake from start to finish:

Wedding-style serving sizes:
- 22 cm cake: 22–24 portions
- 18 cm cake: 14–16 portions
- 14 cm cake: 8–10 portions
- 10 cm cake: 4–5 portions
Note: These serving sizes are based on smaller wedding-style portions. If cut into more generous dessert portions, the cake will serve approximately 40–45 people.
In my regular entremet recipes, an 18 cm cake is usually counted as approx. 10 portions. For wedding cakes, the portions are typically cut smaller, which means the same cake can serve more people.
How to use this recipe:
This recipe is written for a 4-tier wedding cake serving approx. 50 people. The cake consists of four tiers: 22 cm, 18 cm, 14 cm, and 10 cm.
Full 4-tier wedding cake:
To make the recipe easier to follow, the ingredient lists are written as full batch amounts for all four tiers combined, yielding approx. 50 wedding-style servings.
This means that instead of making four separate mousse recipes, for example, you will make one full batch of mousse and then divide it between the 22 cm, 18 cm, 14 cm, and 10 cm cakes using the amounts listed.
After each component, you will find a guide showing how many grams of that element to use for each individual cake tier. Following these amounts helps ensure that each tier is built with the correct proportions and that the components are evenly distributed throughout the cake.
Regular Cake Size – 18 cm:
If you only want to make one regular-sized cake, similar to my usual recipes, you can use the 18 cm version of the recipe instead.
Scaling the Recipe & Individual Tier Amounts:
If you prefer to make each tier separately, you can find the exact ingredient amounts for the 22 cm, 18 cm, 14 cm, and 10 cm cakes in this Excel sheet.
The Excel sheet also includes a serving guide for other cake mold sizes, including instructions on how to scale the recipe to other mold sizes / amount of servings.
Recommended Baking Schedule:
Because this is a large 4-tier wedding cake with several components, I highly recommend spreading the process over several days. This will make the recipe much more manageable and give each element enough time to set properly.
The schedule below is my recommended structure for a calm and organized process.
Prep Day: Planning & Shopping
- Plan which cake sizes you want to make.
- Check the shopping list in the Excel sheet and buy all ingredients.
- Prepare all molds, pastry rings, cake boards, acetate, dowels, and equipment.
- Make sure you have enough freezer and fridge space for the cake inserts and assembled cakes.
Day 1: First Round of Cake Inserts
- Make the vanilla cakes.
- Make the first batch of hazelnut praliné & feuilletine crunch.
- Make the raspberry curd.
- Freeze the inserts as instructed in the recipe.
Day 2: Second Round of Cake Inserts
- Make the first round of raspberry jam.
- Make the second round of hazelnut praliné & feuilletine crunch.
- Make the vanilla pastry cream.
- Make the second round of raspberry jam.
- Freeze all inserts until fully set.
Note: It is possible to make all the cake inserts in one day, but because the batches are large, it is a lot of work. For a more structured and less stressful process, I recommend splitting the inserts over two days.
Day 3: Mousse, Assembly & Chocolate Decoration
- Make the raspberry mousse.
- Assemble the frozen cake inserts inside the mousse.
- Freeze the assembled cakes until completely frozen.
- Prepare the chocolate decoration.
Day 4: Glazing, Stacking & Decorating
- Glaze the frozen cakes.
- Place cakes on cake boards and add dowels for support.
- Stack the cakes.
- Add the chocolate decorations.
- Decorate with flowers and final details.
- Keep the cake refrigerated until serving.
Condensed 3-Day Schedule
If you are experienced and want to finish the cake in a shorter timeframe, the process can be condensed into three days.
- Day 1: Planning, shopping, and making all cake inserts.
- Day 2: Making the mousse, assembling the cakes, and preparing the chocolate decorations.
- Day 3: Glazing, stacking, and decorating.
This shorter schedule is possible, but it will be more intense and also depends on whether your freezer can freeze the inserts quickly enough.
For the smoothest process, especially if this is your first time making a large tiered entremet cake, I recommend following the 4-day schedule.
Before you start:
- Read the full recipe before you begin, including the baking schedule, equipment list, and notes for assembling and stacking the cake.
- This recipe uses frozen raspberries, which is what I recommend for the most consistent result. Fresh raspberries can vary more in water content, which may change the final amount of raspberry purée or cooked fruit mixture. To follow the recipe as accurately as possible, I recommend using frozen raspberries.
- Some components may leave a small amount of leftovers. The recipes have been written with a little extra to make sure there is enough for all four tiers, as the final amount can vary slightly depending on cooking time, reduction, cooling, and how each layer is spread.
Tips for transportation, assembling & storage:
- For the most stable result, transport the cakes separately (after glazing them) and stack them at the wedding location. Since this is a tall tiered entremet cake, transporting it fully stacked can increase the risk of the tiers shifting.
- I recommend glazing the cakes on the same day they need to be transported and assembled. Ideally, glaze them as close to transport as possible, so they are still partly frozen. This makes the cakes firmer and easier to move safely.
- The chocolate spirals and final decorations should be added on location after the cake has been stacked, as these elements are delicate and easier to adjust once the cake is in its final position.
- After glazing, the cakes will need approximately 7–8 hours in the fridge to thaw fully before serving.
Keep all cakes refrigerated after arrival at the location. Once the cake has been stacked and decorated, store it in the fridge until serving. - Take the cake out of the fridge at least 30 minutes before serving, so it has time to temper slightly.
Day 1
Vanilla Cakes:
- 420 g all-purpose flour
- 50 g cornstarch
- 0.75 tsp salt
- 2.5 tsp baking powder
- 0.75 tsp baking soda
- 420 g caster sugar
- 3 tsp lemon zest (from approx. 2–3 lemons)
- 405 g butter (room temperature)
- 4 large vanilla bean pods
- 255 g eggs (approx. 5 medium eggs) (beaten, room temperature)
- 100 g egg whites (approx. 3.3 medium egg whites) (room temperature)
- 405 ml buttermilk (room temperature)
- Preheat the oven to 175°C / 347°F (fan-assisted oven).
- Mix the all-purpose flour and cornstarch.