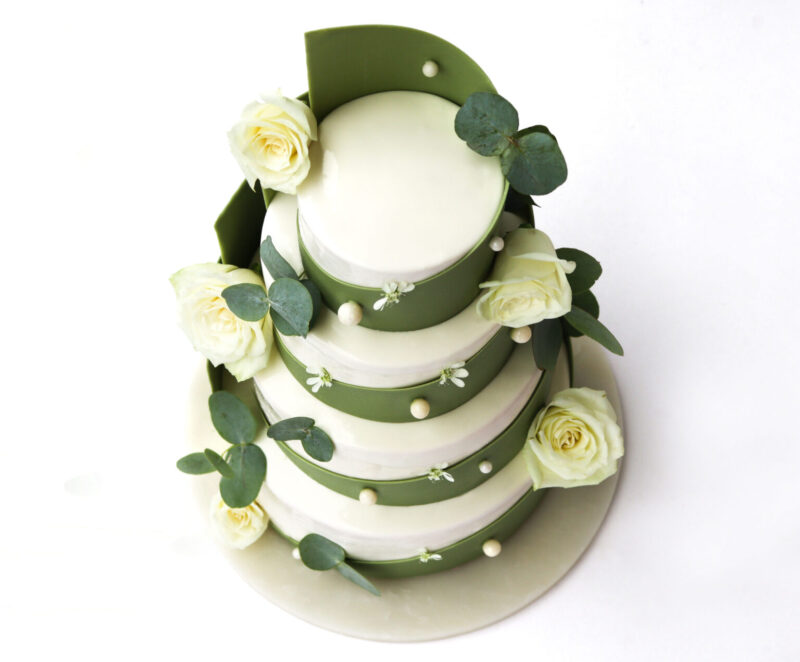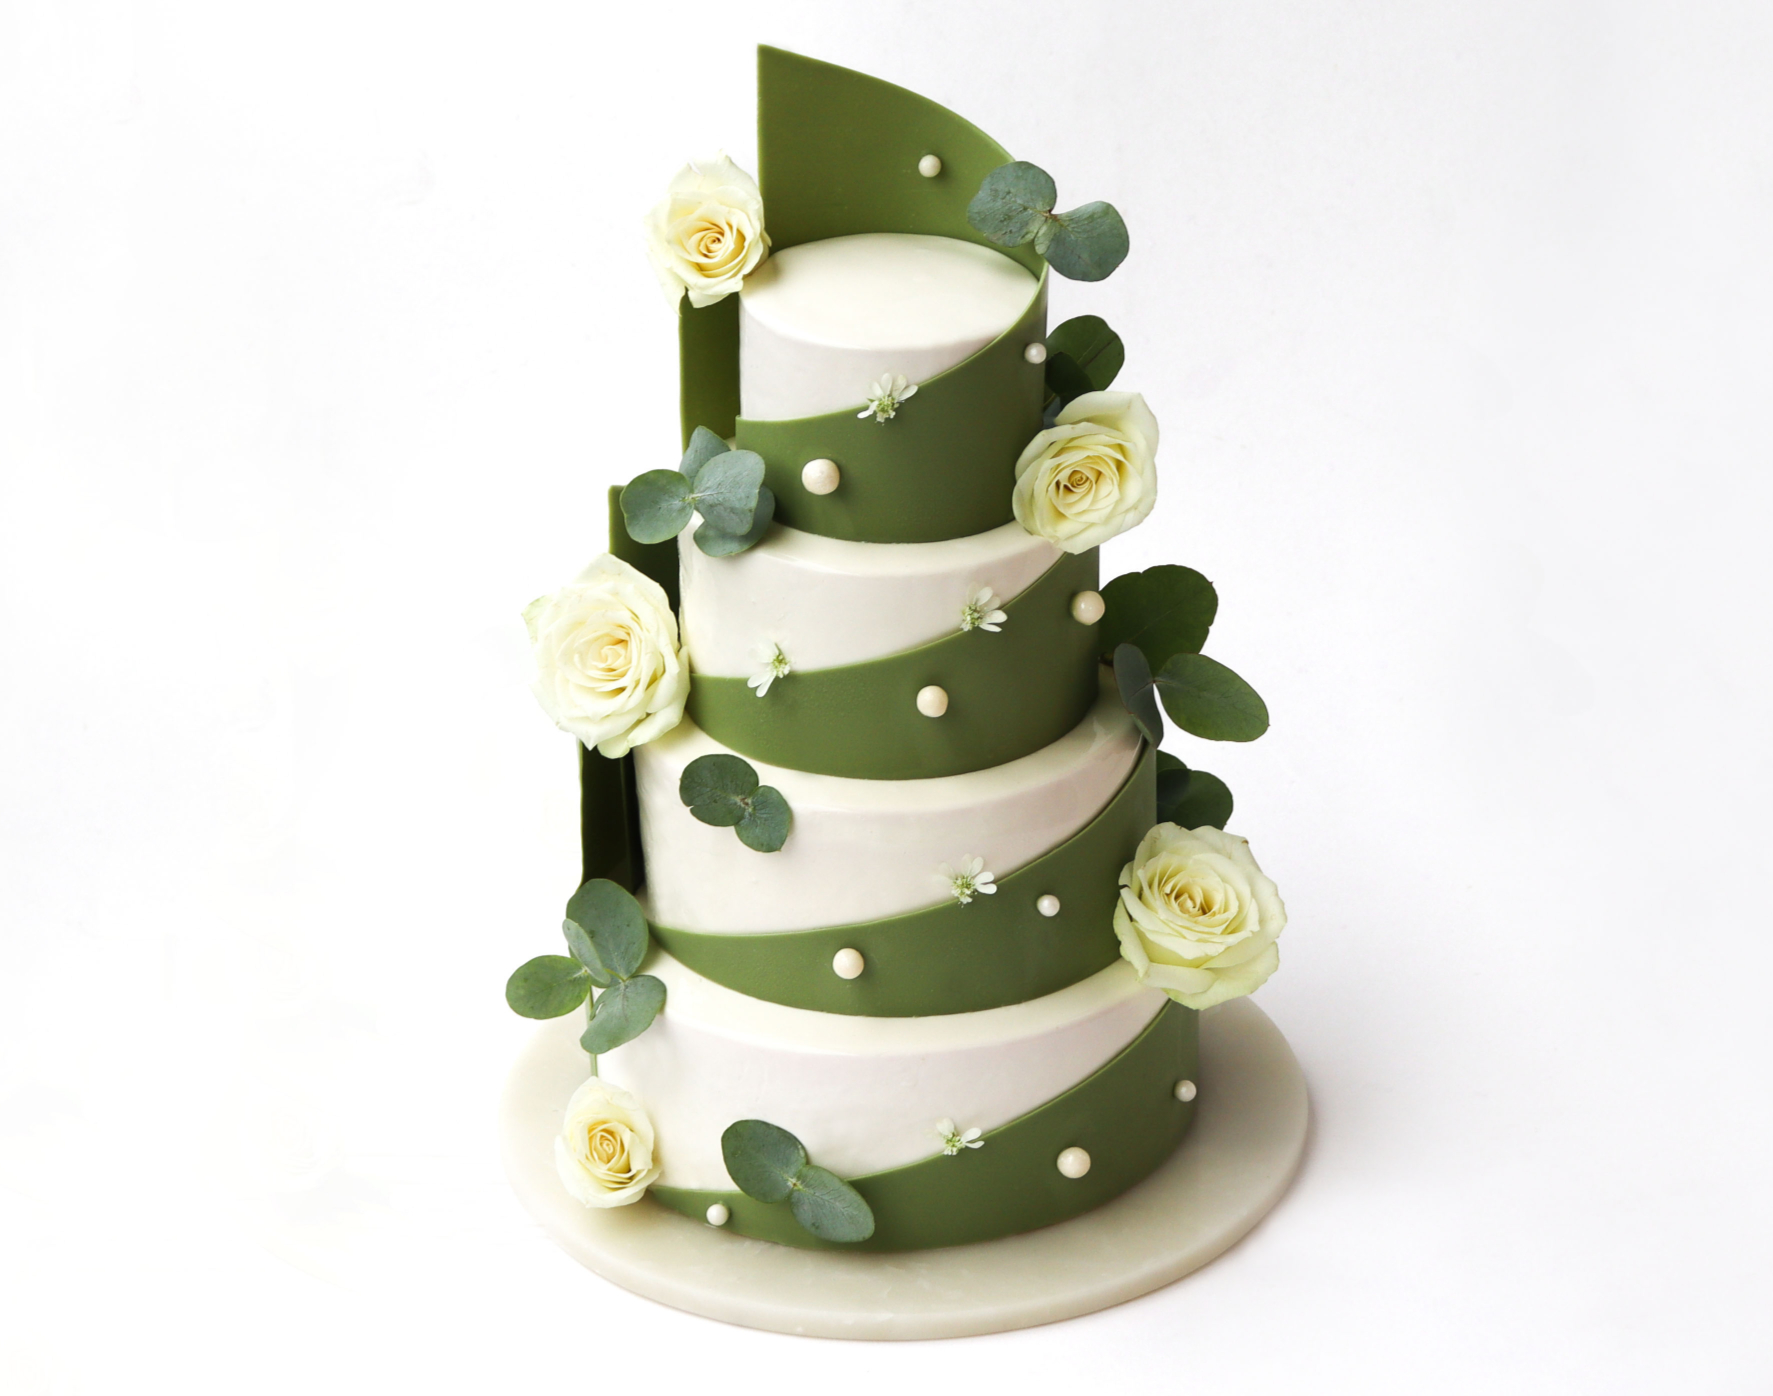

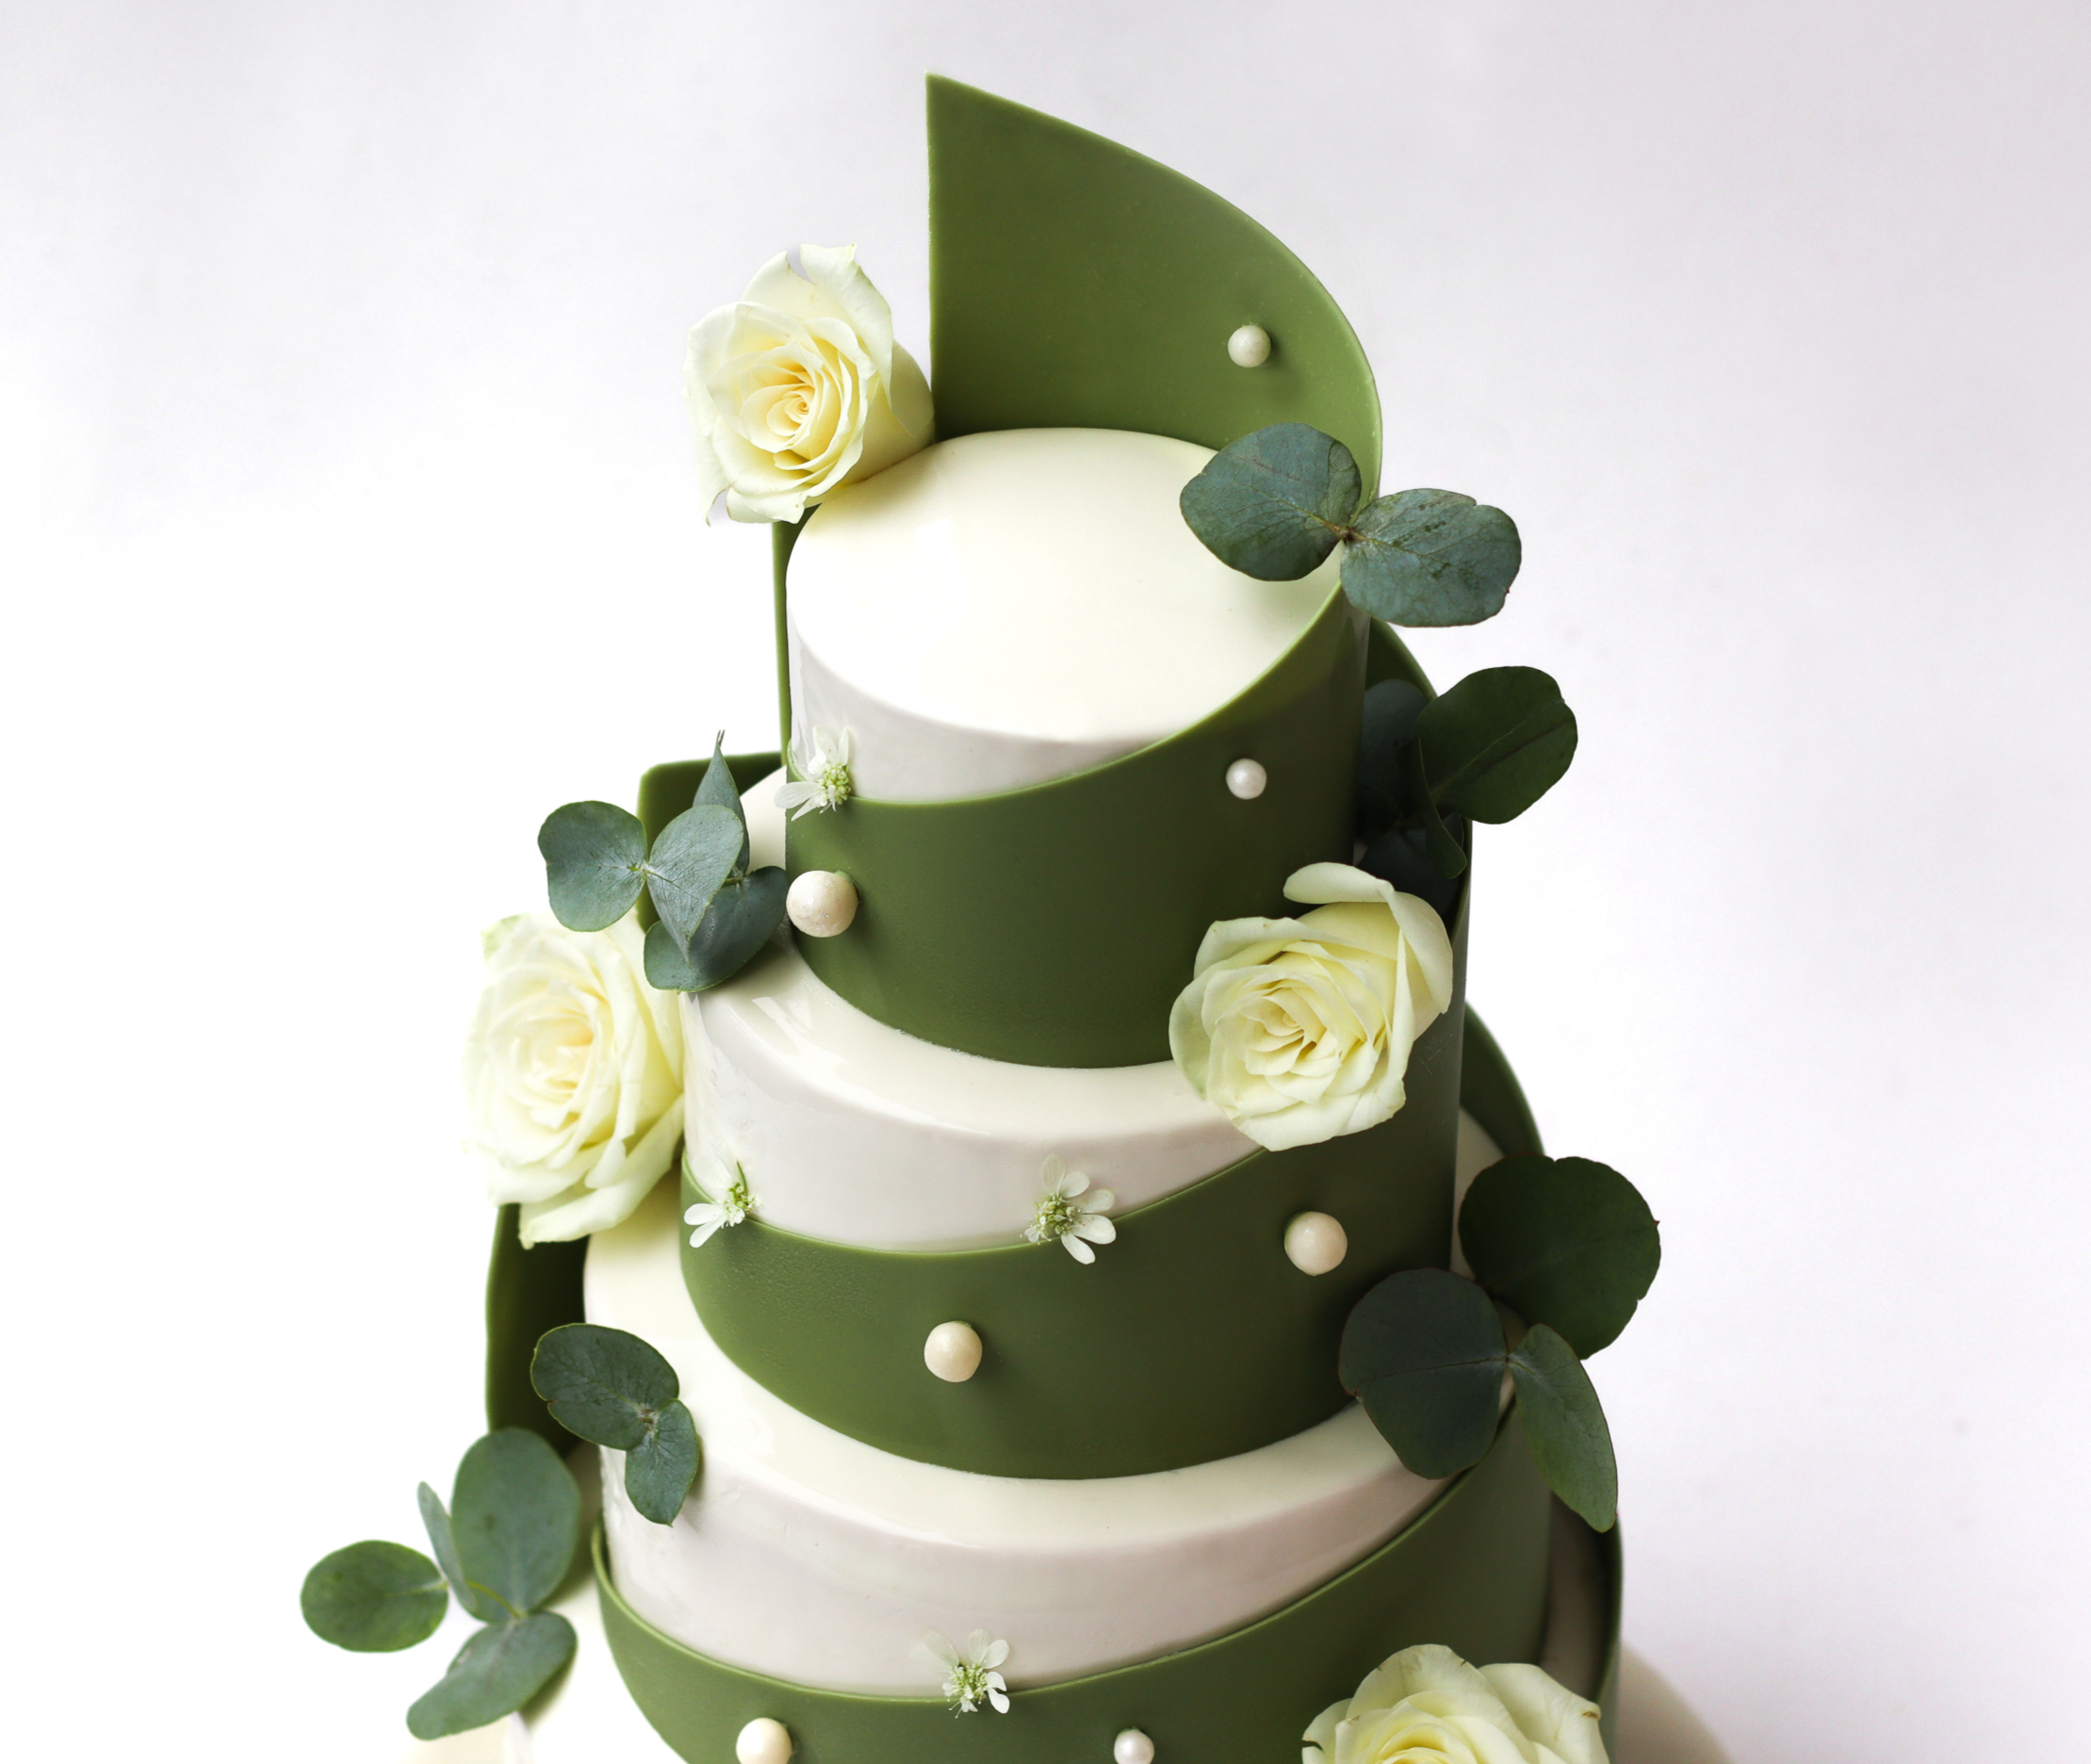

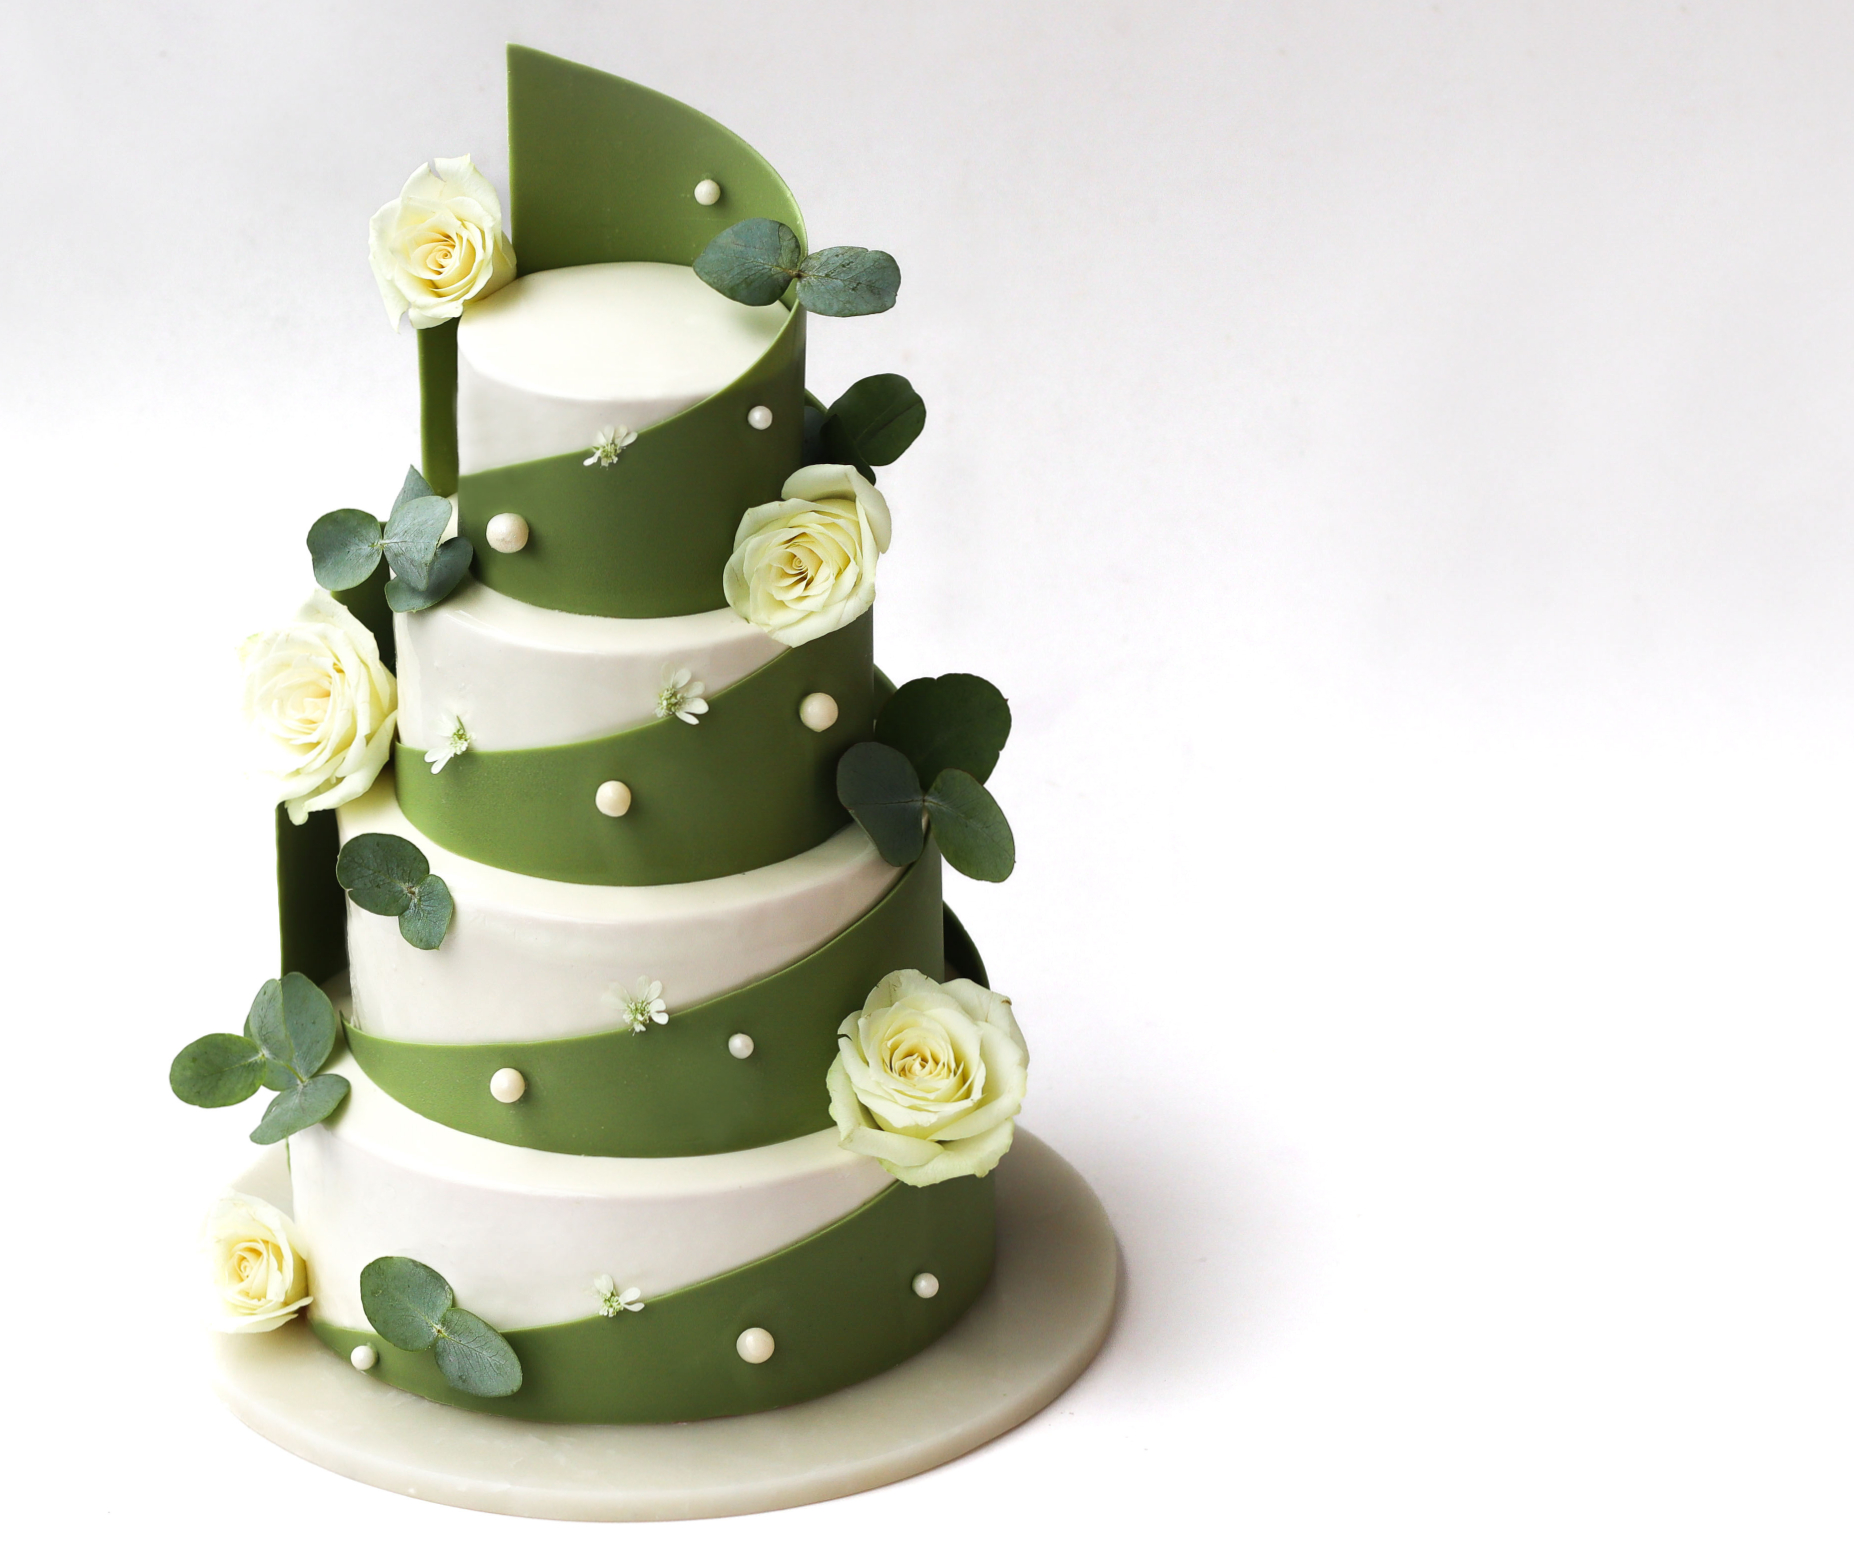
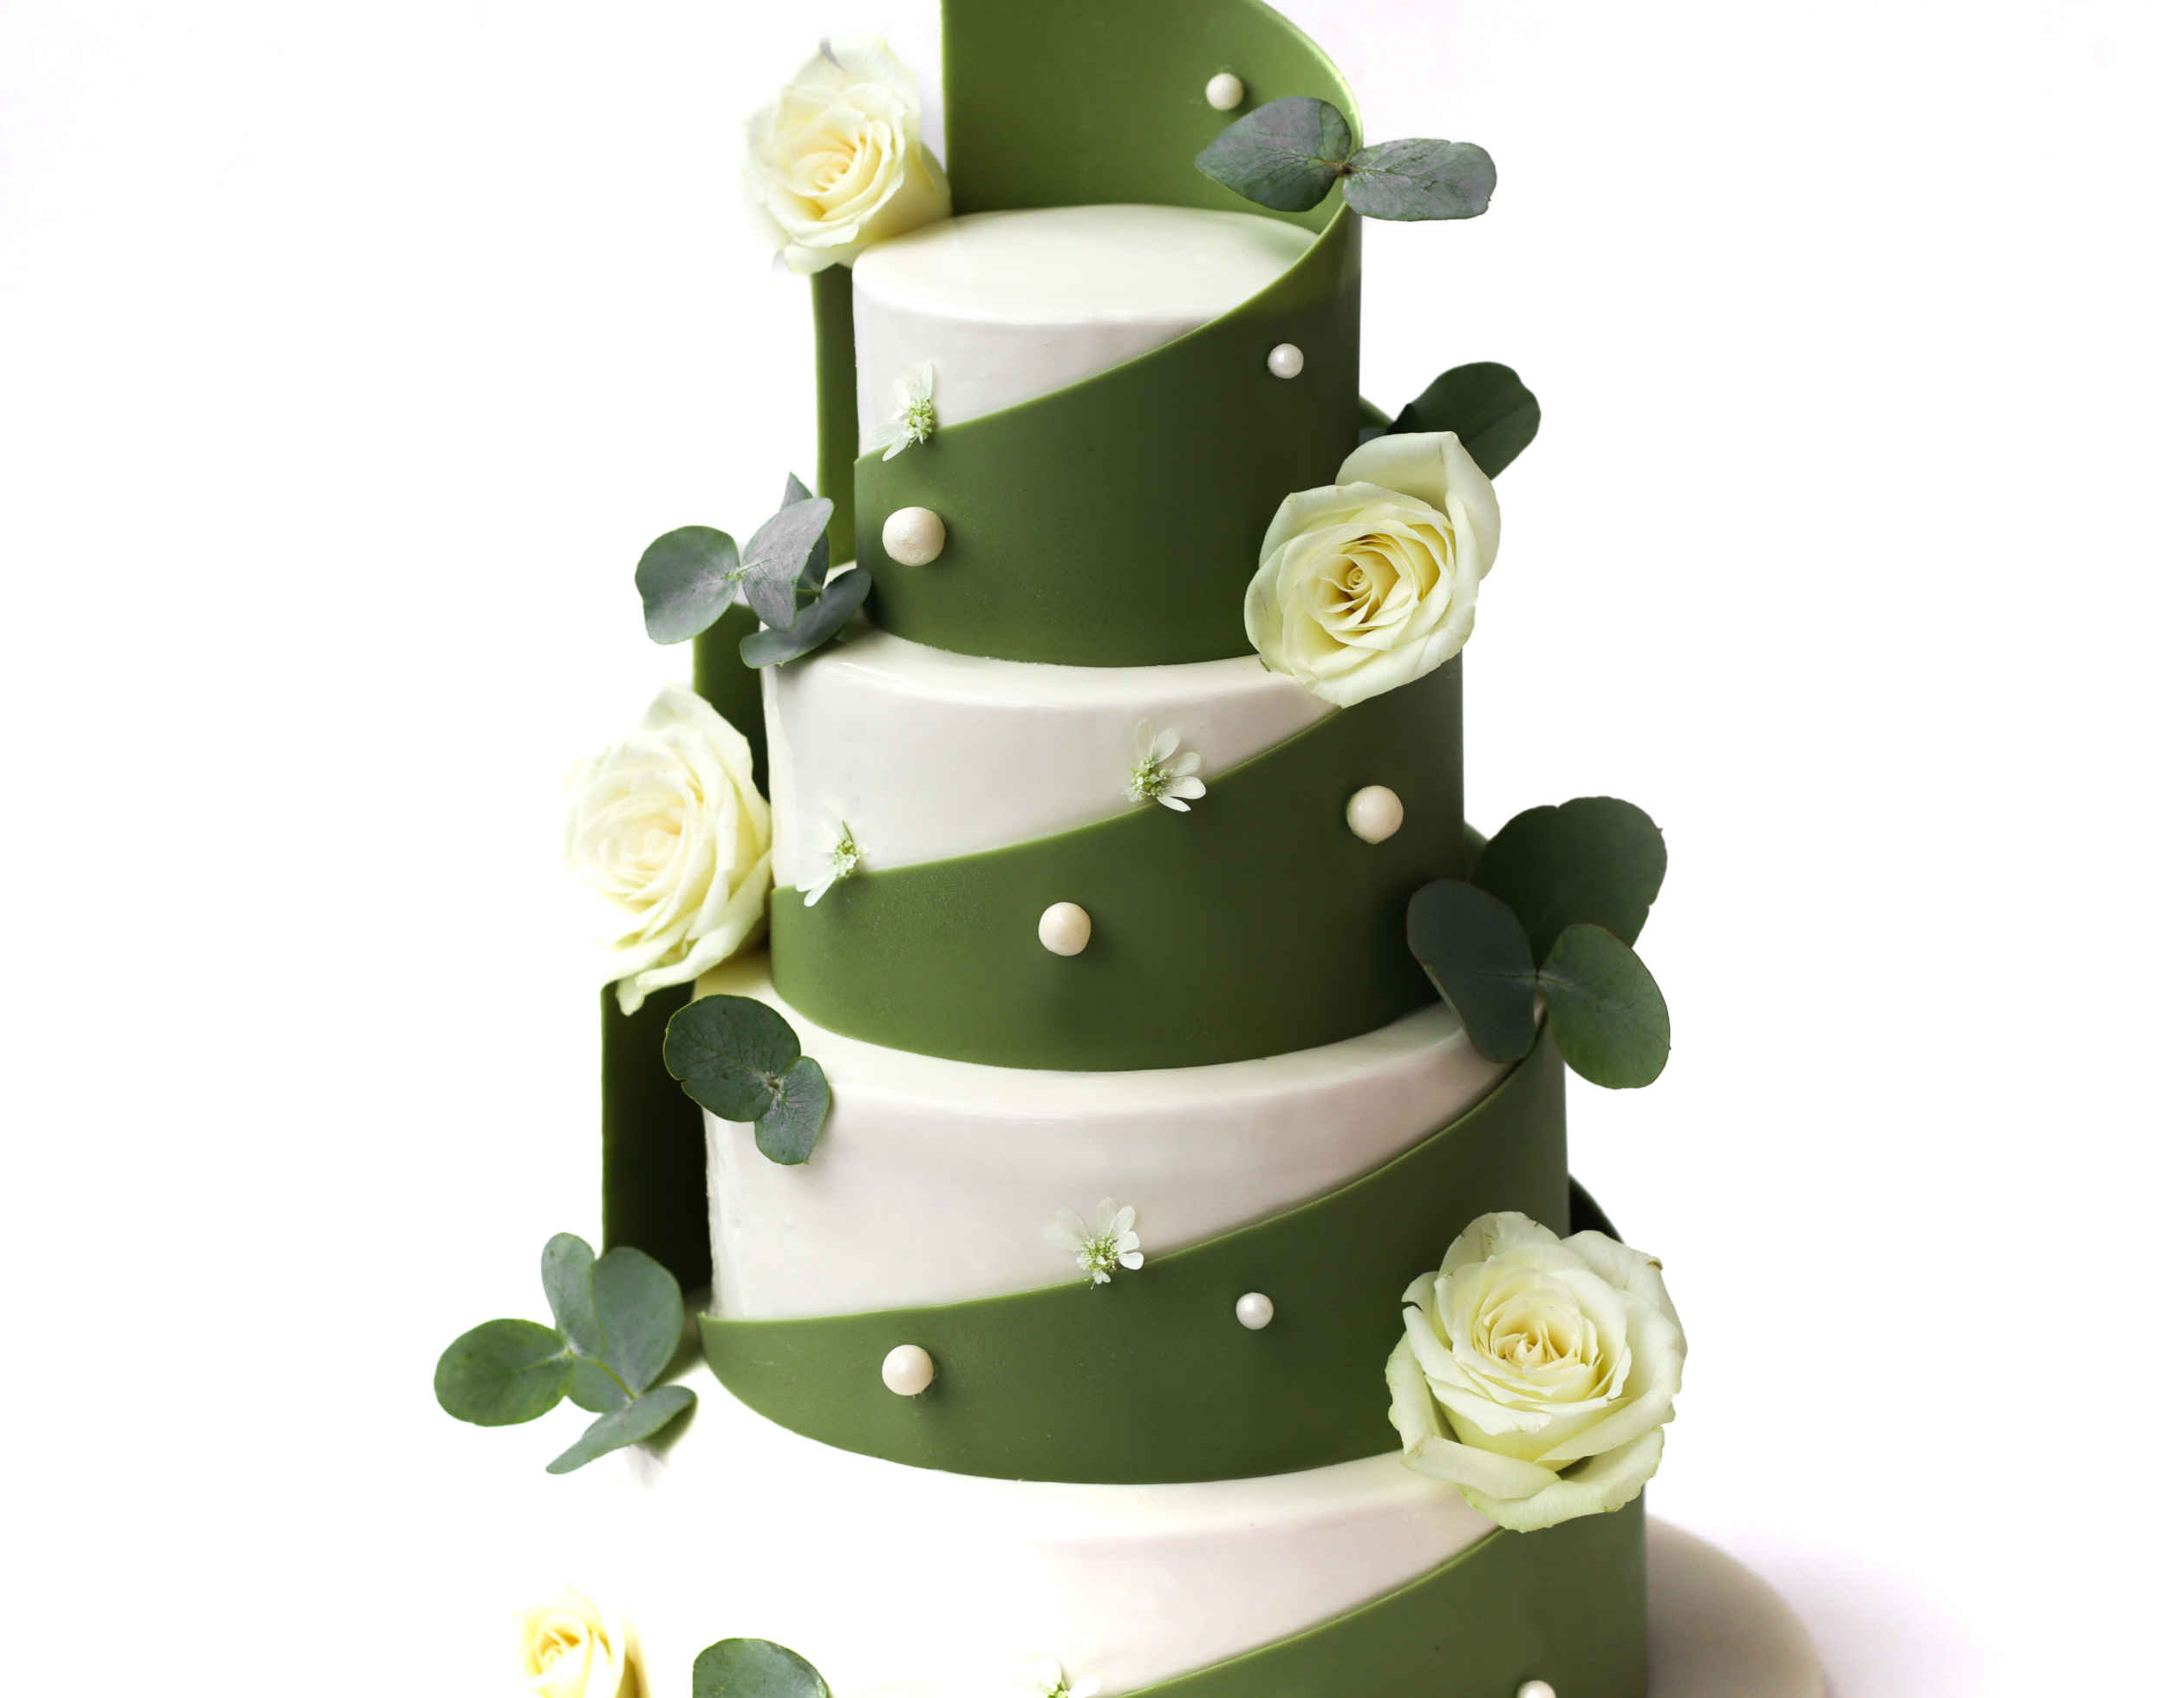
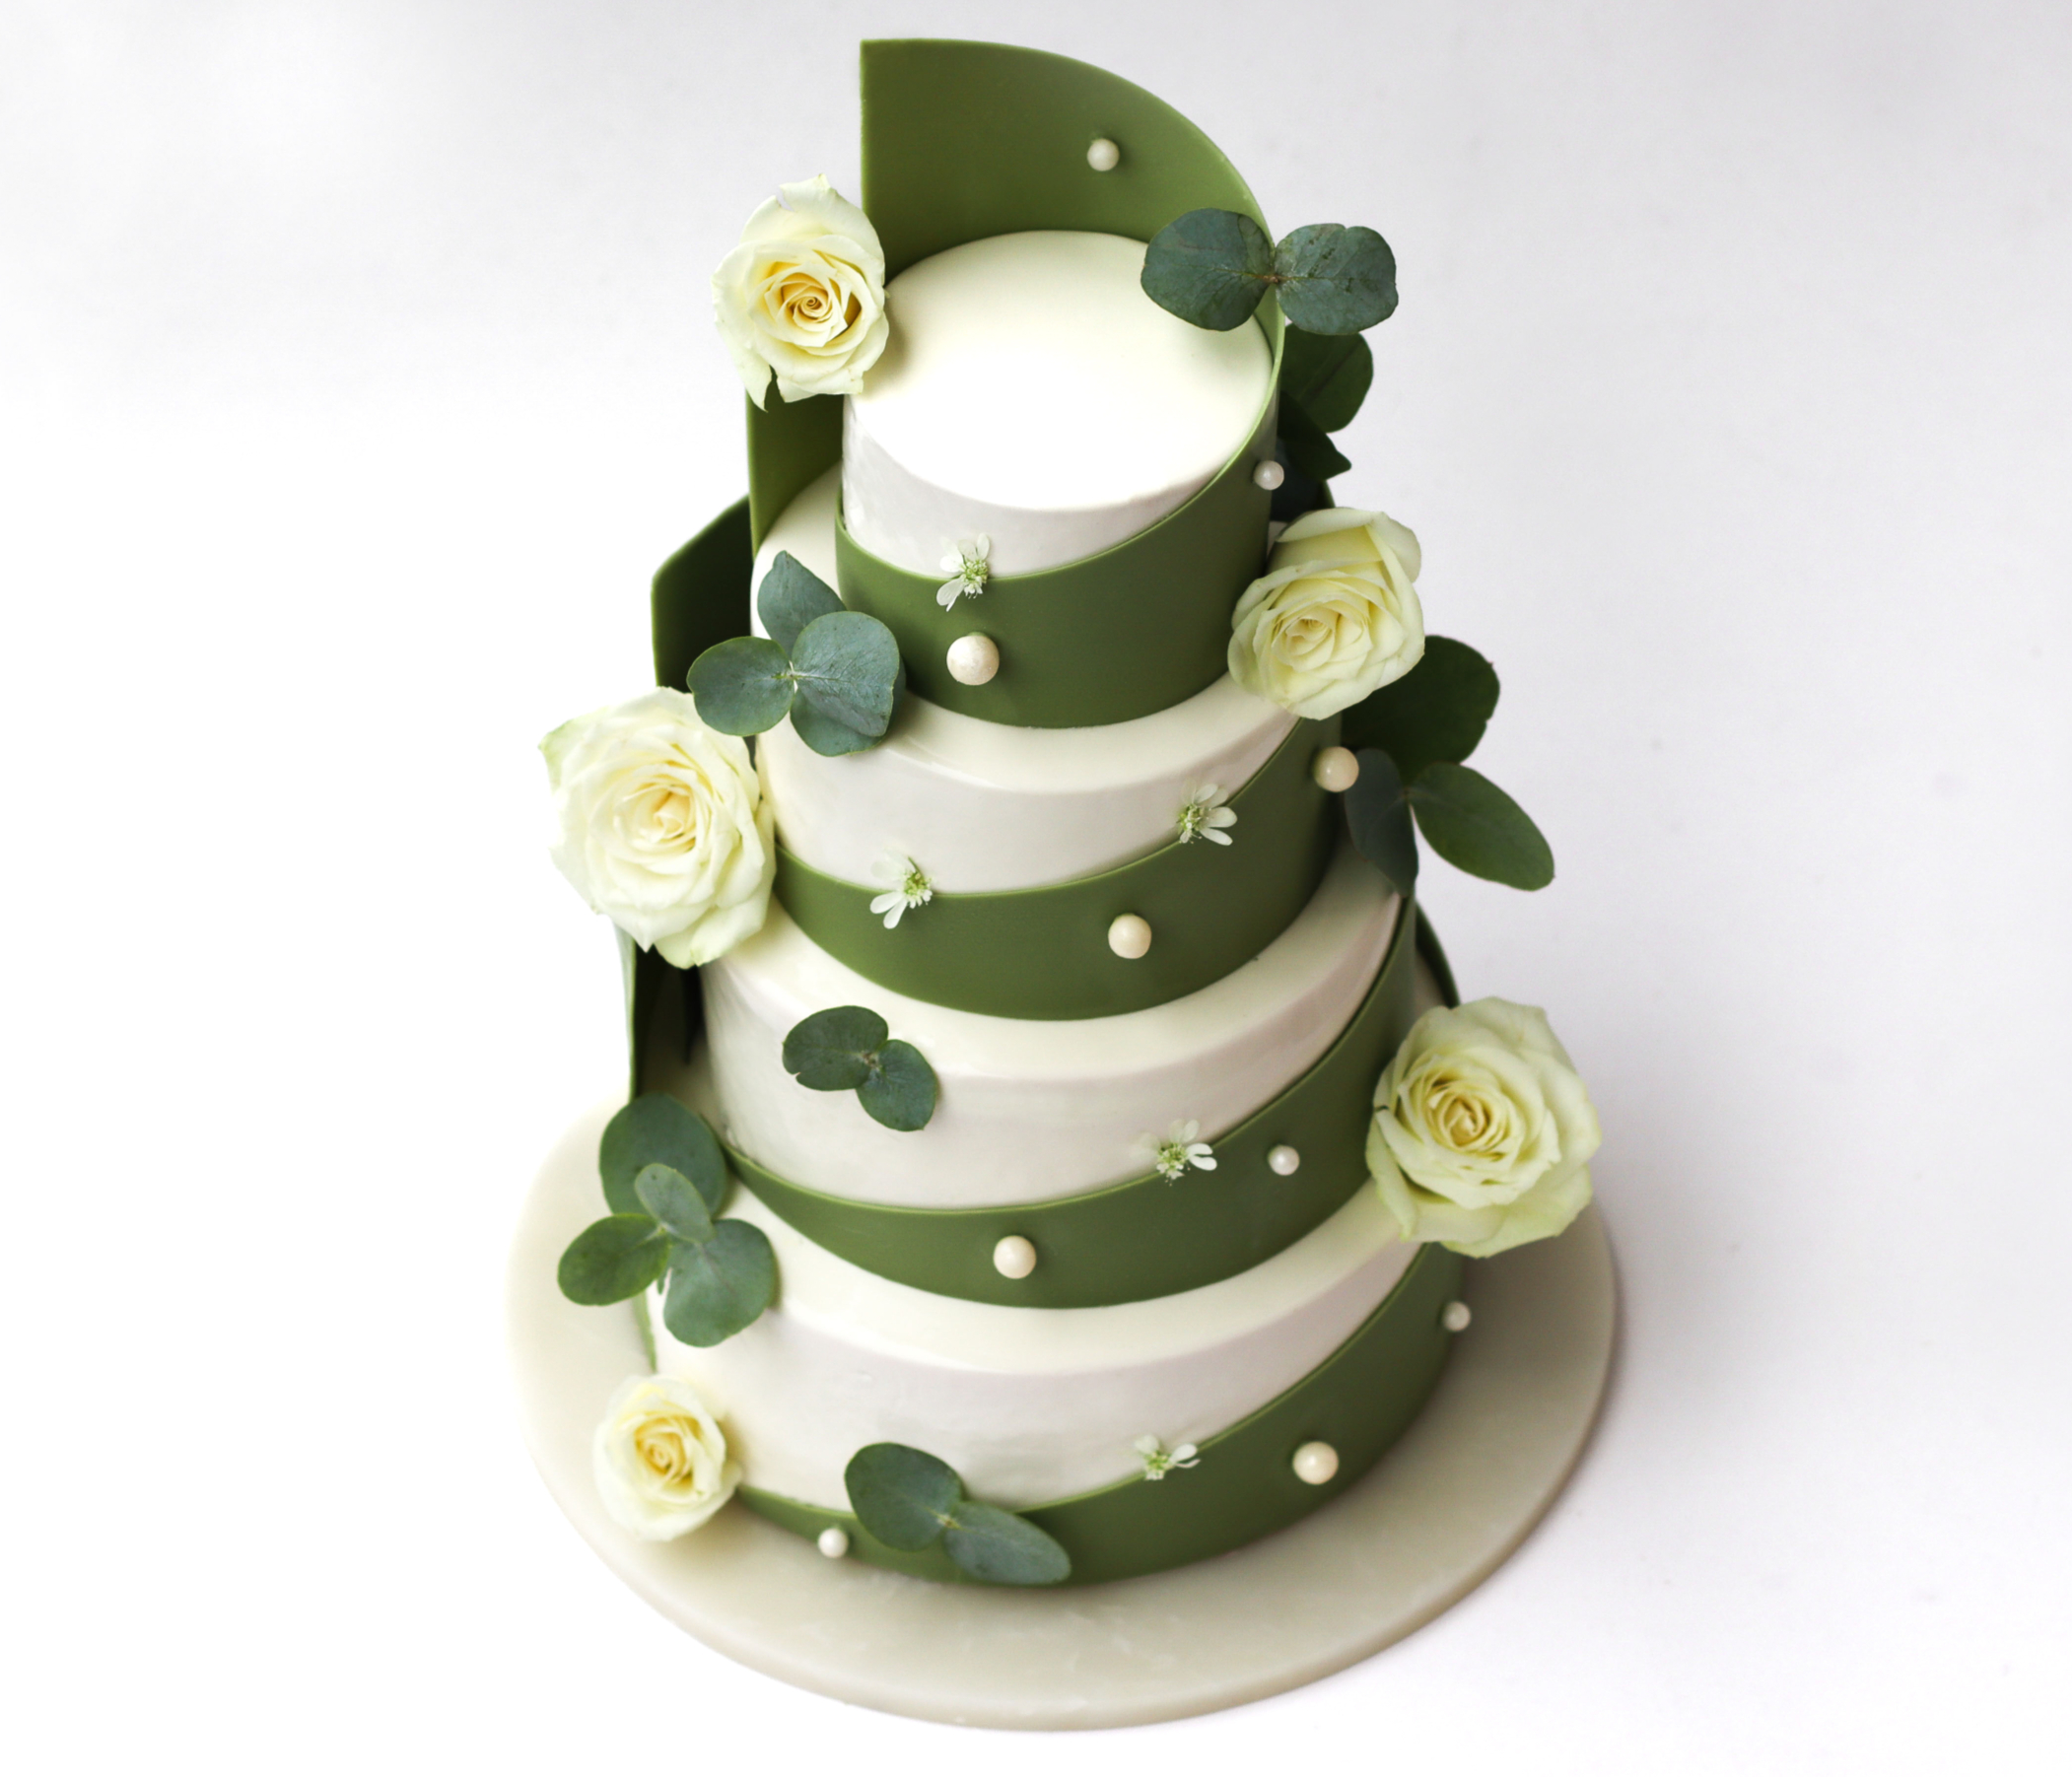
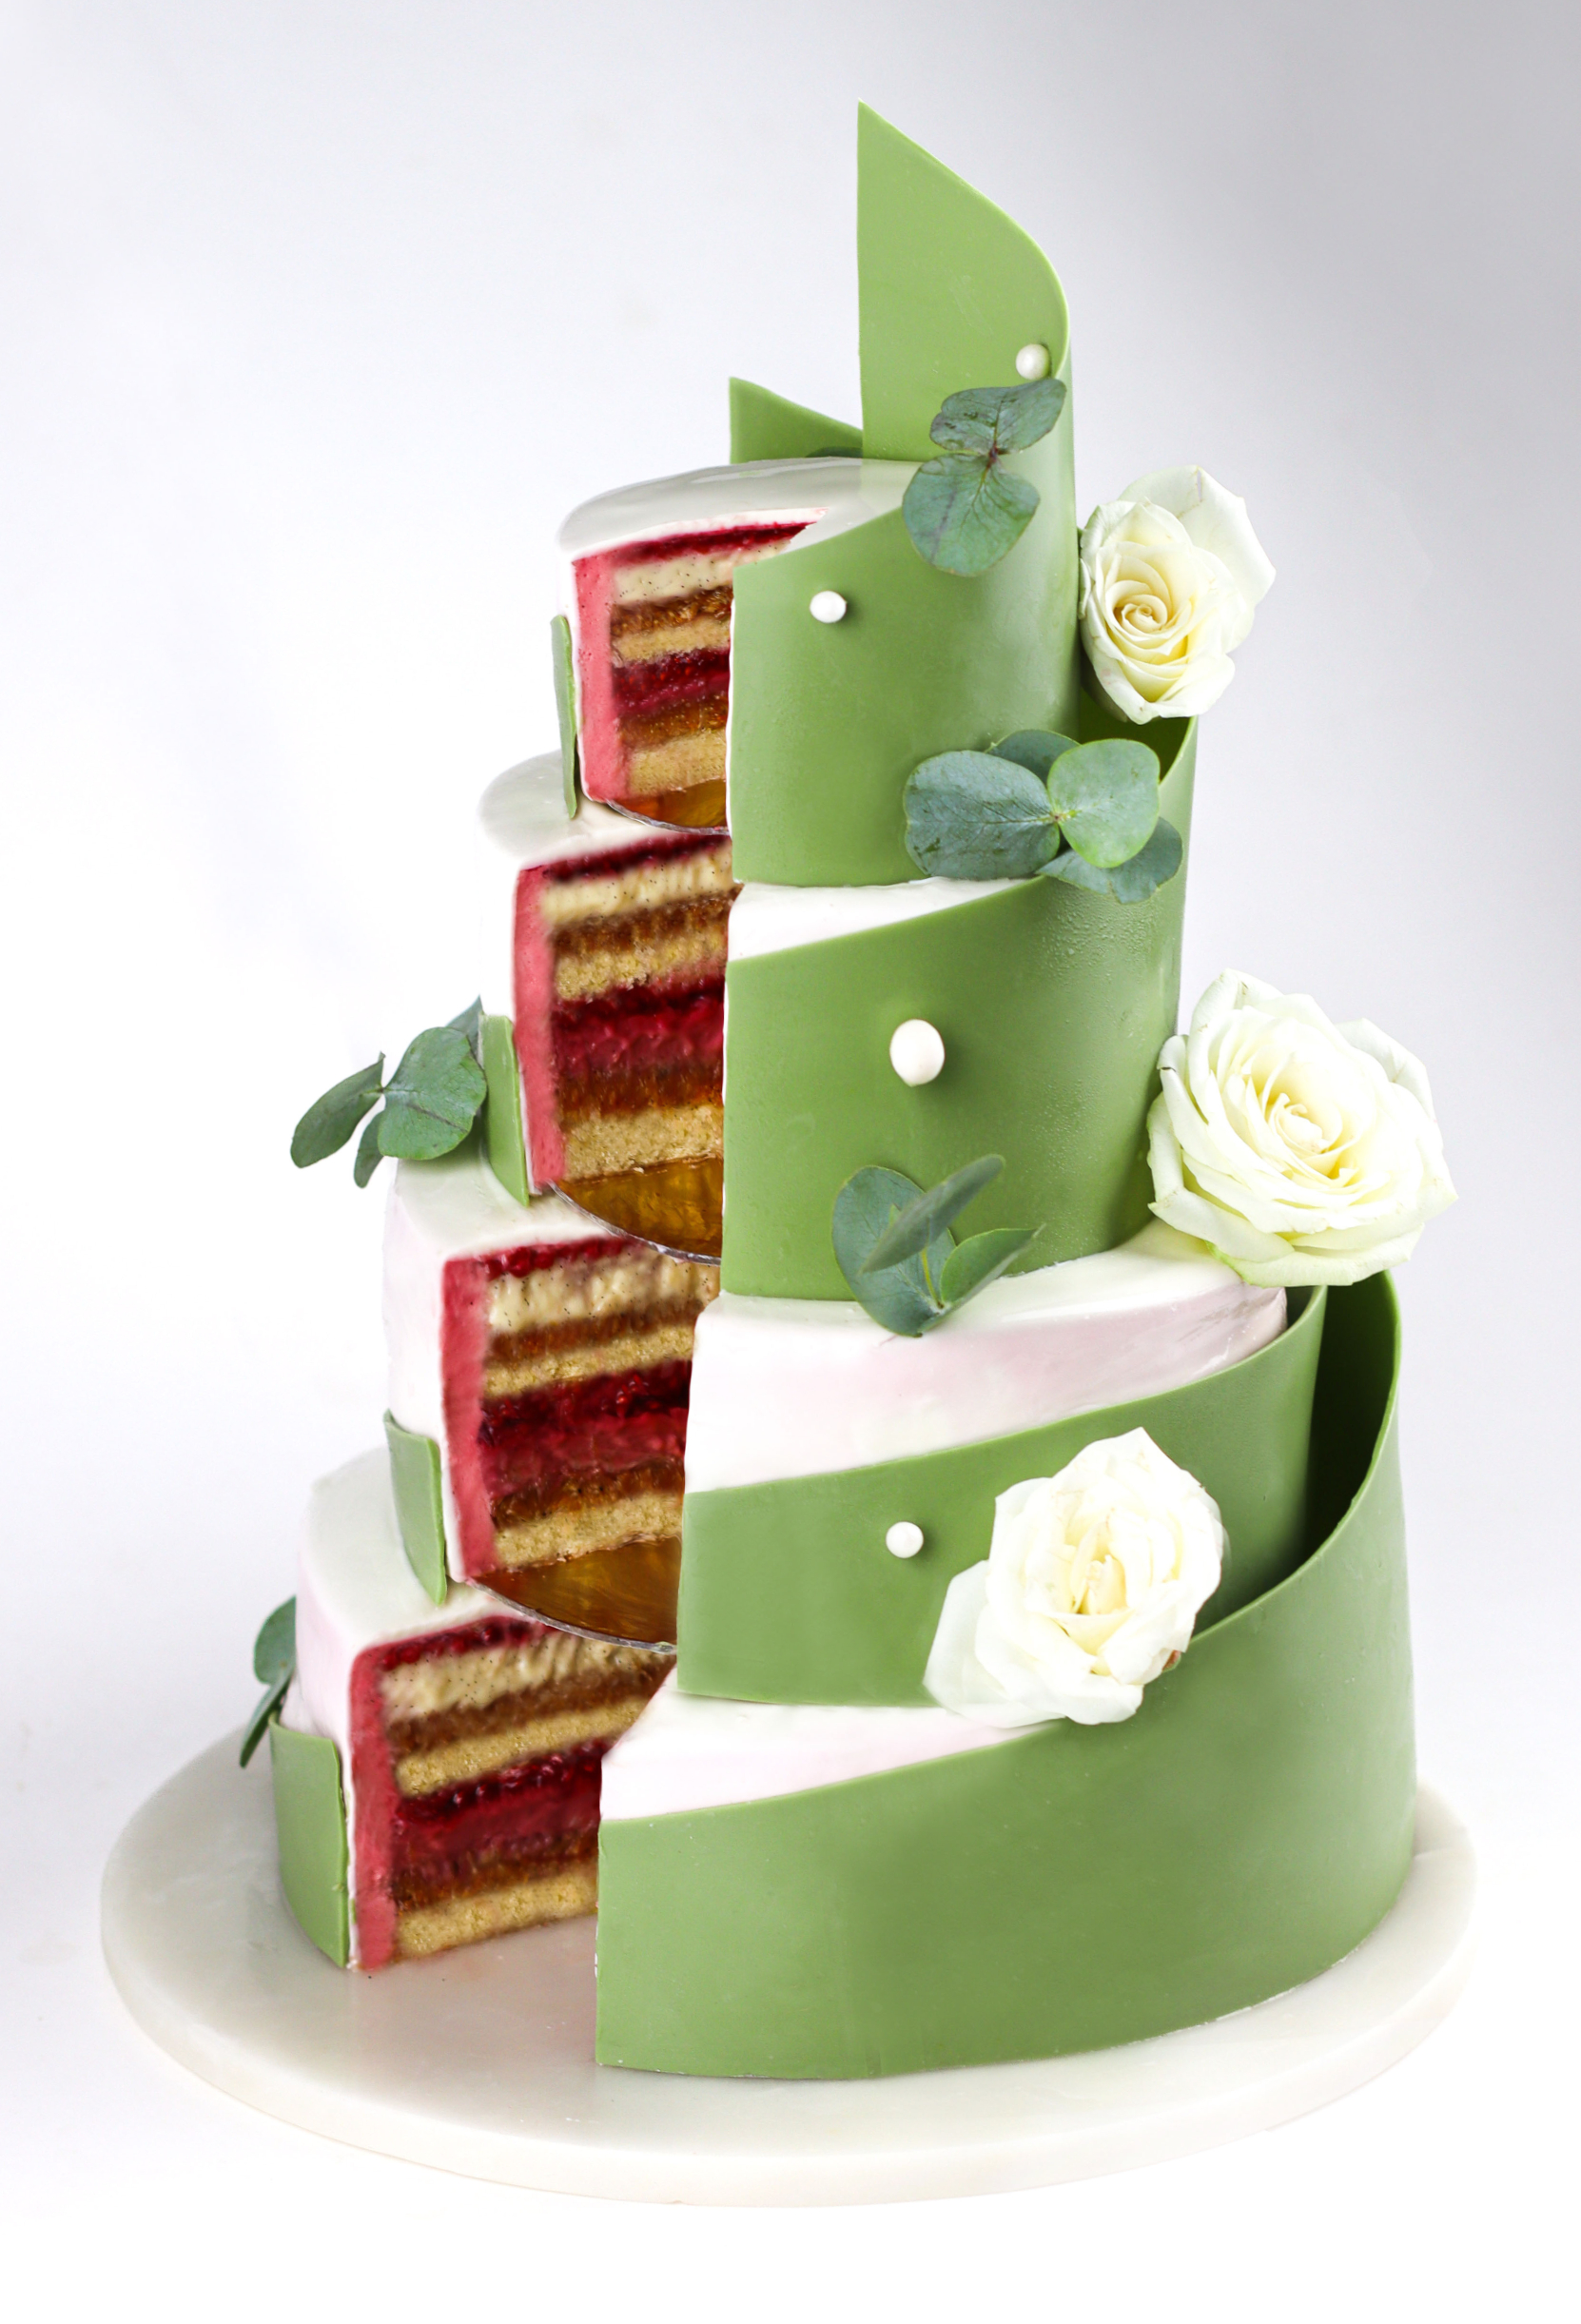
Since it’s wedding season, I thought it would be such a fun project to create a tiered entremet wedding cake!
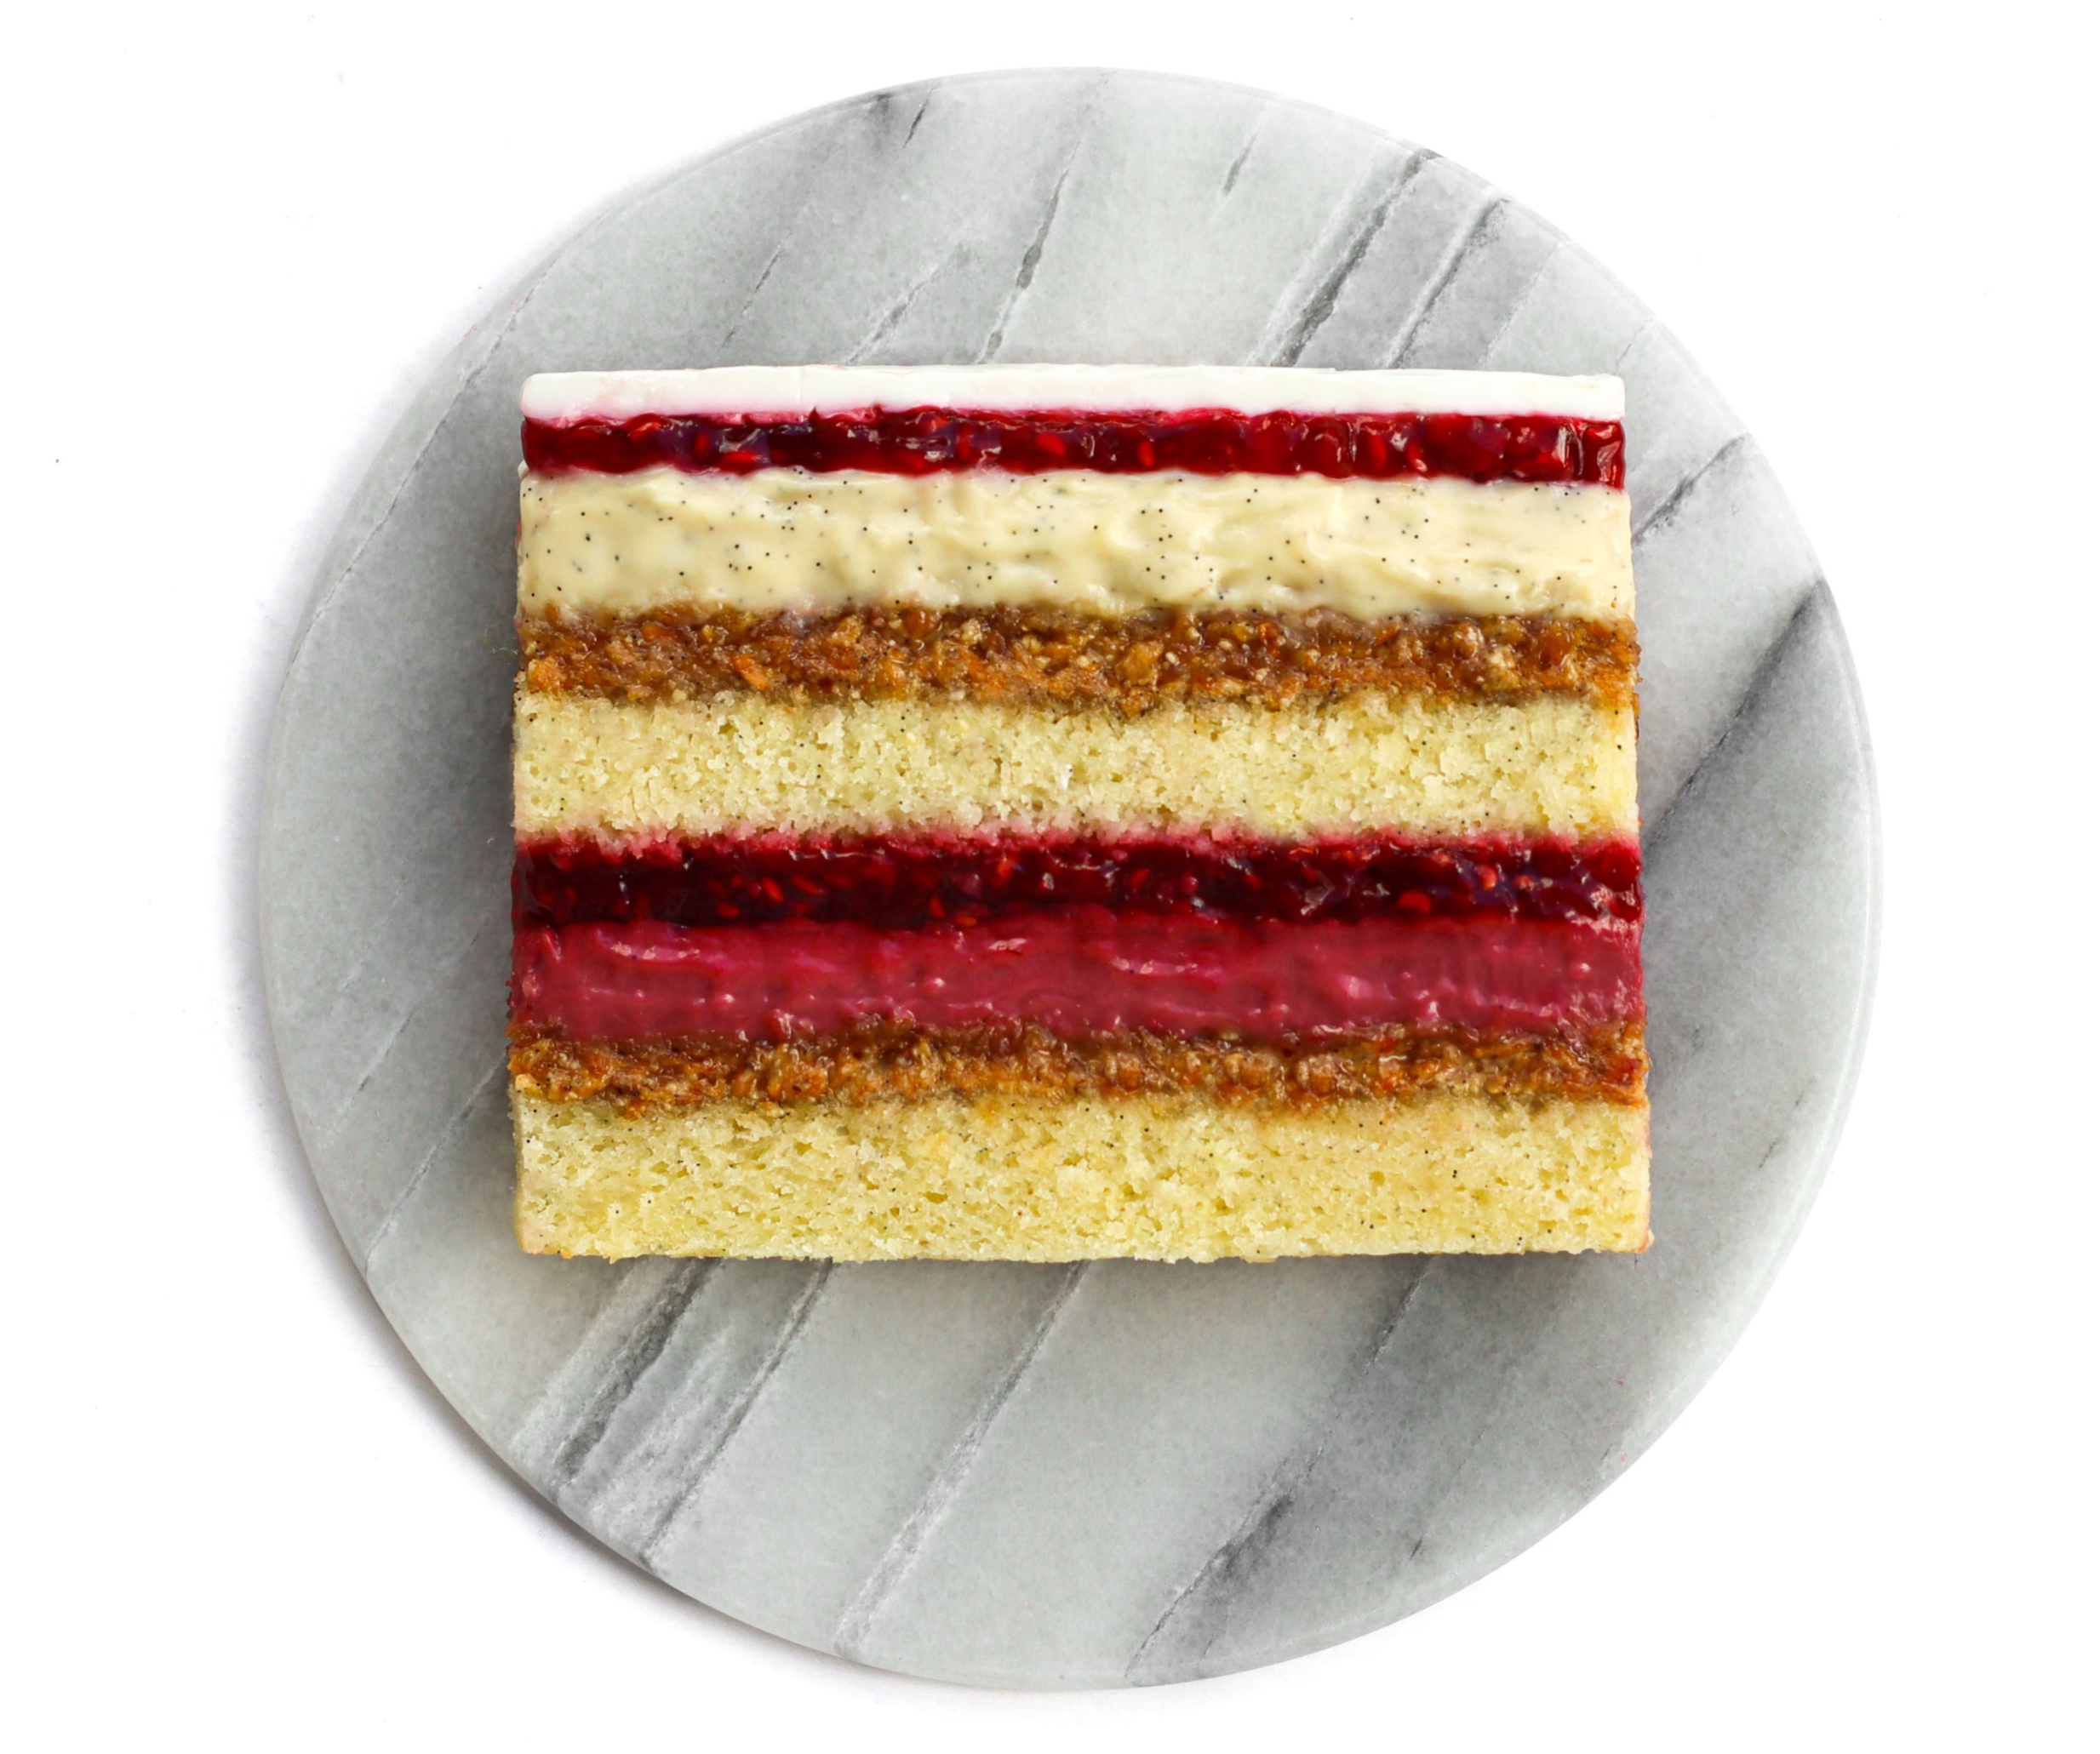
I asked on Instagram which flavor combination you’d like to see, and you voted for vanilla and raspberry, so that’s exactly what I made! It’s such an amazing pairing, with the soft, delicate vanilla perfectly balanced by the fresh, fruity raspberry.
This recipe is a scaled-down version of my original wedding cake, reimagined as an 18 cm entremet serving approximately 10 people. If you’re planning a larger celebration or wedding, you can also make the full 50-serving, 4-tier version, with the same beautiful flavors and layers in a size made for sharing with a bigger crowd!
This 10-serving version includes all the different layers and textures that make the original cake special, just in a size that’s perfect for micro weddings, intimate celebrations, and anniversaries.
Although this is a more detailed and technical recipe than some of my usual cakes, I’ve explained each step as clearly as possible to guide you through the process. I’ll walk you through everything, from preparing the cake inserts and assembling the layers to glazing and decorating your finished entremet.
This recipe includes a spreadsheet with scaling guidance and different size options.
I hope you’ll have as much fun making this cake as I did!
Happy baking <3
For extra guidance while baking, watch my step-by-step video tutorial, where I show you how to make the cake from start to finish:

Wedding-style serving sizes:
- 18 cm cake: 14–16 portions
In my regular entremet recipes, an 18 cm cake is usually counted as approximately 10 portions. For wedding cakes, the portions are typically cut smaller, which means the same cake can serve more people.
How to use this recipe:
If you only want to make one regular-sized cake, similar to my usual recipes, you can use the 18 cm version of the recipe below.
If you are looking to make the full 4-tier cake, the recipe is available here.
Before you start:
- Read the full recipe before you begin, including the baking schedule, equipment list, and notes for assembling the cake.
- This recipe uses frozen raspberries, which is what I recommend for the most consistent result. Fresh raspberries can vary more in water content, which may change the final amount of raspberry purée or cooked fruit mixture. To follow the recipe as accurately as possible, I recommend using frozen raspberries.
- Some components may leave a small amount of leftovers. The recipes have been written with a little extra to make sure there is enough for the whole cake, as the final amount can vary slightly depending on cooking time, reduction, cooling, and how each layer is spread.
Tips for transportation, assembling & storage:
- I recommend glazing the cake on the same day it needs to be transported. Ideally, glaze it as close to transport as possible, so it is still partly frozen. This makes the cake firmer and easier to move safely.
- The chocolate spiral and final decorations should be added on location, as these elements are delicate and easier to adjust once the cake is in its final position.
- After glazing, the cake will need approximately 6 hours in the fridge to thaw fully before serving.
Keep the cake refrigerated after arrival at the location. Once the cake has been decorated, store it in the fridge until serving. - Take the cake out of the fridge at least 20 minutes before serving, so it has time to temper slightly.
Day 1
Vanilla Pastry Cream:
- 1.5 gelatin sheets (1 sheet = 1.75 g, bloom value 240)
- 2 vanilla beans
- 200 ml whole milk
- 50 g egg yolks (approx. 2.5 medium egg yolks)
- 40 g caster sugar
- 50 ml whole milk (for cornstarch mix)
- 20 g cornstarch
- 15 g butter (room temperature)
- 60 ml heavy cream (min. 35%), room temperature
NOTE: When you start baking, begin by preparing the pastry cream, as it needs time to set before it can be piped onto the cake. While it is setting, you can prepare the other layers to save time.
- Soak the gelatin in cold water for 5–10 minutes.
- Cut the vanilla beans and scrape out the seeds.