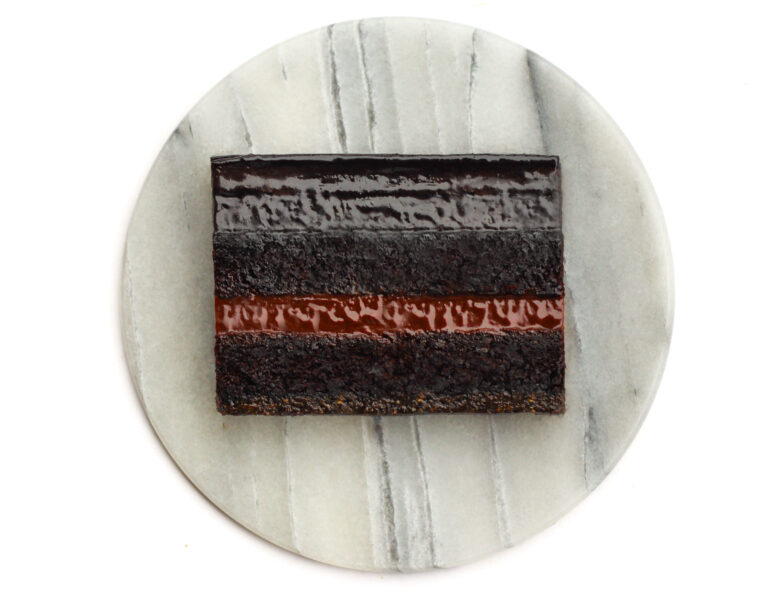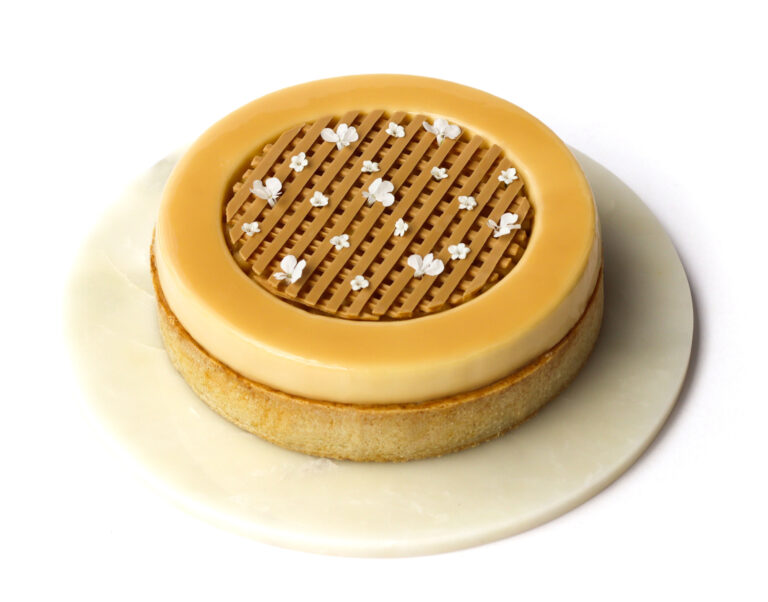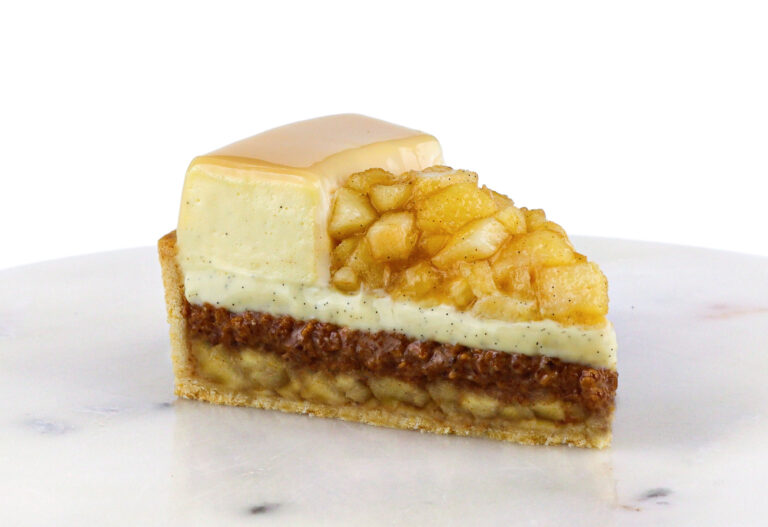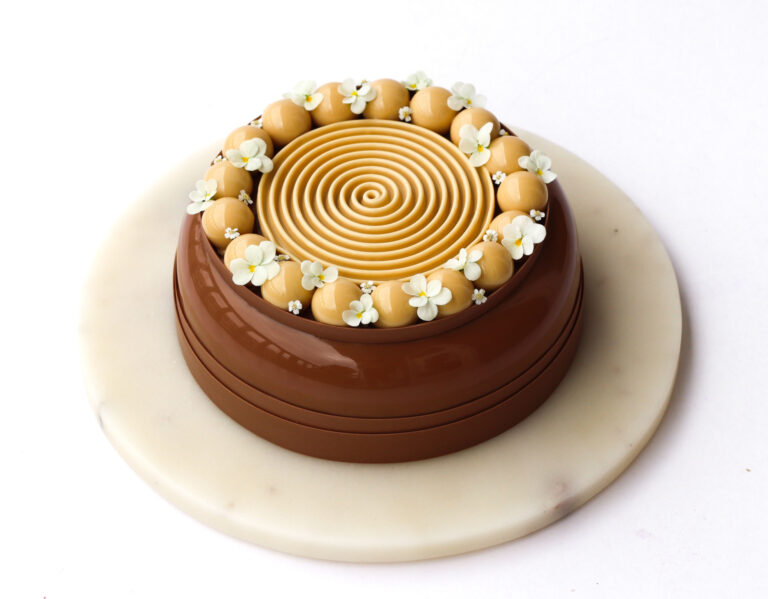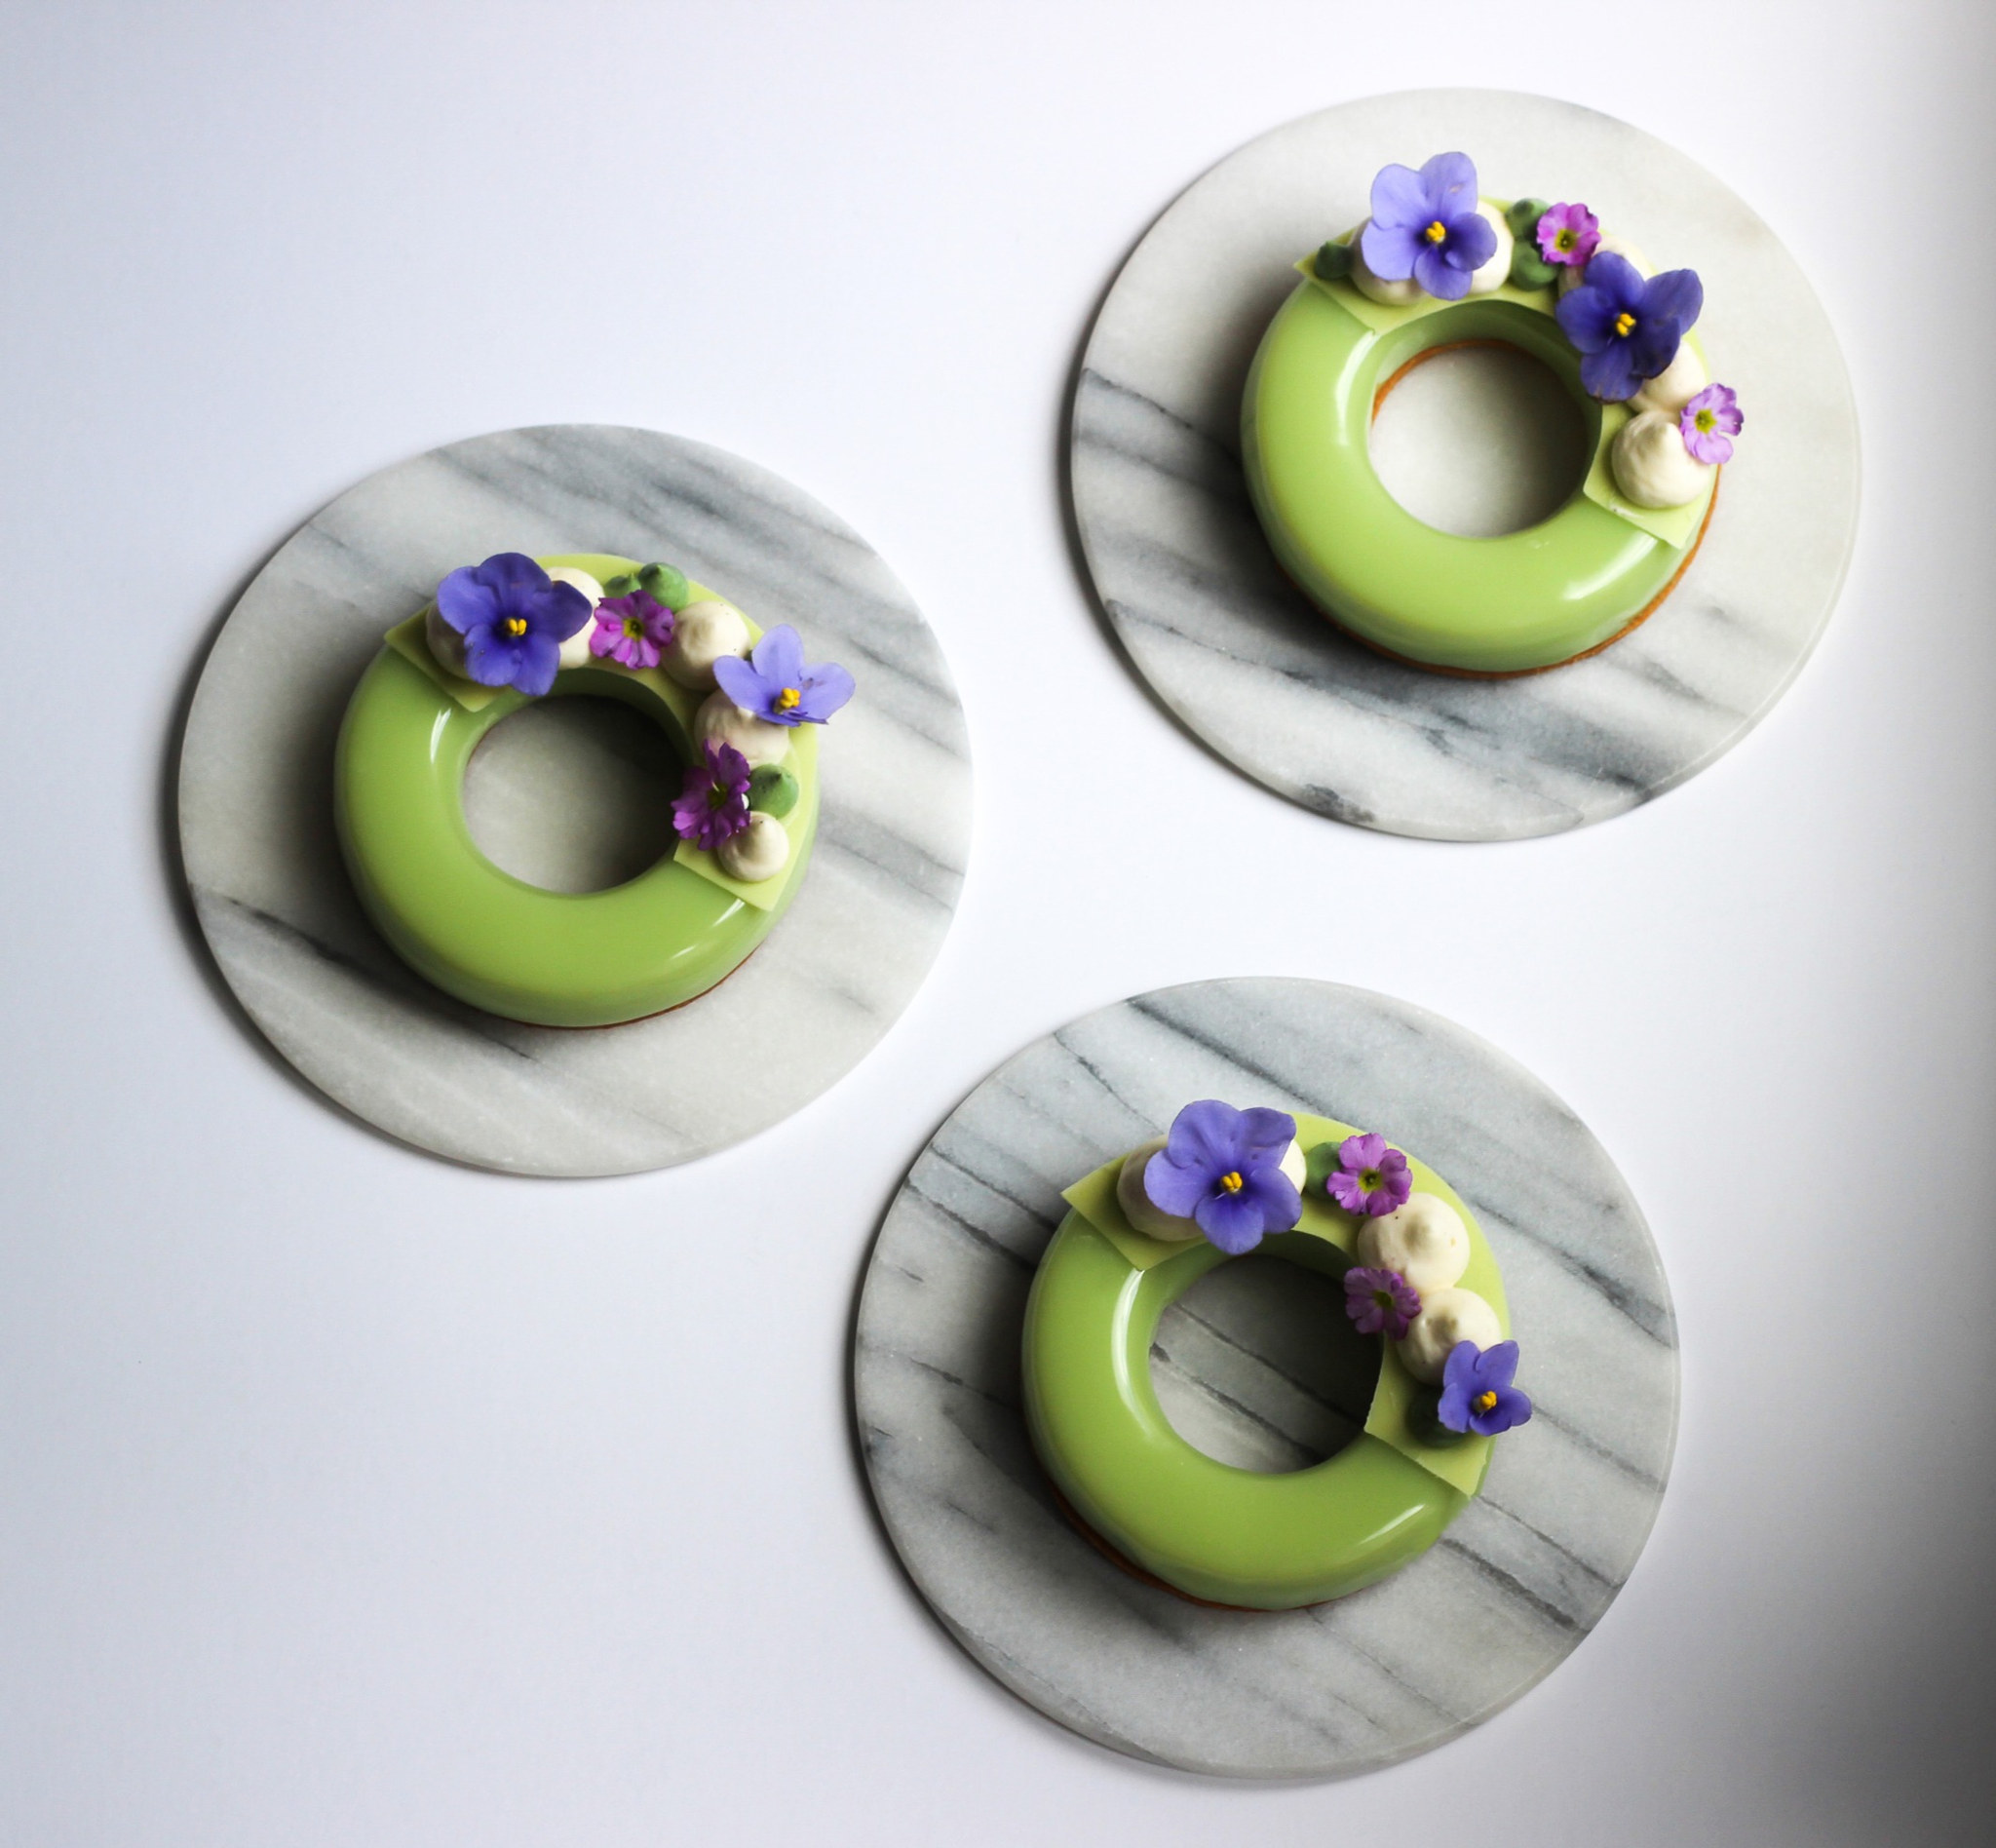
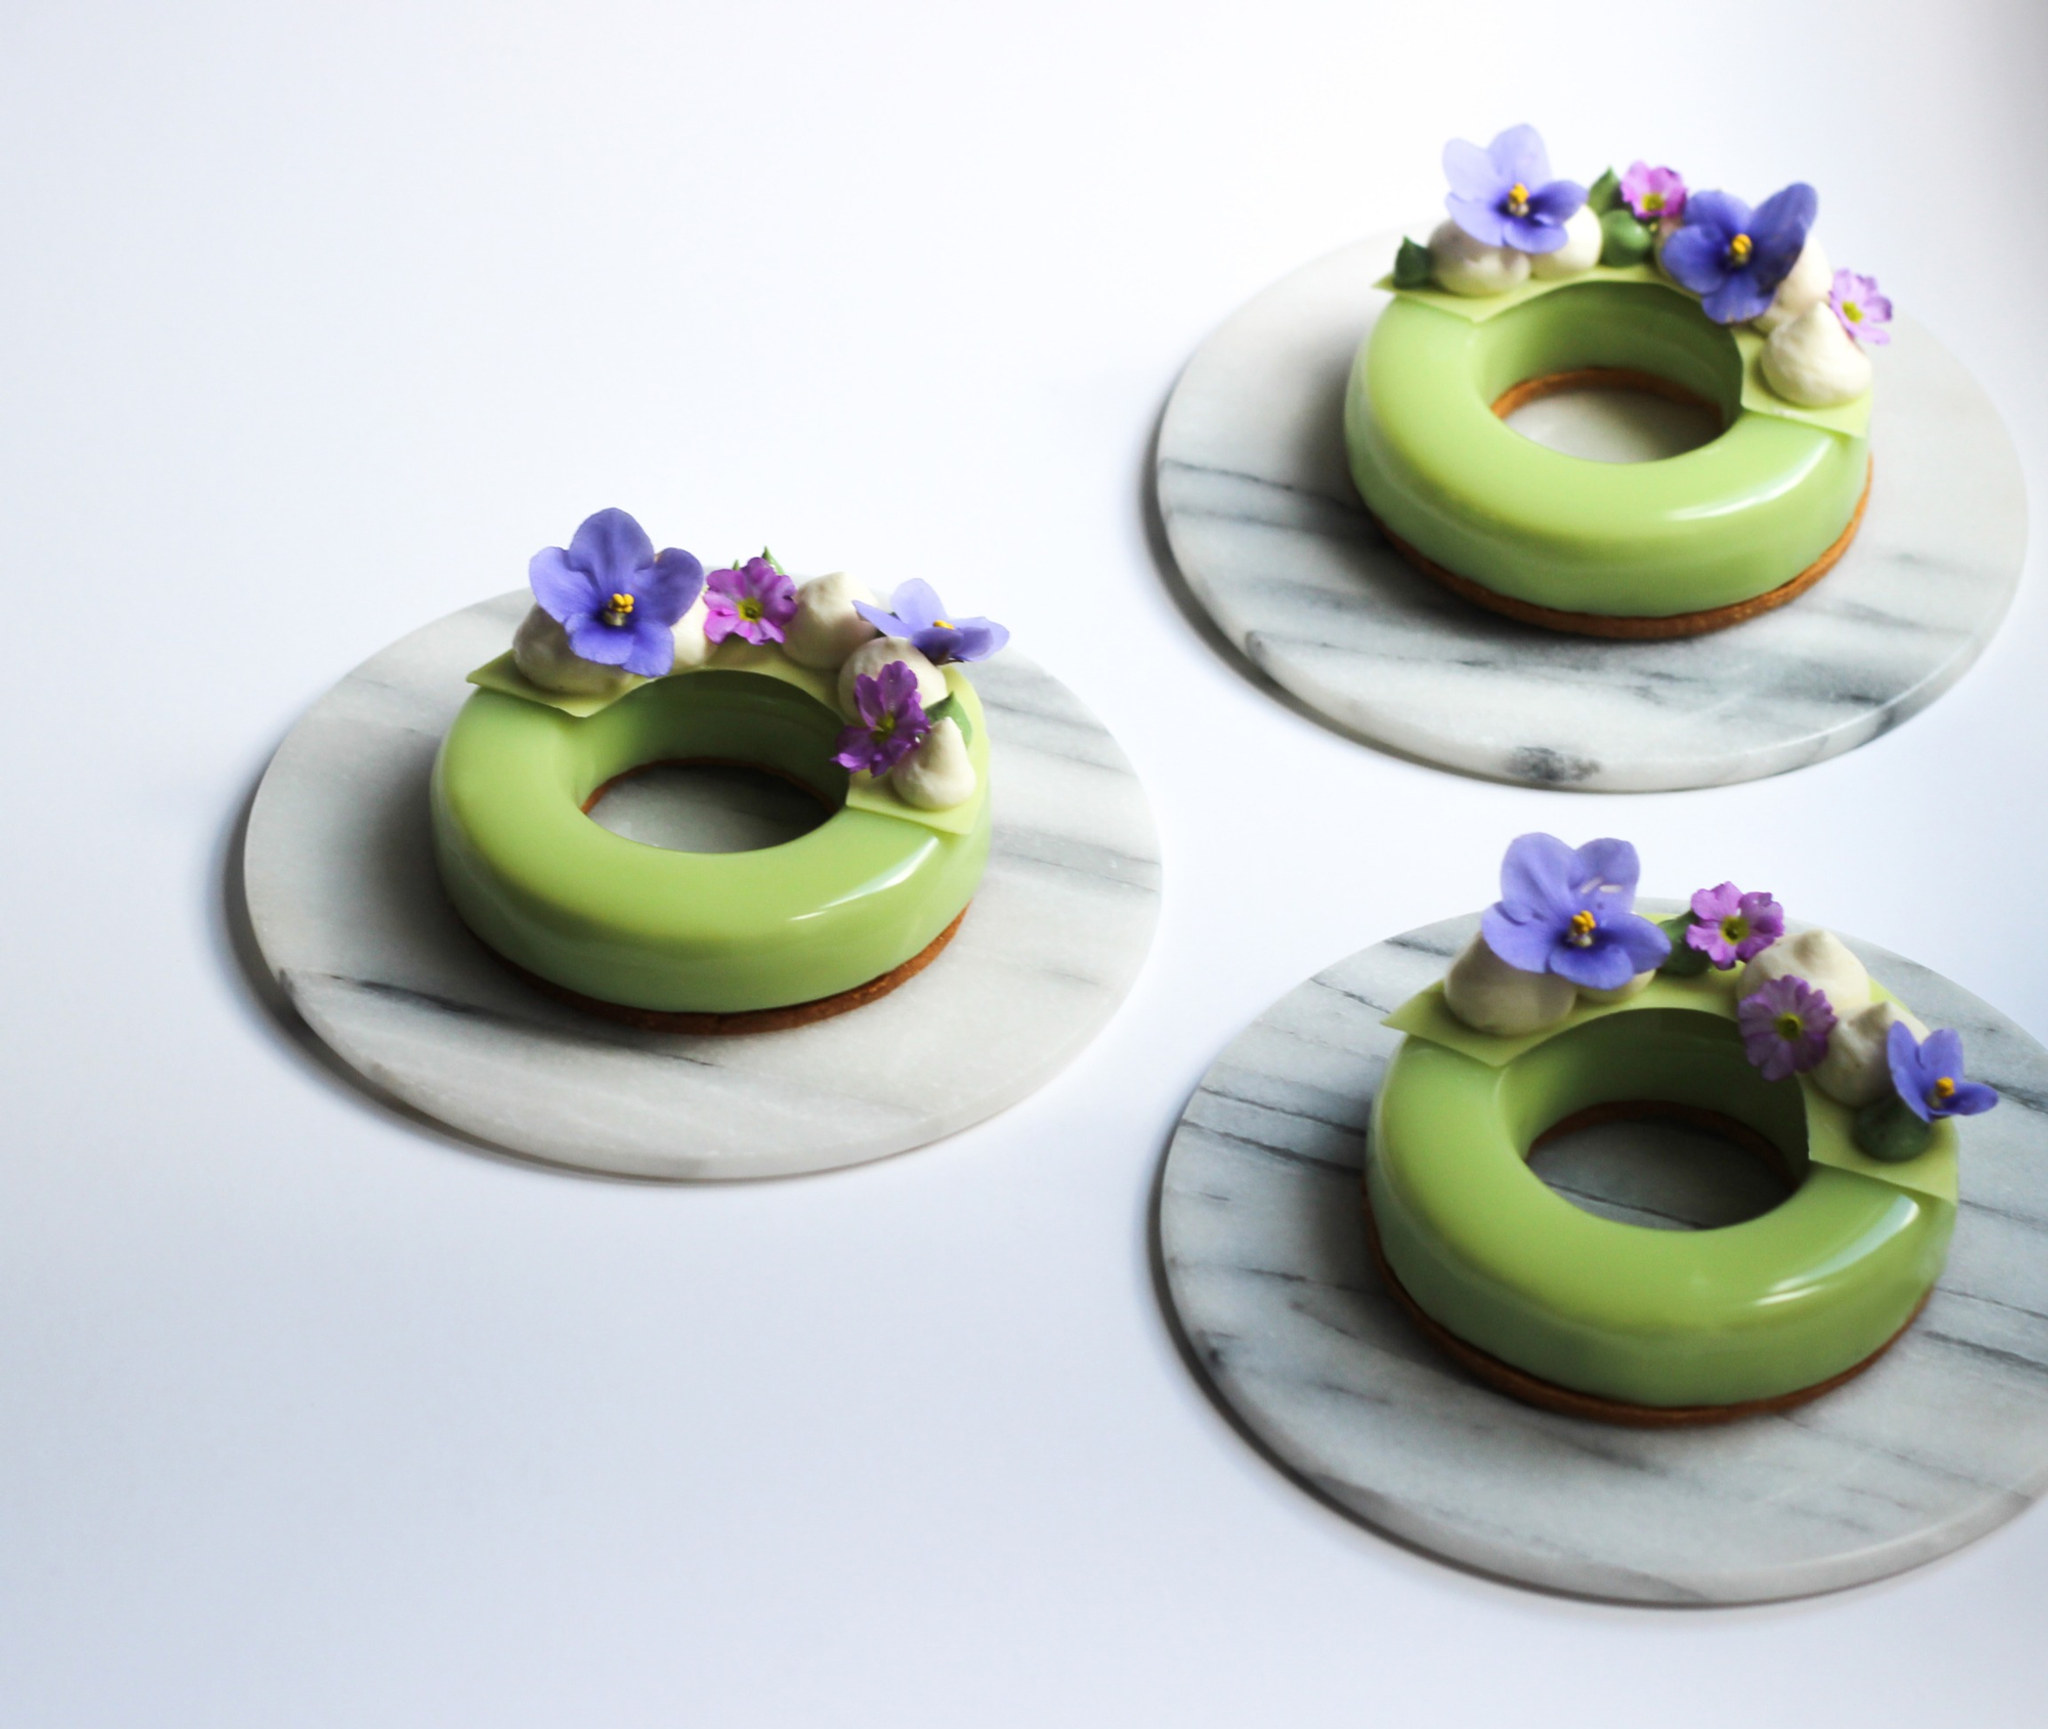
I LOVE matcha! I have it several times a week and absolutely love its distinctive, earthy flavor. I know matcha can be a little divisive, but I think it’s especially fun to experiment with it in desserts and baked goods.
Combined with sweet, fresh strawberries and creamy vanilla, the slightly grassy matcha flavor adds something really special to the cake.
So if you’re a matcha fan, this one is definitely worth trying – and if you’re not sure about it yet, this might just be the recipe that changes your mind!
Happy baking <


Day 1
Pâte Sablée:
- 155 g all-purpose flour
- 25 g almond flour
- 60 g icing sugar
- 95 g butter (cold)
- 25 g eggs (approx. 0.5 medium eggs)
- a pinch of salt
- Place the flour, almond flour, icing sugar, salt, and butter (cut into cubes) in a food processor and pulse quickly until the mixture resembles coarse crumbs.
- Transfer the dough to a bowl and quickly bring it together with the egg. Be careful not to overwork the dough.
- Roll out the dough between two sheets of parchment paper and let it rest in the refrigerator for 2 hours, or about 45 minutes in the freezer. It should be very cold when you take it out.
- Cut out the crusts using the cookie cutter that comes with my preferred ring silicone set and bake the crusts in the oven at 175°C / 347°F for about 10 minutes (preferably on an Air Mat placed both under and over the dough for more even baking) until they are a deep golden brown.
- Let the crusts cool on a wire rack.
- Store the crusts in a cookie jar until ready to use.
Day 1
Strawberry Curd:
- 0.75 sheet gelatin (1 sheet = 1.75 g, bloom value 240)
- 225 g fresh strawberries
- 4 tbsp lemon juice
- 75 g eggs (approx. 1.5 medium eggs)
- 20 g egg yolks (approx. 1 medium egg yolk)
- 35 g caster sugar
- 35 g butter
- Soak the gelatin sheets in cold water for 5–10 minutes.
- Bring the strawberries to a boil and strain the juice to yield 75 ml of strawberry purée.
- Whisk the strawberry purée, lemon juice, eggs, egg yolks, and sugar together in a saucepan. Slowly heat to a boil while whisking constantly.
- Let the curd simmer gently for a couple of minutes until it thickens, whisking constantly. Be careful not to use too high a heat, as this can cause the curd to burn.
- Remove the saucepan from the heat and stir in the butter, cut into cubes. Then add the gelatin.
- Strain the strawberry curd through a fine-mesh strainer. Finally, blend with an immersion blender until completely creamy.
- Divide the curd among the six molds.
- Let the molds set completely in the freezer for at least 3 hours.
Day 2
Matcha Mousse with White Chocolate:
- 1.25 gelatin sheets (1 sheet = 1.75 g, bloom value 240)
- 90 g white chocolate (28%)
- 200 ml heavy cream (min. 35%) (80 ml heated, 120 ml whipped)
- 2.5 tsp high-quality matcha powder
- Soak the gelatin in cold water for 5–10 minutes.
- Gently melt the chocolate (in a double boiler, if necessary) and set it aside in a bowl.
- Heat the matcha powder and 80 ml of heavy cream to a simmer in a small saucepan. Remove the saucepan from the heat and whisk in the gelatin.
- Strain the mixture to avoid matcha lumps, and pour the hot matcha cream over the chocolate while stirring in the center with a spatula until it comes together. Let the mixture cool to lukewarm.
- Whip 120 ml of heavy cream to soft peaks and fold into the mixture, which has cooled to lukewarm (if it’s too warm, the heavy cream may separate).
- Pour the matcha mousse into the six molds.
- Remove the frozen strawberry curd inserts from the freezer and place them into the matcha mousse.
- Place the cakes in the freezer overnight, or longer.
Tips & Notes:
- Only heat the cream until almost boiling before pouring it over the chocolate to avoid seizing the chocolate.
- Whip the heavy cream to soft peaks, as overwhipped cream can result in a dense and grainy mousse.
Day 2
Matcha Broken Gel with Lemon:
- 50 ml lemon juice
- 50 ml boiling water
- 2 tsp high-quality matcha powder
- 100 g caster sugar
- 2 tsp agar agar
- green food coloring paste
- white food coloring paste (optional)
- Bring the water to a boil and whisk in the matcha powder until smooth and lump-free.
- Add the lemon juice, sugar, and agar agar, and heat the mixture in a saucepan. Simmer for 2 minutes while whisking continuously to prevent it from burning.
- Strain the mixture.
- Pour the gel into a container and place it in the refrigerator. Let it cool completely and set.
- When you’re ready to decorate the cake, transfer the gel to a tall pitcher and blend with an immersion blender until smooth and lump-free (but not so long that the mixture gets warm). If desired, add a little green and white food coloring.
- Transfer the gel to a piping bag fitted with a round tip.
Day 2
Whipped Vanilla Ganache:
- 1 vanilla bean (or 1 tsp vanilla paste)
- 125 ml whole milk
- 25 g egg yolks (approx. 1.25 medium egg yolks)
- 15 g caster sugar
- 15 g cornstarch
- 100 ml whipping cream (whipped to soft peaks)
- Whisk together the sugar, egg yolks, cornstarch, and 25 ml of the whole milk in a bowl.
- Split the vanilla bean and scrape out the seeds. Bring the remaining 100 ml of the whole milk, the vanilla seeds, and the vanilla bean (or the vanilla paste) to a boil in a saucepan.
- When the milk reaches a boil, pour it over the egg yolk mixture while whisking.
- Pour the ganache back into the saucepan and bring it to a boil, whisking constantly.
- When the ganache has thickened well, remove the saucepan from the heat.
- Transfer the ganache to a bowl and cover the top with plastic wrap. Let it cool completely in the refrigerator for a couple of hours or overnight.
- Once the ganache is thoroughly chilled, remove the vanilla bean and briefly whisk the cream.
- Whip the 100 ml of ganache until soft peaks form.
- Gently fold the whipped ganache into the vanilla cream and transfer the mixture to a piping bag fitted with a round tip.
Day 3
Glaze:
- 10 gelatin sheets (1 sheet = 1.75 g, bloom value 240)
- 250 g white chocolate (28%)
- 183 ml heavy cream (min. 35%)
- 83 g water
- 233 g caster sugar
- 250 g glucose syrup
- green food coloring paste
- Soak the gelatin sheets in cold water for 5–10 minutes.
- Finely chop the chocolate and place it in a large pitcher.
- Heat the sugar, water, heavy cream, and glucose syrup to a boil. Remove the pot from the heat and whisk in the gelatin.
- Pour the hot mixture over the chocolate in the pitcher. Blend with an immersion blender until the glaze comes together (hold the immersion blender at an angle to avoid air bubbles). Add a little green food coloring paste.
- Cover the glaze with plastic wrap and let it cool to 34–35°C / 93–95°F.
- Remove the frozen cakes from the freezer just before glazing. Place the cakes on a wire rack lined with parchment paper.
- Pour the glaze over the cakes. Use a small palette knife to run along the bottom of each cake on the rack to remove the excess glaze.
- Place each cake on a Pâte Sablée base.
Day 3
Chocolate Semi-Circles:
- 120 g white chocolate (28%)
- green powdered food coloring
Cut 6 semi-circles from acetate sheet (approximately 2.5 cm x 9 cm), following the curve of the mold, and lay them out on the kitchen counter.
- Temper the chocolate and add green powdered food coloring.
- Pour the chocolate onto the acetate sheets, smooth the surface with a small palette knife, peel the acetate sheet off the counter, and run your fingers along the edge of the sheet to remove any excess chocolate.
- Once the chocolates have almost set, place them between two cutting boards and put them in the refrigerator. This will keep the semi-circles flat.
- Remove the acetate sheets once the chocolate has set.
Day 3
Assembly:
- flowers (edible or secured with safety seal / edible wax)
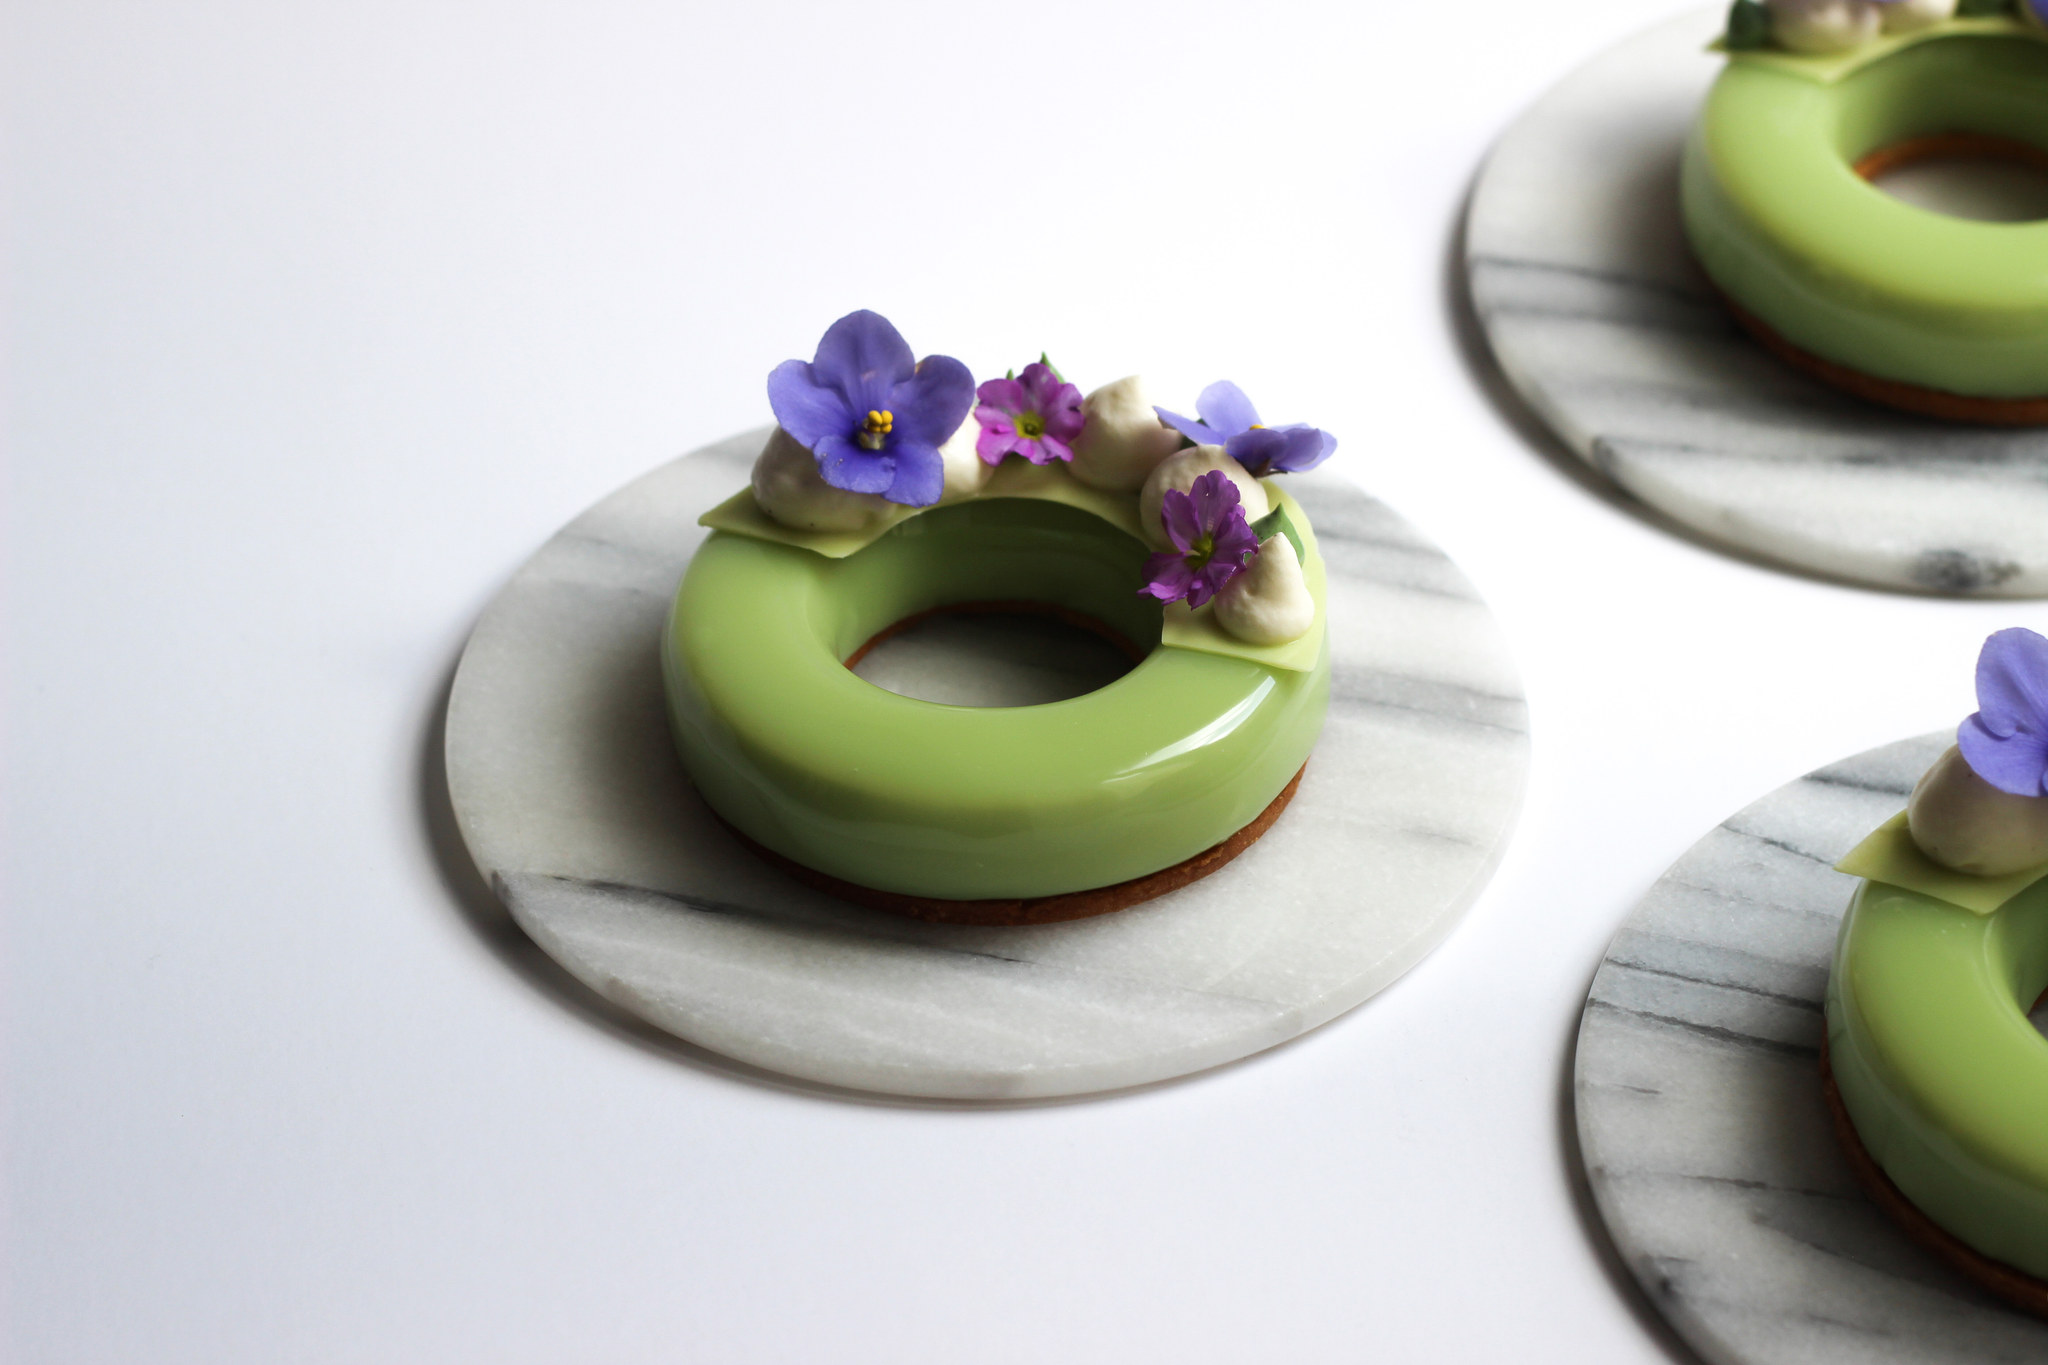
- Place one chocolate semi-circle on each cake.
- Garnish with the matcha broken gel, whipped vanilla ganache, and flowers.