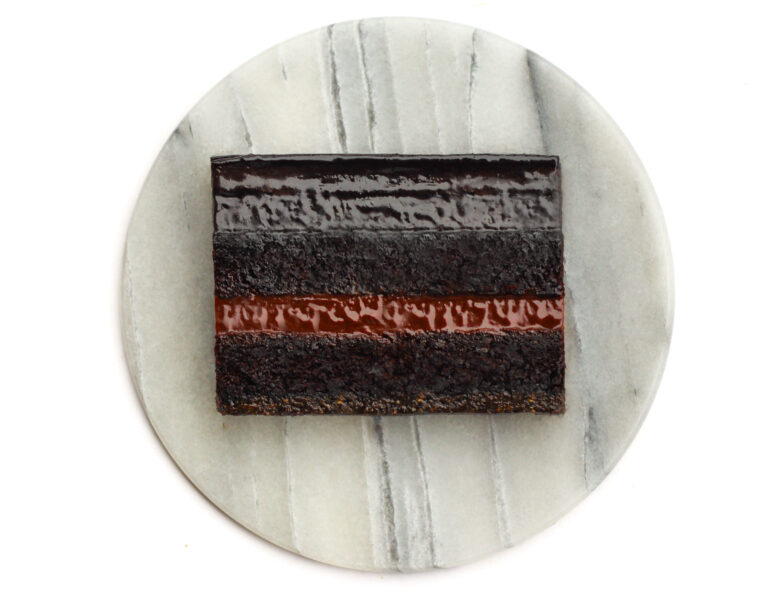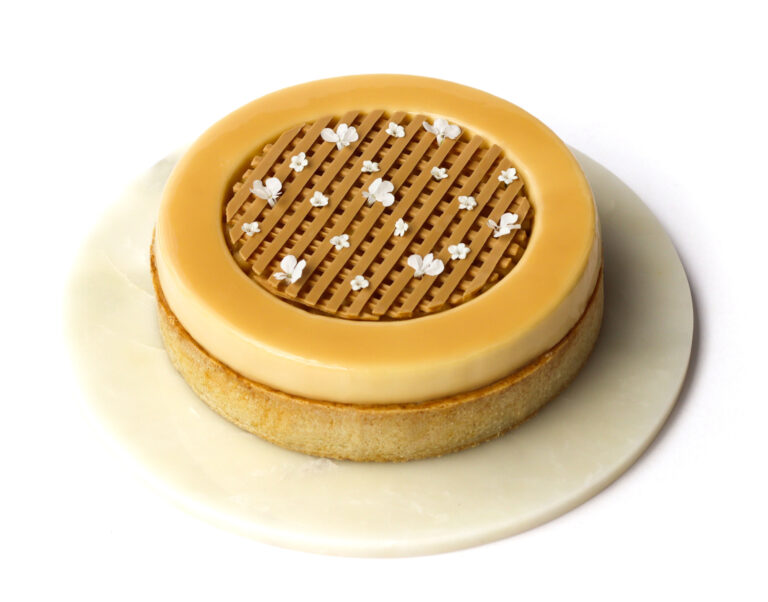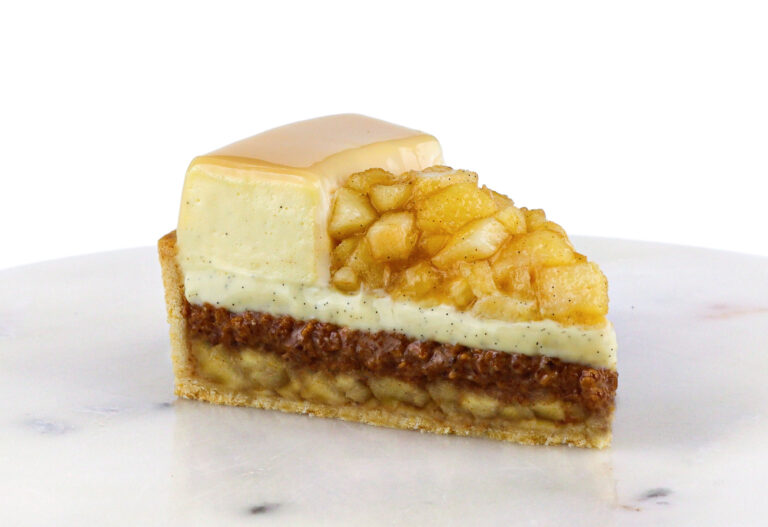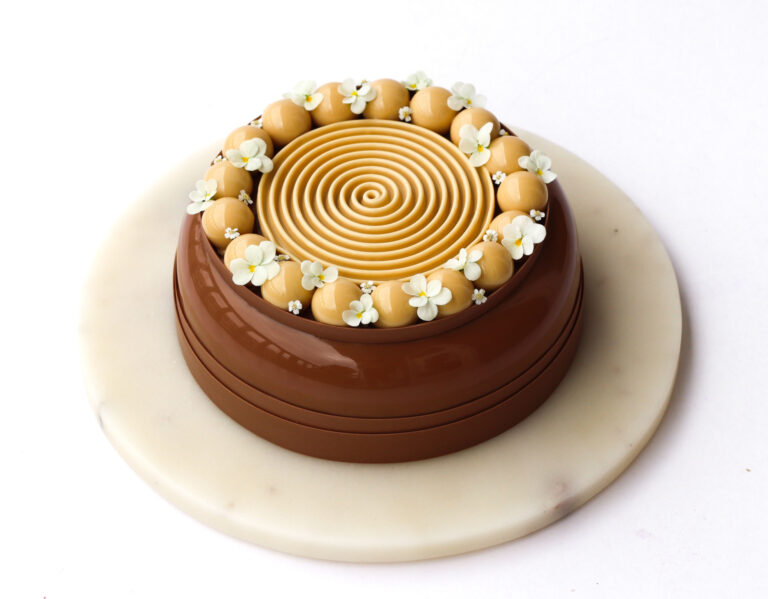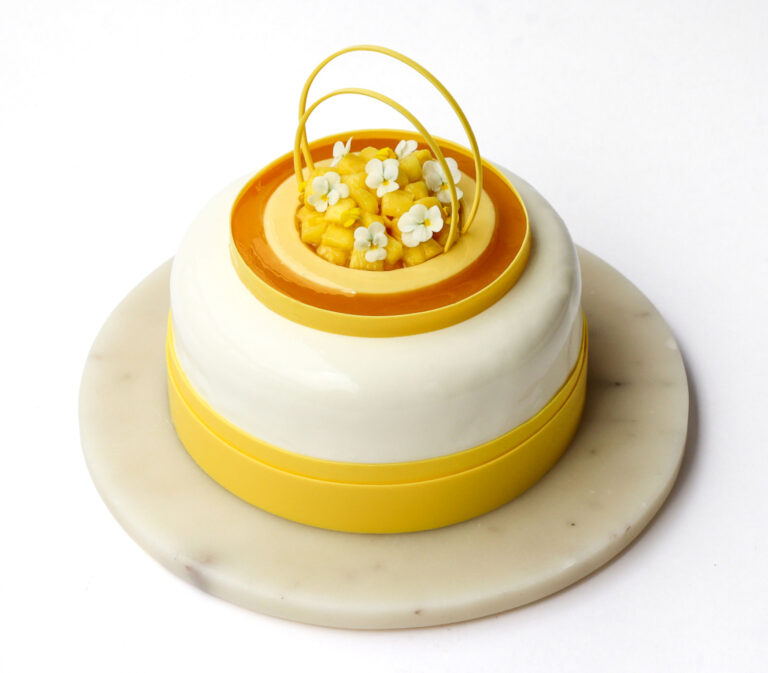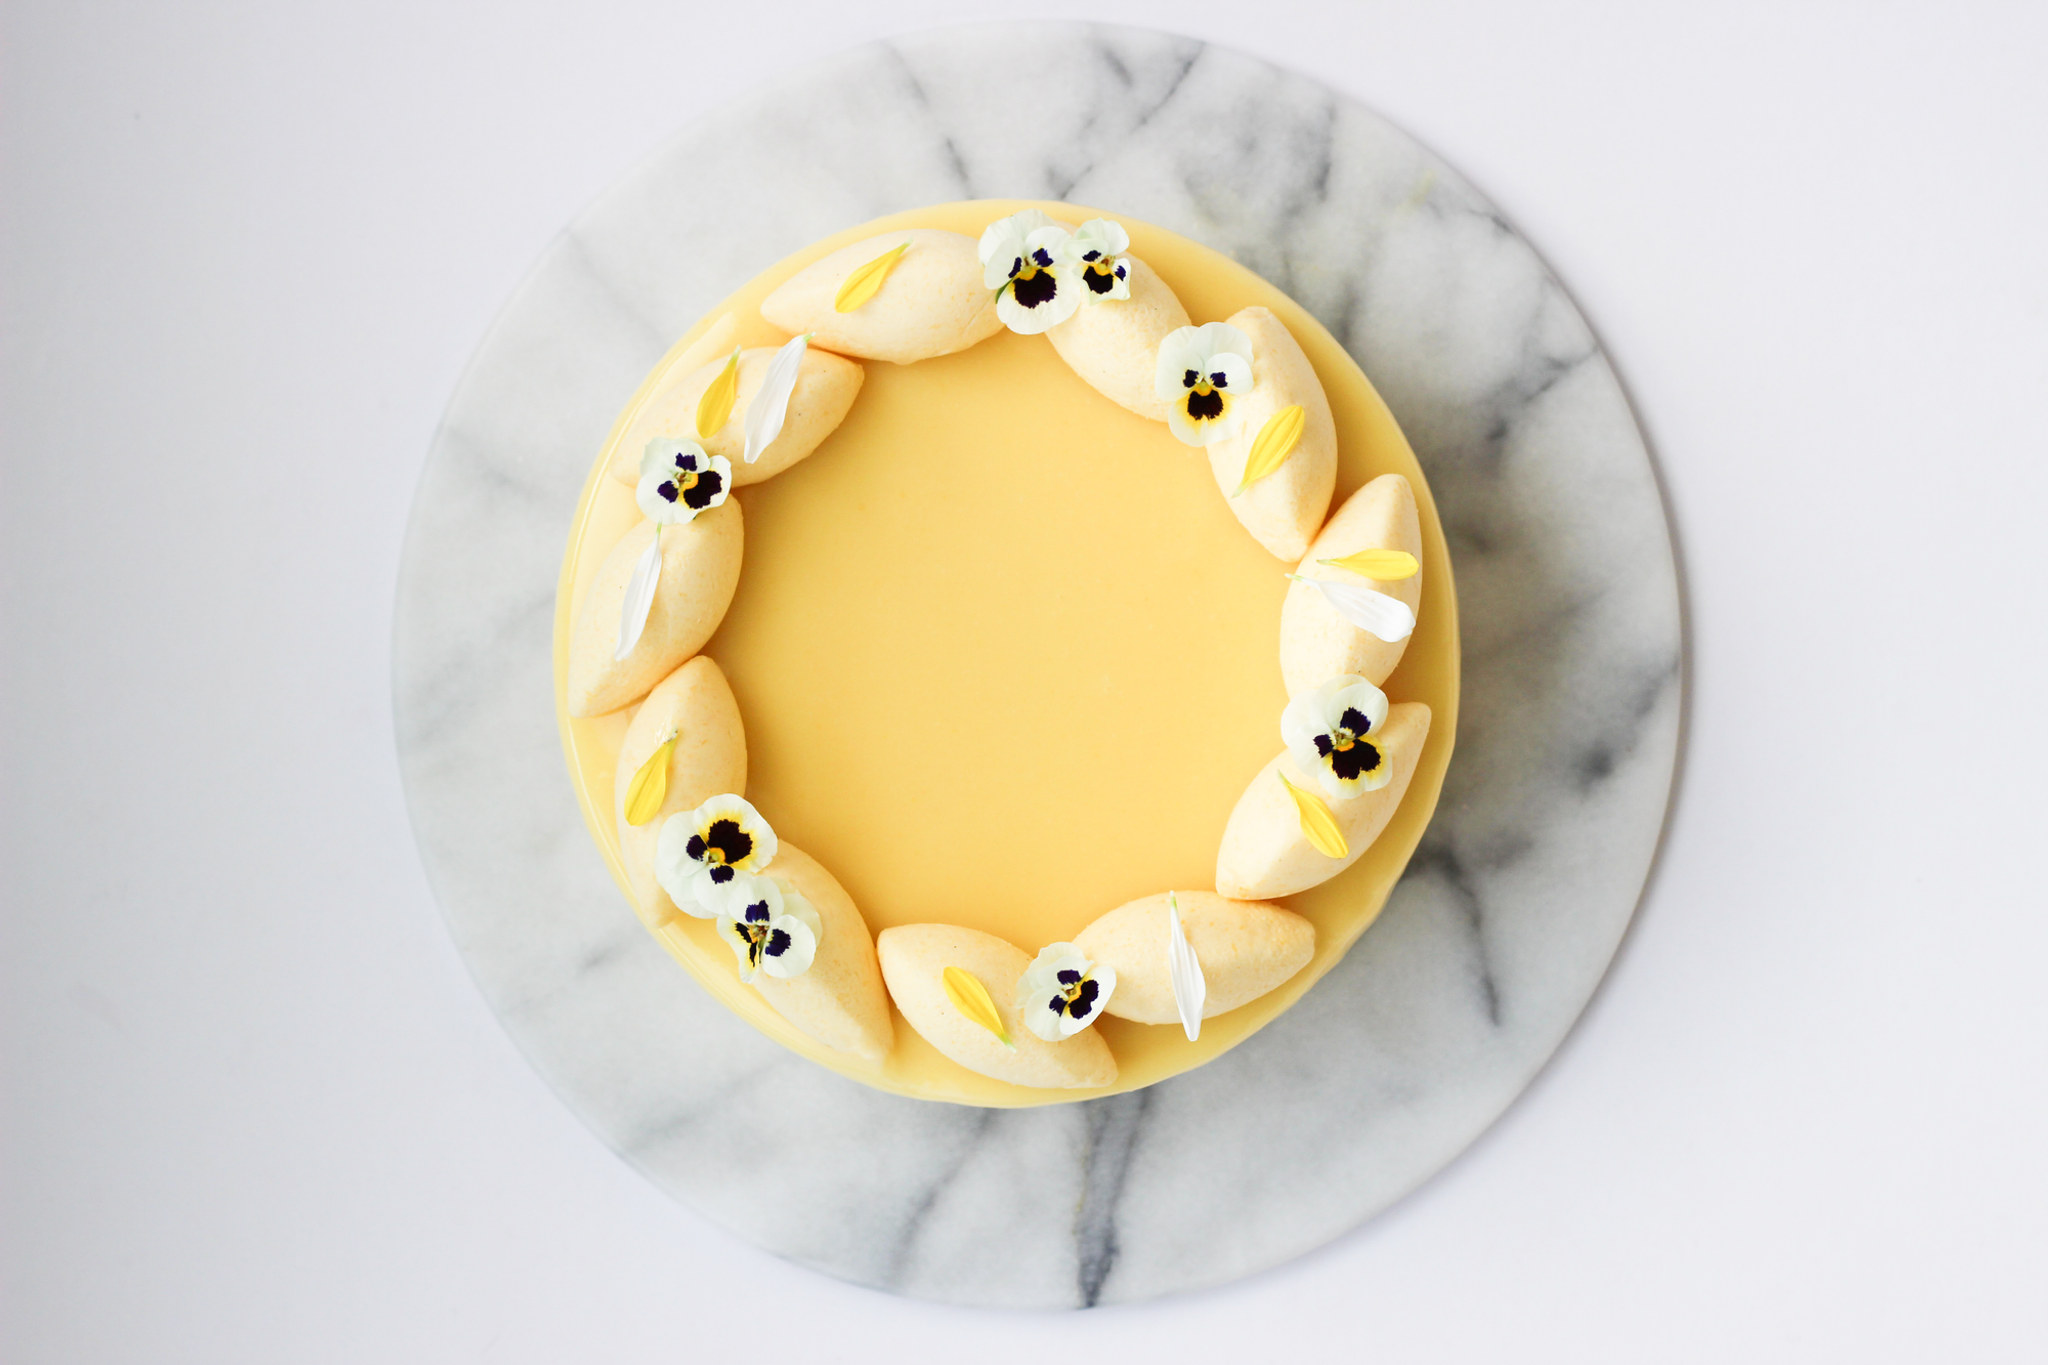
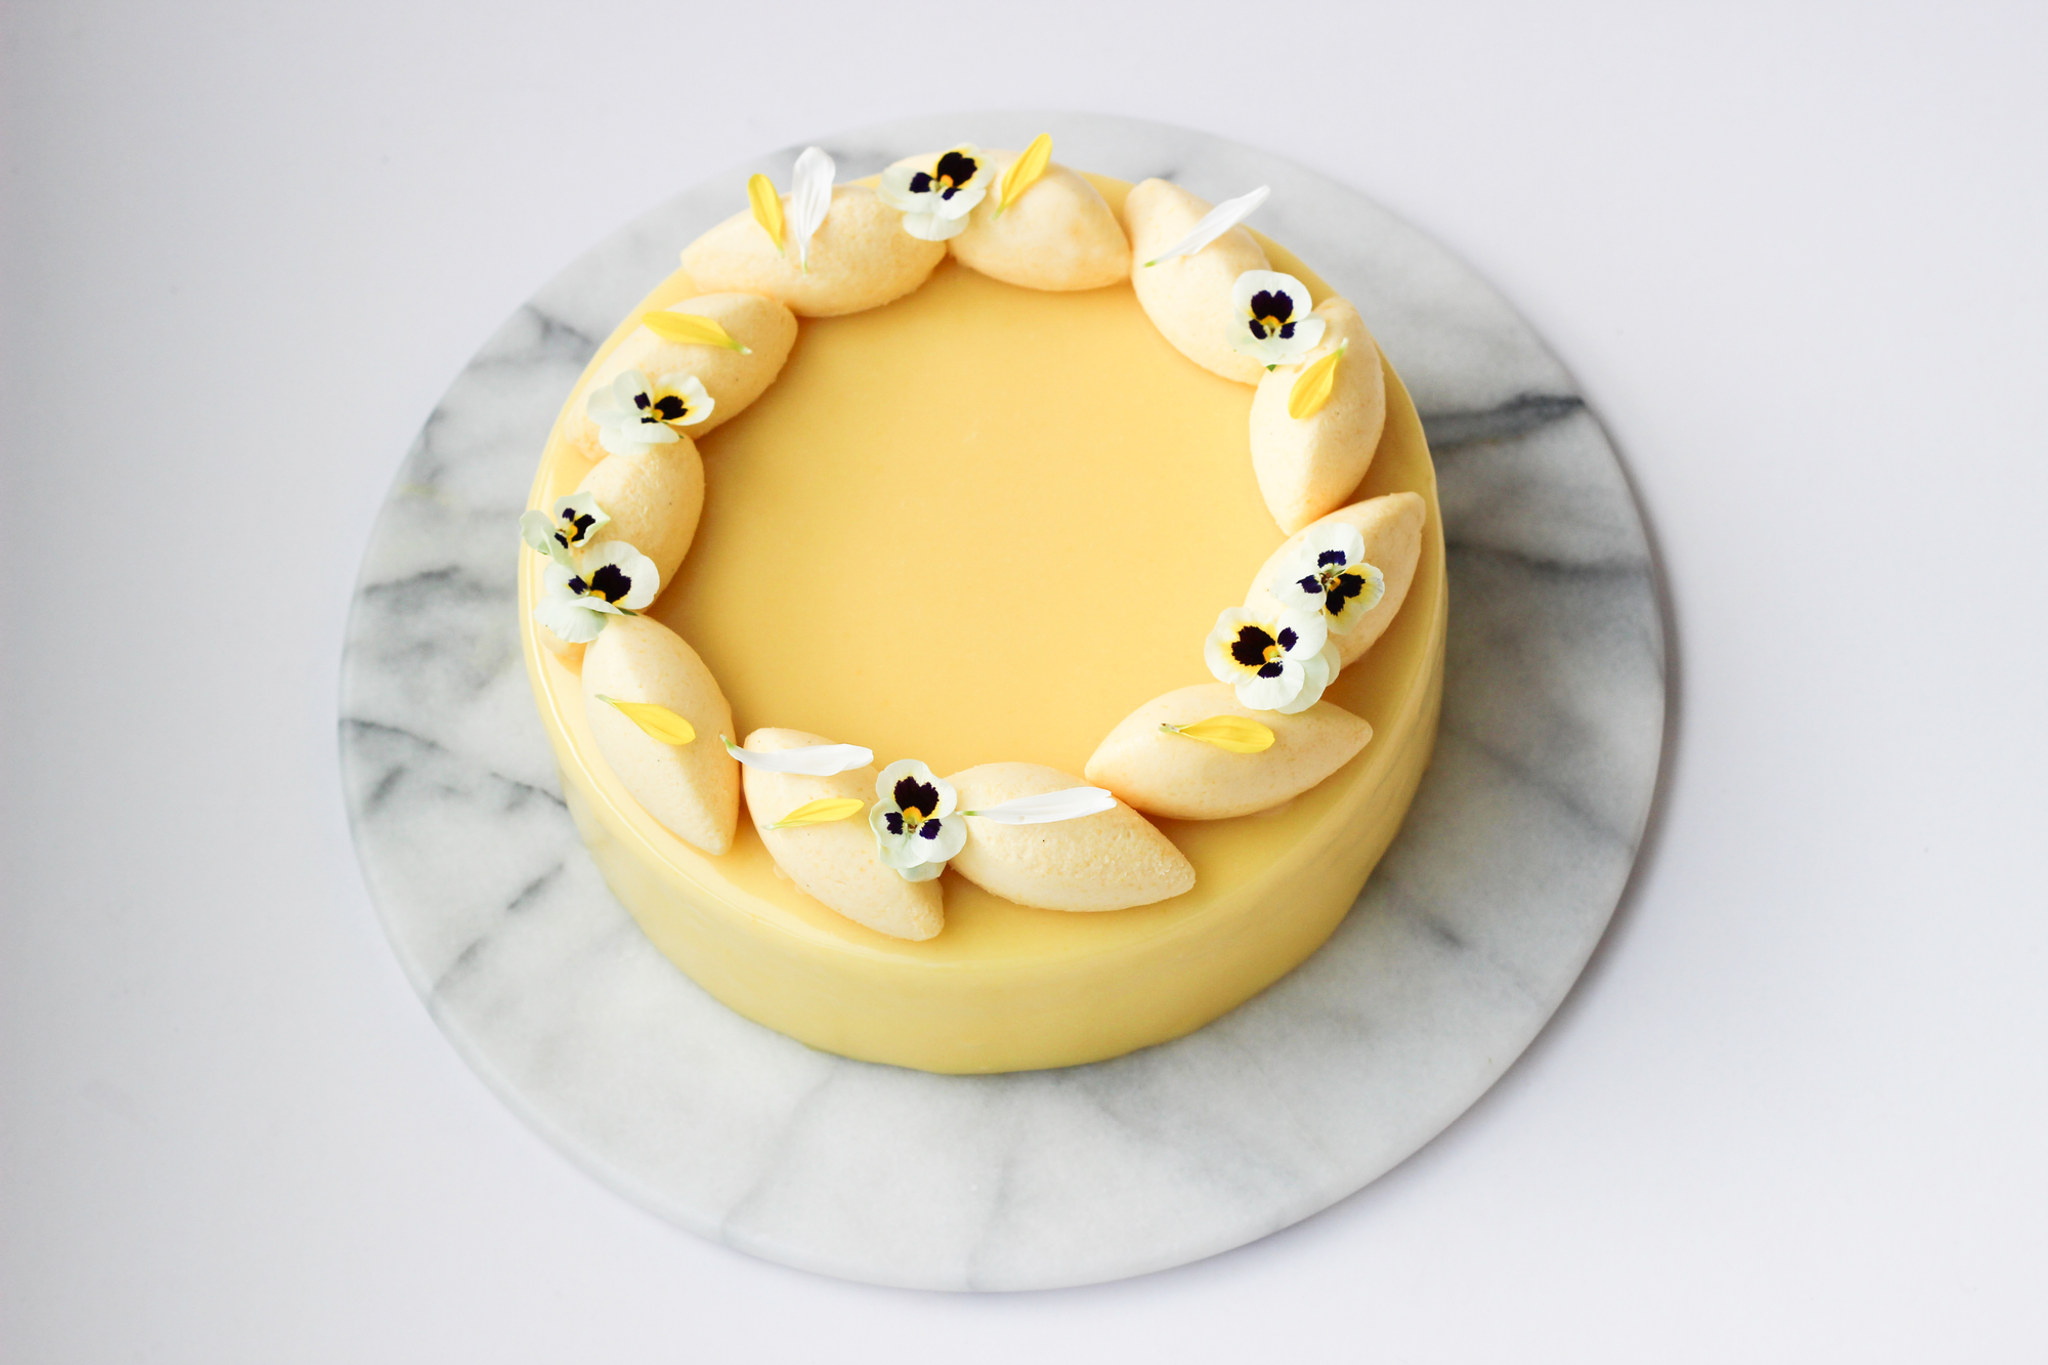
If there’s anything that can get me in the summer mood, it has to be this summer cake! I love mango in pretty much everything, and mango in cake is no exception.
The combination of mango, coconut, lime, passion fruit, and white chocolate reminds me of exotic travels, holidays, sun, and summer. Plus, it tastes absolutely amazing!
Happy baking <
Biscuit Base:
- 150 g oat biscuits
- 75 g butter
- a pinch of salt
- Crush the crackers into crumbs by placing them in a freezer bag and pounding them with a rolling pin.
- Melt the butter and stir it into the cracker crumbs along with the salt.
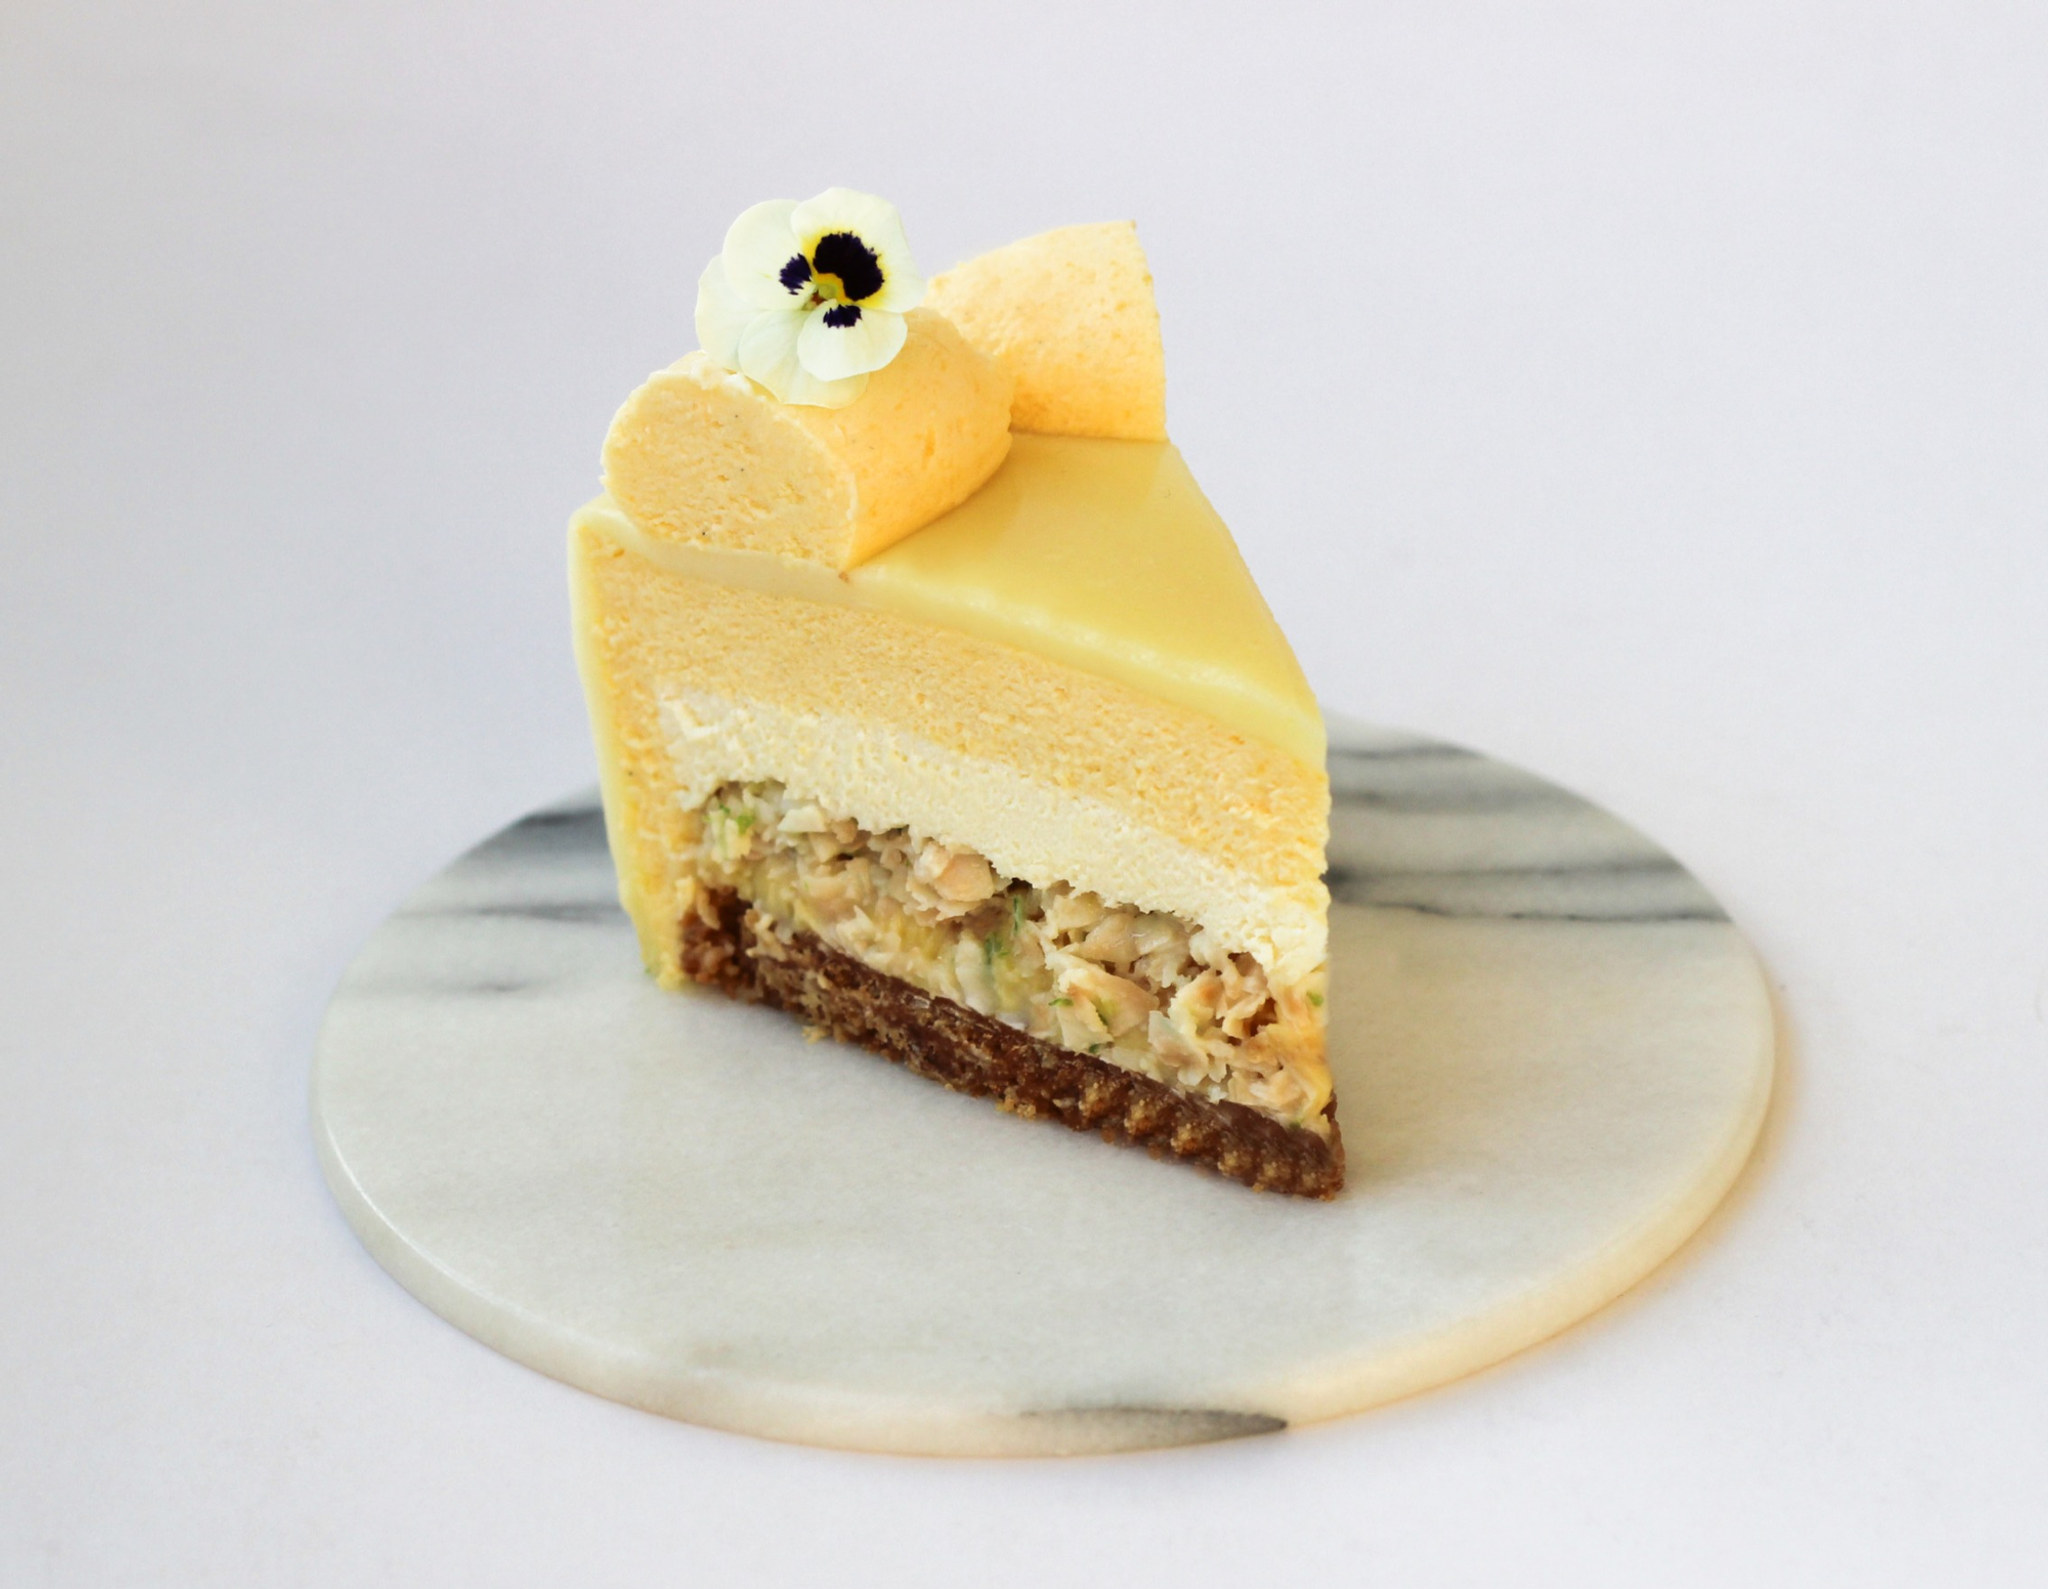
- Spread the biscuit mixture into an 18 cm cake ring lined with plastic wrap and parchment paper. This smaller insert will later be enclosed by the mango mousse in the 20 cm mold. Press the base evenly with a glass and place it in the freezer.
Passion Fruit Ganache:
- 150 g white chocolate (28%)
- 50 g passion fruit purée (store-bought or homemade)
- 50 ml heavy cream (min. 35%)
- Gently melt the white chocolate (in a double boiler, if desired) and set the chocolate aside in a bowl.
- If you’re making your own passion fruit purée: cut the passion fruits in half and scrape out the pulp. Strain the pulp to get a smooth purée without seeds.
- Heat the passion fruit purée and cream to a boil in a small saucepan, then pour over the white chocolate.
- Stir from the center of the mixture with a spatula until the ganache becomes glossy.
- Pour the ganache over the biscuit base.
- Return the cake to the freezer. It needs to set for at least 2–3 hours before the next layer can be added.
Tips & Notes:
- Only heat the cream almost to a boil, as a too hot cream will seize the chocolate mixture.
- Stir the mixture with a spatula until glossy.
Coconut Layer with Lime:
- 120 g toasted coconut flakes
- 100 g condensed milk
- zest from 2 organic limes
- a pinch of salt
- Coarsely chop coconut flakes.
- Mix together the coconut, lime zest, condensed milk, and salt.
- Spread the filling over the ganache. If necessary, smooth the surface with a glass to create an even layer.
- Return the cake to the freezer while you make the first mousse
White Chocolate Mousse:
- 1.8 gelatin sheets (1 sheet = 1.75 g, bloom value 240)
- 136 g white chocolate (28%)
- 300 ml heavy cream (min. 35%) (180 ml should be whipped, 120 ml should be heated)
- Soak the gelatin in cold water for 5–10 minutes.
- Gently melt the white chocolate (in a double boiler, if desired) and set the chocolate aside in a bowl.
- Heat 120 ml of cream to a boil. Remove the saucepan from the heat and whisk in the gelatin.
- Pour the hot cream over the chocolate while stirring in the center with a spatula until it comes together.
- Let the mixture cool to lukewarm.
- Whip the remaining cream (180 ml) to soft peaks and fold it into the mixture, which has cooled to lukewarm (if it’s too warm, the cream may separate).
- Pour 260 g of mousse over the cake and return it to the freezer. Let it set for at least 3 hours. You can save the rest of the mousse for some mousse bombs or as a little extra dessert.
Tips & Notes:
- Only heat the cream almost to a boil before pouring it over the chocolate to avoid seizing the chocolate.
- Whip the heavy cream to soft peaks, as overwhipped cream can result in a dense and grainy mousse.
Mango Mousse:
- 4.5 gelatin sheets (1 sheet = 1.75 g, bloom value 240)
- 300 ml mango purée (store-bought or homemade)
- 75 g caster sugar
- 1.5 tsp vanilla paste
- juice of ¾ lemon
- 450 ml heavy cream (min. 35%) (or 300 ml heavy cream and 150 g Greek yogurt [10%], if you want to make the cake even more tart)
- Soak the gelatin sheets in cold water for 5–10 minutes.
- If you’re making your own mango purée: Boil the mangoes in a saucepan until smooth. Strain the fruit pulp to obtain a smooth purée or juice.
- Heat the mango purée, vanilla paste, lemon juice, and sugar to a boil in a small saucepan. Remove the saucepan from the heat and whisk in the gelatin.
- Let the mixture cool to lukewarm.
- Whip the cream to soft peaks and fold it into the mixture, which has cooled to lukewarm (if it’s too hot, it can cause the cream to separate). If you’re also using yogurt, fold it into the whipped cream.
- Fill a 12-cavity Silikomart quenelle mold with some of the mango mousse. Place them in the freezer overnight.
- Pour the remaining mango mousse into a 20 cm round silicone mold. If your mold isn’t tall enough, extend the height with a parchment collar.
- Remove the frozen cake (with its biscuit base, ganache, coconut layer, and white chocolate mousse) from the freezer and carefully place it into the mango mousse (with the white chocolate mousse facing down).
- Place the cake in the freezer for at least overnight.
Tips & Notes:
- Let the fruit syrup cool completely, as syrup that’s too hot will seize the whipped cream when added.
- Whip the heavy cream to soft peaks, as overwhipped cream can result in a dense and grainy mousse.
Mango Glaze:
- 8 gelatin sheets (14 g, bloom value 240)
- 200 g white chocolate (28%)
- 147 ml heavy cream (min. 35%)
- 67 g water
- 187 g caster sugar
- 200 g glucose syrup
- yellow food coloring paste (optional)
If you’d like to make a simpler version, you can skip the glaze and simply garnish with the quenelle mousses.
- Soak the gelatin sheets in cold water for 5–10 minutes.
- Finely chop the white chocolate and place it in a large pitcher.
- Heat the sugar, mango purée, cream, and glucose syrup to a boil. Remove the saucepan from the heat and whisk in the gelatin.
- Pour the hot mixture over the white chocolate in the pitcher. Blend with a hand blender until the glaze comes together (insert the hand blender at an angle to avoid air bubbles). Add a little food coloring if you want a more yellow hue.
- Cover the top of the glaze with plastic wrap and let it cool to 34-35°C / 93-95°F.
- Remove the frozen cake from the freezer just before glazing. Place the cake on a wire rack lined with parchment paper
- Pour the glaze over the cake. Use two large palette knives to run along the bottom of the cake on the rack to remove any glaze strands.
- Place the cake on a cake plate and let it thaw in the refrigerator for about 6 hours
Tips & Notes:
- Let the hot syrup set for 30 seconds so the chocolate can melt a bit.
- Insert the immersion blender in the jug at an angle to prevent creating air bubbles.
- The cake needs to be completely frozen when the glaze is poured on. If the correct temperatures have been met, you’ll get a perfectly shiny mirror glaze.
Decoration:
- flowers (edible or secured with safety seal / edible wax)
- (quenelle mousses from the Mango Mousse layer)
- Remove the quenelle mousses from the mold (refer to Mango Mousse layer). Place an 18 cm cake ring lightly on top of the glazed cake to mark a guide.
- Arrange the quenelle mousses in a circle around the guide, then remove the cake ring. If necessary, wear plastic gloves when handling the mousse balls to prevent the mousse from melting.
- Garnish with edible flowers just before serving.