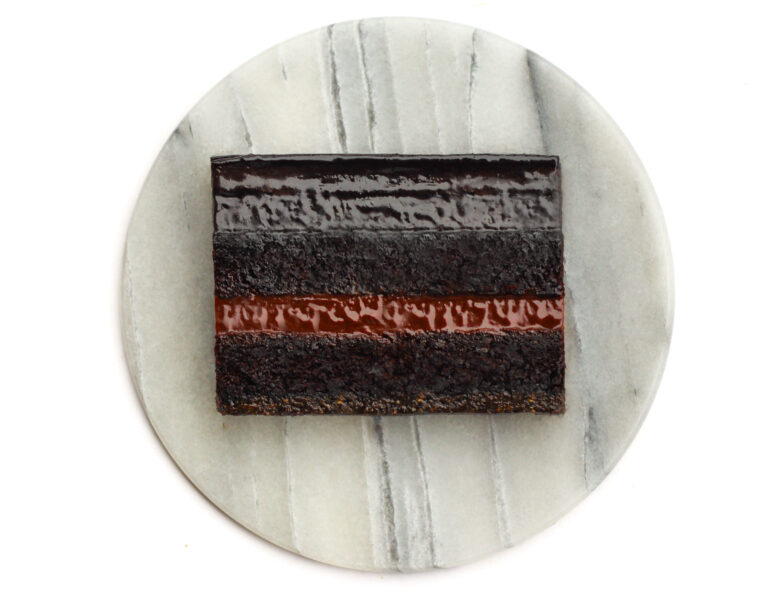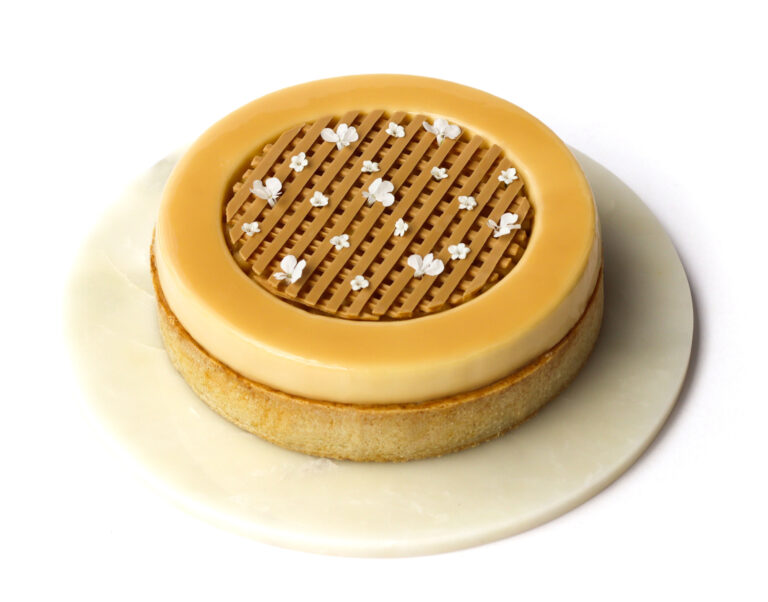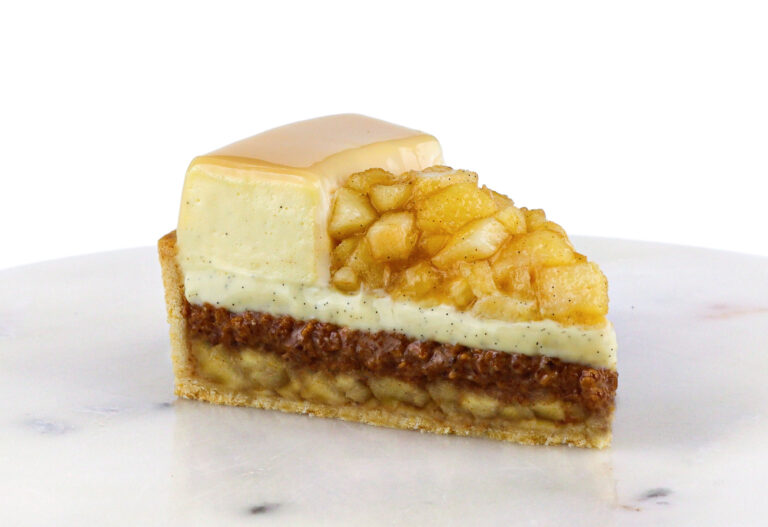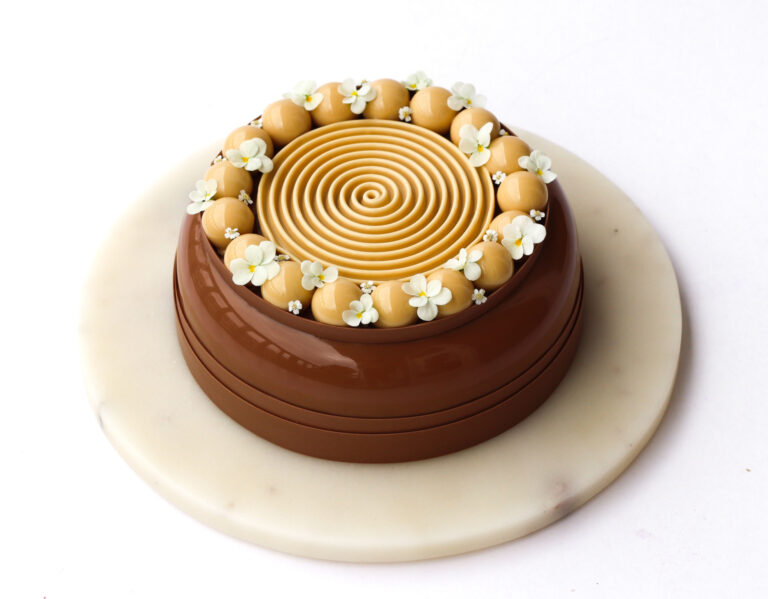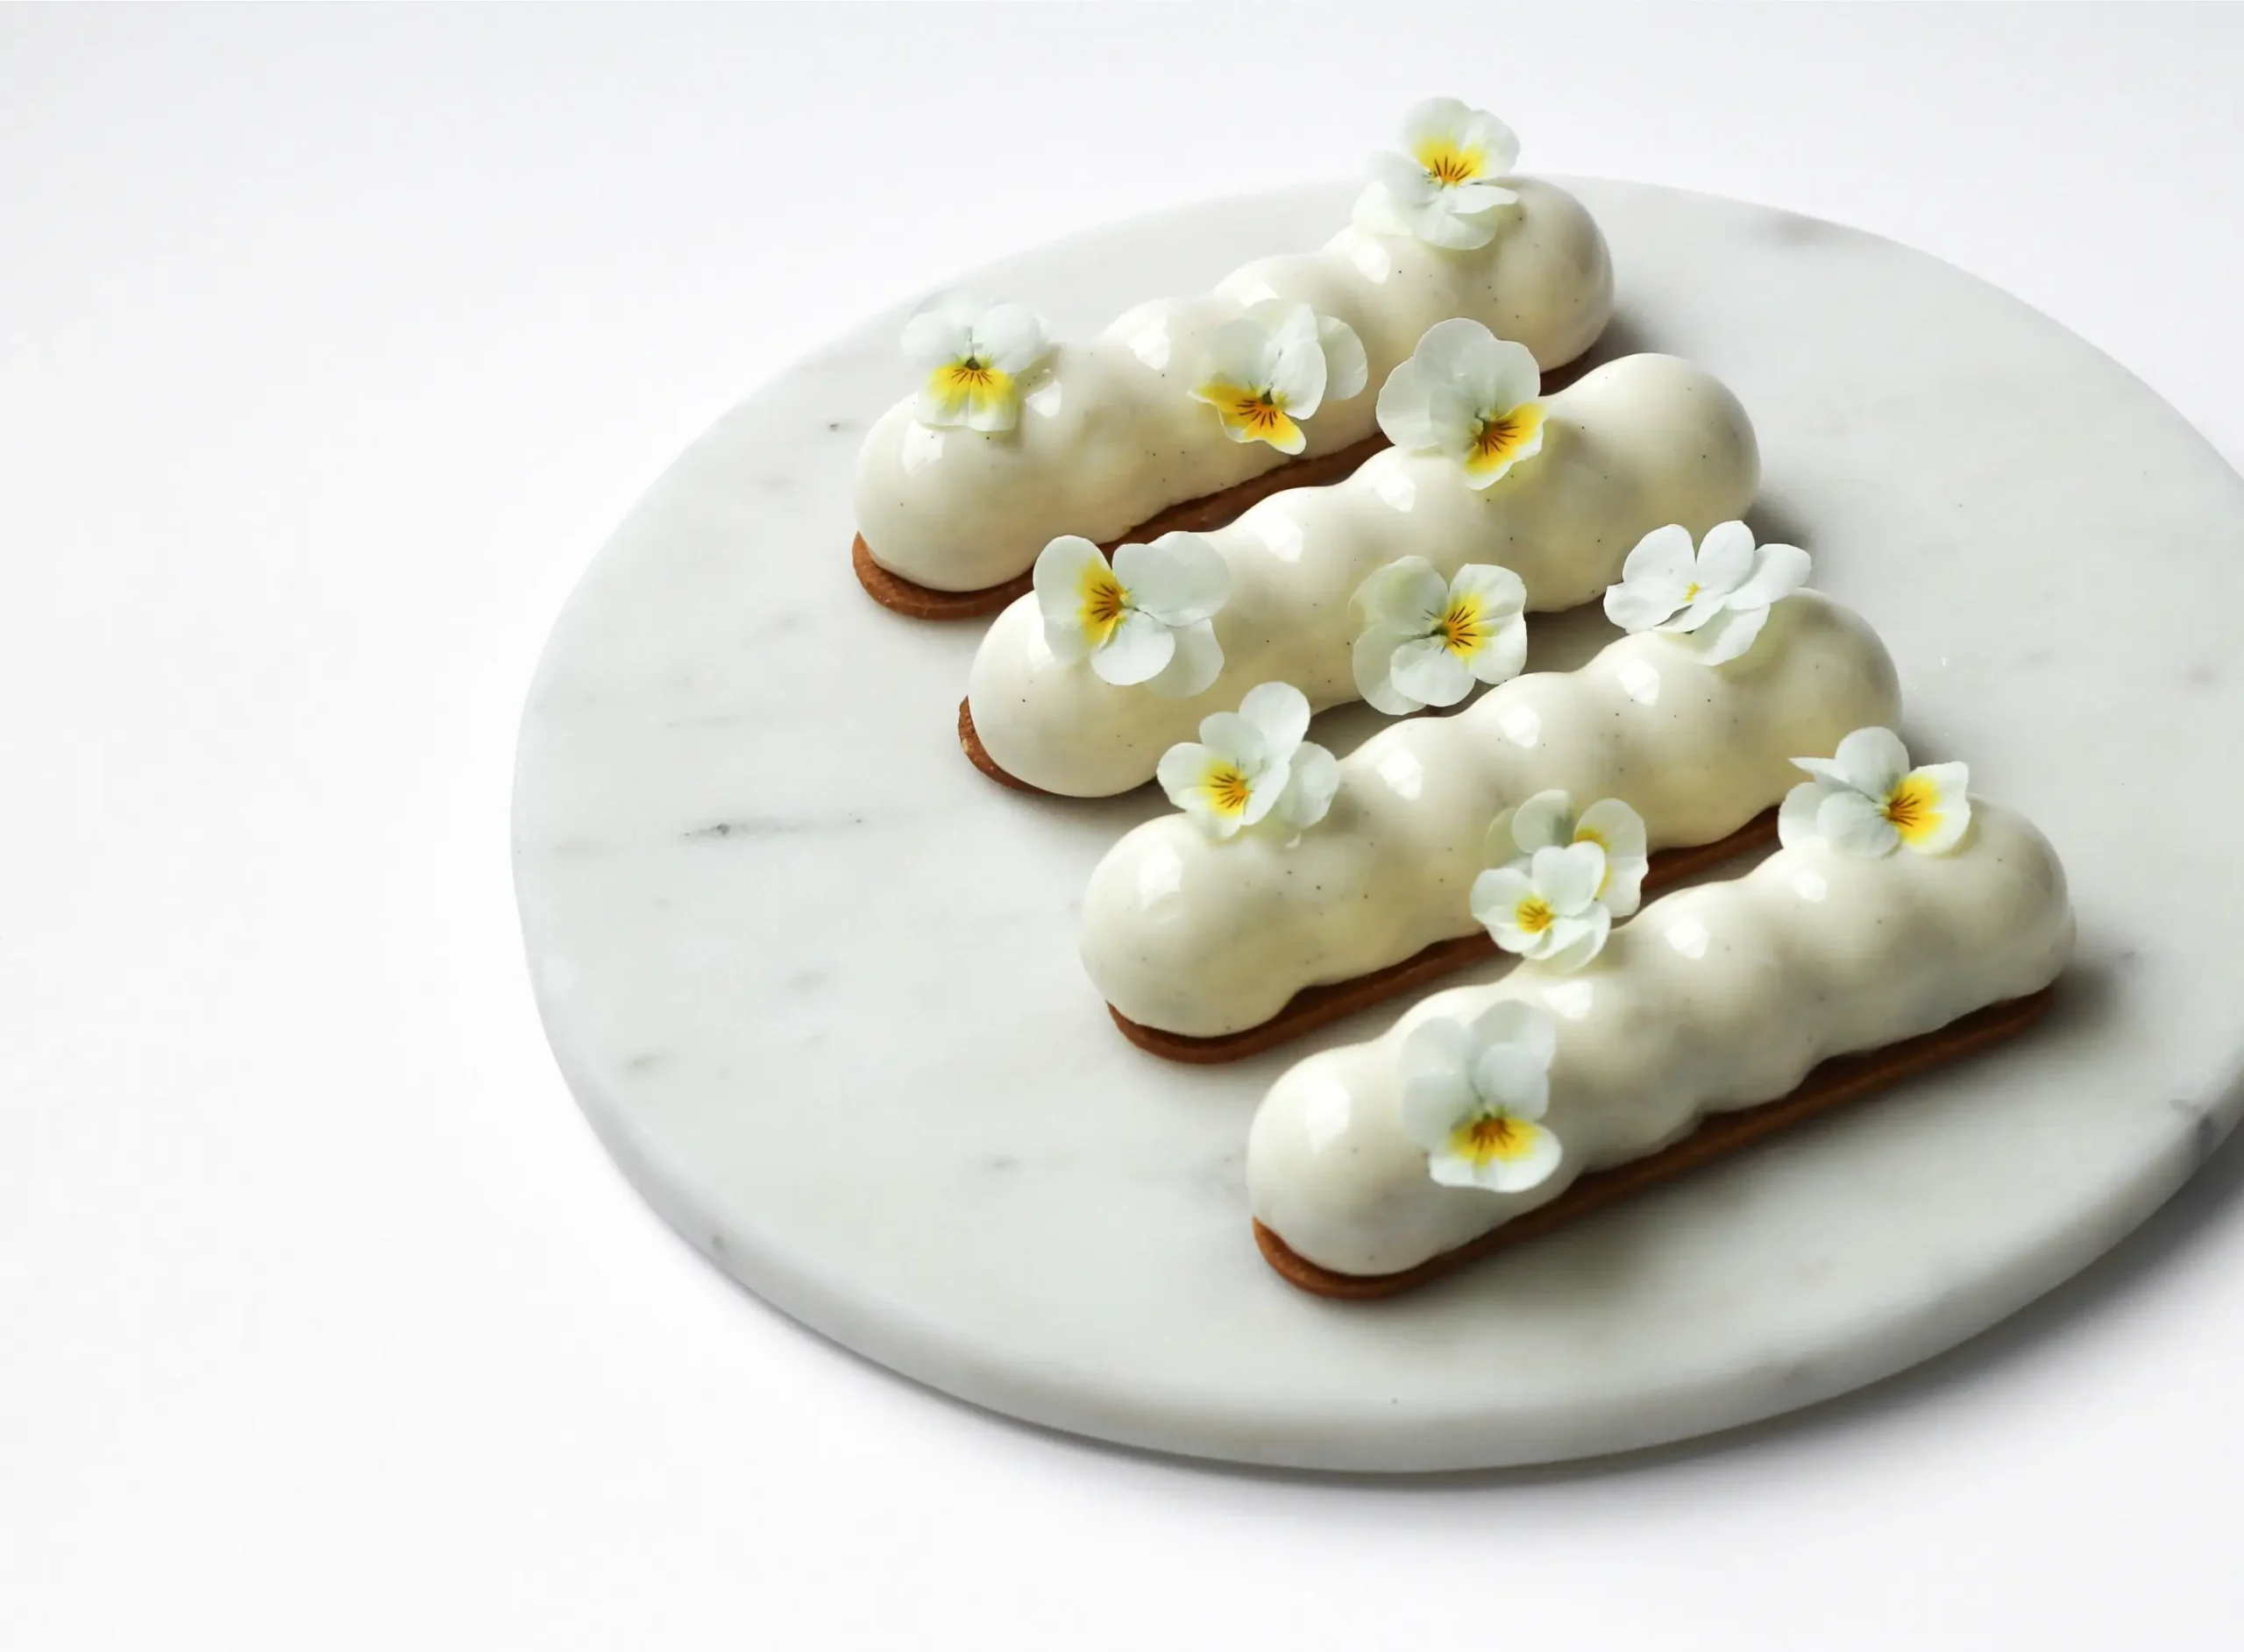

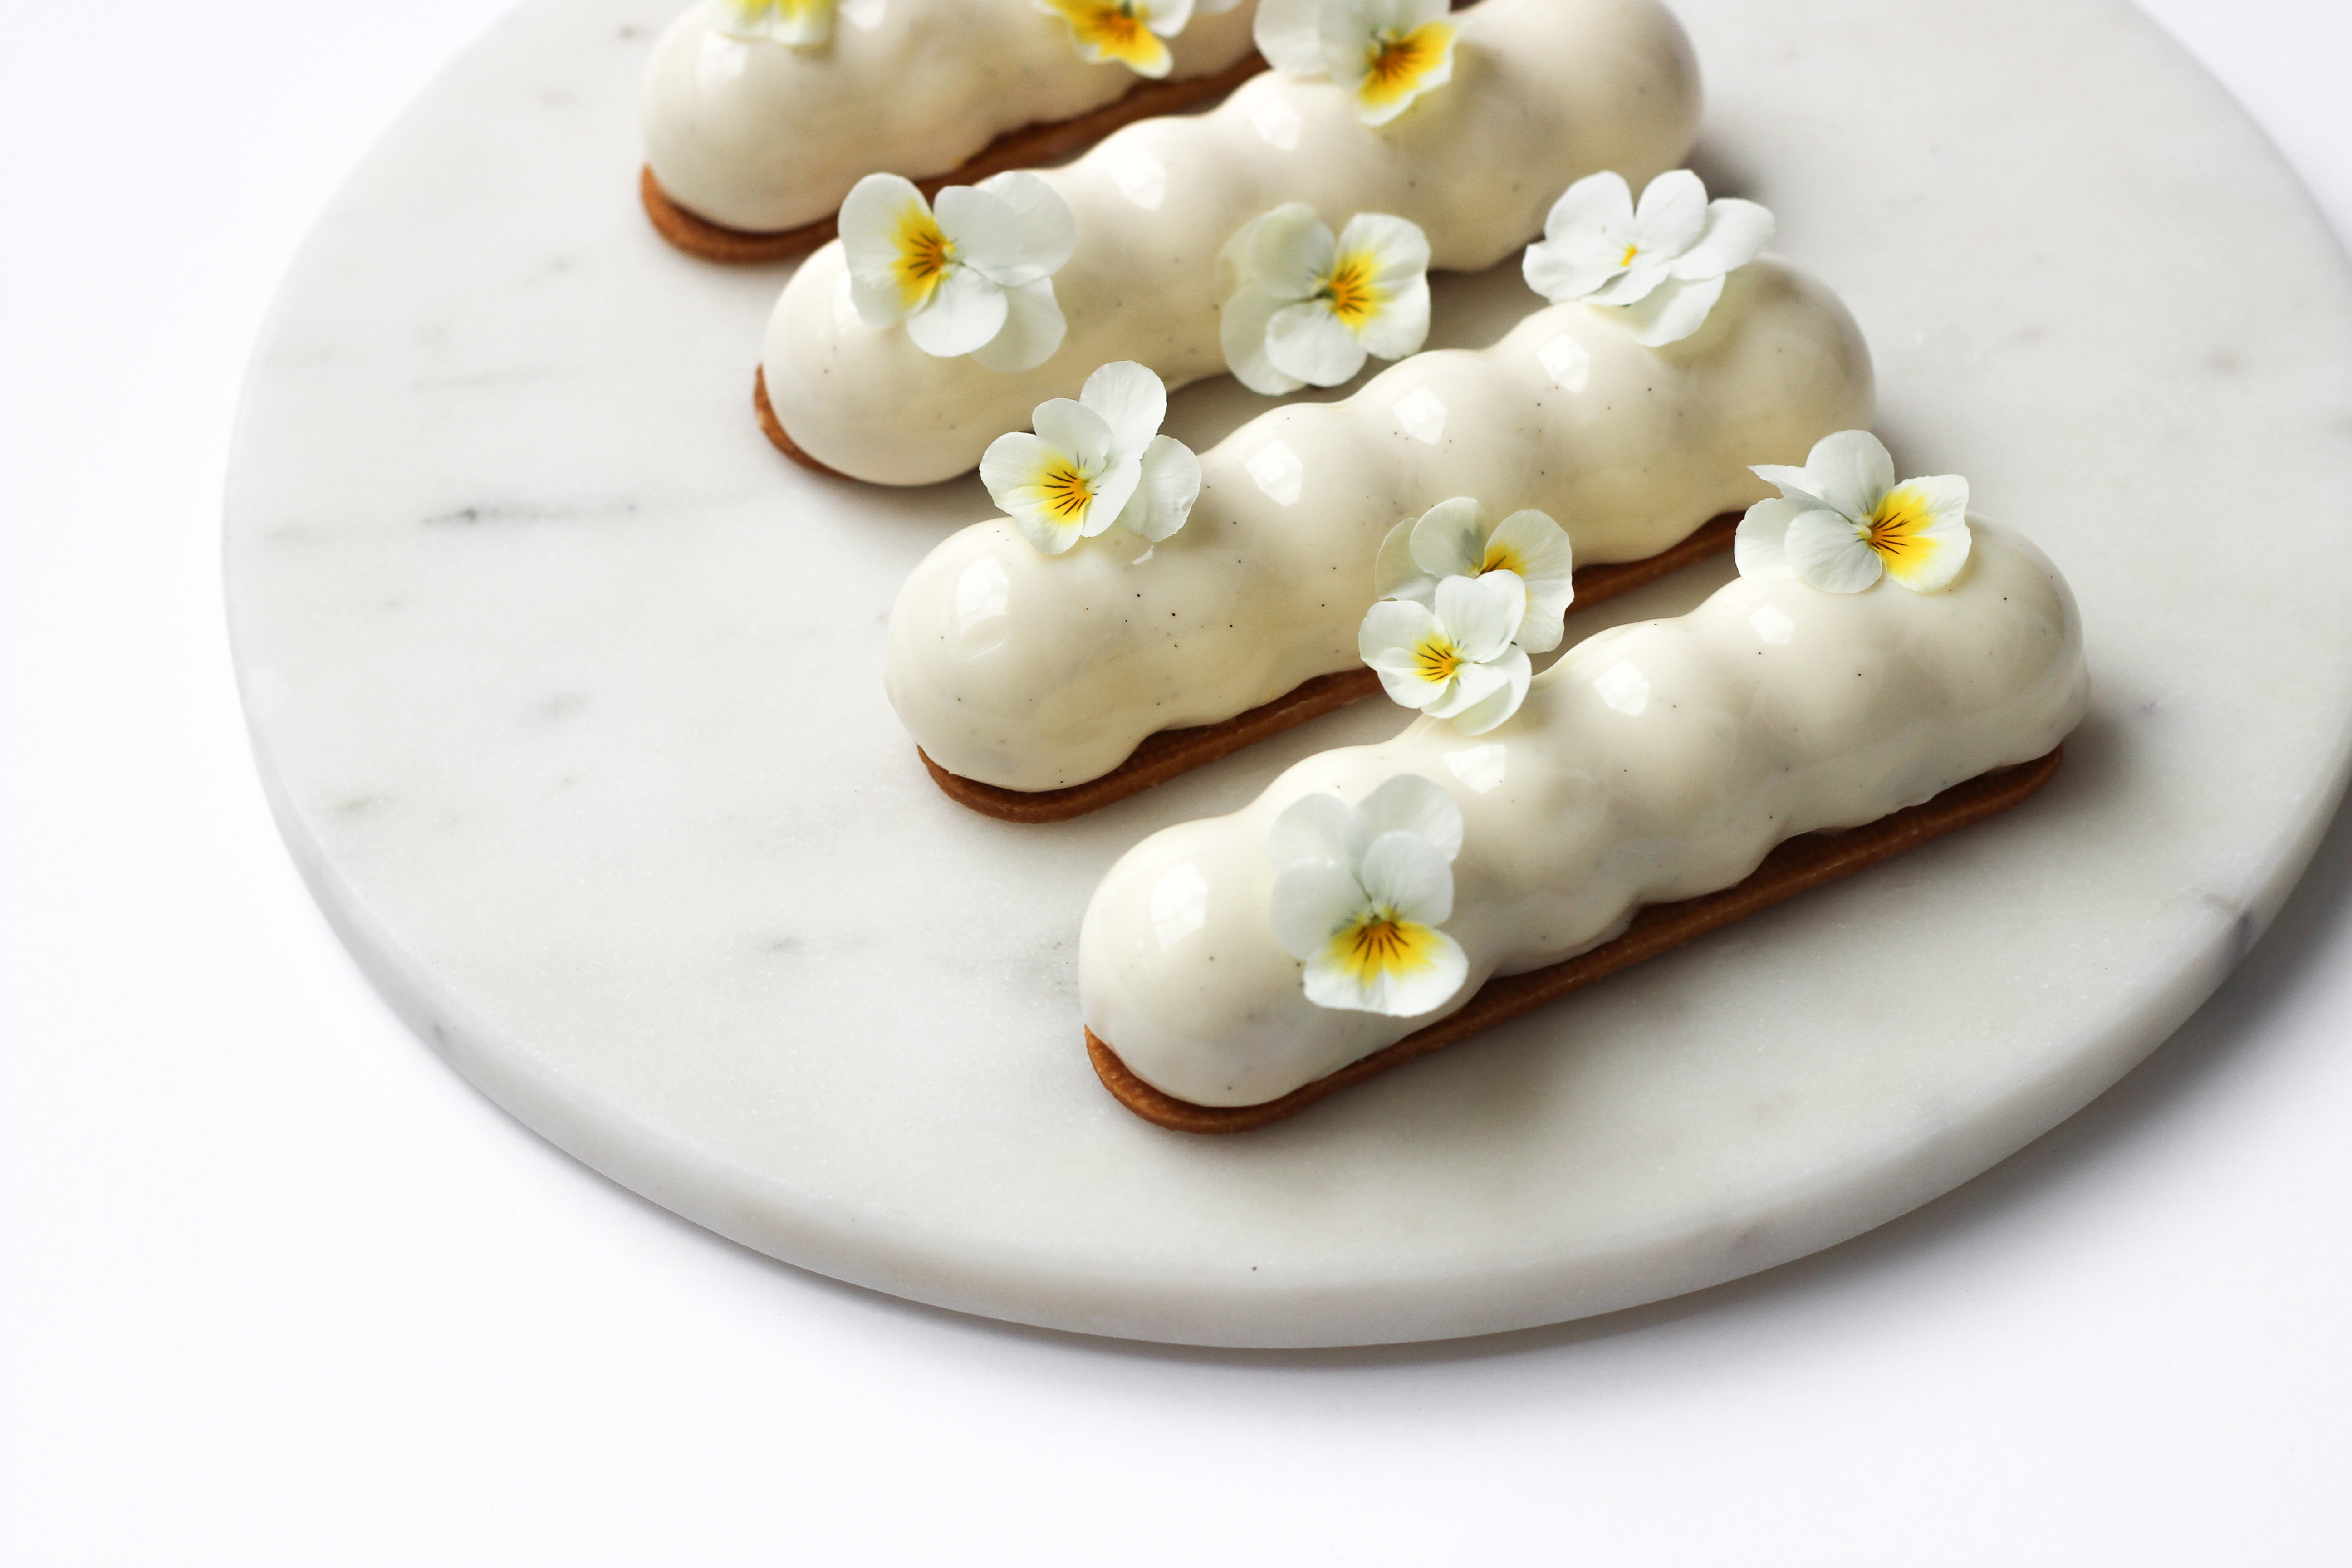
I looove mango! It’s my number one favorite fruit because I love that fresh, juicy mango flavor.
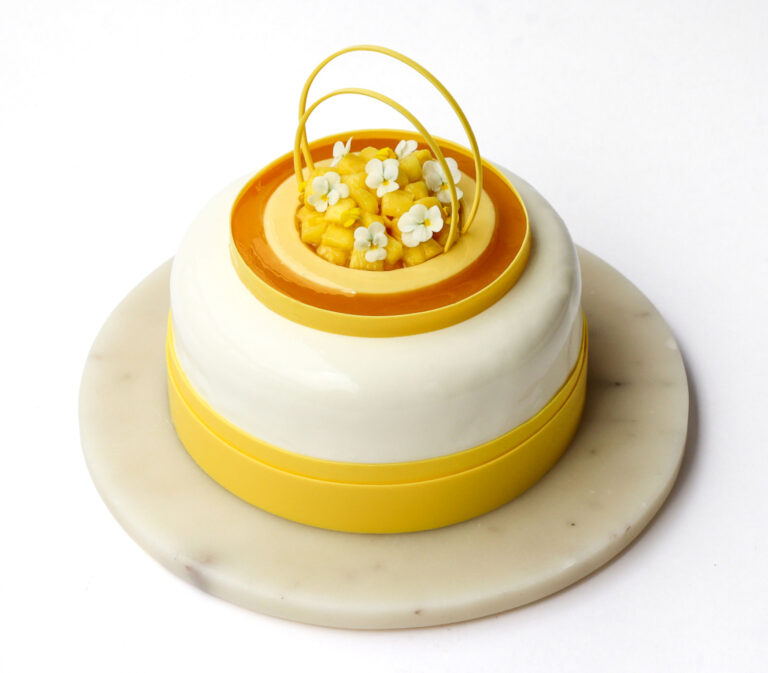
I recently discovered how amazing mango and vanilla are together, and I immediately fell in love with these cute little mango cakes. The creamy vanilla pairs so well with the mango’s fresh sweetness, creating a lovely balance of flavors. Definitely not the last time I’ll be making these!
Happy baking <


Day 1
Vanilla Mousse:
- 2.25 gelatin sheets (1 sheet = 1.75 g, bloom value 240)
- 270 ml heavy cream (min. 35%)
- 2 vanilla bean pods (or 2 tsp vanilla paste)
- 70 g white chocolate (34%) (preferably Cacao Barry Zéphyr or another less sweet white chocolate)
- Soak the gelatin in cold water for 5–10 minutes.
- Carefully melt the white chocolate (for example, in a bowl over a pan of simmering water / bain-marie) and set it aside in a bowl.
- Cut the vanilla bean pods and scrape out the seeds (skip this step if using vanilla paste).
- Heat 135 ml heavy cream with the vanilla seeds and pods (or the vanilla paste) until almost boiling, then remove from the heat. Take out the vanilla pods and whisk in the soaked gelatin.
- Pour the hot cream over the chocolate while stirring in the center of the bowl with a rubber spatula.
- Mix in 135 ml cold heavy cream.
- Cover the surface with cling film and let the mousse cool in the fridge overnight.
- Next day: Whip the mousse until it has a thick consistency. Put the mousse in a piping bag and fill each mold halfway (I used Silikomart Truffle Eclair molds). Spread the mousse evenly so it covers the sides of the molds.
- Put the cakes in the freezer while you prepare the next component.
Day 2
Mango Compote:
- 30 g mango purée (store-bought or homemade – see instructions below)
- 0.5 tsp vanilla paste
- 5 g caster sugar
- 2 g pectin
- 145 g fresh mango, cut into small cubes (approx. 1 mango)
- To make homemade mango purée: Cook fresh mango in a saucepan until tender, then press it through a fine-mesh sieve to create a smooth purée.
- Heat the vanilla paste and mango purée in a saucepan until almost boiling.
- Mix the caster sugar and pectin and add it to the mixture in the saucepan. Cook the compote until it thickens.
- Remove the pan from the heat. Add the fresh mango cubes and stir.
- Let the compote cool a bit. Transfer it into a piping bag and pipe it into the molds (approximately 25% of each mold, leaving 25% for the mango curd). Make sure to pipe the compote in an even layer up the sides of the molds.
- Return the cakes to the freezer while preparing the last component.
Tips & Notes:
- Don’t cut the mango into pieces that are too small, as smaller pieces release more water and make the compote more liquid.
- Mix the sugar and pectin in a separate bowl before heating, as the sugar helps proper gel formation by binding water molecules.
- Keep heating the mixture while whisking until it becomes very thick or starts to stick to the whisk.
Day 2
Mango Curd:
- 0.5 gelatin sheet (1 sheet = 1.75 g, bloom value 240)
- 65 g mango purée (see above)
- 25 ml fresh lemon juice
- 75 g eggs (approx. 1.5 medium eggs)
- 20 g egg yolks (approx. 1 medium egg yolk)
- 20 g caster sugar
- 35 g butter (cold)
- Soak the gelatin in cold water for 5–10 minutes.
- To make homemade mango purée: Cook fresh mango in a saucepan until tender, then press it through a fine-mesh sieve to create a smooth purée.
- Stir the mango purée, lemon juice, eggs, egg yolks, and caster sugar together in a saucepan. Cook slowly while constantly whisking until the mixture comes to a boil.
- Let the curd simmer for a few minutes while constantly whisking until it thickens.
- Remove the pan from the heat and add the cold butter, cut into cubes. Whisk in the soaked gelatin.
- Pass the mango curd through a fine-mesh sieve. Blend with an immersion blender to get a creamy consistency.
- Transfer the curd into a piping bag and fill the molds. Make sure to pipe the curd in an even layer up the sides of the molds. Tap the molds on the kitchen counter a couple of times to remove any air bubbles.
- Freeze the cakes overnight.
Tips & Notes:
- Cook the curd over medium heat to avoid burning and heating the eggs too much, while constantly whisking.
- Keep whisking until the curd thickens and increases in volume. This may take several minutes.
Day 2
Pâte Sablée:
- 155 g all-purpose flour
- 25 g almond flour
- 60 g icing sugar
- 95 g butter (cold)
- 25 g eggs (approx. 0.5 medium eggs)
- a pinch of salt
- Put the all-purpose flour, almond flour, icing sugar, salt, and cold butter (cut into cubes) in a food processor and pulse briefly to combine.
- Transfer the dough to a bowl and bring it together with the eggs. Be careful not to knead the dough too much.
- Roll out the dough between two sheets of parchment paper and refrigerate for 2 hours, or freeze for approximately 45 minutes. It should be very cold when you take it out.
- Cut 8 bases with the plastic cutter that belongs to the Silikomart Truffle Eclair molds.
- Bake the bases at 175°C / 347°F (conventional oven) for approximately 10 minutes, until golden (optionally between two AirMats for more even baking).
- Let the bases cool on a cooling rack. It is important that they cool on an even surface, as otherwise the bases can become uneven, which can make the cakes tip over.
Tips & Notes:
- Grate the butter or cut it into smaller cubes, as this makes it easier to mix with the dry ingredients.
- Be careful not to over-knead the dough. Only combine until it has a sandy texture and no big pieces of butter remain.
- Quickly combine the dough with the egg, stopping as soon as it comes together into a ball and the ingredients are fully incorporated.
- It’s important to let the dough set in the fridge, as otherwise the cake bases will spread and lose their shape during baking.
Day 3
Glaze:
- 10 gelatin sheets (1 sheet = 1.75 g, bloom value 240)
- 250 g white chocolate (28%)
- 183 ml heavy cream (min. 35%)
- 83 g water
- 233 g caster sugar
- 250 g glucose syrup
- white food coloring paste
- 3 tsp vanilla paste
- Soak the gelatin in cold water for 5–10 minutes.
- Finely chop the white chocolate and put it in a large plastic pitcher.
- Heat the caster sugar, water, heavy cream, and glucose syrup in a saucepan until almost boiling, then remove from the heat. Whisk in the soaked gelatin.
- Pour the hot mixture over the chocolate in the pitcher and blend with an immersion blender (hold the blender at an angle when blending to avoid air bubbles). Add the white food coloring paste and vanilla paste and blend to combine.
- Cover the surface with cling film and cool the glaze down to 34–35°C / 93–95°F.
- Take the cakes out of the freezer right before you are ready to glaze. Release them from the molds and place them on a cooling rack with parchment paper underneath.
- Pour the glaze over the frozen cakes. Use a small palette knife to remove the excess glaze from the bottom of the cakes.
- Place each cake on a pâte sablée base.
- Decorate with the flowers.
Tips & Notes:
- After pouring the hot syrup over the chocolate, let it sit for 30 seconds so the chocolate can melt a bit.
- Insert the immersion blender into the pitcher at an angle to avoid creating air bubbles.
- The cakes need to be completely frozen when the glaze is poured on. If the correct temperatures have been met, you’ll get a perfectly shiny mirror glaze.
Day 3
Decoration:
- flowers (edible or secured with safety seal / edible wax)