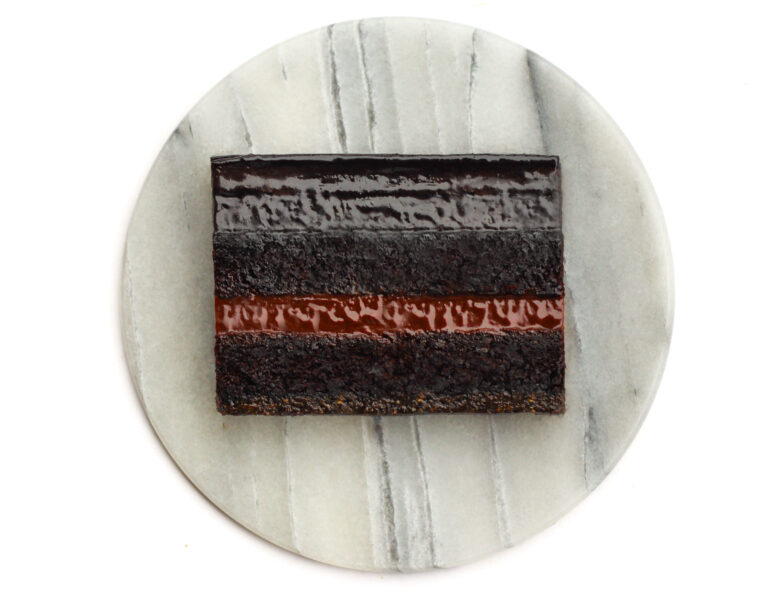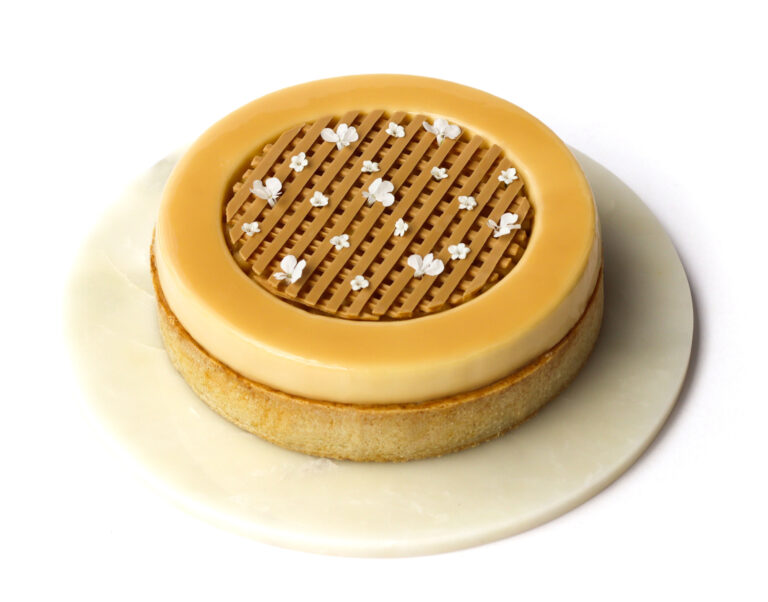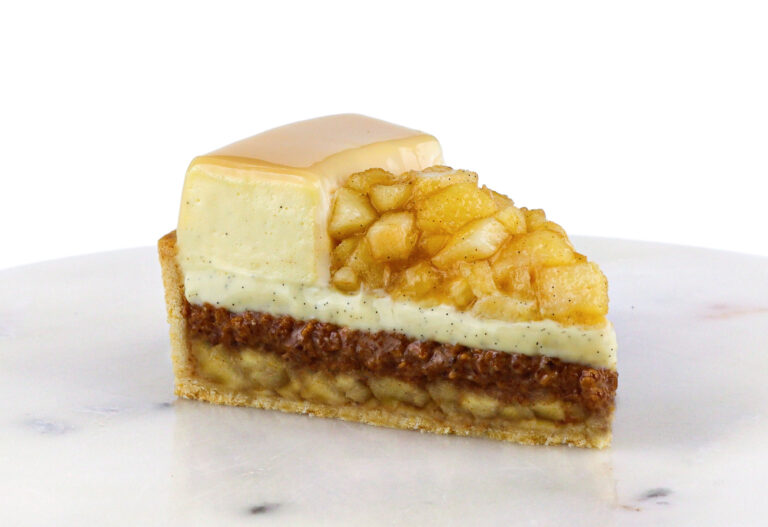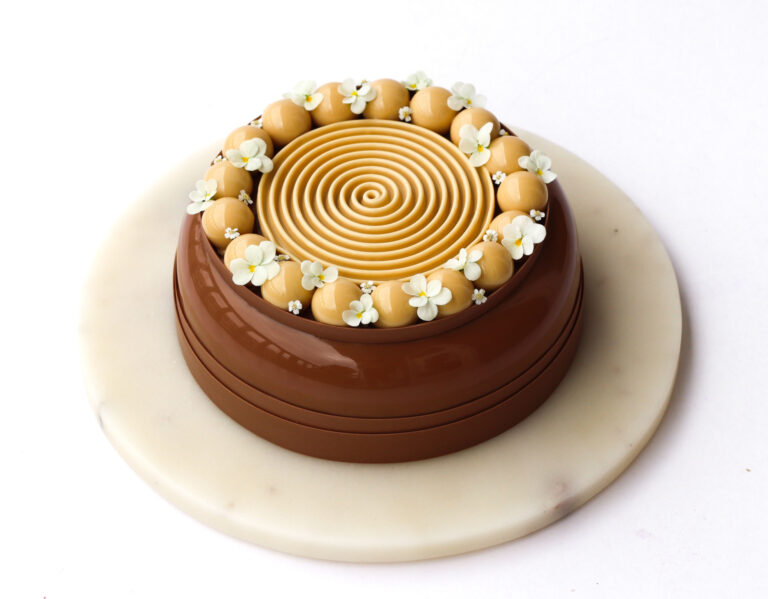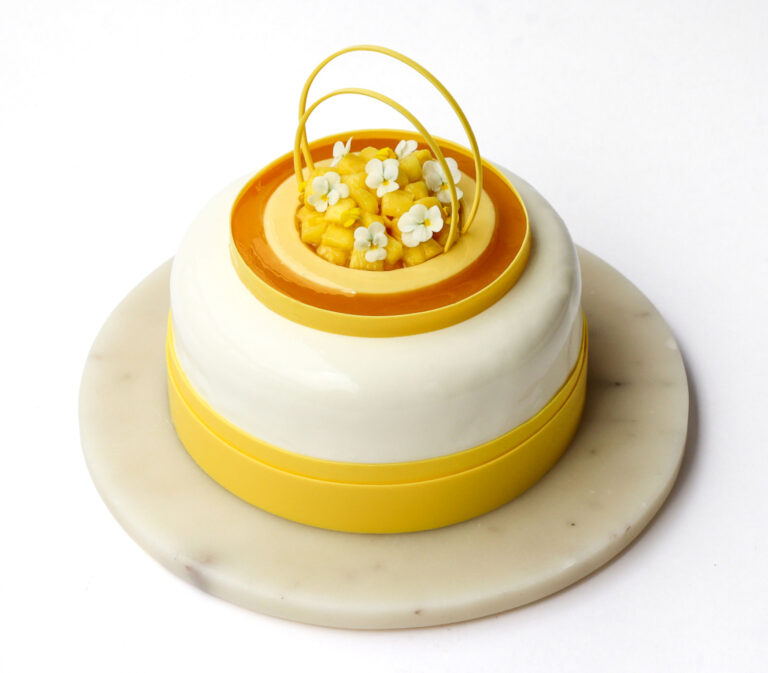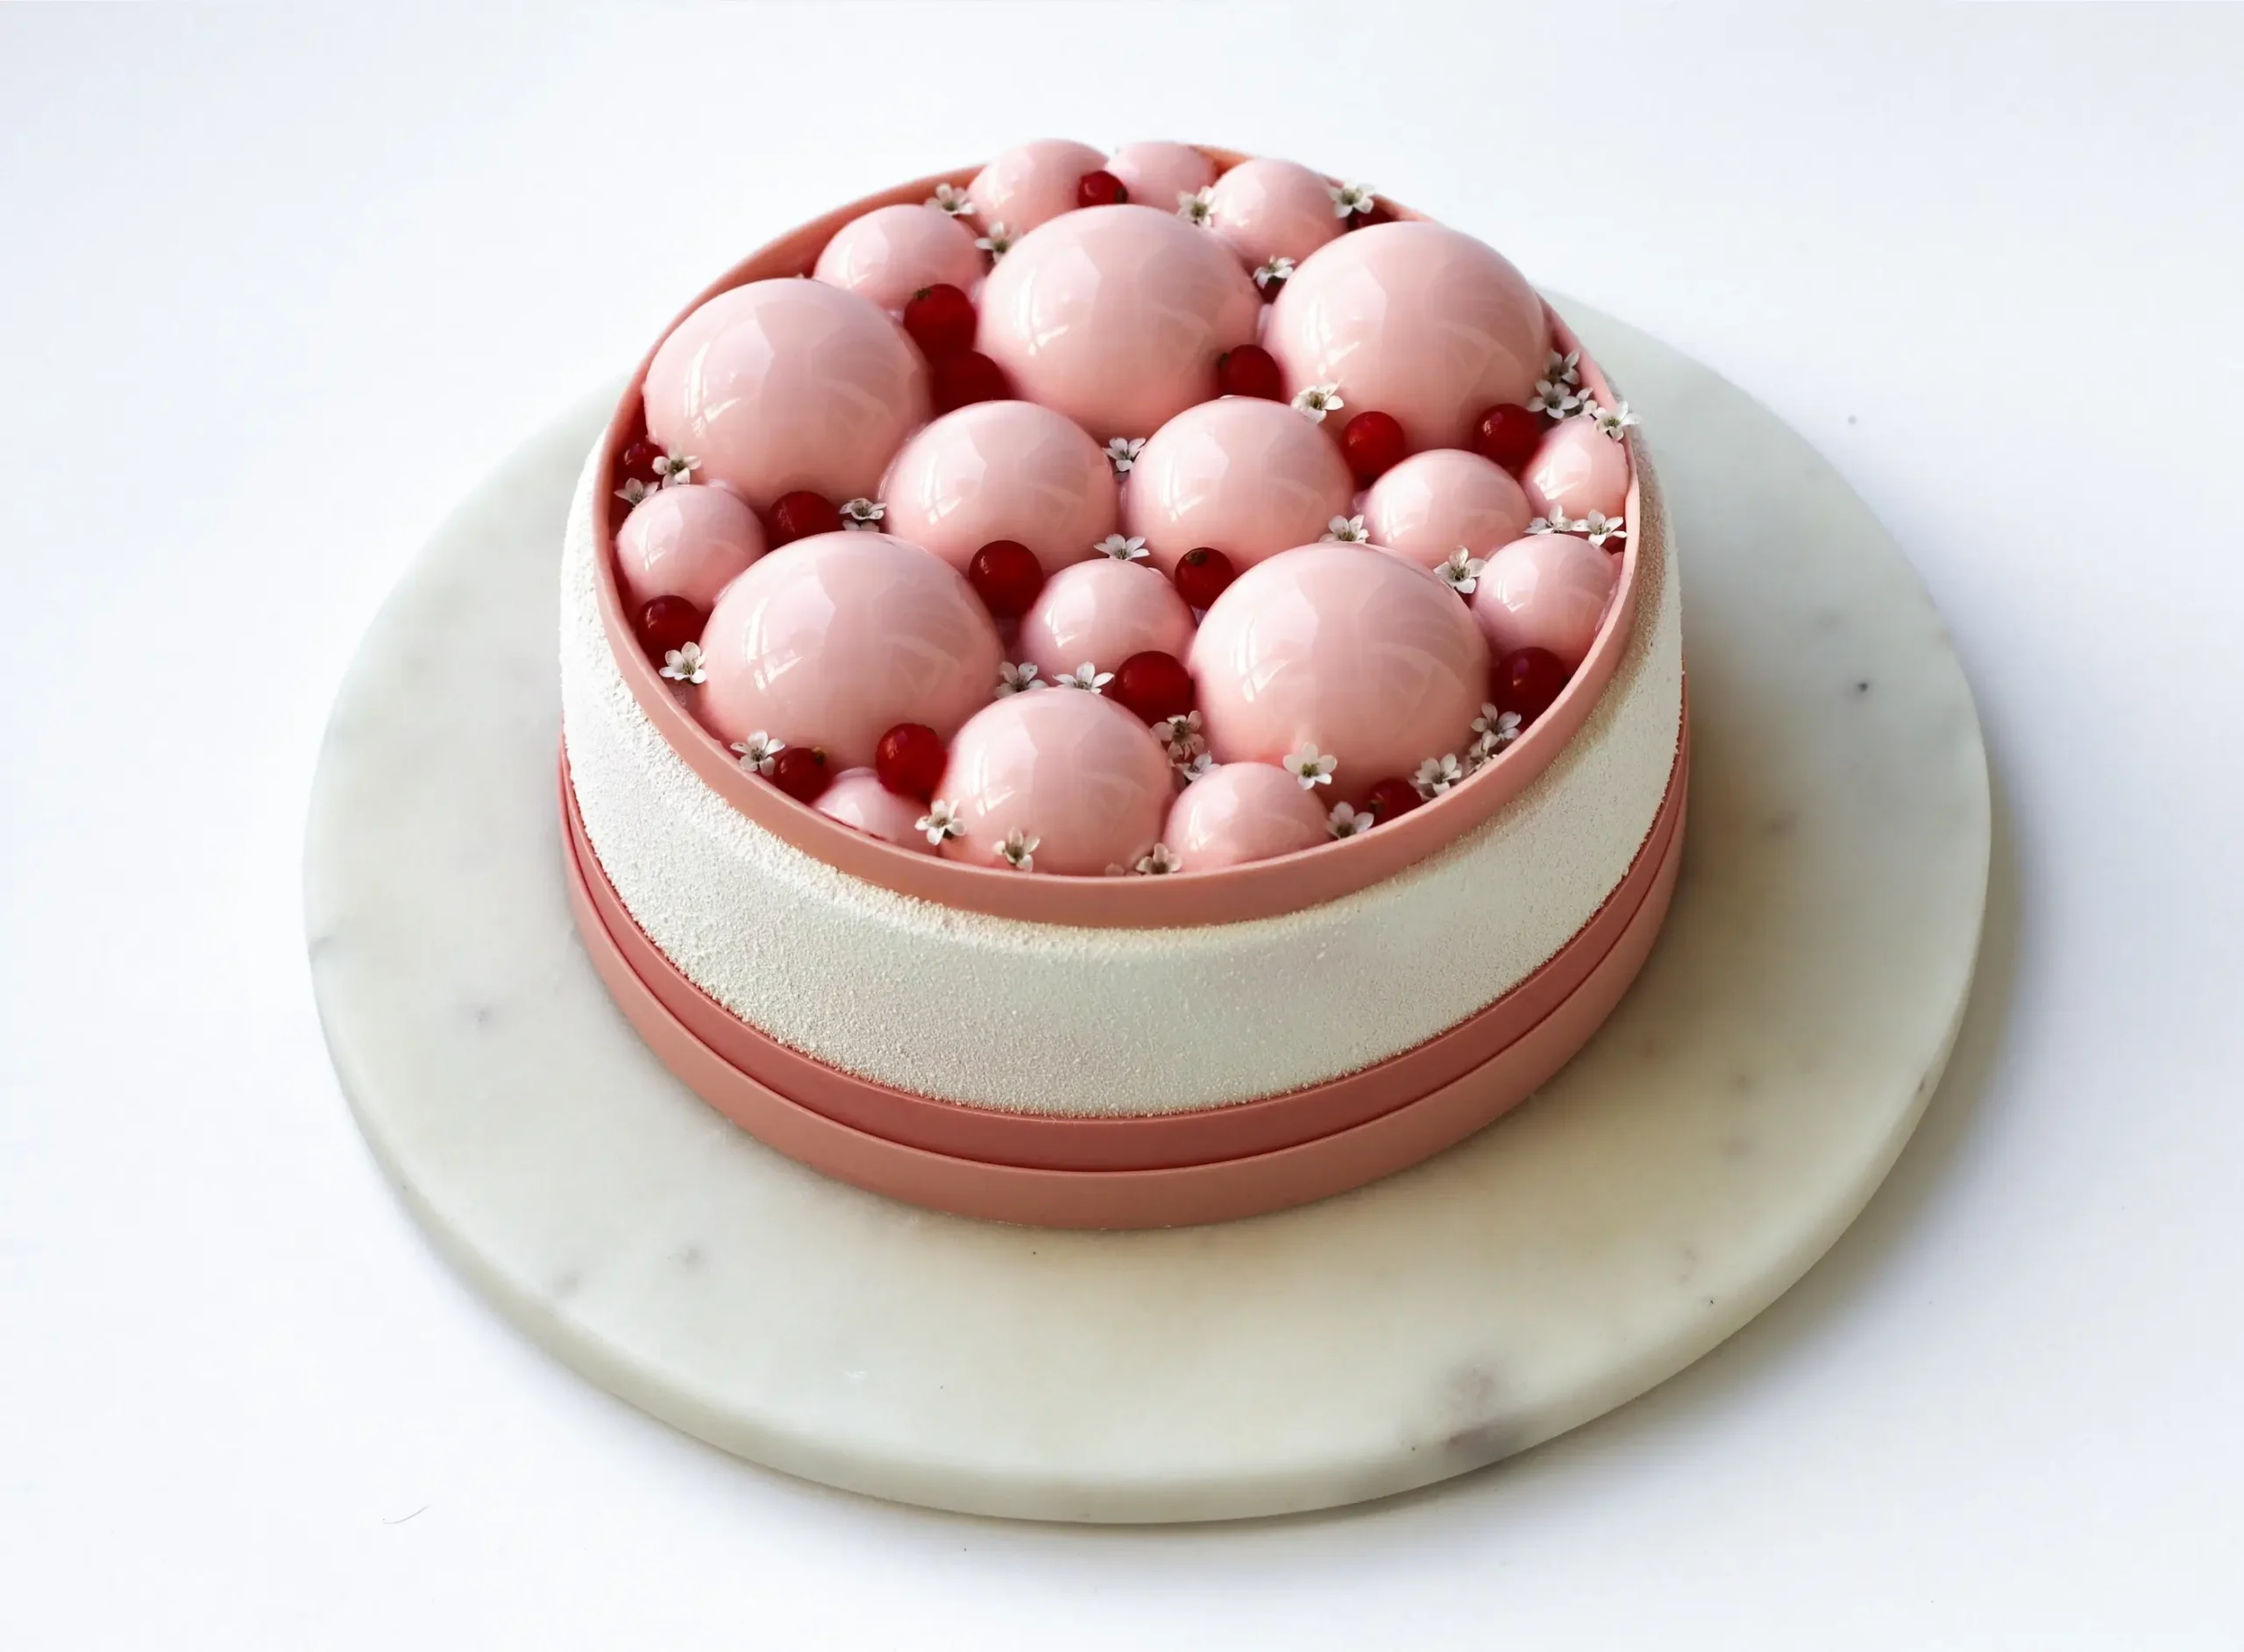
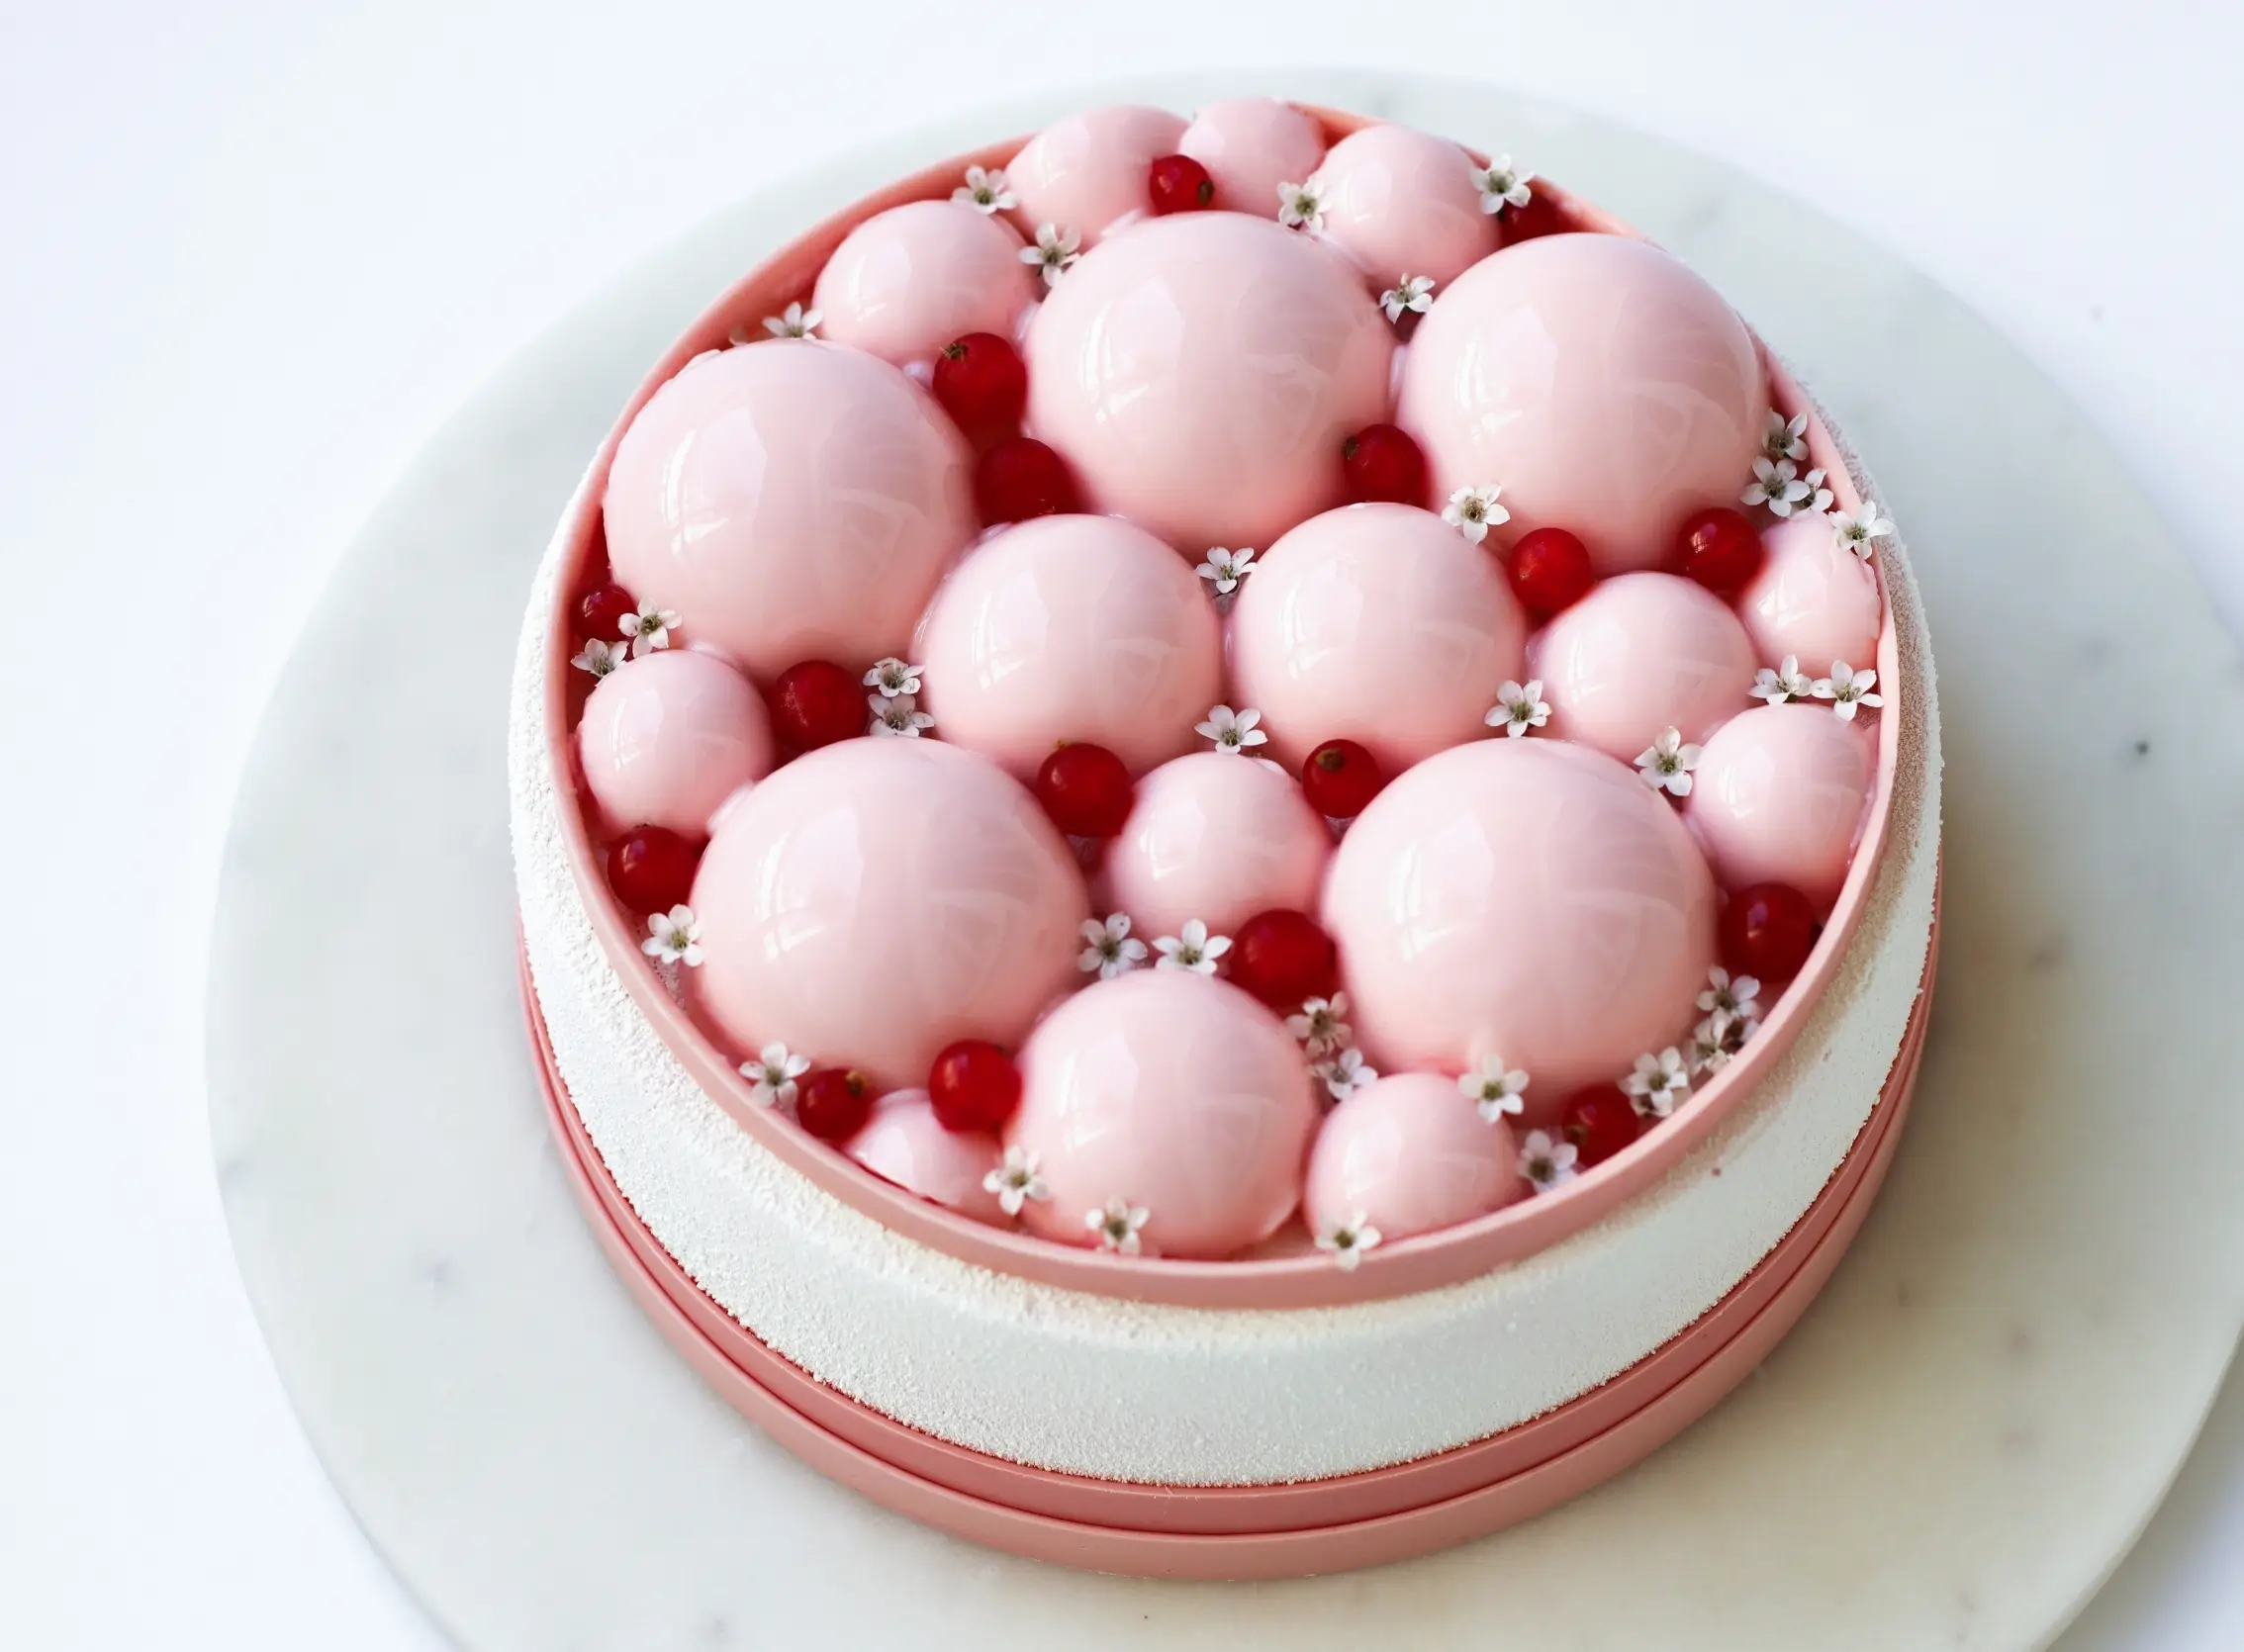

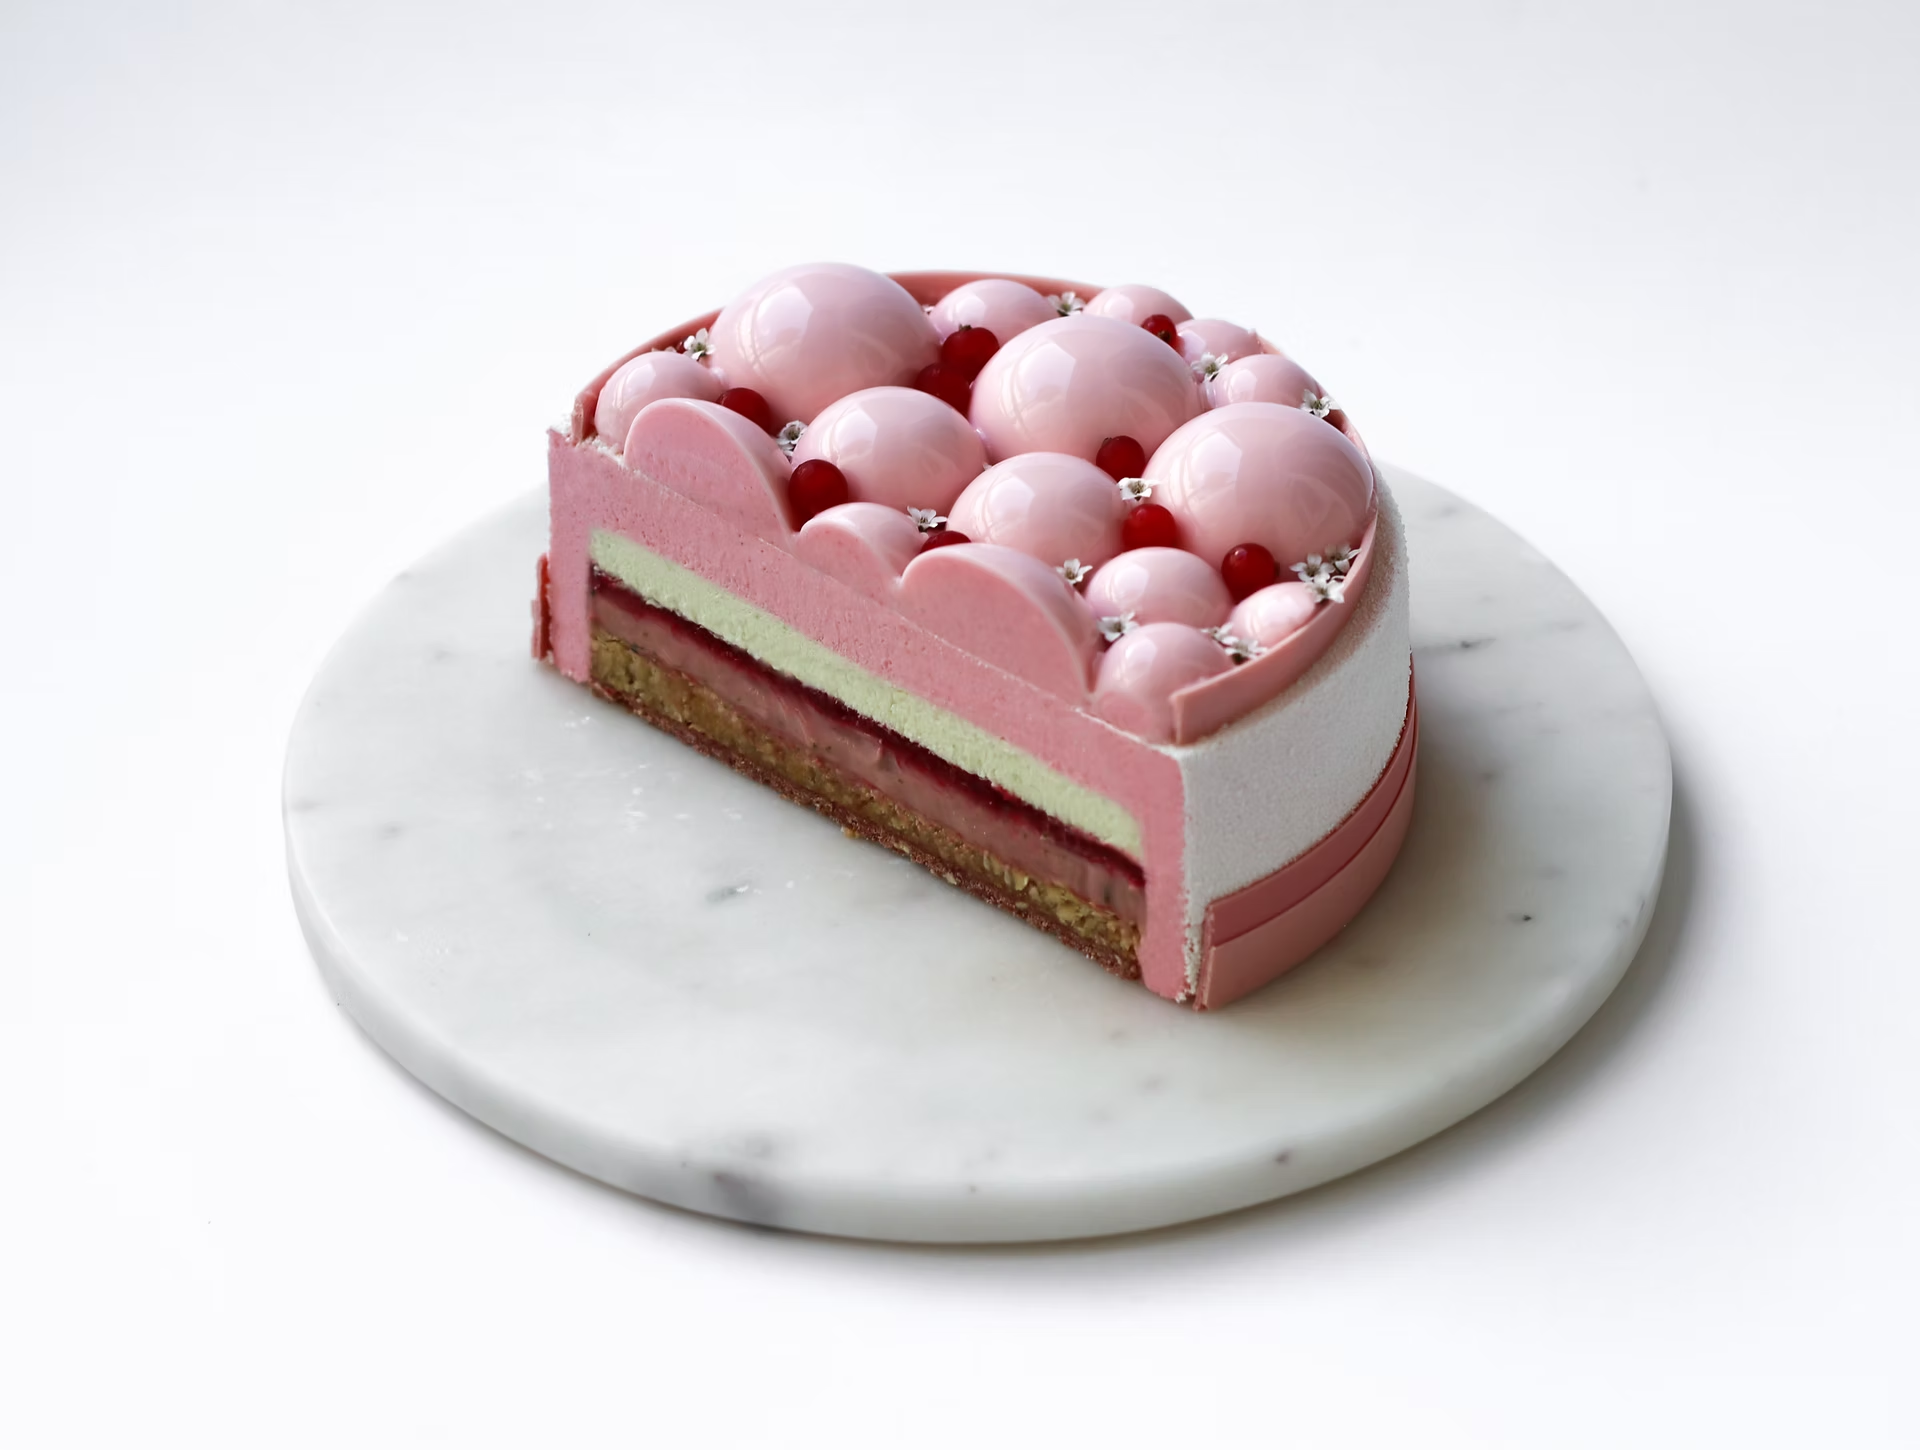
Red currant and basil may sound like an untraditional combination. BUT, don’t judge it until you’ve tried it! They taste surprisingly good together. I was inspired to make this combination in a cake after I had a starter at a restaurant with these two flavors, and I was really surprised by how good they tasted together.
The cake is really fresh, with the acidic red currant berries balanced by the mild hazelnut meringue cake and the aromatic basil flavor that elevates the cake. If you want to try something different, this cake is for you.
Happy baking <3
Day 1
Ruby Chocolate and Raspberry Crunch:
- 30 g caster sugar
- 20 g roasted hazelnuts without shell
- 80 g ruby chocolate (32.8%)
- 45 g Cara Crakine
- 45 g feuilletine (or cornflakes)
- 1 tsp freeze-dried raspberry powder
- a pinch of salt
- Roast the hazelnuts for approximately 5–7 minutes at 175°C / 347°F. Remove the skins.
- Carefully melt the sugar into a golden caramel in a small saucepan. Immediately add the hazelnuts, then pour the caramelized nuts onto a piece of parchment paper. Let them cool.
- Chop the nuts finely.
- Carefully melt the ruby chocolate (e.g. in a bowl over a pan of simmering water / bain-marie). Set it aside.
- Add the chopped caramelized hazelnuts, Cara Crakine, feuilletine (or crushed cornflakes), salt, and raspberry powder to the chocolate.
- Place the crunch between two pieces of parchment paper and roll it out with a rolling pin. Put it in the fridge for 5 minutes.
- Take the crunch layer out of the fridge and cut out a base with a pastry ring (16 cm diameter).
- Place the crunch base in a pastry ring (16 cm diameter) lined with an acetate sheet on the sides and parchment paper on the bottom. Make sure the crunch base sits even and flat in the pastry ring.
Tips & Notes:
- Don’t chop the nuts too finely, as this will reduce the crunch effect.
- Level the surface with a glass or a spoon.
Day 1
Hazelnut Meringue Cake:
- 75 g roasted hazelnuts without shell (50 g blended, 25 g roughly chopped)
- 30 g icing sugar
- 60 g egg whites (approx. 2 medium egg whites)
- 50 g caster sugar
- 1 tbsp all-purpose flour
- a pinch of salt
- Roast the hazelnuts for approximately 5–7 minutes at 175°C / 347°F. Remove the skins.
- Blend the icing sugar and 50 g of the hazelnuts into a flour in a food processor. Roughly chop the remaining 25 g of hazelnuts.
- Whip the egg whites with a hand mixer until soft peaks form. Then gradually add the sugar while whipping. Continue until you have a thick, shiny meringue.
- Fold the hazelnut flour mixture and the chopped nuts into the meringue. Finally, add the salt and flour.
- Pour the batter into a springform pan or pastry ring (16 cm diameter) lined with parchment paper.
- Bake the cake for approximately 10–12 minutes at 175°C / 347°F until lightly golden.
- Let the cake cool, then place it on top of the crunch layer in the pastry ring.
- Put the cake in the freezer while preparing the ganache.
Tips & Notes:
- If baking with pastry rings, use two rings of different sizes and place a piece of parchment paper in between to keep the batter contained.
Day 1
Red Currant Ganache with White Chocolate and Basil:
- 180 g white chocolate (28%)
- 50 ml heavy cream (min. 35%)
- 60 g red currant purée (made from approx. 240 g uncooked red currants)
- 1 tbsp lemon juice
- 10 large basil leaves
- (a bit of sugar)
- Cook the red currants in a saucepan until tender. Strain the pulp through a sieve to get 60 g of smooth purée.
- Carefully melt the white chocolate (e.g. in a bowl over a pan of simmering water / bain-marie) and set it aside in a bowl.
- Heat the heavy cream, red currant purée, and lemon juice until almost boiling and remove from the heat.
- Pour the hot cream over the chocolate while stirring in the middle of the bowl with a rubber spatula.
- Blend the ganache with an immersion blender.
- Crush the basil leaves into a purée with a bit of sugar using a mortar and pestle. Stir them into the ganache.
- Pour the ganache over the hazelnut cake and put it back in the freezer. The ganache needs to be frozen before the next layer can be added.
Tips & Notes:
- Only heat the cream until almost boiling, as cream that is too hot will seize the chocolate mixture.
- Stir the mixture with a spatula until glossy.
Day 1
Red Currant Marmalade:
- 1 gelatin sheet (1 sheet = 1.75 g, bloom value 240)
- 190 g red currants
- 90 g caster sugar
- 1 tsp vanilla paste
- 0.5 tsp pectin
- Soak the gelatin in cold water for 5–10 minutes.
- Cook the red currants, vanilla paste, and sugar in a saucepan until tender.
- Add the pectin and let the marmalade cook for another minute until it thickens.
- Remove the saucepan from the heat and add the gelatin. Strain the marmalade and let it cool to room temperature.
- Spread the marmalade over the cake in an even layer with a small palette knife.
- Let the cake freeze for at least 3 hours before adding the basil mousse.
Day 1
Basil Mousse with White Chocolate:
- 0.75 gelatin sheets (1 sheet = 1.75 g, bloom value 240)
- 55 g white chocolate (28%)
- 15 ml lime juice
- 105 ml heavy cream (min. 35%) (30 ml heated, 75 ml whipped)
- 7–8 medium or large basil leaves
- (a bit of sugar)
- Soak the gelatin in cold water for 5–10 minutes.
- Carefully melt the white chocolate (e.g. in a bowl over a pan of simmering water / bain-marie) and set it aside in a bowl.
- Heat 30 ml of the heavy cream with the lime juice until almost boiling and remove it from the heat. Whisk in the gelatin.
- Pour the hot cream over the chocolate while stirring in the middle of the bowl with a rubber spatula.
- Crush the fresh basil leaves into a purée with a bit of sugar using a mortar and pestle. Stir them into the chocolate mixture and let it cool until lukewarm.
- Whip the remaining 75 ml of heavy cream to soft peaks and gently fold it into the lukewarm chocolate mixture (if the mixture is too hot, the cream can separate).
- Pour the mousse over the marmalade. Make sure the mousse is flat and even for a nice, clean cut.
- Put the cake in the freezer overnight so it can set completely.
Tips & Notes:
- Only heat the cream until almost boiling before pouring it over the chocolate, to avoid seizing the chocolate.
- Whip the heavy cream to soft peaks, as overwhipped cream can result in a dense, grainy mousse.
Day 2
Red Currant Mousse and Red Currant Mousse Domes:
- 5 gelatin sheets (1 sheet = 1.75 g, bloom value 240)
- 330 g red currants
- 170 g caster sugar
- 1.5 tsp vanilla paste
- 3 tbsp lemon juice
- 500 ml heavy cream (min. 35%)
- Soak the gelatin in cold water for 5–10 minutes.
- Cook the red currants, vanilla paste, sugar, and lemon juice in a saucepan until tender. Remove from the heat and whisk in the gelatin.
- Let it cool until lukewarm.
- Whip the heavy cream to soft peaks and gently fold it into the lukewarm red currant mixture (if the mixture is too hot, the cream can separate).
Red Currant Mousse Inside the Cake:
- Place a silicone mold (18 cm diameter; I used a Silikomart TOR mold) lined with an acetate sheet (as the cake will be taller than the mold) on a chopping board on a kitchen scale.
- Pour 450 g of the red currant mousse into the mold. Put the rest of the mousse in a piping bag and leave it on the kitchen table briefly while you finish the cake.
- Take the frozen cake out of the freezer and carefully press it down into the red currant mousse with the basil mousse facing down.
- Freeze the cake overnight.
Red Currant Dome:
- Pipe the rest of the mousse into dome/hemisphere molds in the following sizes: 2.5 cm, 3 cm, 4 cm, and 5 cm diameter.
- Freeze them overnight.
Tips & Notes:
- Let the fruit syrup cool completely, as syrup that’s too hot will seize the whipped cream when added.
- Whip the heavy cream to soft peaks, as overwhipped cream can result in a dense, grainy mousse.
Day 3
Assembling the Cake, Part 1:
- The next day: Take the frozen cake out of the freezer and place it on a cooling rack with parchment paper underneath.
- Spray the cake with white velvet spray and place it on a cake plate. Put it in the fridge while finishing the rest of the decoration.
Day 3
Decoration:
- white velvet spray
- 250 g white chocolate (28%)
- baby pink and pink food coloring powder
- fresh red currants
- flowers (edible or secured with safety seal / edible wax)
Cut three acetate sheets to the sizes below and place them on the kitchen table:
- Chocolate ribbon 1, around the cake (18 cm diameter): 1.5 cm x 58 cm
- Chocolate ribbon 2, around the cake (18 cm diameter): 2.5 cm x 58 cm
- Chocolate ribbon 3, on top of the cake (16 cm diameter): 1 cm x 52 cm
- Put three pastry rings (2 x 18 cm diameter and 1 x 16 cm diameter) in the fridge.
- Temper the white chocolate and add the food coloring powder. The 1 cm ribbon on top of the cake and the 1.5 cm ribbon around the cake should be the same color (baby pink), while the remaining 2.5 cm ribbon around the cake should be a stronger pink.
- Pour the chocolate over the acetate sheets and spread it evenly with a small palette knife. Lift the acetate sheets from the table and run your fingers along the edges to remove any excess chocolate. Leave them on the kitchen table until almost set.
- Place the ribbons around the cold pastry rings and return them to the fridge.
- Once the chocolate has set, remove the acetate sheets and gently place the ribbons around the cake and on top of the cake. Secure the ends of the ribbons around the cake with a little melted chocolate.
Day 3
Glaze:
- 6 gelatin sheets (1 sheet = 1.75 g, bloom value 240)
- 150 g white chocolate (28%)
- 110 ml heavy cream (min. 35%)
- 50 g water
- 140 g caster sugar
- 150 g glucose syrup
- pink and white food coloring paste
- Soak the gelatin in cold water for 5–10 minutes.
- Finely chop the chocolate and put it in a large plastic pitcher.
- Heat the sugar, water, heavy cream, and glucose syrup in a saucepan until almost boiling, then remove from the heat. Whisk in the gelatin.
- Pour the hot mixture over the chocolate in the pitcher and blend with an immersion blender (hold the blender at an angle to avoid air bubbles). Add the pink and white food coloring paste.
- Cover the surface with cling film and cool the glaze down to 34–35°C / 93–95°F.
- Take the mousse domes/hemispheres out of the freezer right before you are ready to glaze. Place them on a cooling rack with parchment paper underneath.
- Pour the glaze over the frozen mousse domes. Use a small palette knife to remove the excess glaze from the bottom of the mousse domes.
Tips & Notes:
- Let the hot syrup sit for 30 seconds so the chocolate can melt a little.
- Insert the immersion blender into the pitcher at an angle to avoid creating air bubbles.
- The cake needs to be completely frozen when the glaze is poured over it. If the correct temperatures have been reached, you’ll get a perfectly shiny mirror glaze.
Day 3
Assembling the Cake, Part 2:
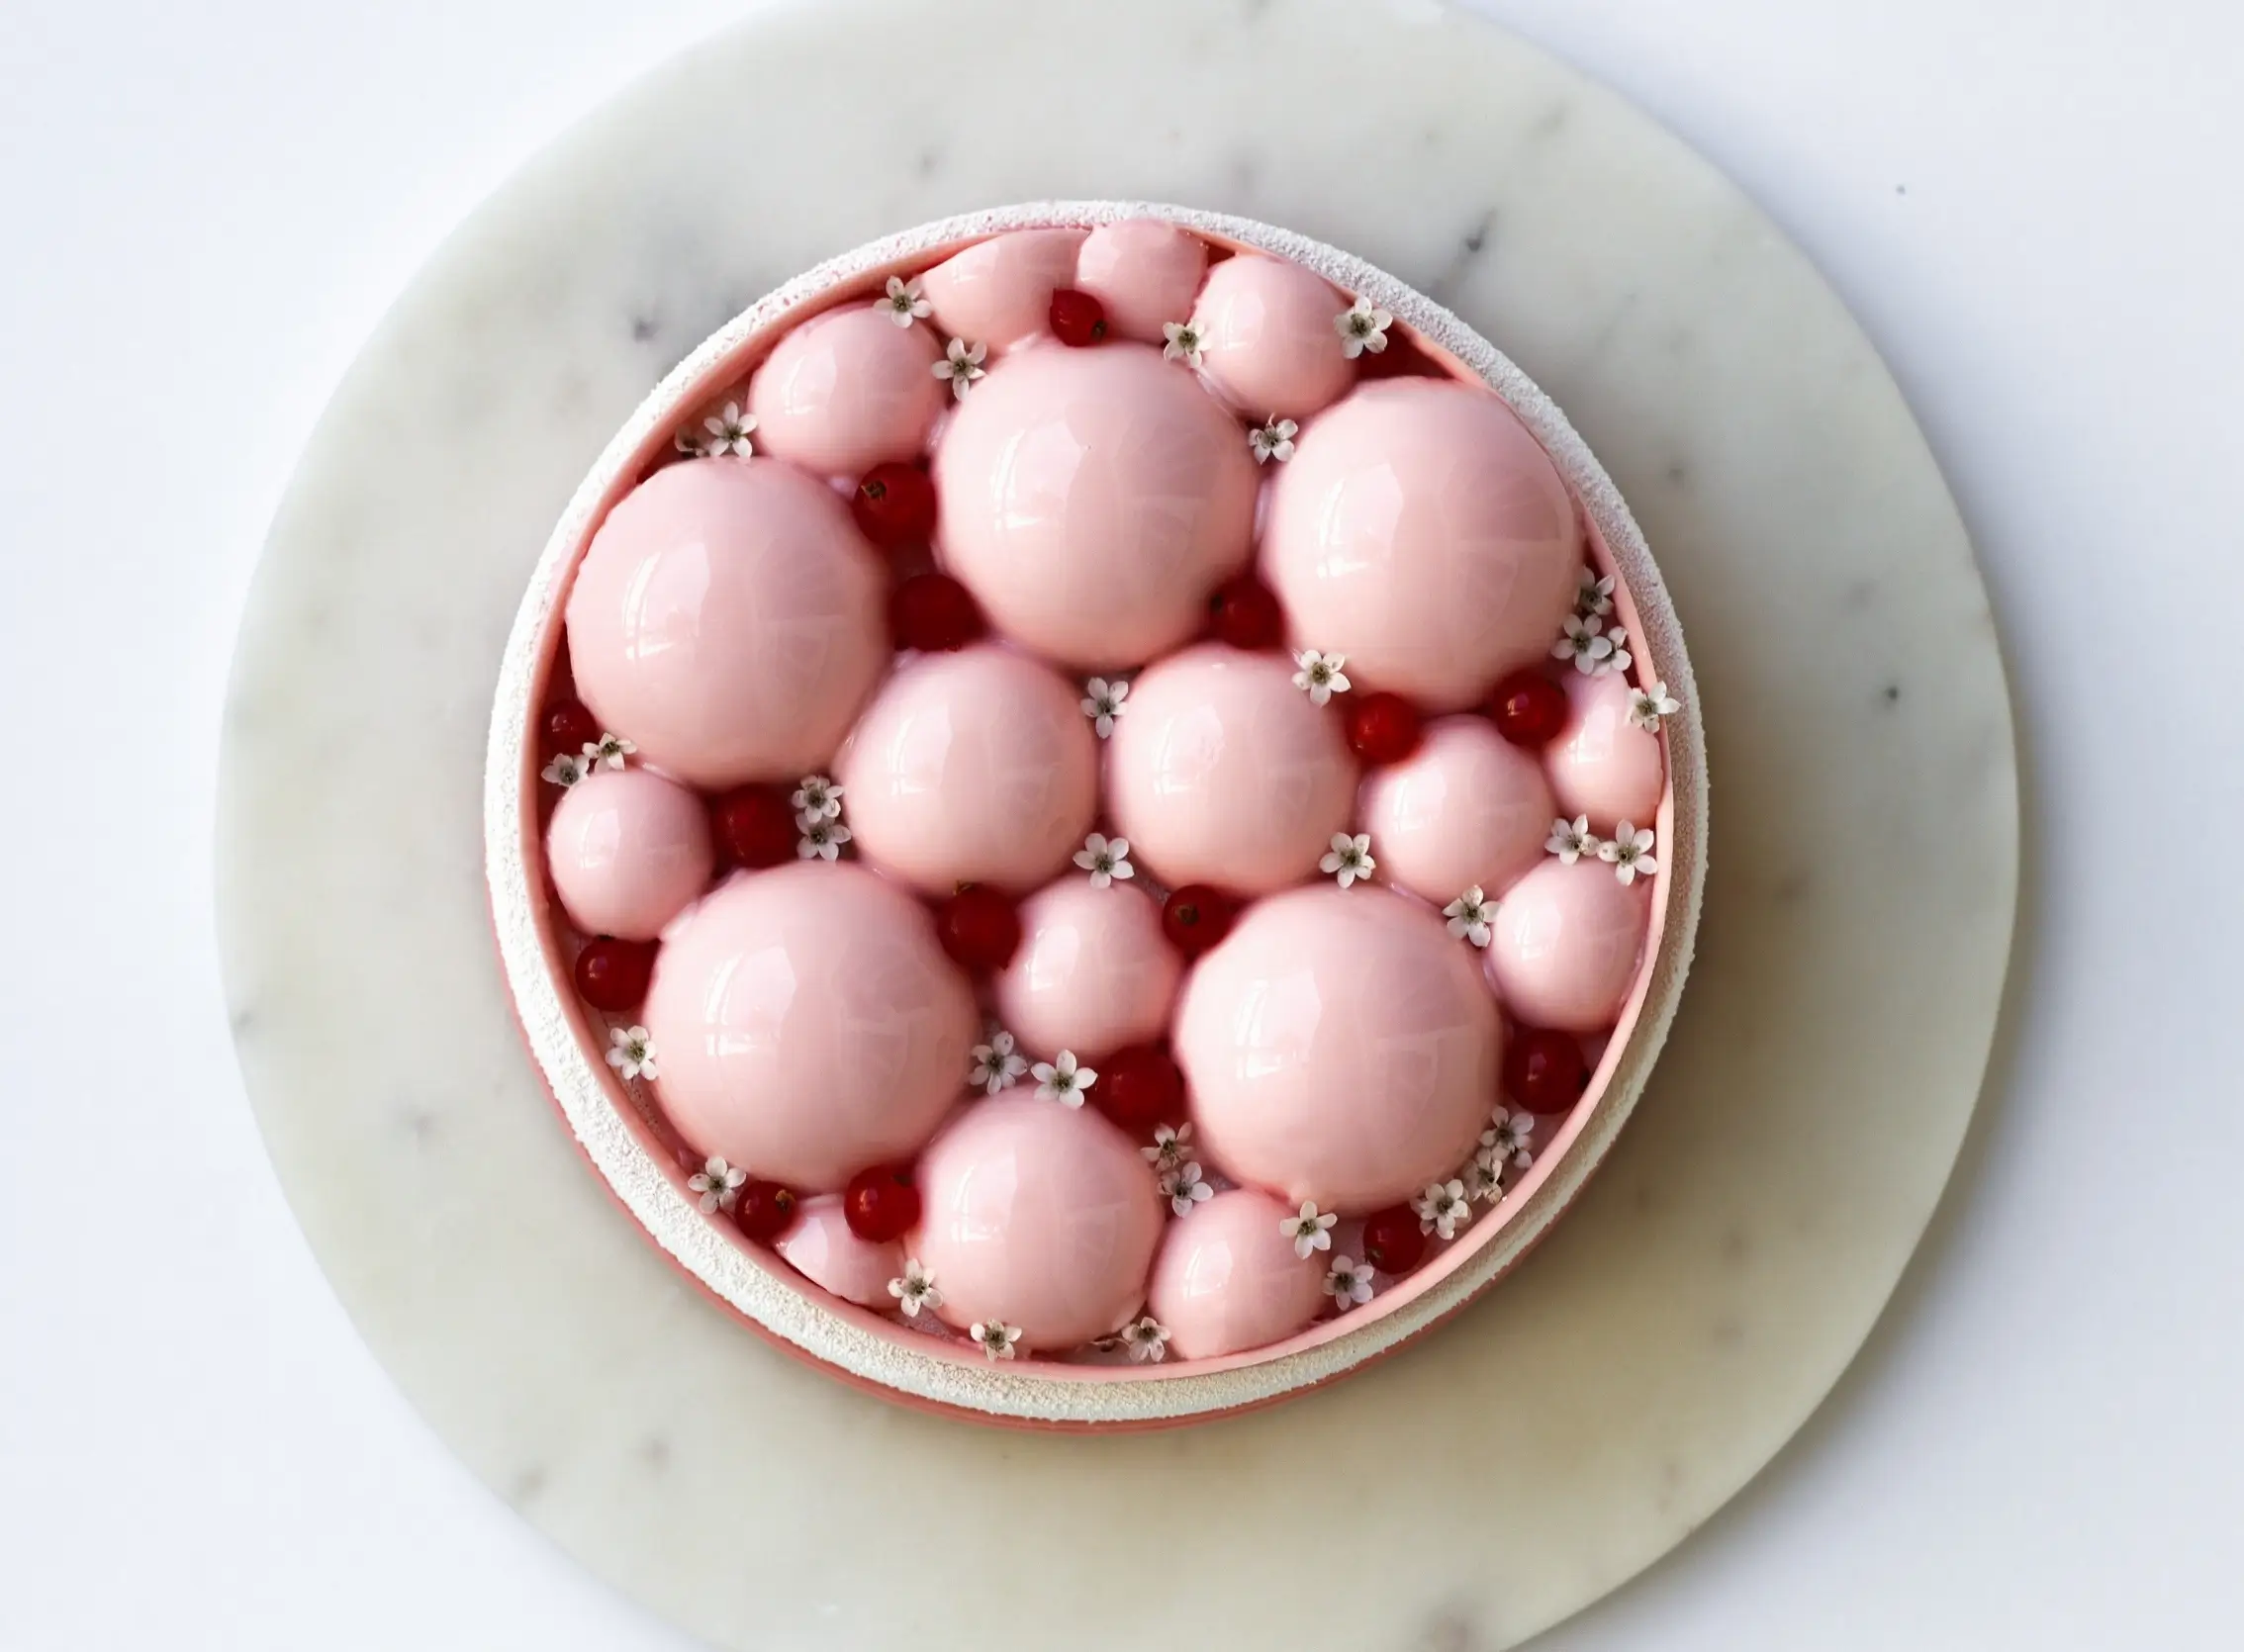
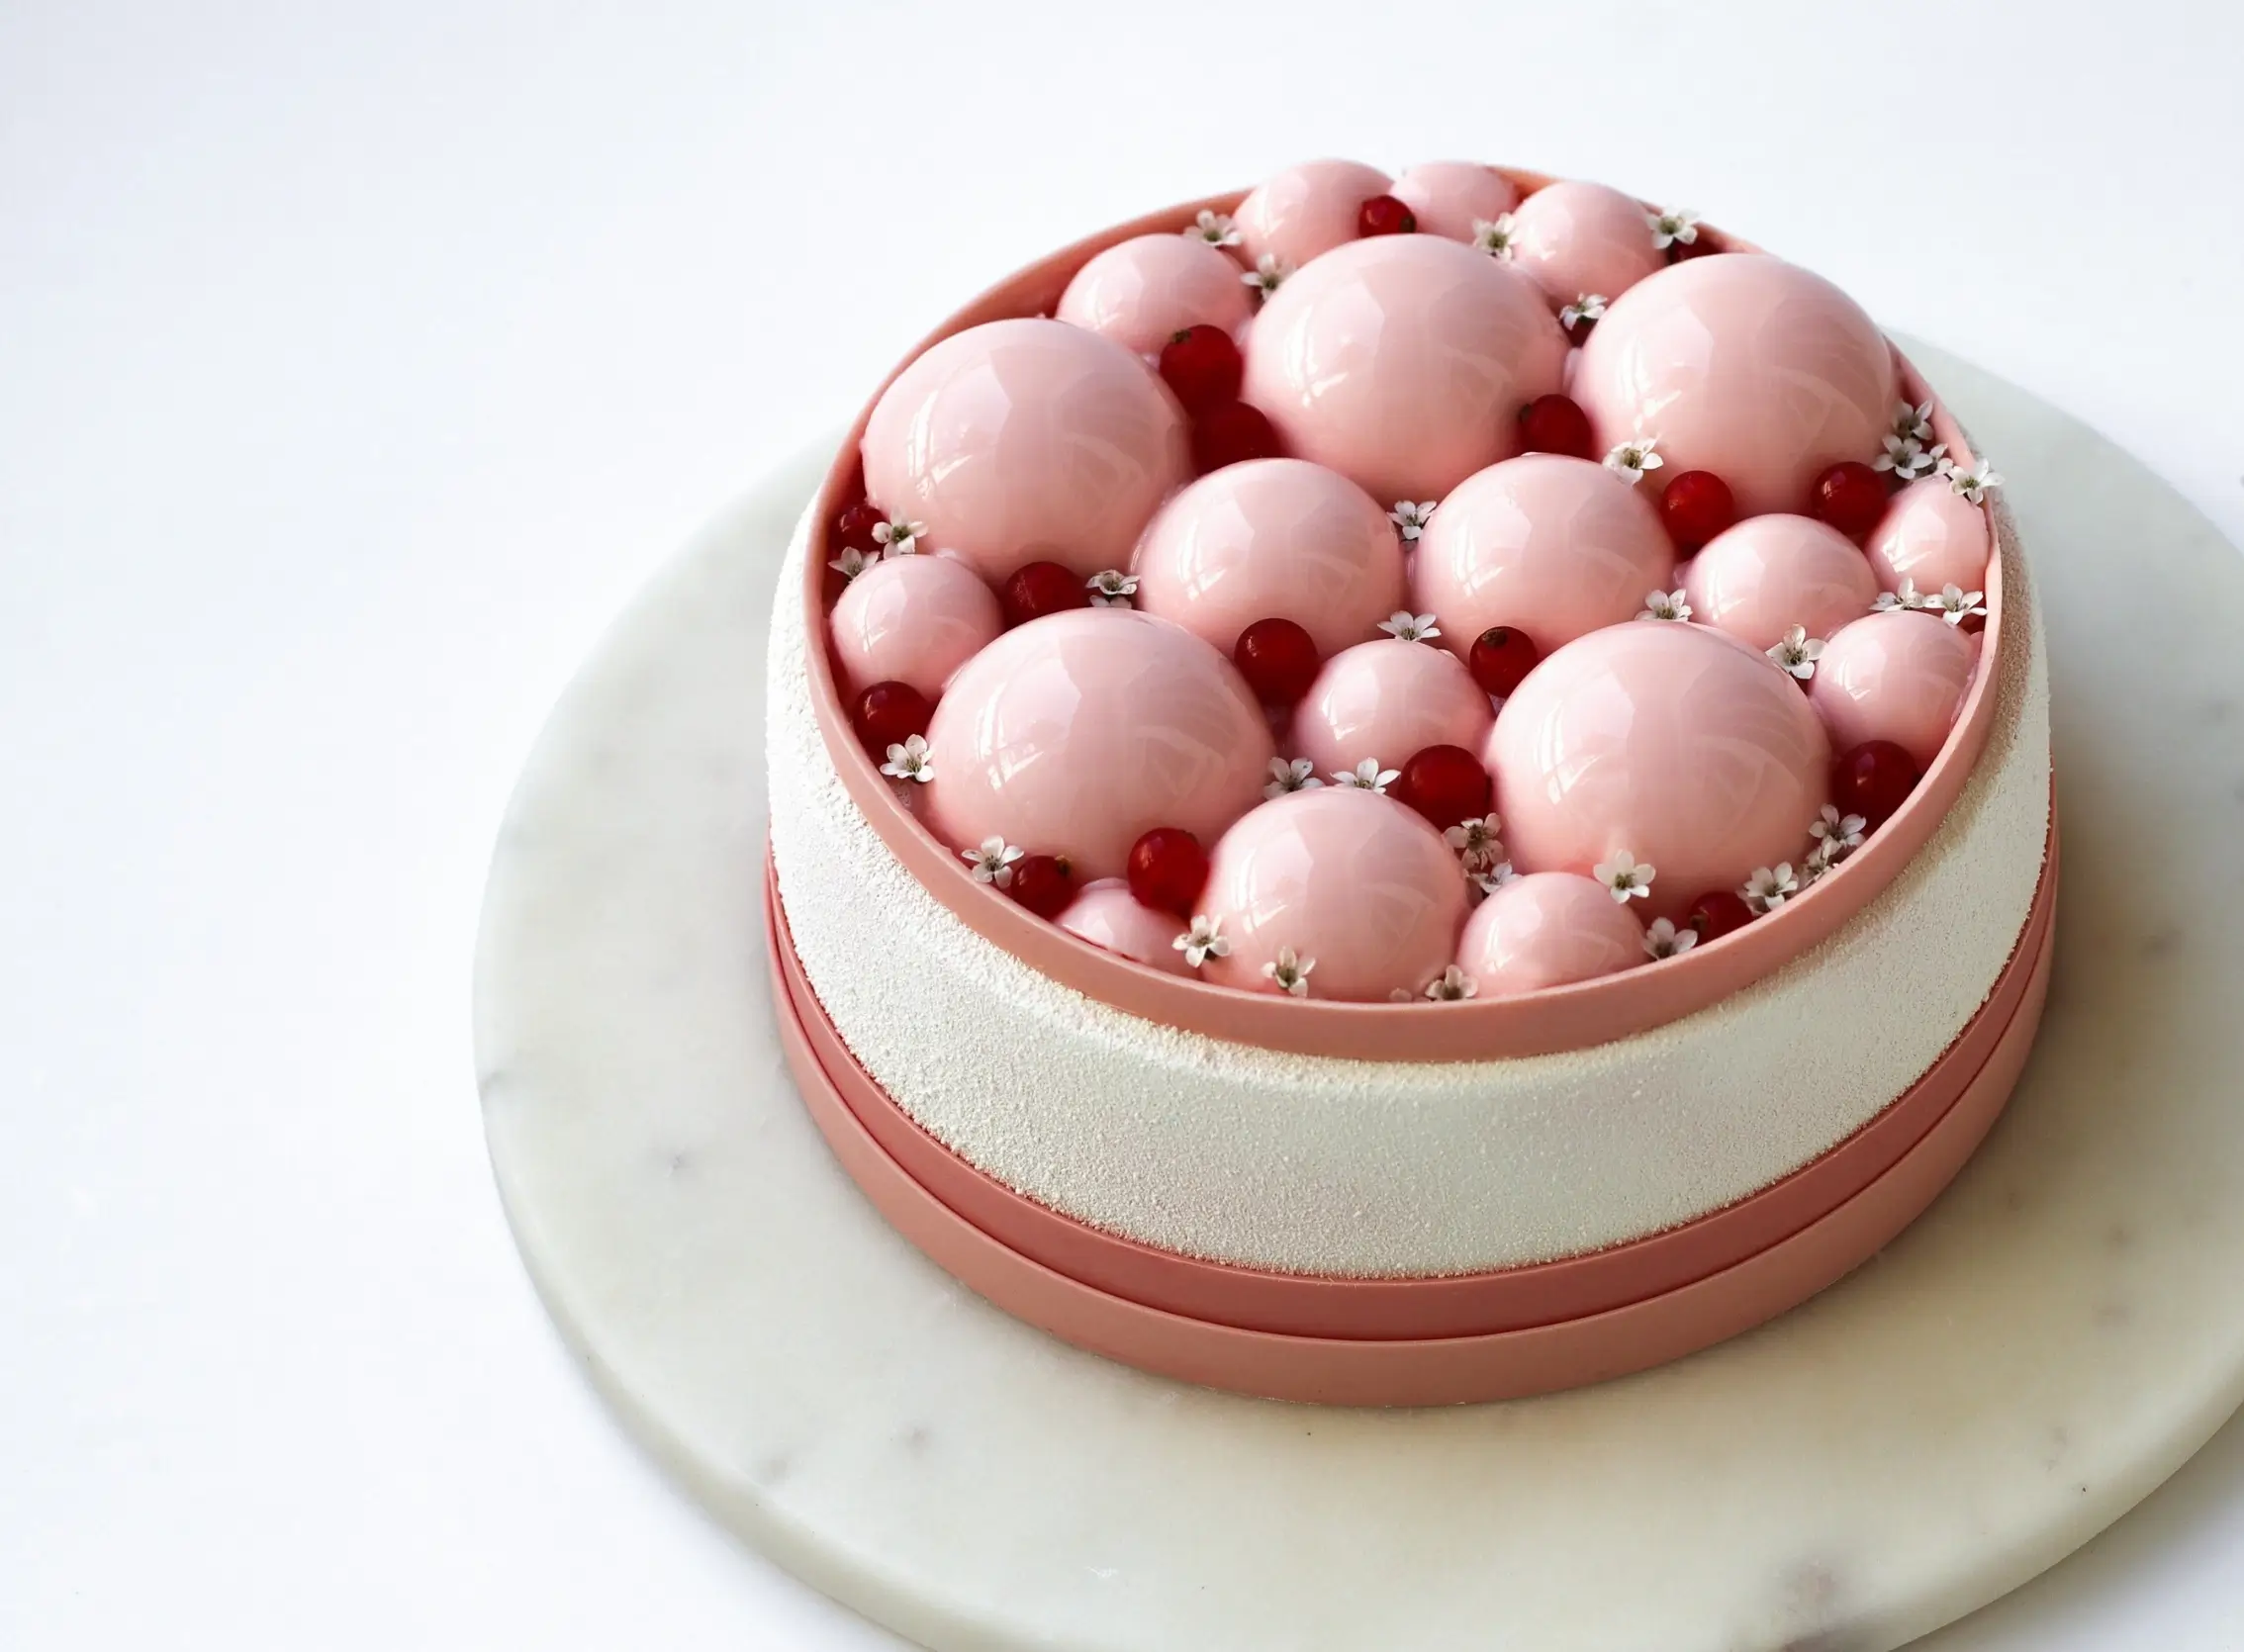
- Right after the mousse domes have been glazed, place them on top of the cake inside the chocolate ribbon.
- Decorate with fresh red currants and flowers.