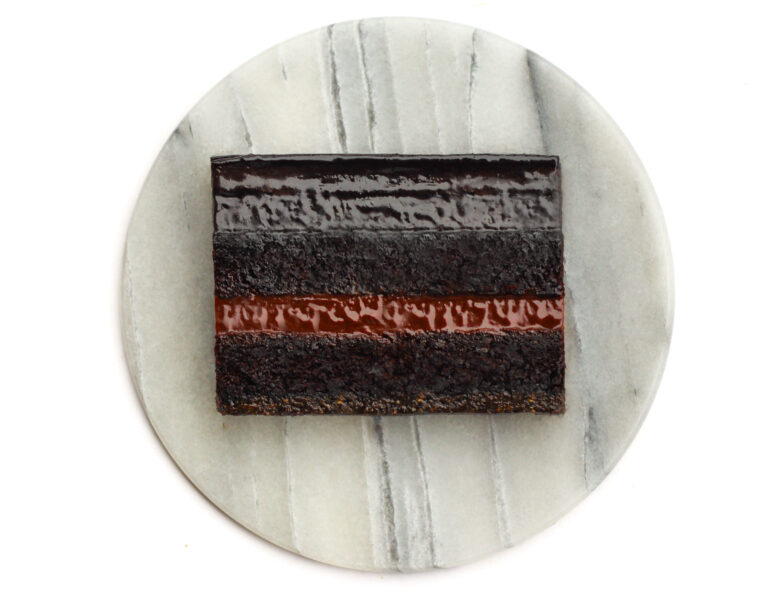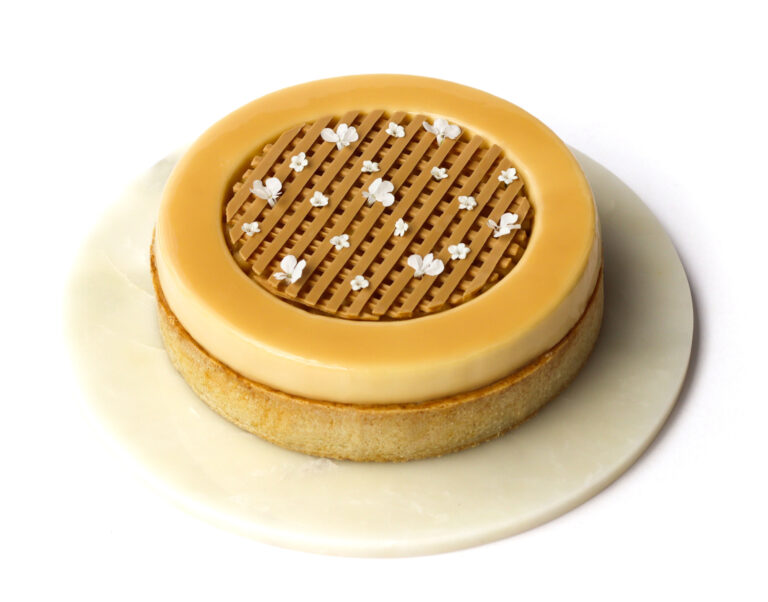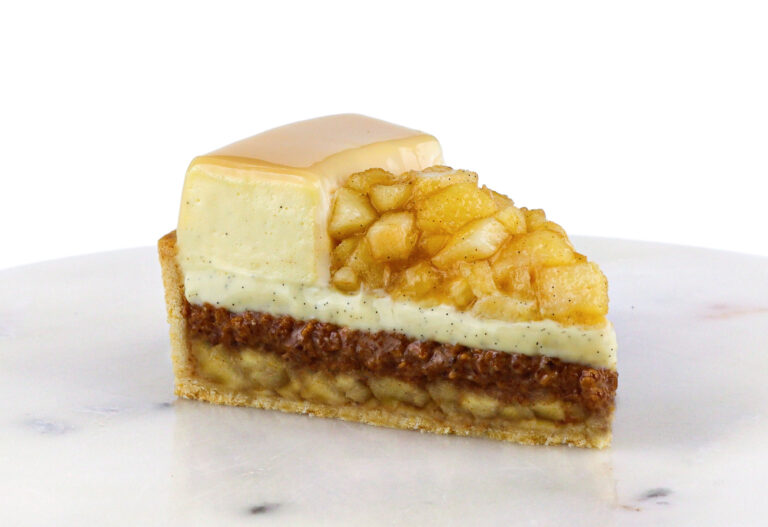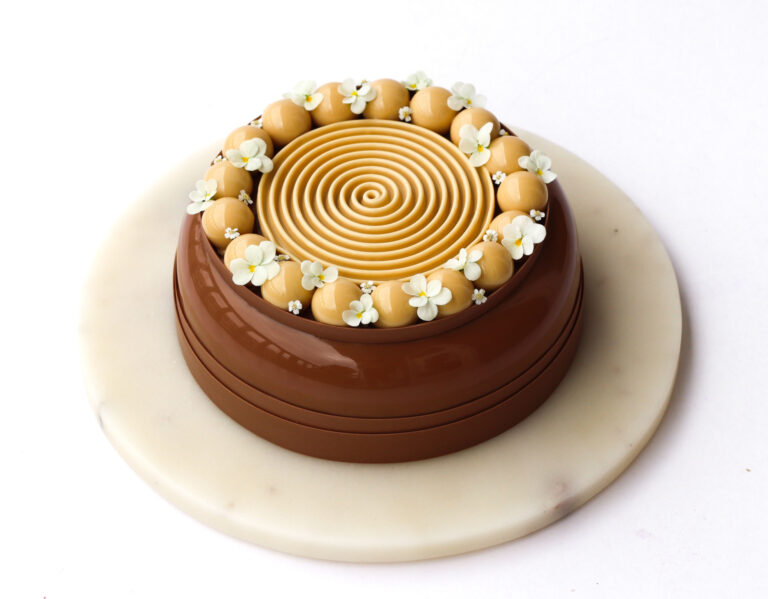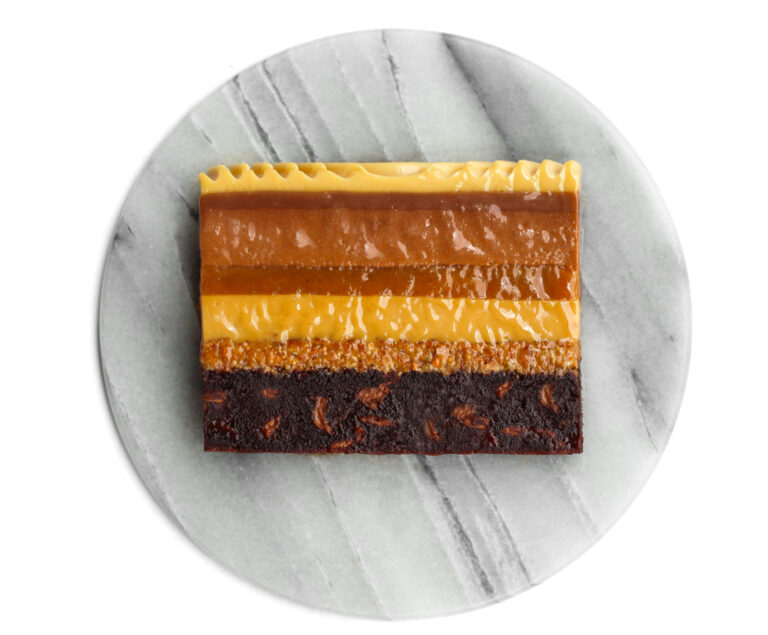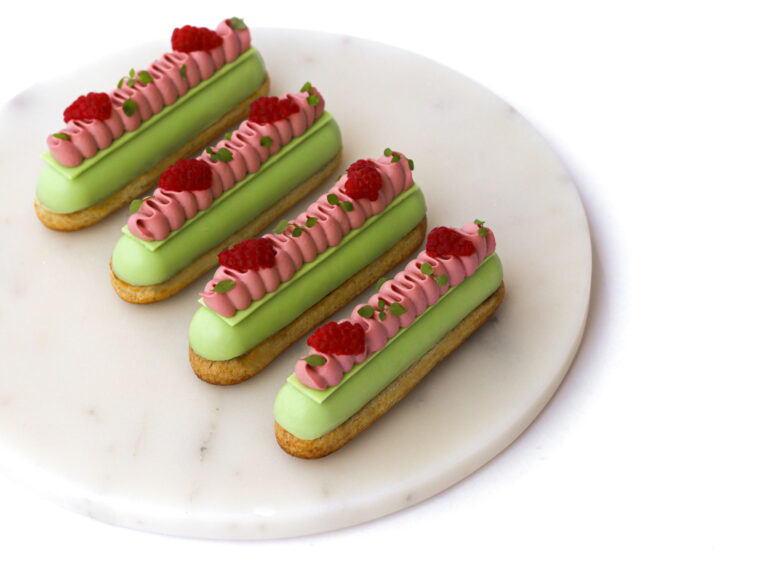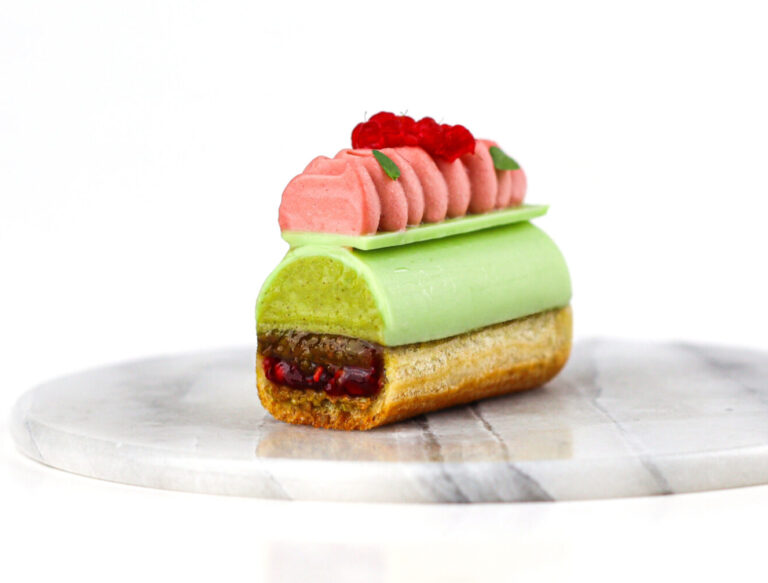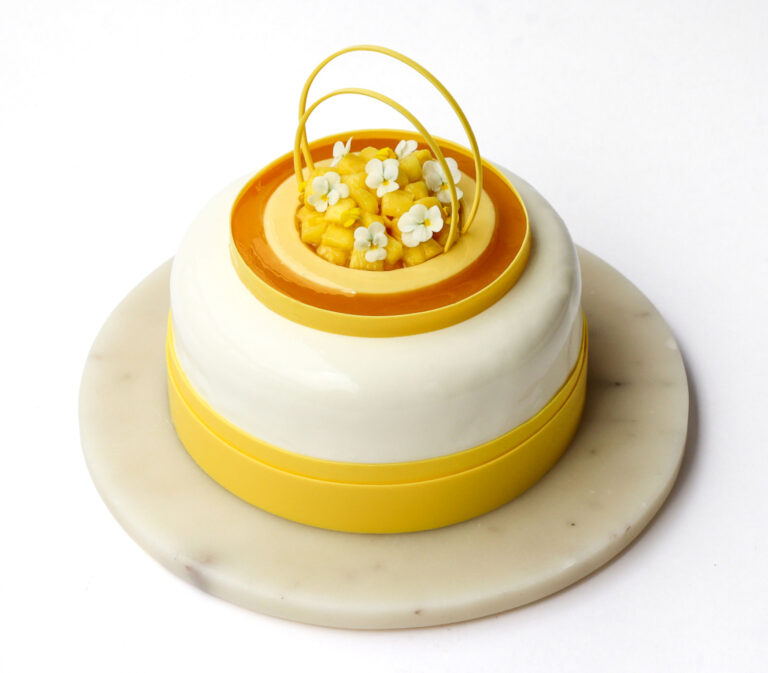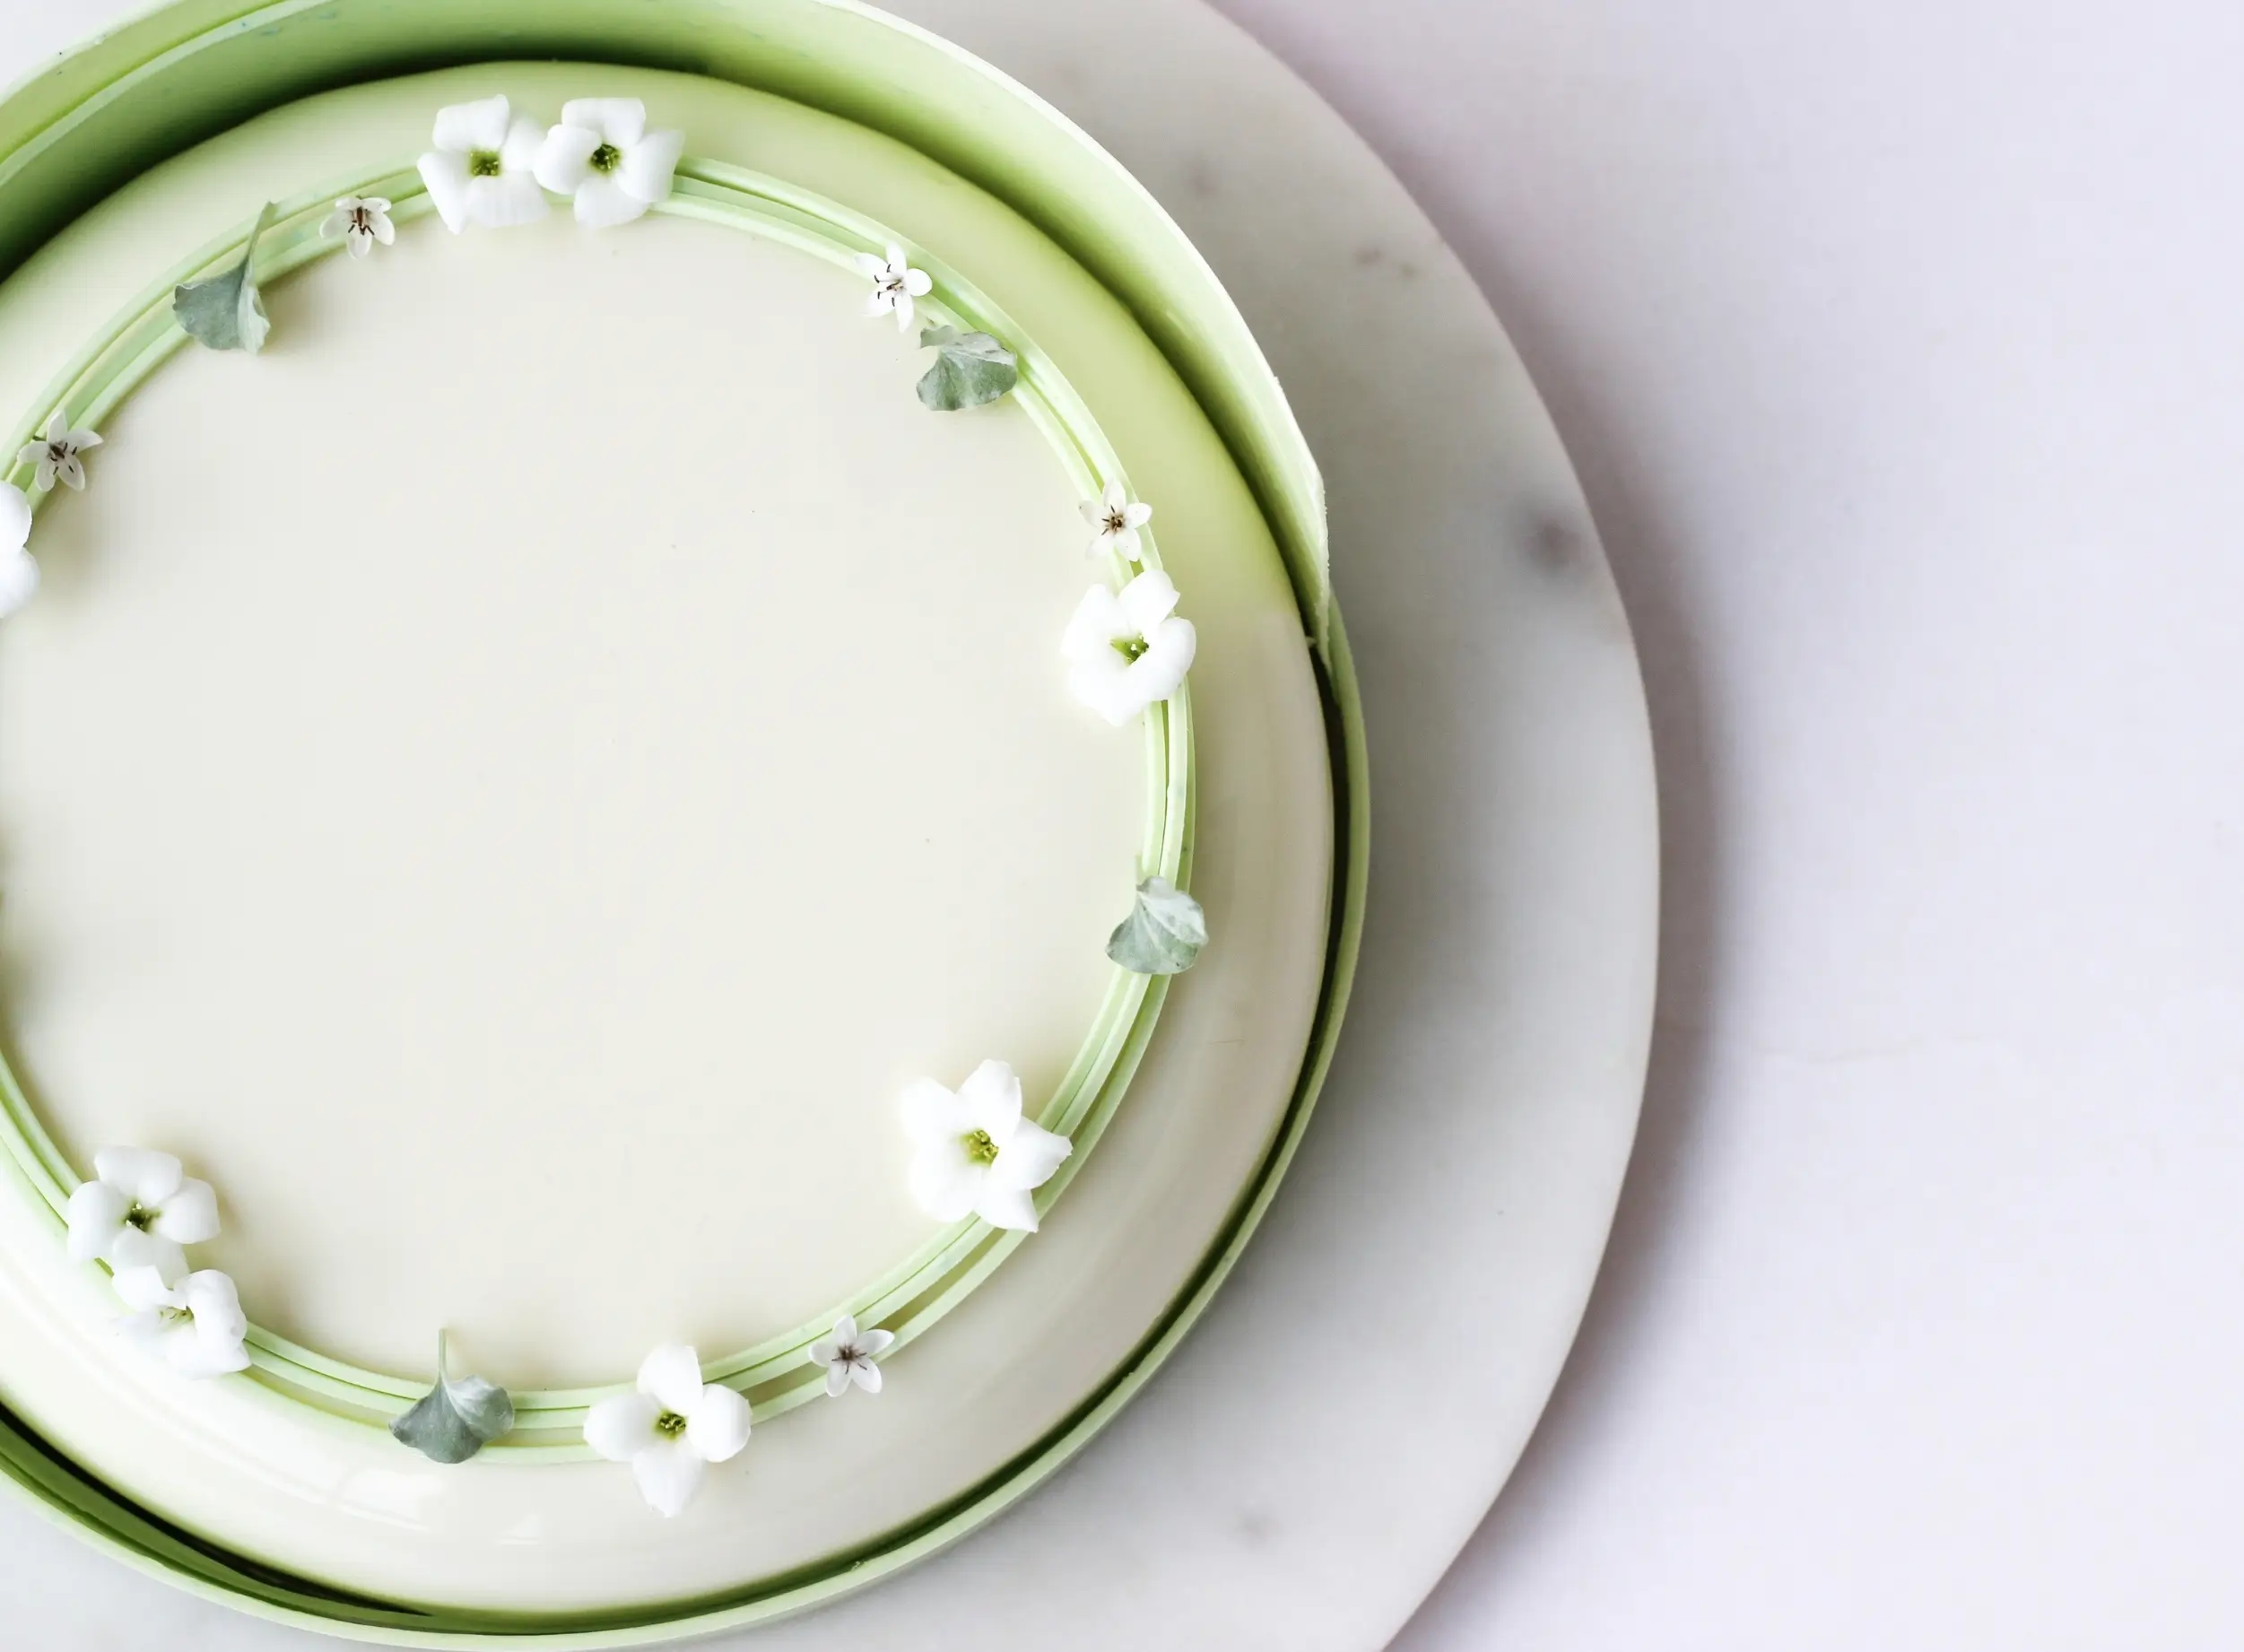

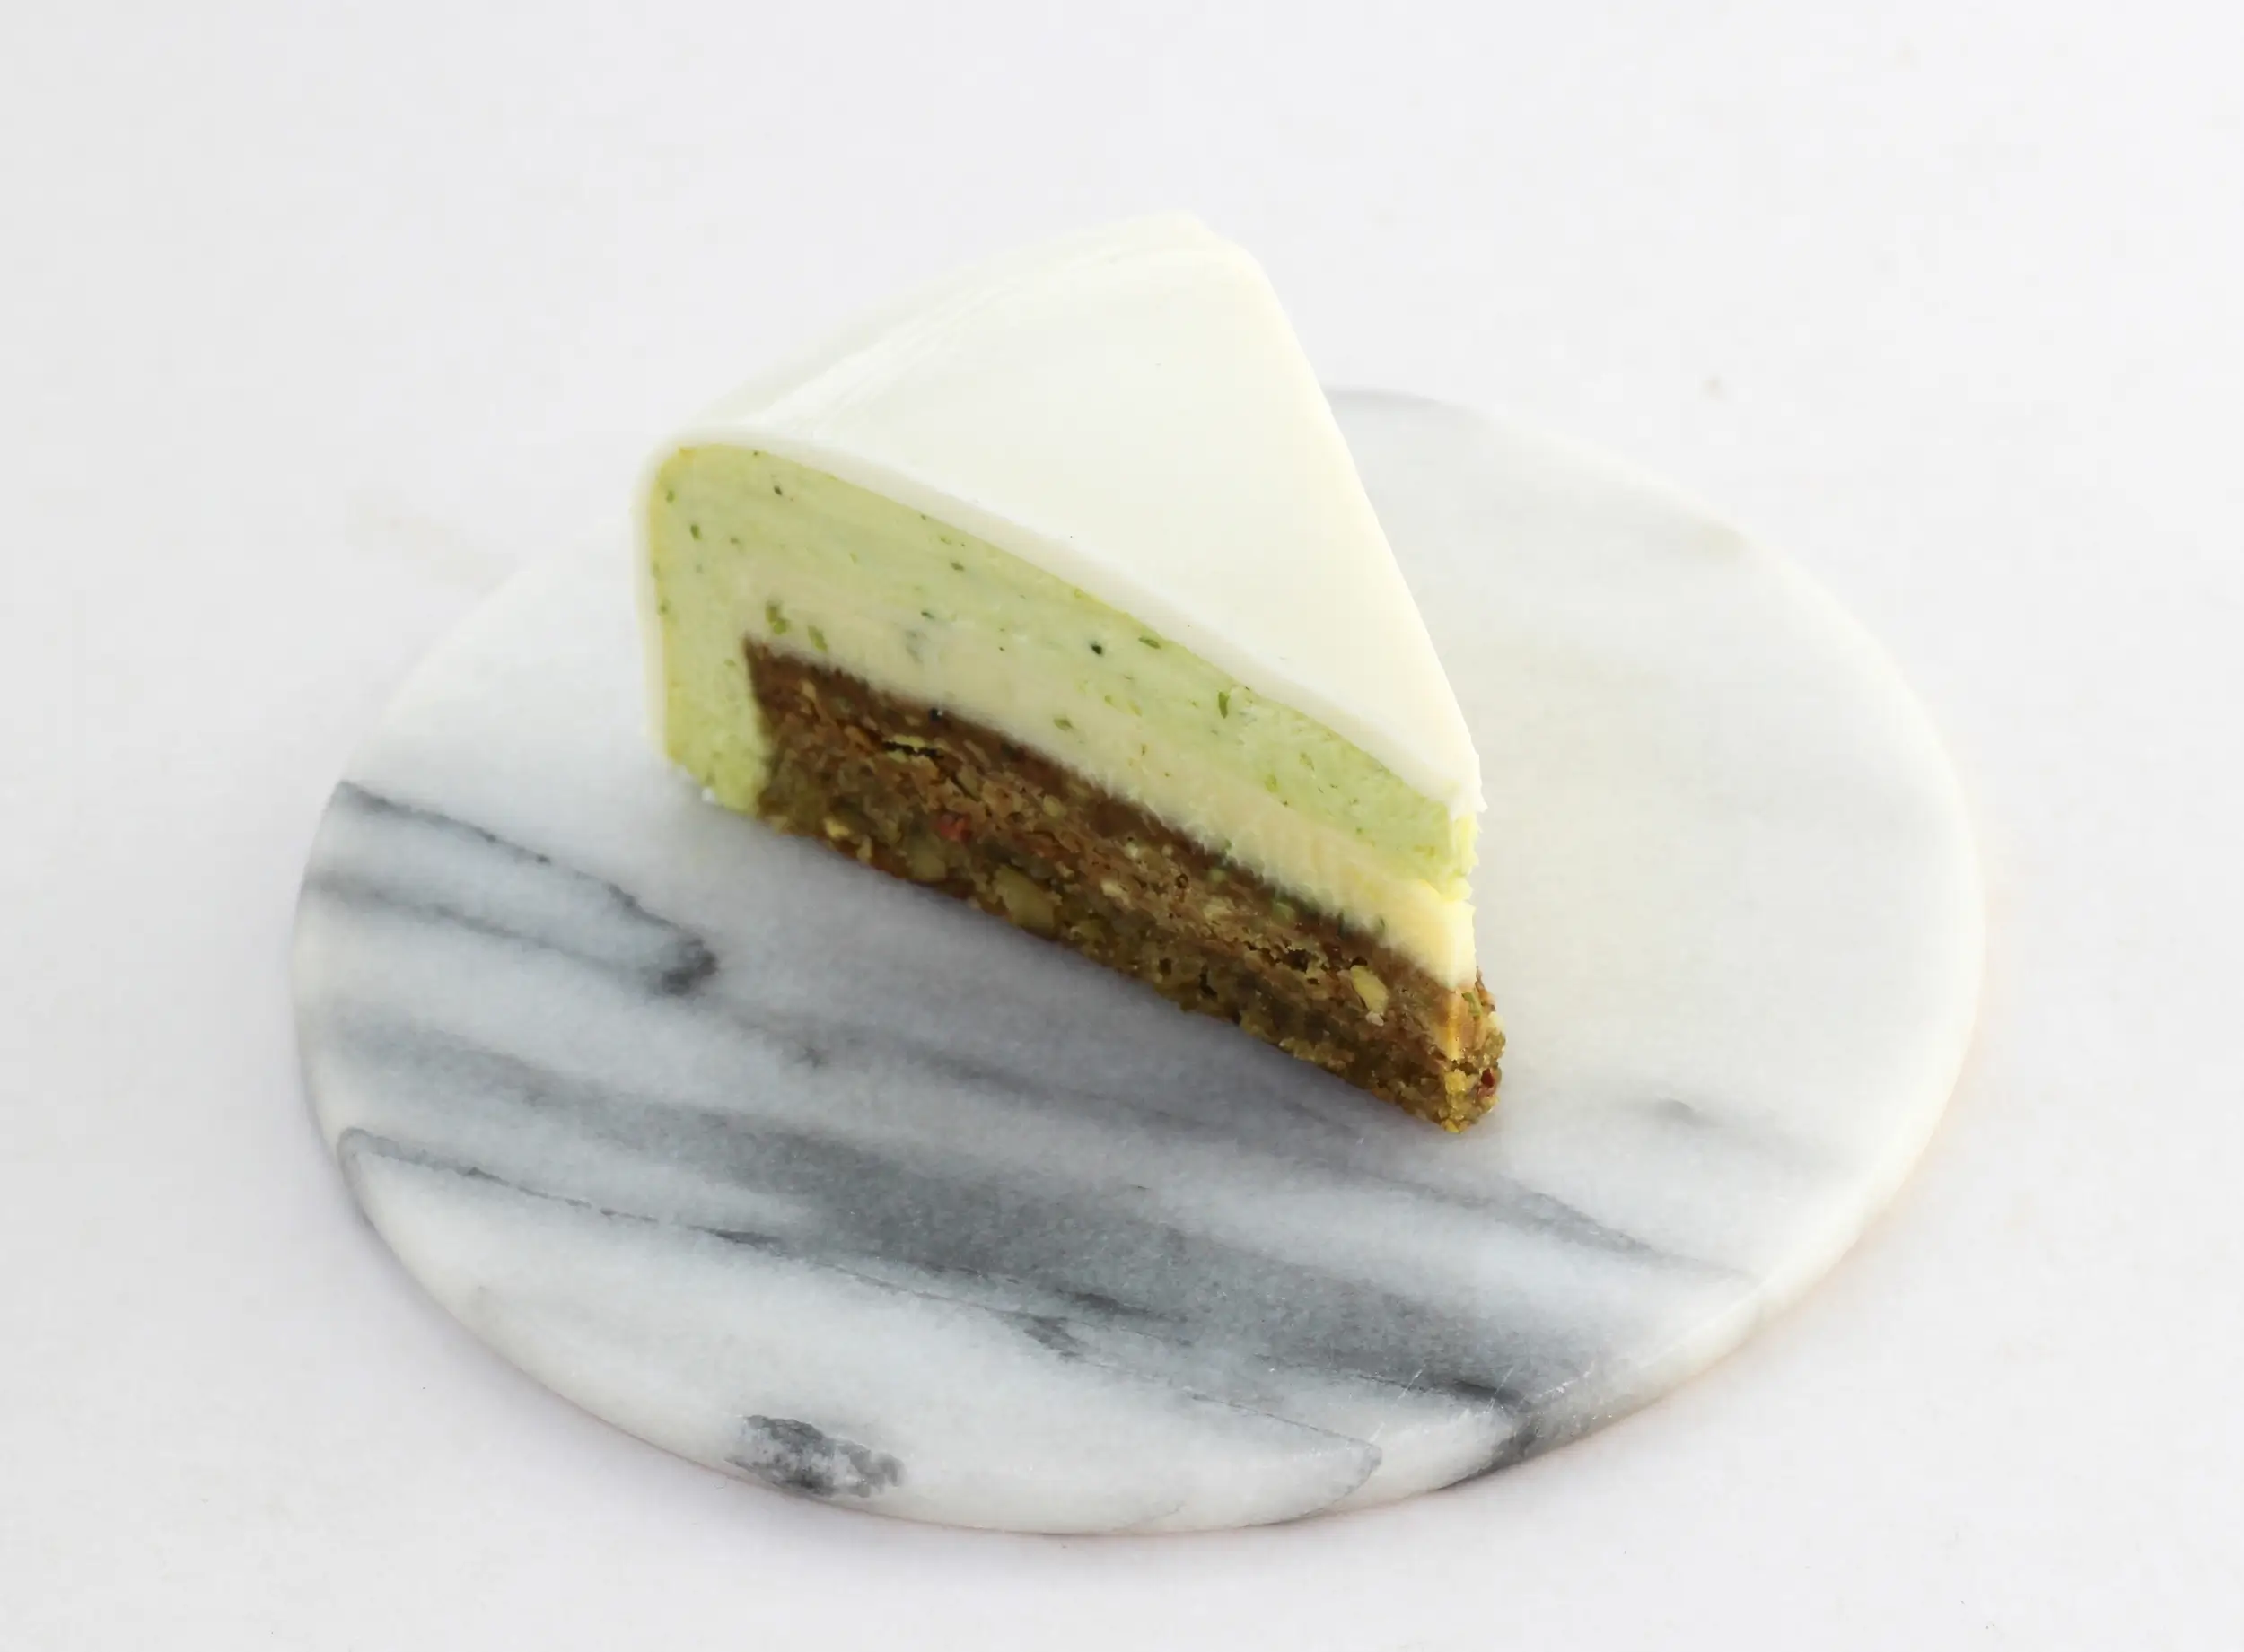
If you haven’t tried basil in pastry, you really should! It tastes amazing, especially in combination with pistachio and white chocolate. The result is a very fresh cake with a special twist!
Happy baking <3

Day 1
Pistachio Cake:
- 40 g white chocolate (28%)
- 80 g caster sugar
- 100 g eggs (approx. 2 medium eggs)
- 20 g almond flour
- 60 g pistachio flour
- zest of 0.5 organic lime
- a pinch of salt
- Roast the pistachios at 175°C / 347°F for approximately 5–7 minutes. Let them cool and blend them into flour in a food processor.
- Carefully melt the chocolate (for example in a bowl over a pan of simmering water) and set it aside in a bowl.
- Separate the eggs, with the egg yolks in one bowl and the egg whites in another.
- Whisk the egg yolks and sugar until light and airy.
- Whip the egg whites to soft peaks.
- Mix the chocolate, almond flour, pistachio flour, lime zest and salt into the egg yolk and sugar mixture. The batter will be thick.
- Carefully fold the egg whites into the batter until it has a looser, even consistency.
- Pour the batter into a springform pan or pastry ring (16 cm in diameter) lined with parchment paper.
- Bake the cake at 175°C / 347°F for approximately 14–17 minutes until lightly golden.
- Let the cake cool. Place it in a clean pastry ring (16 cm in diameter) lined with an acetate sheet at the sides and parchment paper at the bottom.
Tips & Notes:
- If baking with pastry rings, use two rings of different sizes and place a piece of parchment paper in between to keep the batter contained.
Day 1
Pistachio Croustillant:
- 80 g roasted pistachio nuts without shell
- 100 g caster sugar
- 60 g white chocolate (28%)
- 2.5 tbsp dulce de leche / salted caramel sauce (store-bought or homemade)
- Roast the pistachios at 175°C / 347°F for approximately 5–7 minutes.
- Carefully melt the sugar to a golden caramel in a small saucepan. Immediately add the pistachios and pour the caramelized nuts onto a piece of parchment paper. Let them cool.
- Blend two-thirds of the nuts into a pistachio flour in a food processor. Finely chop the rest of the nuts.
- Carefully melt the chocolate (for example in a bowl over a pan of simmering water) and set it aside in a bowl.
- Mix the pistachio flour, chopped pistachios, dulce de leche and a pinch of sea salt into the chocolate.
- Spread the croustillant over the pistachio cake.
- Let the cake set in the freezer while you prepare the next layer.
Tips & Notes:
- Don’t chop the nuts too finely, as this will reduce the crunch effect.
- Level the surface with a glass or a spoon.
Day 1
Lime Ganache:
- 170 g white chocolate (28%)
- 70 ml heavy cream (min. 35%)
- 5 tbsp lime juice
- zest of 1 organic lime
- Carefully melt the white chocolate (for example in a bowl over a pan of simmering water) and set it aside in a bowl.
- Heat the heavy cream until almost boiling and remove it from the heat.
- Pour the hot cream over the chocolate while stirring in the middle of the bowl with a rubber spatula.
- Stir in the lime juice and lime zest.
- Pour the ganache over the croustillant layer and freeze the cake overnight. It needs to be fully set before the mousse can be added.
Tips & Notes:
- Only heat the cream until almost boiling, as cream that is too hot will seize the chocolate mixture.
- Stir the mixture with a rubber spatula until glossy.
Day 2
Basil Mousse with White Chocolate:
- 2 gelatin sheets (1 sheet = 1.75 g, bloom value 240)
- 145 g white chocolate (28%)
- 65 ml lime juice
- 265 ml heavy cream (min. 35%)
- 20–25 large fresh basil leaves
- Soak the gelatin in cold water for 5–10 minutes.
- Carefully melt the chocolate (for example in a bowl over a pan of simmering water) and set it aside in a bowl.
- Heat 65 ml of heavy cream and the lime juice until almost boiling and remove from the heat. Whisk in the gelatin.
- Pour the hot mixture over the chocolate while stirring in the middle of the bowl with a rubber spatula.
- Grind the fresh basil leaves into a fine purée with a mortar and pestle and mix the basil purée into the chocolate mixture.
- Let it cool to lukewarm.
- Whip 200 ml of heavy cream to soft peaks and gently fold it into the lukewarm chocolate mixture (if it is too hot, the cream may separate).
- Prepare an 18 cm silicone mold (I used a Silikomart Universo mold) lined with an acetate sheet, as the cake will be taller than the mold. Make sure to place the acetate sheet at the bottom of the mold (the side that faces up).
- Pour the mousse into the mold.
- Gently press the frozen cake down into the basil mousse with the lime ganache facing down.
- Freeze the cake overnight.
Tips & Notes:
- Only heat the cream until almost boiling before pouring it over the chocolate, to avoid seizing the chocolate.
- Whip the heavy cream to soft peaks, as overwhipped cream can result in a dense and grainy mousse.
Day 3
Glaze:
- 6 gelatin sheets (1 sheet = 1.75 g, bloom value 240)
- 150 g white chocolate (28%)
- 110 ml heavy cream (min. 35%)
- 50 g water
- 140 g caster sugar
- 150 g glucose syrup
- white food coloring paste
- Soak the gelatin in cold water for 5–10 minutes.
- Finely chop the white chocolate and put it in a large plastic pitcher.
- Heat the sugar, water, heavy cream and glucose syrup in a saucepan until almost boiling and remove from the heat. Whisk in the gelatin.
- Pour the hot mixture over the chocolate in the pitcher and blend with an immersion blender (hold the immersion blender at an angle to avoid air bubbles). Add the white food coloring paste.
- Cover the surface with cling film and let the glaze cool to 34–35°C / 93–95°F.
- Take the cake out of the freezer just before glazing. Place it on a cooling rack with parchment paper underneath.
- Pour the glaze over the frozen cake. Use two palette knives to remove the excess glaze from the bottom of the cake.
- Place the cake on a plate and let it thaw in the fridge for approximately 6 hours.
Tips & Notes:
- Let the hot mixture sit for 30 seconds so the chocolate can melt a little.
- Insert the immersion blender in the jug at an angle to prevent creating air bubbles.
- The cake needs to be completely frozen when the glaze is poured on. If the correct temperatures have been met, you’ll get a perfectly shiny mirror glaze.
Day 3
Chocolate Spirals and Chocolate Rings:
- 350 g white chocolate (28%)
- green and blue food coloring powder
- flowers (edible or secured with safety seal / edible wax)
- glucose syrup
Cut three acetate sheets to the following sizes and place them on the kitchen counter:
- Chocolate spiral 1: 59 cm × 10 cm
- Chocolate spiral 2: 59 cm × 10 cm
- Chocolate rings: 46 cm × 5 cm
Chocolate Spirals:
- Put two pastry rings (2x 18 cm in diameter) in the fridge.
- Cut two acetate strips for the spirals, each 59 cm × 10 cm.
- Temper all the chocolate and add green and a little blue food coloring powder to get a mint green color.
- Pour the chocolate over the two acetate sheets, level the surface with a small palette knife, lift the sheets off the counter and run your fingers along the edges to remove the excess chocolate. Leave them on the counter until almost set.
- Wrap the spirals around the cold pastry rings and put them back in the fridge.
- When the chocolate has set, peel off the acetate sheets.
- Gently place the spirals around the cake.
Chocolate Rings:
- Put a pastry ring (14 cm in diameter) in the fridge.
- Use the remaining tempered chocolate.
- Pour the chocolate over the acetate sheet and level the surface with a small palette knife.
- Run a chocolate scraper over the sheet to create long grooves.
- Leave the sheet on the kitchen counter until almost set.
- Wrap the sheet around the cold pastry ring (with the chocolate facing inwards) and put it back in the fridge.
- When the chocolate has set, remove the rings from the pastry ring and place a few on top of the cake.
- Decorate with flowers secured with a little glucose syrup.