Ad // The recipe is developed in collaboration with Sugarflair
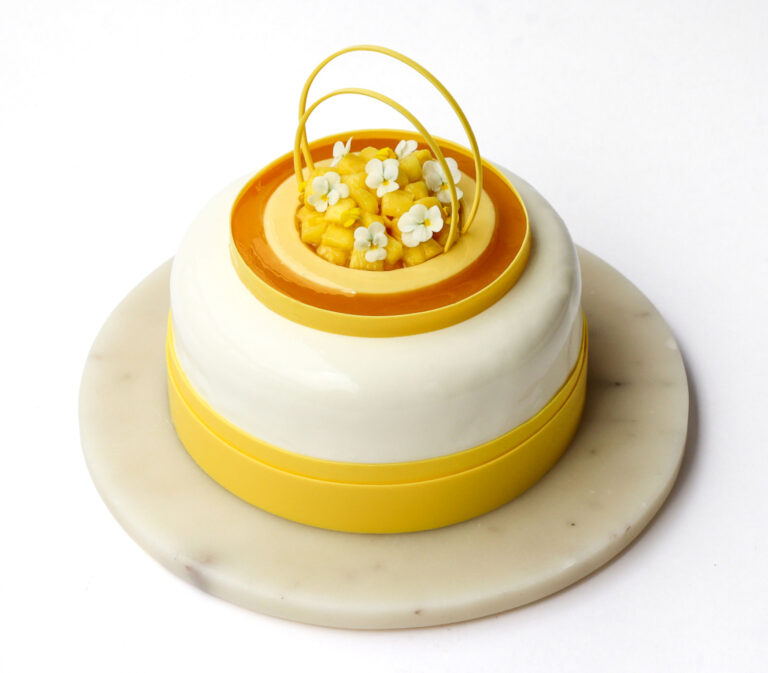
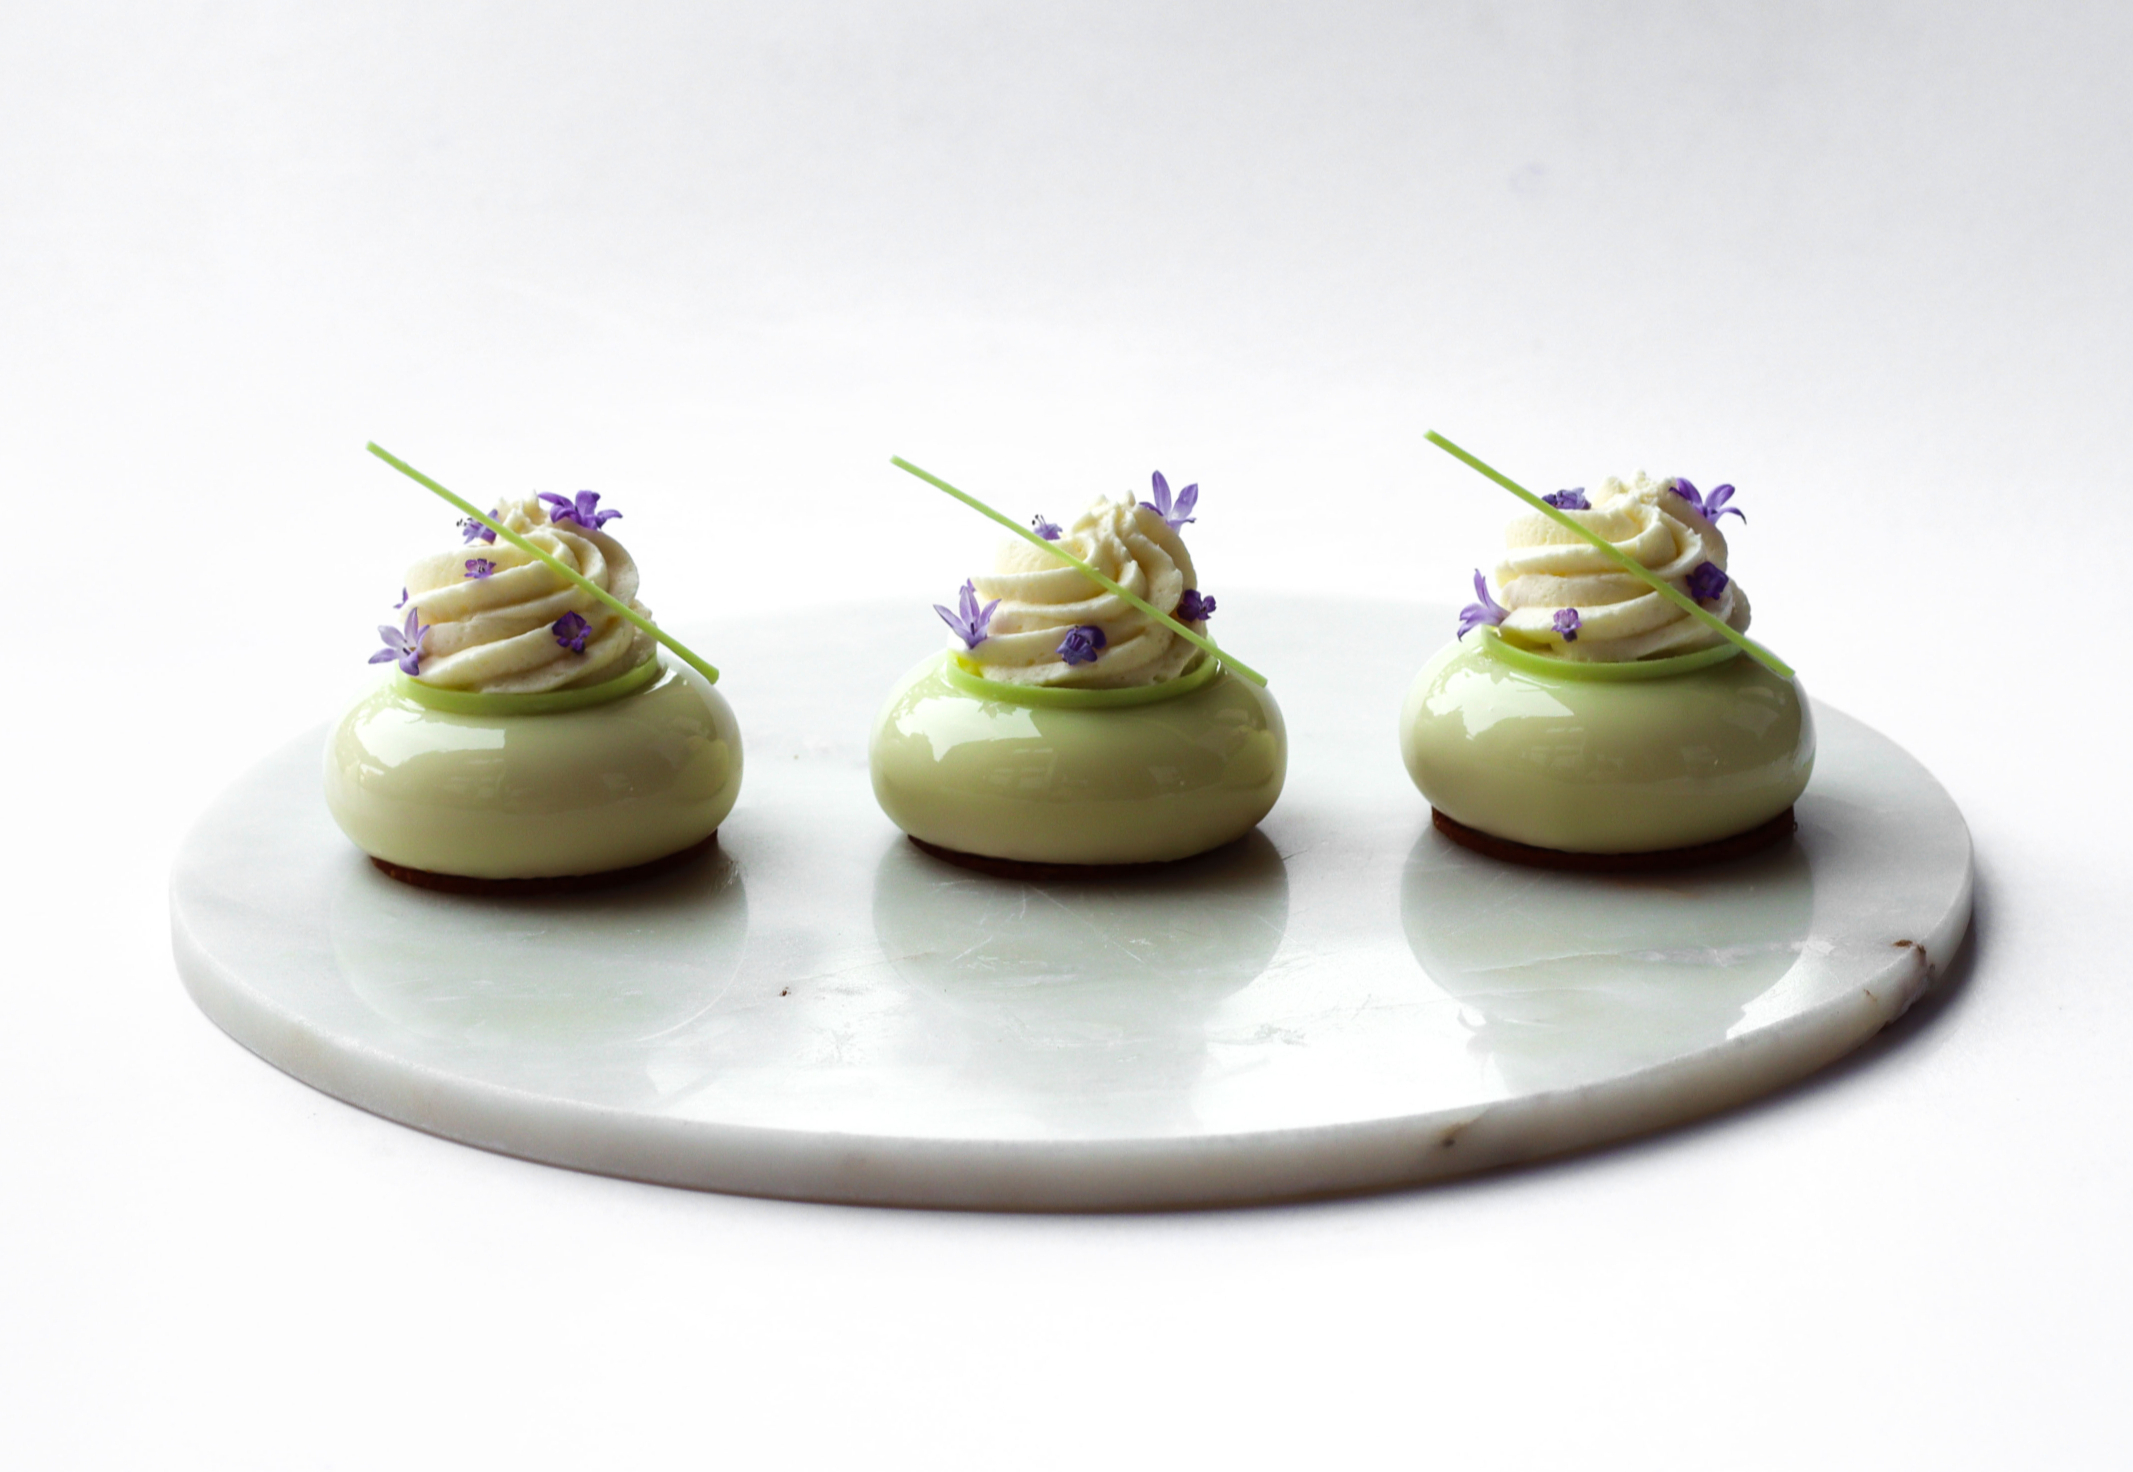
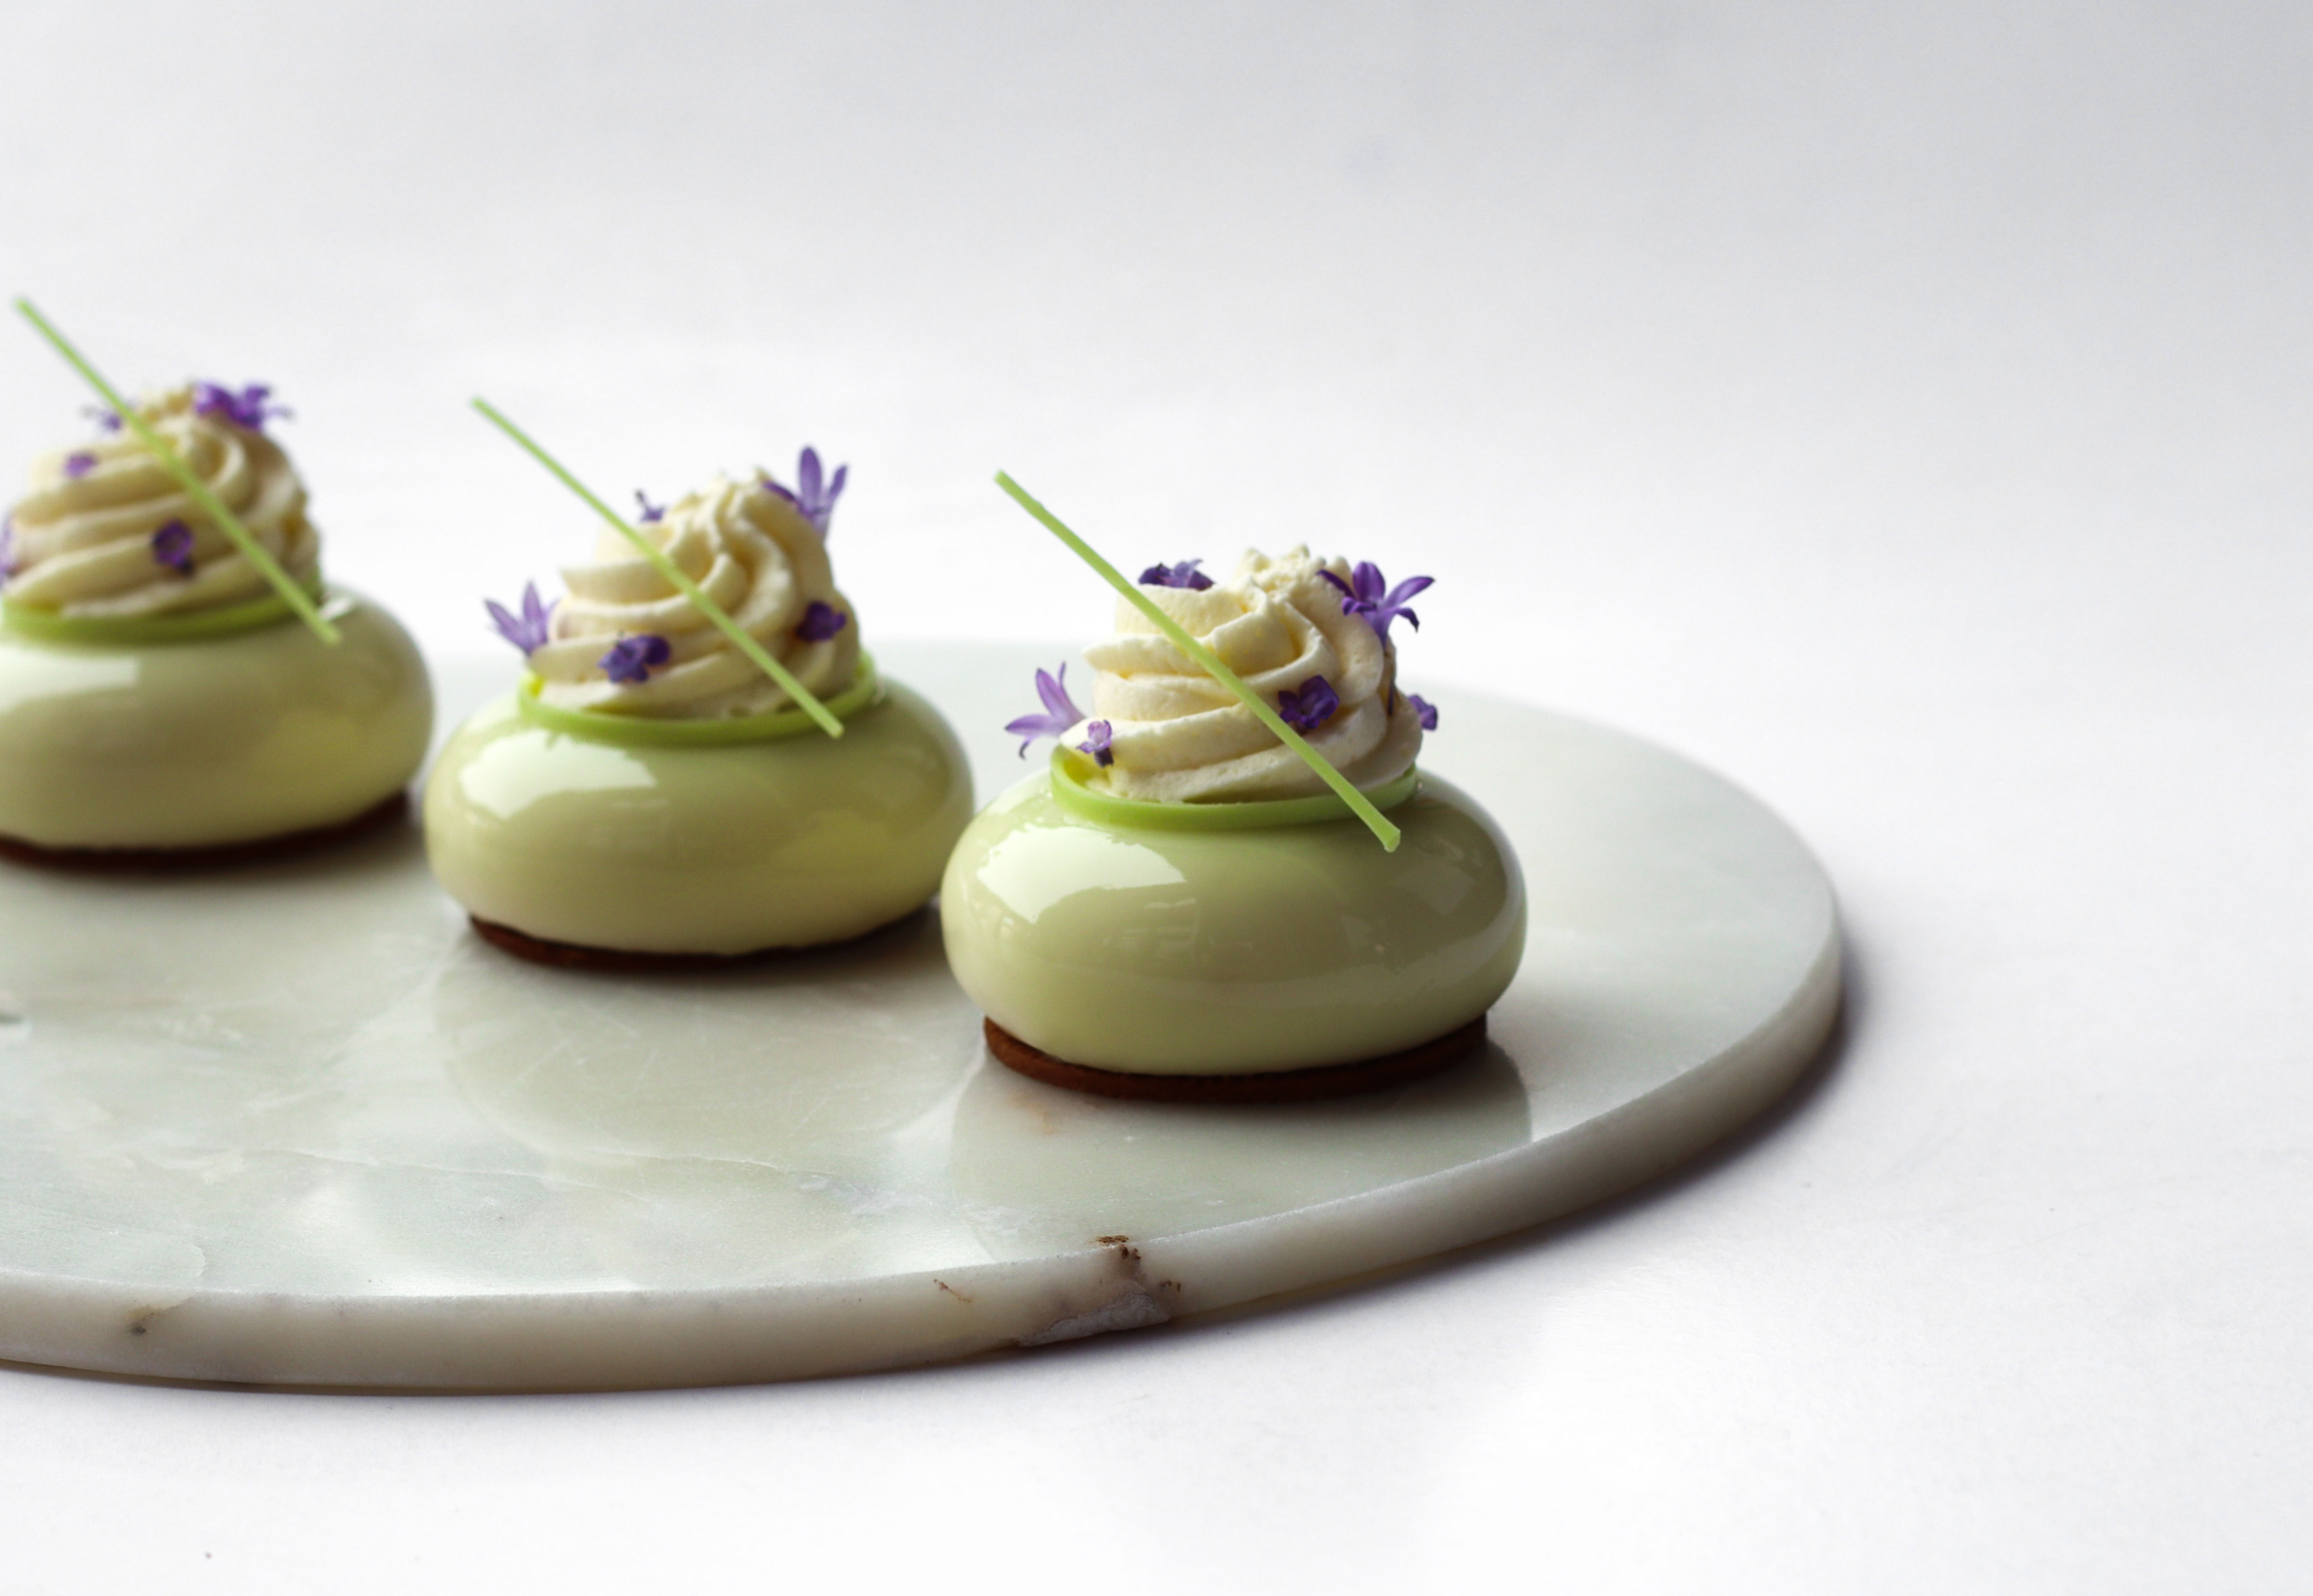
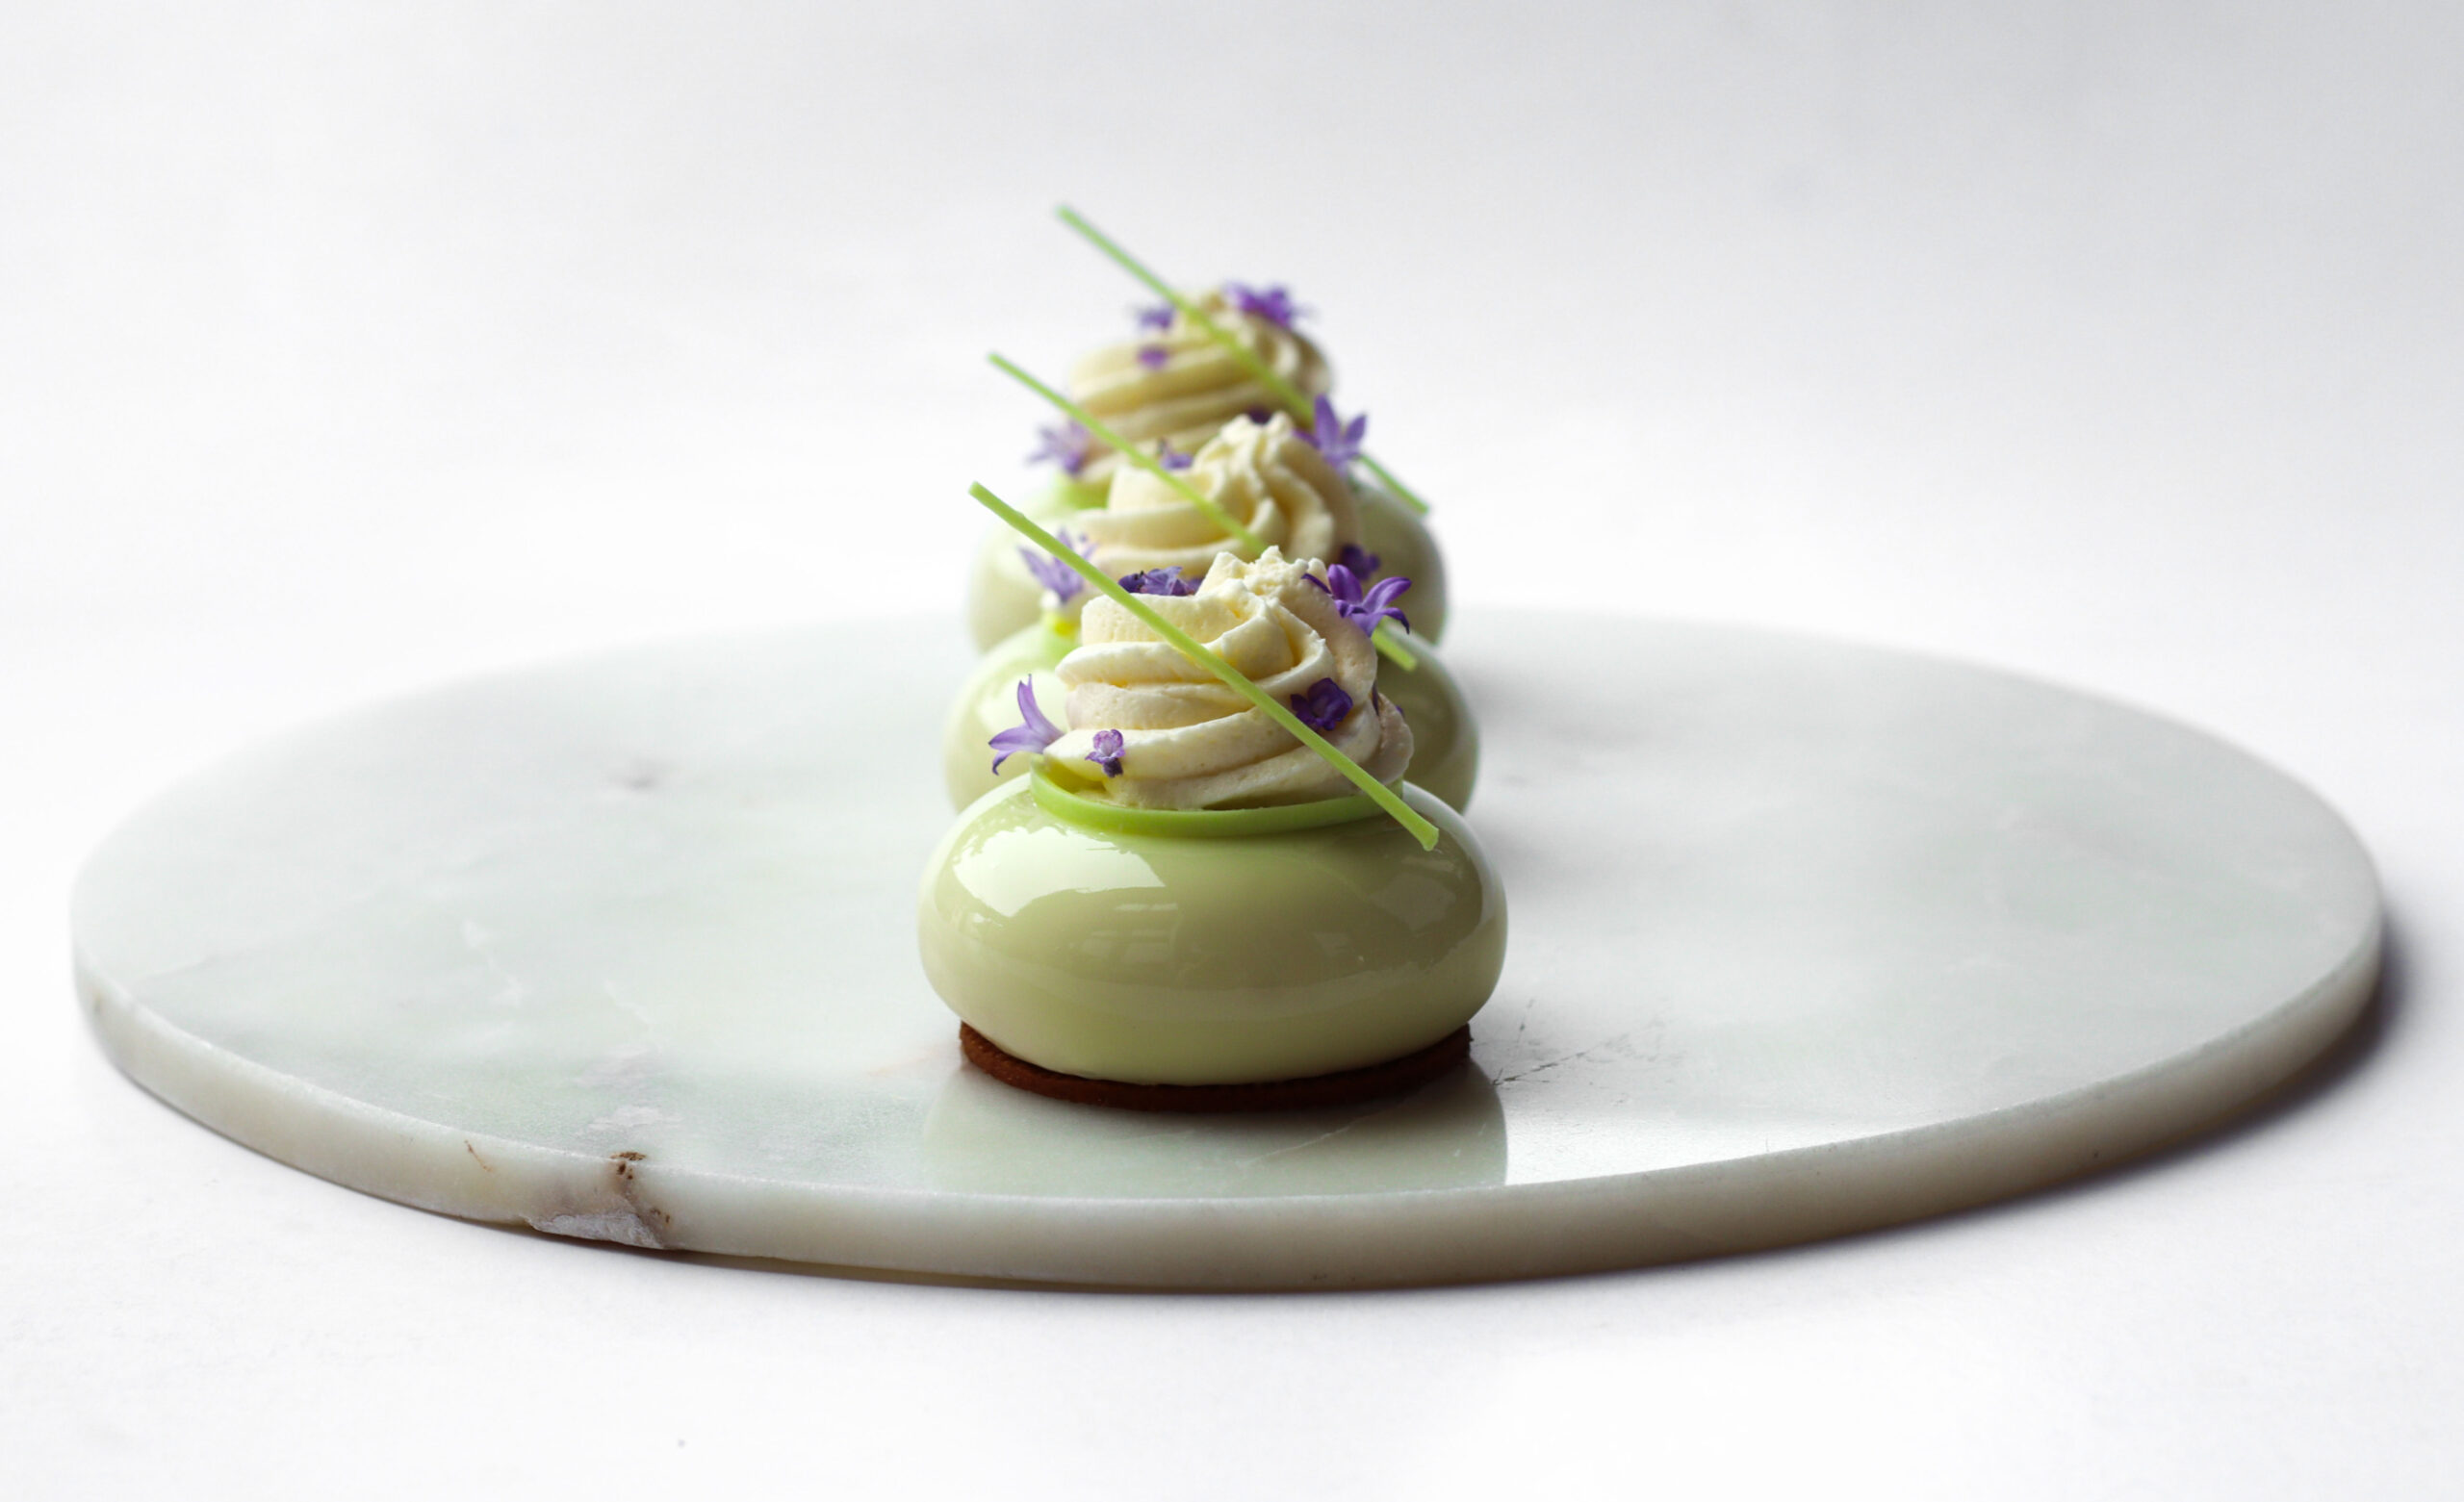
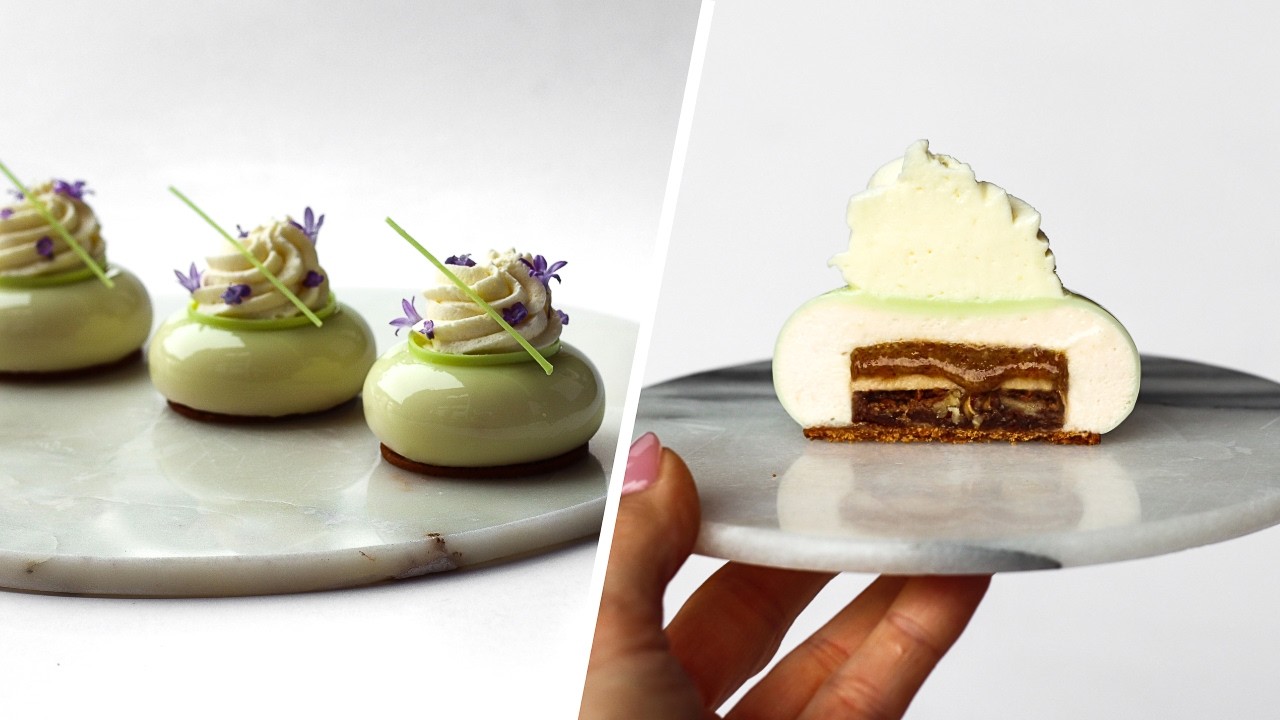
These cute apple pecan cakes truly taste like a spoonful of autumn!
They’re perfect for the season, with lots of apple paired with nutty pecan flavor and a super creamy white chocolate whipped ganache on top.
I love how fresh they taste, and you can really taste the pecans in these cakes! It’s definitely not the last time I’ll be making them.
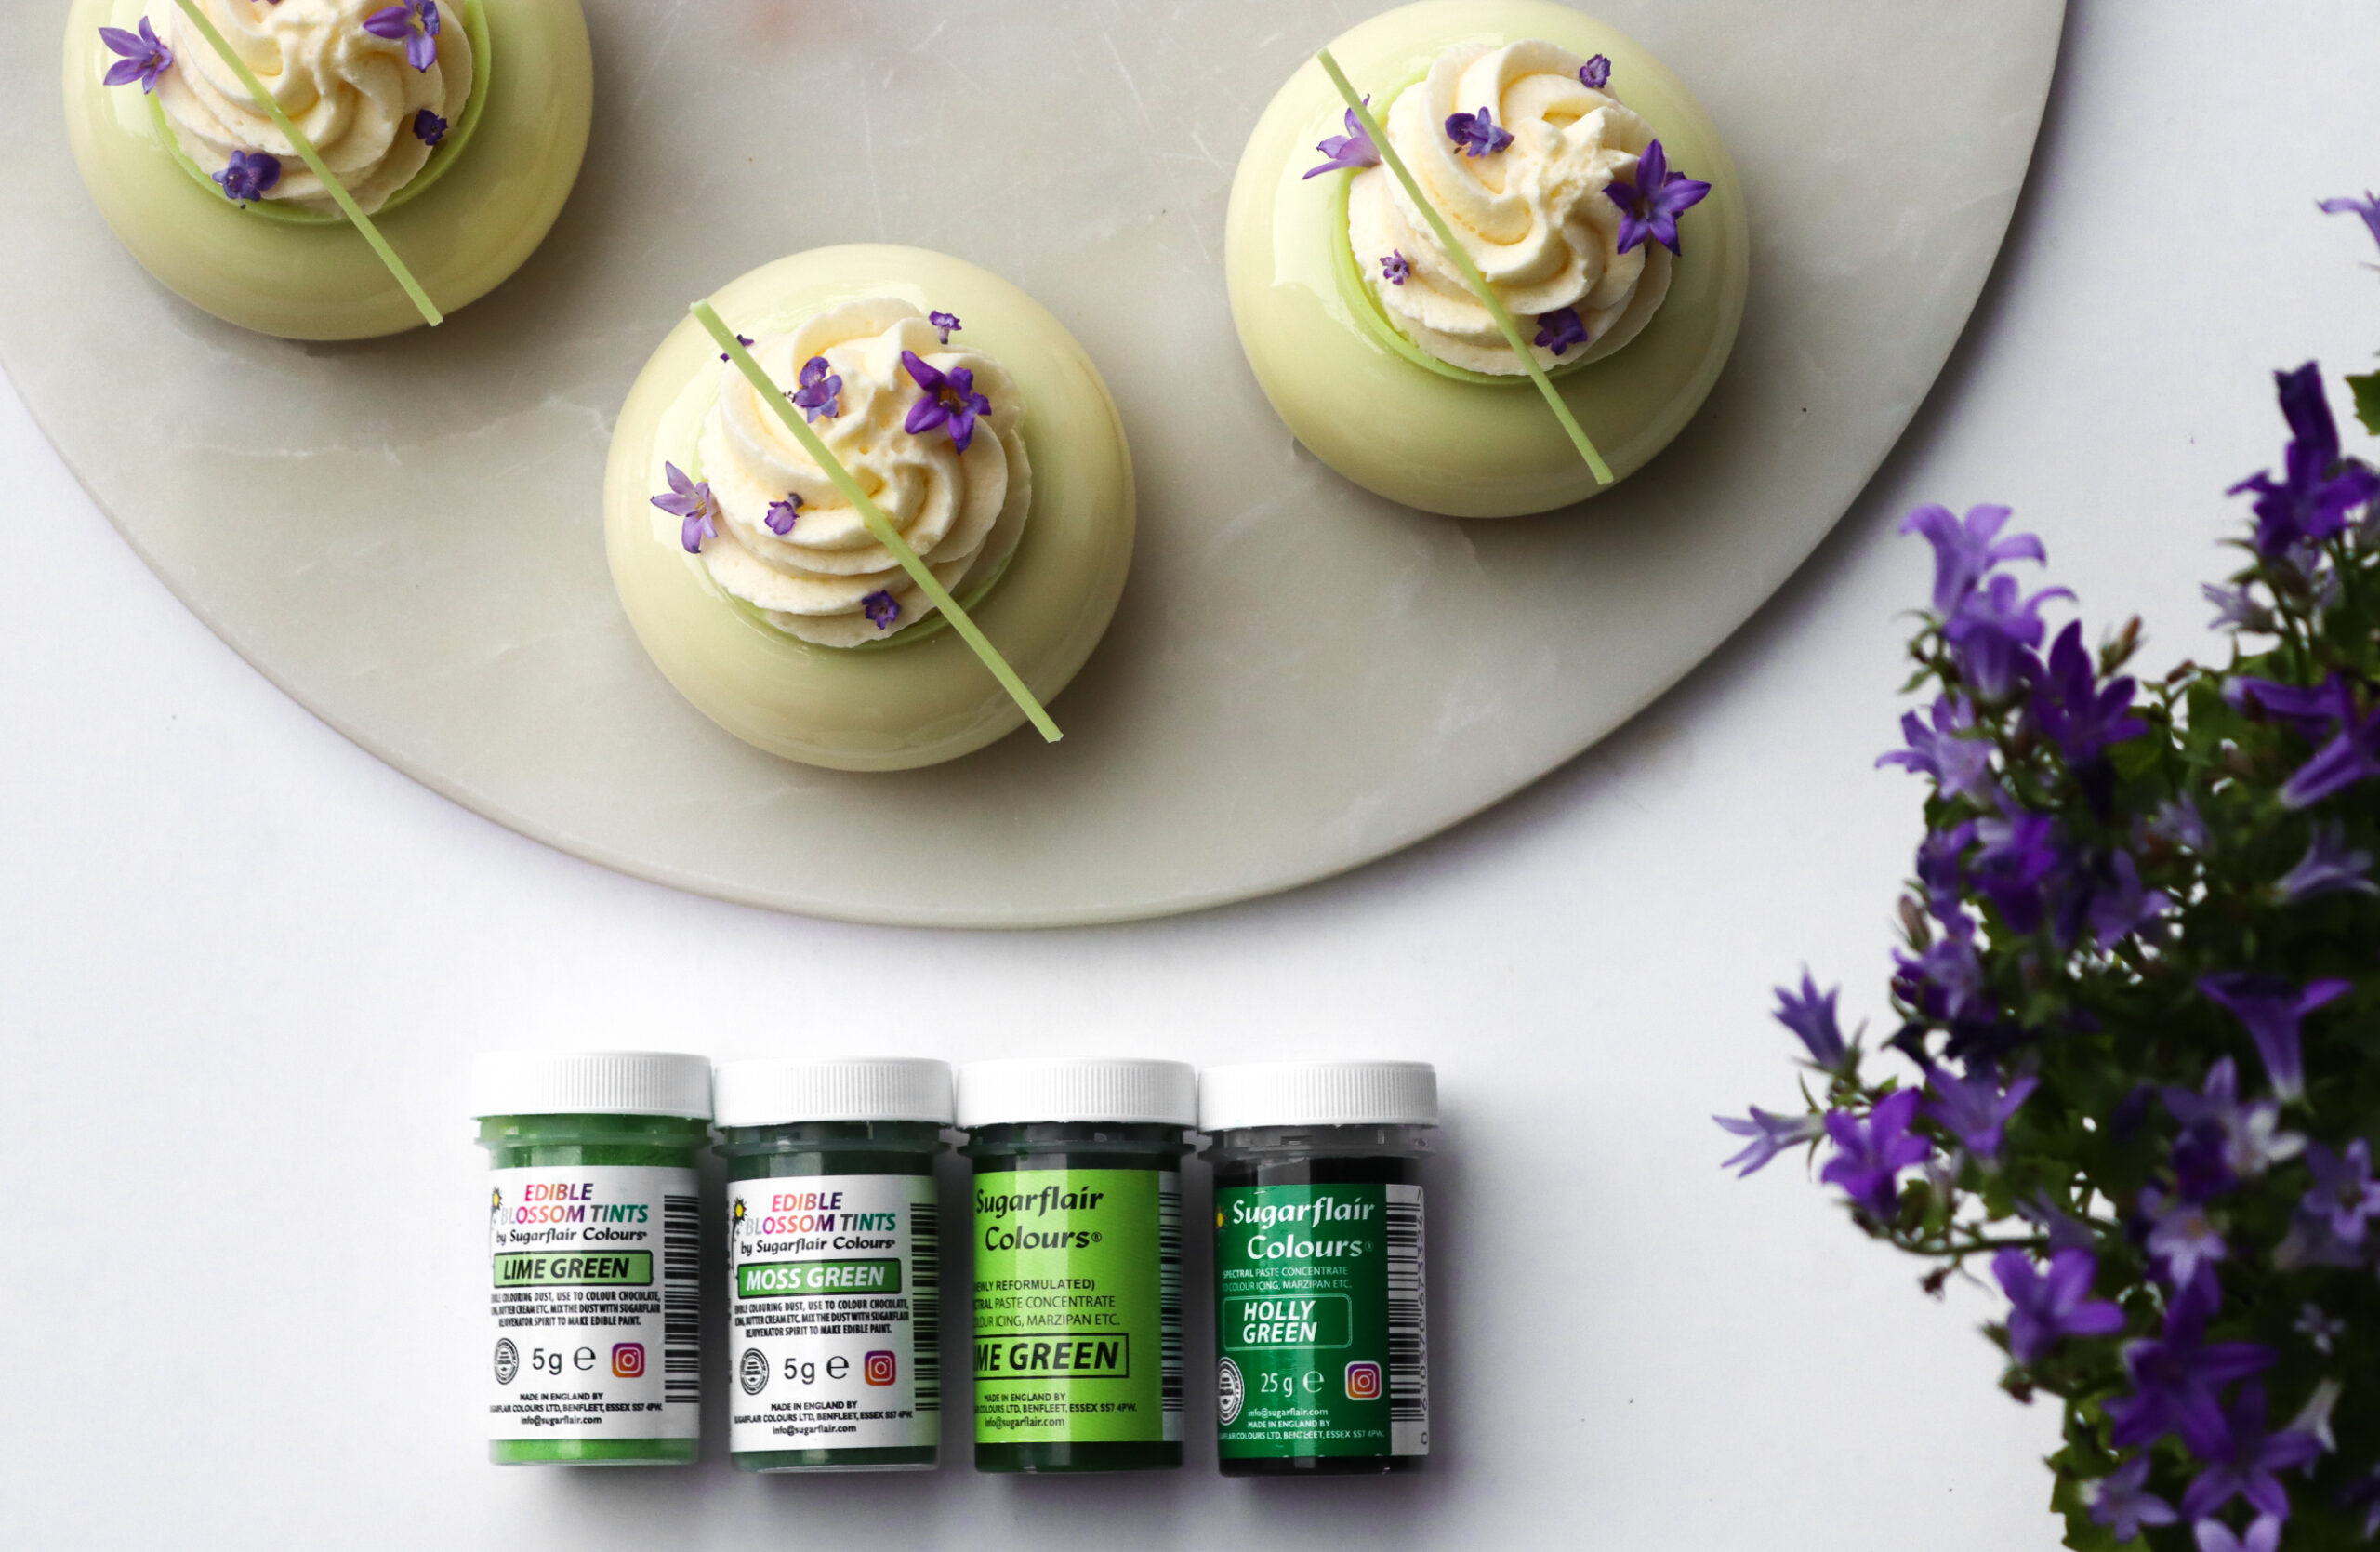
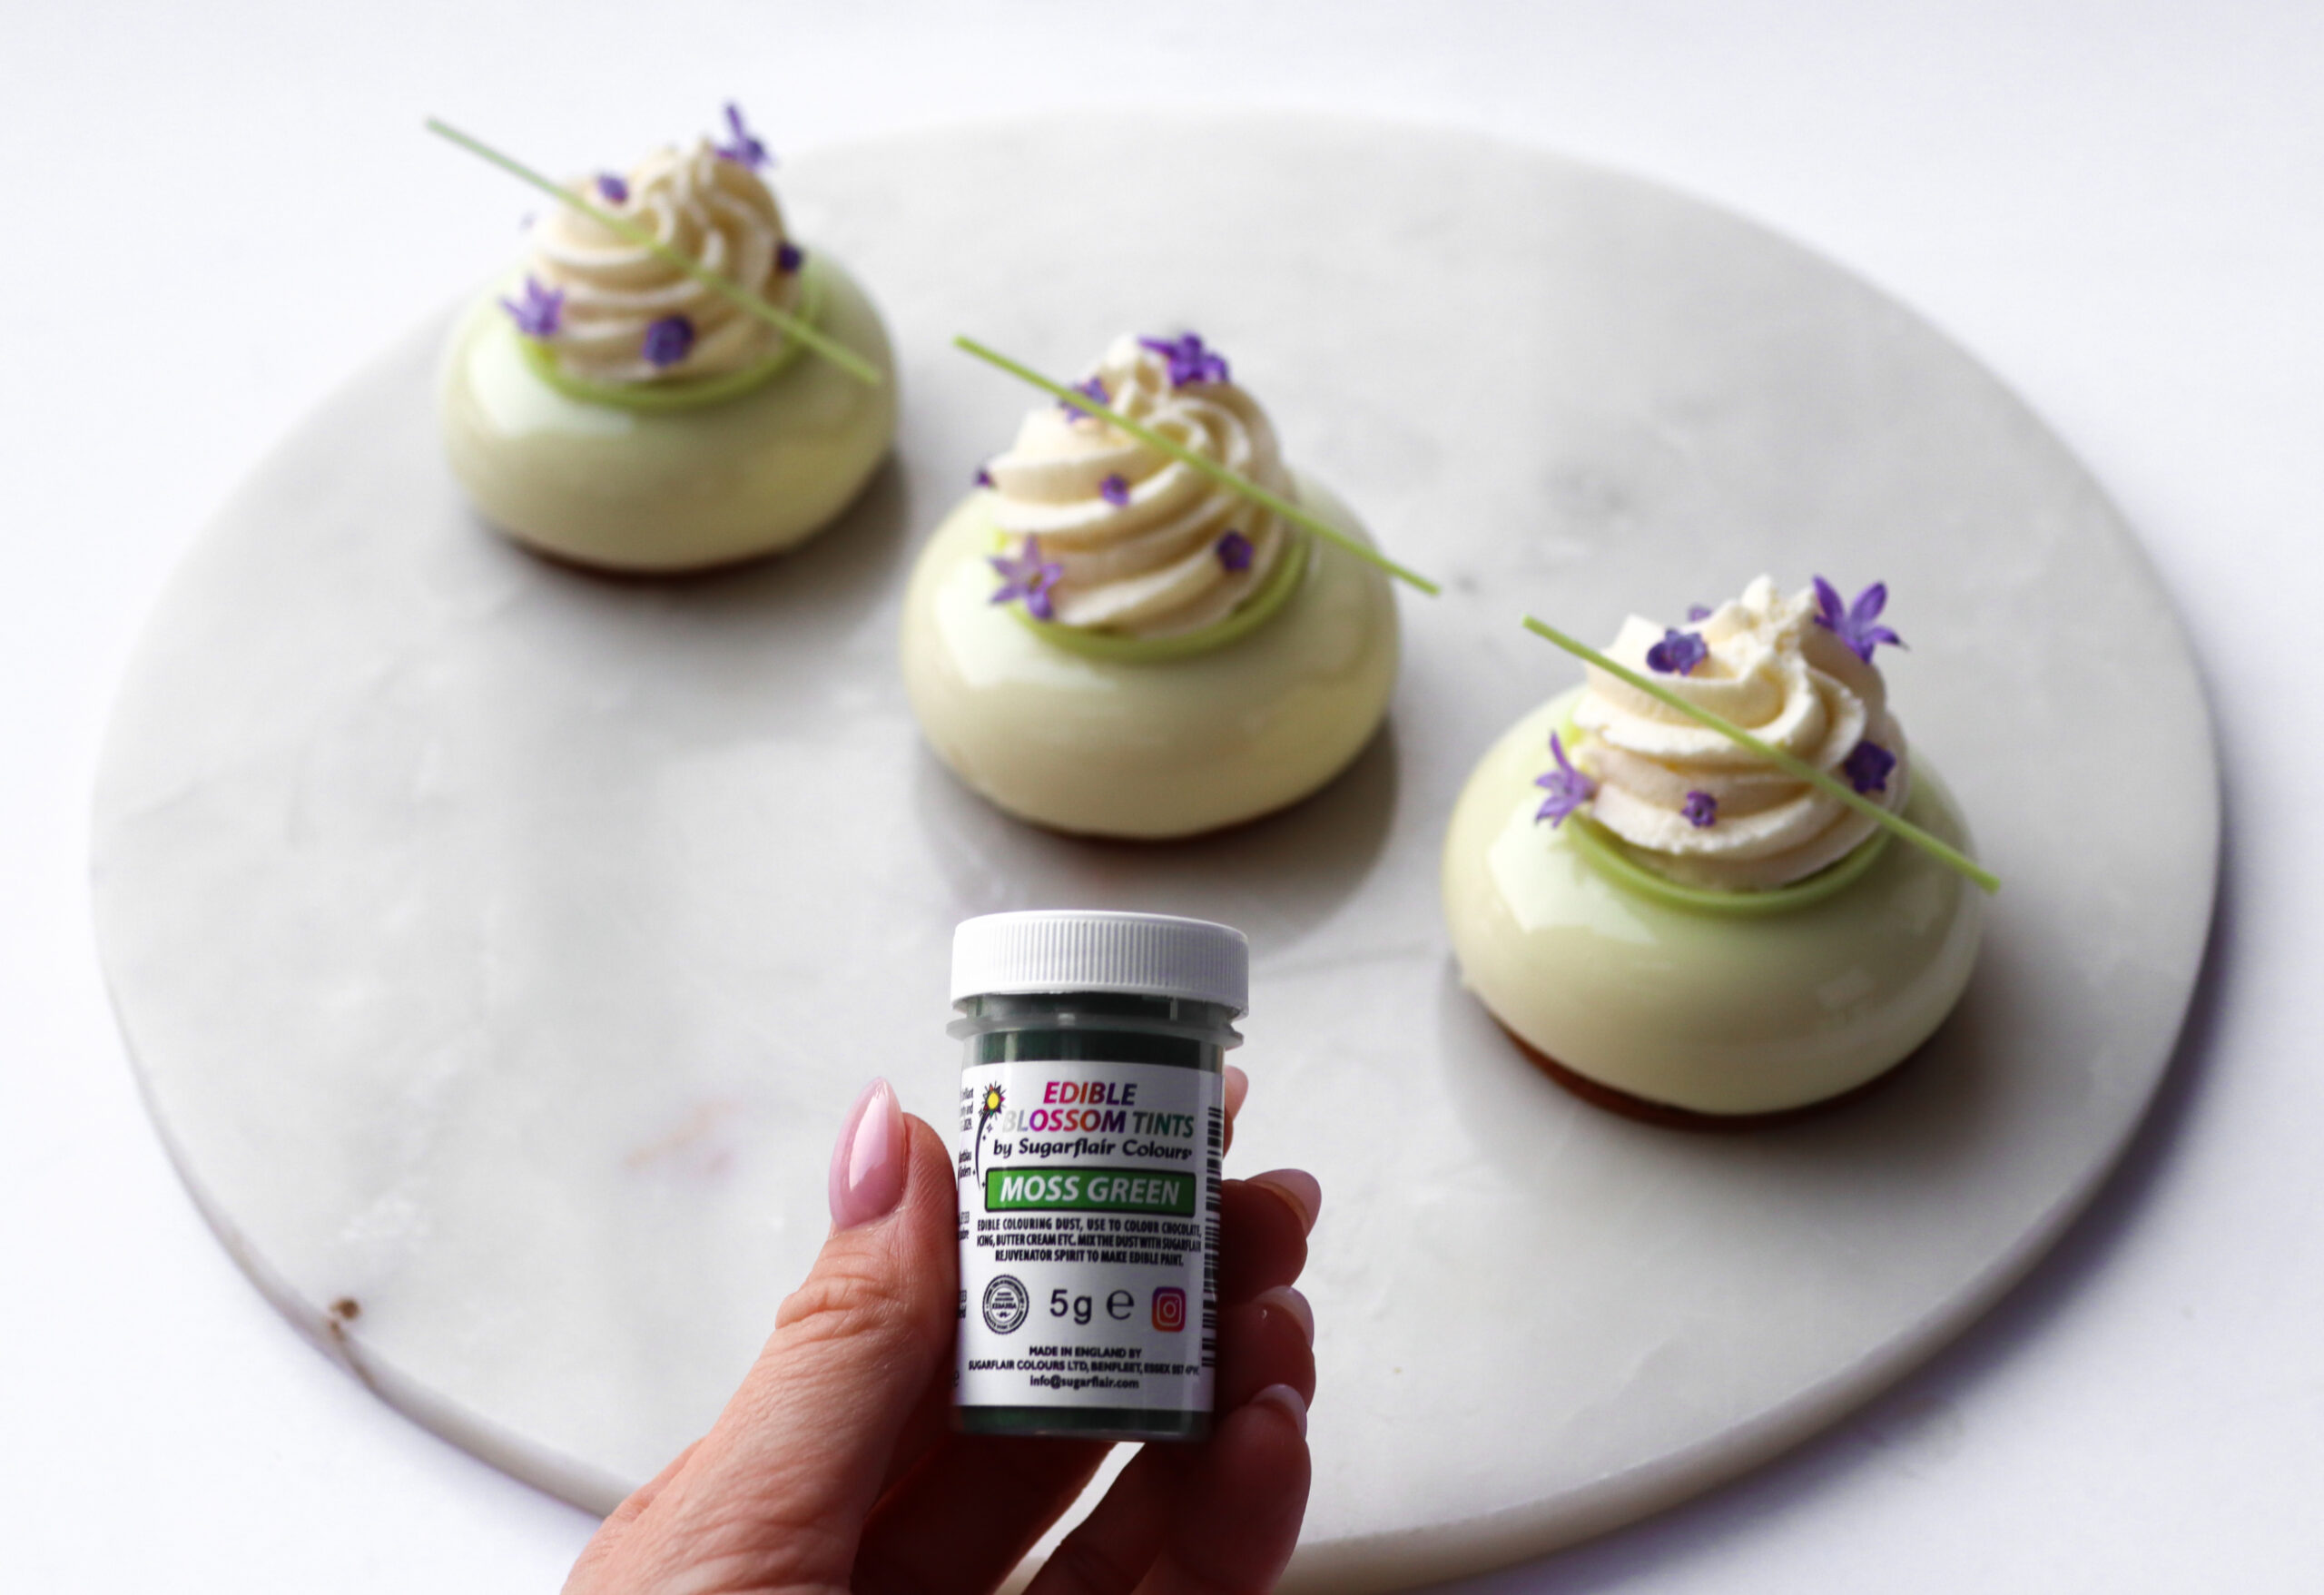
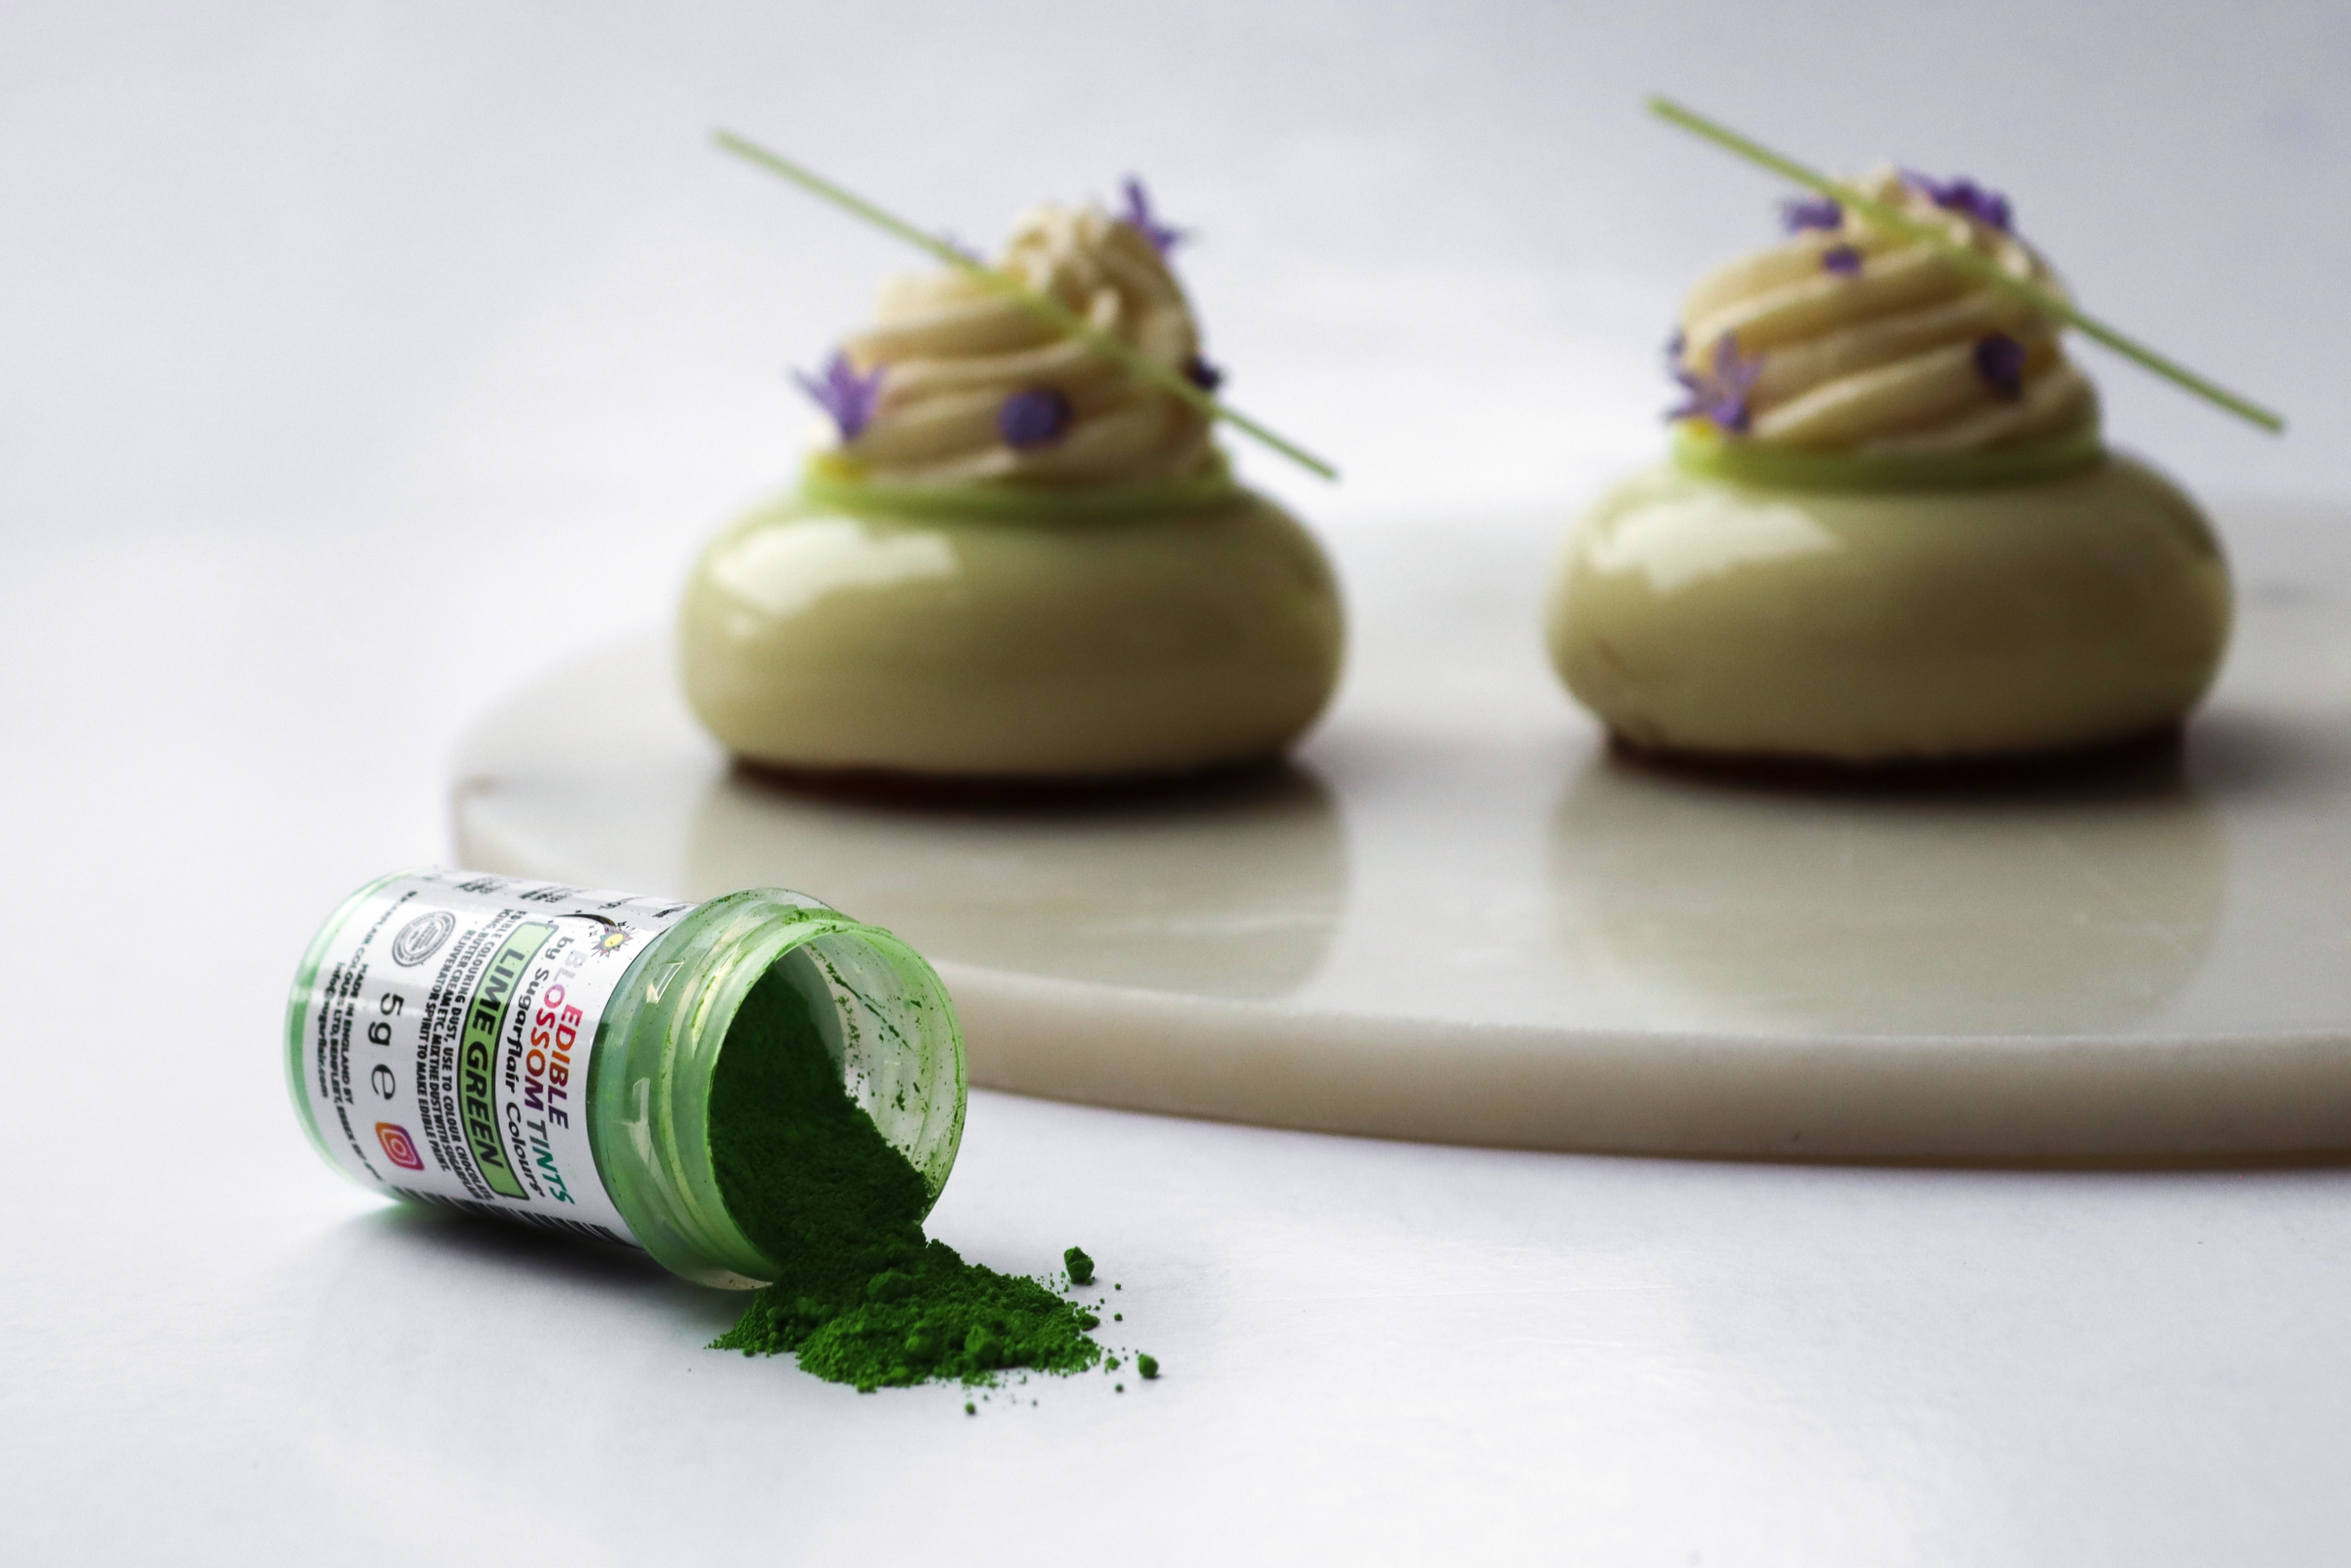
As I do with all my cakes, I’ve used Sugarflair‘s amazing chocolate coloring powder and glaze paste color to give the cakes my favorite shade of green: a very light pastel green with a cooler undertone. It gives the cakes a fresh look that perfectly matches the fresh flavor inside.
Sugarflair is a family-run powder and paste color brand that has been around for more than 40 years. They only use the best quality ingredients to ensure strong and intense colors.
The colors are very rich, which means you don’t need much to achieve an intense color. For these cakes, I used very little powder and paste to get this shade of green.
I’ve been using Sugarflair since I started baking more than 10 years ago, and I swear by them for coloring both chocolate and glaze – they really are the best!
You can find the different Sugarflair powder colors and paste colors that I’ve used for the cake here.
Happy baking <3
For extra guidance while baking, watch my step-by-step video tutorial, where I show you how to make the cakes from start to finish:
Day 1
Pecan Praliné:
- 80 g roasted pecans
- 80 g caster sugar
- neutral oil (as needed)
- Carefully melt the sugar into a golden caramel in a small saucepan.
- Immediately add the pecans and stir until all the nuts are coated in caramel.
- Pour the caramelized nuts onto a piece of parchment paper and let them cool.
- Cut the cooled caramelized nuts into large chunks.
- Blend the nuts into a smooth nut butter in a powerful food processor, adding a little neutral oil if needed.
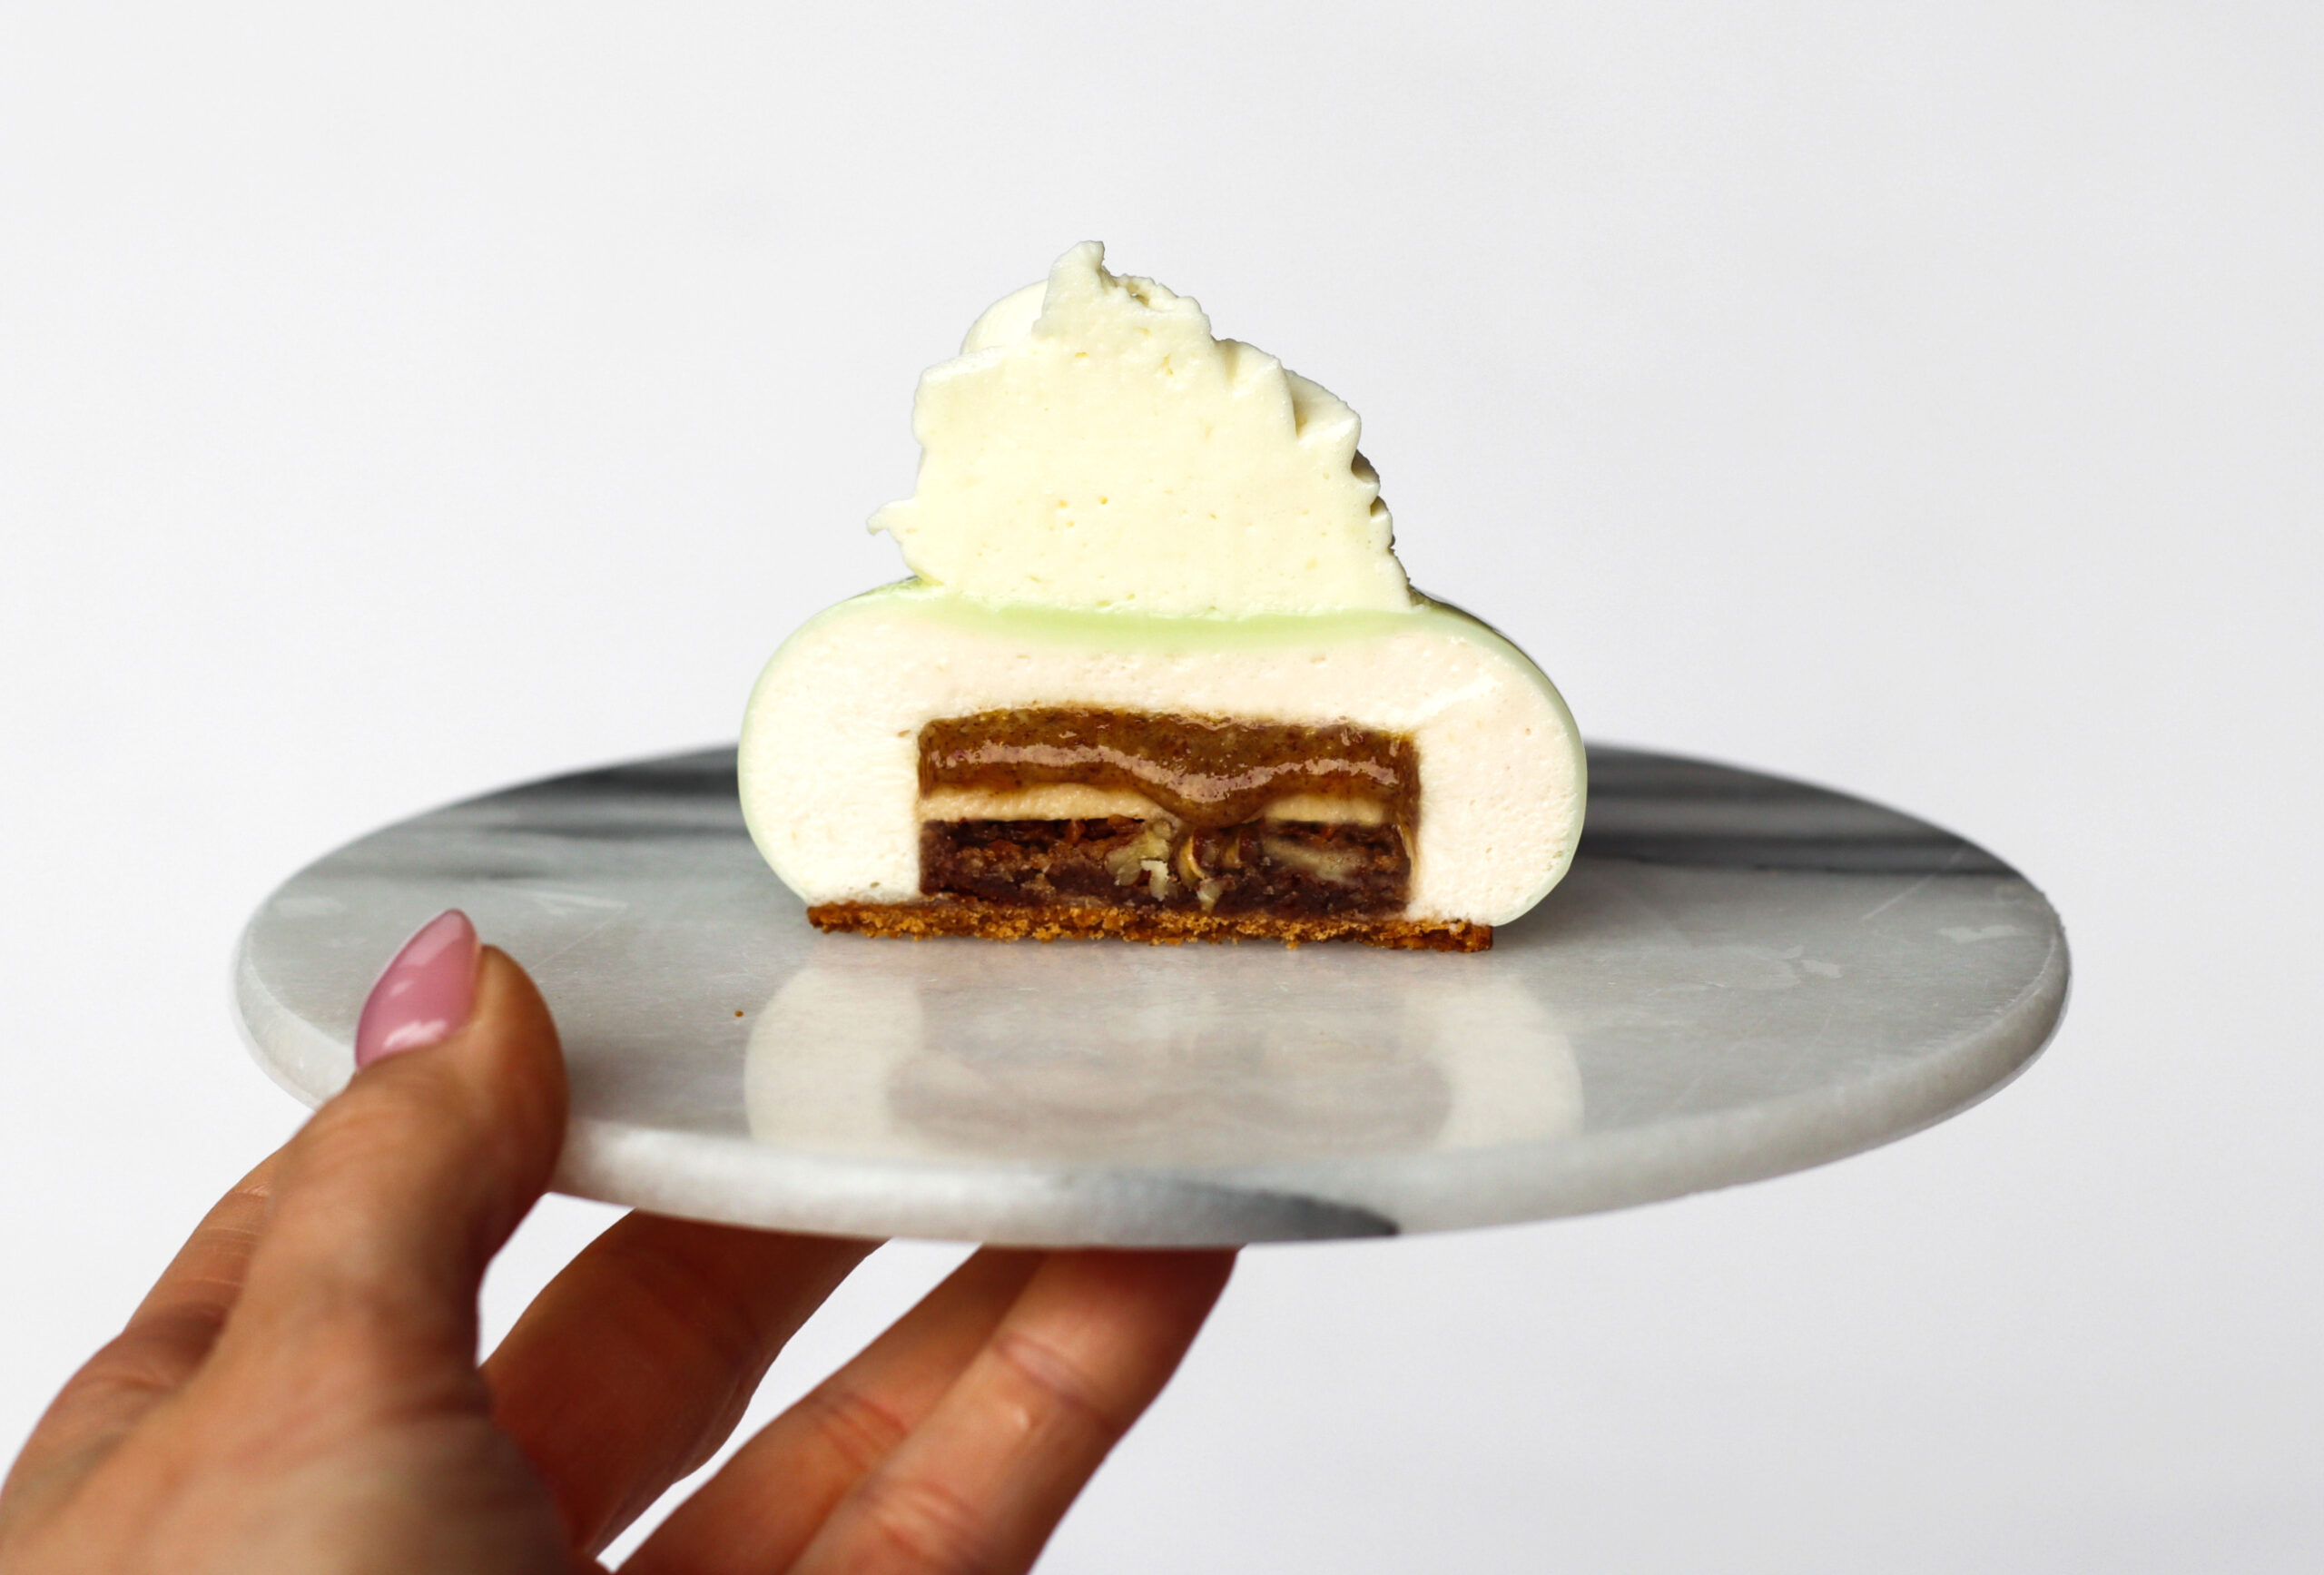
- Pour the praliné into 8 silicone insert molds, 4 cm in diameter (I used this Silikomart Petit Fours mold), filling each mold 1/3 full. Level the surface by tapping the mold a few times.
- Place the mold in the freezer while you make the next layer. The praliné must be set or frozen before the next layer is poured on, to get a clean cut.
Tips & Notes:
- Use roasted nuts for a stronger flavor, as roasting enhances their natural nuttiness and depth.
- Melt the sugar to a light golden caramel – if it gets too dark, it will turn bitter.
- Blend the nuts until they reach a completely liquid consistency. This may take time and requires a strong food processor. If the praliné does not become liquid, add a little more oil and continue blending until smooth.
Day 1
Apple Curd:
- 0.5 gelatin sheet (1 sheet = 1.75 g, bloom value 240)
- 50 ml apple purée (from approx. 160 g apple and 2–3 tbsp pure unfiltered apple juice, as needed)
- 1.5 tbsp lemon juice
- 38 g eggs (approx. 0.75 medium eggs)
- 10 g egg yolks (approx. 0.5 medium egg yolks)
- 20 g caster sugar
- 20 g butter (cold)
- Apple purée: Cut the apples into cubes and cook them with the pure unfiltered apple juice in a saucepan until tender. Pour into a plastic pitcher and blend with an immersion blender. Strain the purée through a sieve and set aside 50 ml.
- Soak the gelatin in cold water for 5–10 minutes.
- In a saucepan, whisk together the apple purée, lemon juice, egg, egg yolk, and sugar. Slowly bring to a boil, whisking constantly.
- Let the curd simmer for a few minutes, whisking constantly, until it thickens. Avoid high heat, as this can cause the curd to burn.
- Remove the pan from the heat and mix in the cubed butter, then add the gelatin.
- Strain the curd through a fine-mesh sieve, then blend until completely creamy.
- Pour the curd over the praliné in the insert molds, filling another 1/3 of each mold. Level the surface by tapping the mold.
- Place the mold in the freezer while you make the next layer. The curd must be frozen before the next layer is added, to get a clean cut.
Tips & Notes:
- Cook the curd over medium heat, whisking constantly, to avoid burning it or overheating the eggs.
- Keep whisking until the curd thickens and increases in volume. This may take several minutes.
Day 1
Pecan Cake with Cinnamon:
- 50 g white chocolate (28%)
- 30 g butter
- 30 g caster sugar
- 50 g eggs (approx. 1 medium egg)
- 60 g pecan nut flour (pecans blended into a flour in a small food processor)
- 1 tsp cinnamon
- a pinch of salt
- 35-40 g roasted pecans
- Melt the butter in a saucepan and set it aside.
- Melt the white chocolate in a saucepan and set it aside.
- Whisk the egg and sugar with a hand mixer until light and fluffy.
- Pour in the butter and combine with a rubber spatula, then stir in the chocolate.
- Chop the pecans. Make the pecan flour by blending roasted pecans into a flour in a food processor.
- Stir in the pecan flour, cinnamon, and salt with a rubber spatula.
- Pour the batter into a 14 cm springform pan or pastry ring lined with baking paper.
- Roughly chop the pecans and sprinkle them over the batter.
- Bake the cake at 175°C / 347°F (conventional oven) for 17–22 minutes.
- Let the cake cool completely.
- Cut out 8 cake bases with a 3 cm round cookie cutter.
- Press them one by one into the insert molds with the pecan side facing the apple curd. Use your hands to gently press each cake into the mold so it fits the insert.
- Freeze the inserts overnight.
Tips & Notes:
- If baking with pastry rings, use two rings of different sizes and place a piece of baking paper in between to keep the batter contained.
Day 2
Apple Mousse:
- 2.25 gelatin sheets (1 sheet = 1.75 g, bloom value 240)
- 200 g apples (with peel)
- 20 g caster sugar
- 1 tsp vanilla paste
- 60 ml pure unfiltered apple juice
- 35 ml lemon juice
- 225 ml heavy cream (min. 35%)
- Soak the gelatin in cold water for 5–10 minutes.
- Cut the apples into cubes and cook them in a saucepan with the pure unfiltered apple juice, sugar, vanilla paste, and lemon juice until tender.
- Remove the saucepan from the heat, blend the mixture with an immersion blender, and strain it to get a smooth purée.
- Whisk the gelatin into the mixture. Let it cool until lukewarm.
- Whip the heavy cream to soft peaks and gently fold it into the lukewarm apple mixture (if the mixture is too hot, the cream can separate).
- Transfer the mousse to a piping bag.
- Pipe the apple mousse into 8 Silikomart Stone 85 molds (6.5 cm in diameter), filling each mold 80% full.
- Take the frozen pecan and apple inserts out of the mold and press them into the apple mousse with the pecan praliné facing downwards.
- Cover the cake bases with more apple mousse. Level the surface with a palette knife.
- Freeze the cakes overnight.
Tips & Notes:
- Let the fruit syrup cool completely, as syrup that’s too hot will seize the whipped cream when added.
- Whip the heavy cream to soft peaks, as overwhipped cream can result in a dense and grainy mousse.
Day 2
White Chocolate Whipped Ganache:
- 1.25 gelatin sheets (1 sheet = 1.75 g, bloom value 240)
- 95 g white chocolate (28%)
- 220 ml heavy cream (min. 35%) (110 ml heated, 110 ml cold)
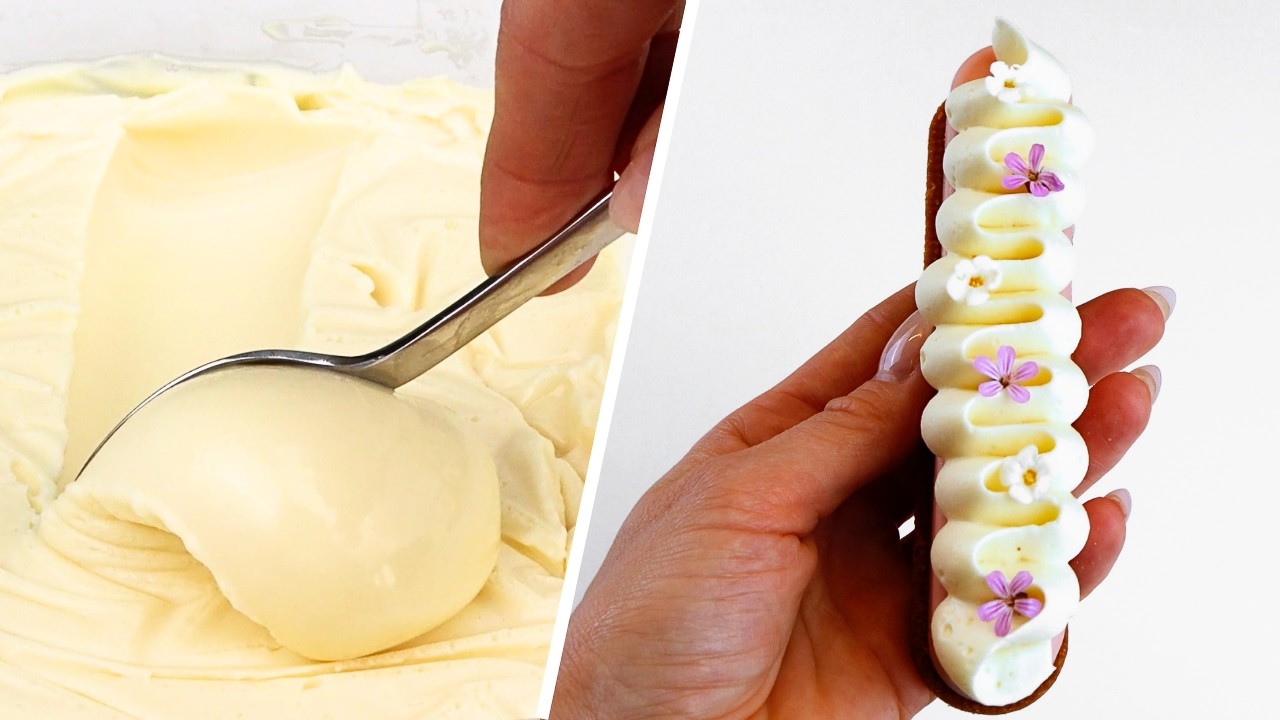
You can watch my YouTube step-by-step guide of my white chocolate whipped ganache here.
- Soak the gelatin in cold water for 5–10 minutes.
- Carefully melt the white chocolate in a pot or over a water bath.
- Pour the chocolate into a bowl and set it aside.
- Heat 110 ml heavy cream until almost boiling.
- Remove the pot from the heat and whisk in the gelatin.
- Pour the hot cream over the white chocolate while stirring in the center with a rubber spatula until glossy.
- Pour 110 ml cold heavy cream into the chocolate mixture while stirring.
- Cover the ganache with cling film and let it set in the fridge overnight.
- The next day (when you are ready to decorate the cakes), whip the ganache to a thick consistency with a hand mixer and transfer it to a piping bag fitted with a 1 cm star tip.
Tips & Notes:
- Only heat the cream almost to a boil, as cream that is too hot will seize the chocolate mixture.
- After pouring the hot cream over the chocolate, let it sit briefly before stirring.
- It’s important to use both hot and cold heavy cream, as this ensures a smooth emulsion and helps the ganache whip up light and airy.
- Be careful not to overwhip the ganache once it has set and is ready to be whipped, as this can cause it to seize. Whip to medium peaks.
Day 3
Pâte Sablée with Pecans & Cinnamon:
- 90 g all-purpose flour
- 25 g pecan nut flour (see above)
- 35 g icing sugar
- 55 g butter (cold)
- 1.5 tsp cinnamon
- 13 g eggs (approx. 0.25 medium eggs)
- a pinch of salt
- Place the flour, pecan flour, icing sugar, cinnamon, salt, and butter (cut into cubes) in a food processor and mix briefly until the dough is crumbly.
- Transfer the dough to a bowl and stir in the egg until just combined. Be careful not to knead the dough too much.
- Roll out the dough between two sheets of baking paper and chill it in the fridge for 2 hours, or in the freezer for approximately 45 minutes. It should be very cold when you take it out.
- Cut out 8 bases with a 6 cm cookie cutter and bake at 175°C / 347°F for approximately 10 minutes, until golden. If possible, bake the bases on a Silikomart Air silicone mat to give them a fine checkered pattern.
- Let the bases cool on a cooling rack, then store them in a cake tin until you decorate the cakes, to keep them crisp.
Tips & Notes:
- Grate the butter or cut it into smaller cubes, as this makes it easier to mix with the dry ingredients.
- Be careful not to over-knead the dough. Only combine until it has a sandy texture and no big pieces of butter remain.
- Quickly combine the dough with the egg, stopping as soon as it comes together into a ball and the ingredients are fully incorporated.
- It’s important to chill the dough in the fridge, as otherwise the bases will spread and lose their shape during baking.
Day 3
Mirror Glaze:
- 6 gelatin sheets (1 sheet = 1.75 g, bloom value 240)
- 150 g white chocolate (28%)
- 100 ml heavy cream (min. 35%)
- 50 ml water
- 150 g caster sugar
- 150 g glucose syrup
- green food coloring paste (I used Lime Green & Holly Green Sugarflair food coloring pastes)
- Soak the gelatin in cold water for 5–10 minutes.
- Finely chop the chocolate and place it in a jug.
- Heat the sugar, water, cream, and glucose syrup until almost boiling.
- Remove the pan from the heat and whisk in the gelatin.
- Pour the hot mixture over the chocolate in the jug.
- Blend with an immersion blender until the glaze comes together (hold the blender at an angle to avoid air bubbles), then add Lime Green & Holly Green Sugarflair food coloring paste color
- Cover the glaze in the jug with cling film and let it cool to 34–35°C / 93–95°F.
- Take the cakes out of the freezer right before you are ready to glaze. Place them on a cooling rack with parchment paper underneath.
- Pour the glaze over the frozen cakes. Use a small palette knife to remove the excess glaze from the bottom of the cakes.
- Place each cake on a Pâte Sablée base.
Tips & Notes:
- After pouring the hot syrup over the chocolate, let it sit for 30 seconds so the chocolate can start to melt.
- Hold the immersion blender at an angle in the jug to avoid creating air bubbles.
- The cakes must be completely frozen when you pour the glaze over them. If the correct temperatures are met, you’ll get a perfectly shiny mirror glaze.
Day 3
Chocolate Decoration:
- 140 g white chocolate (28%)
- green food coloring powder (I used Lime Green & Moss Green Sugarflair food coloring powders)
- flowers (edible or secured with safety seal / edible wax)
Cut acetate sheets to the sizes below (the straws can be any length you like). Temper and color the chocolate, then pour it onto the acetate sheets and spread it evenly. Let it set slightly until firm but still flexible, shape it as described in the steps below, then peel off the acetate once fully set. For more guidance, you can see here how to make chocolate ribbons and chocolate straws.
- Chocolate ribbons on top of the cakes (4.5 cm diameter): 0.5 cm x 15 cm
- Chocolate straws made in a narrow pattern at your preferred length
Day 3
Assembling the Cakes:
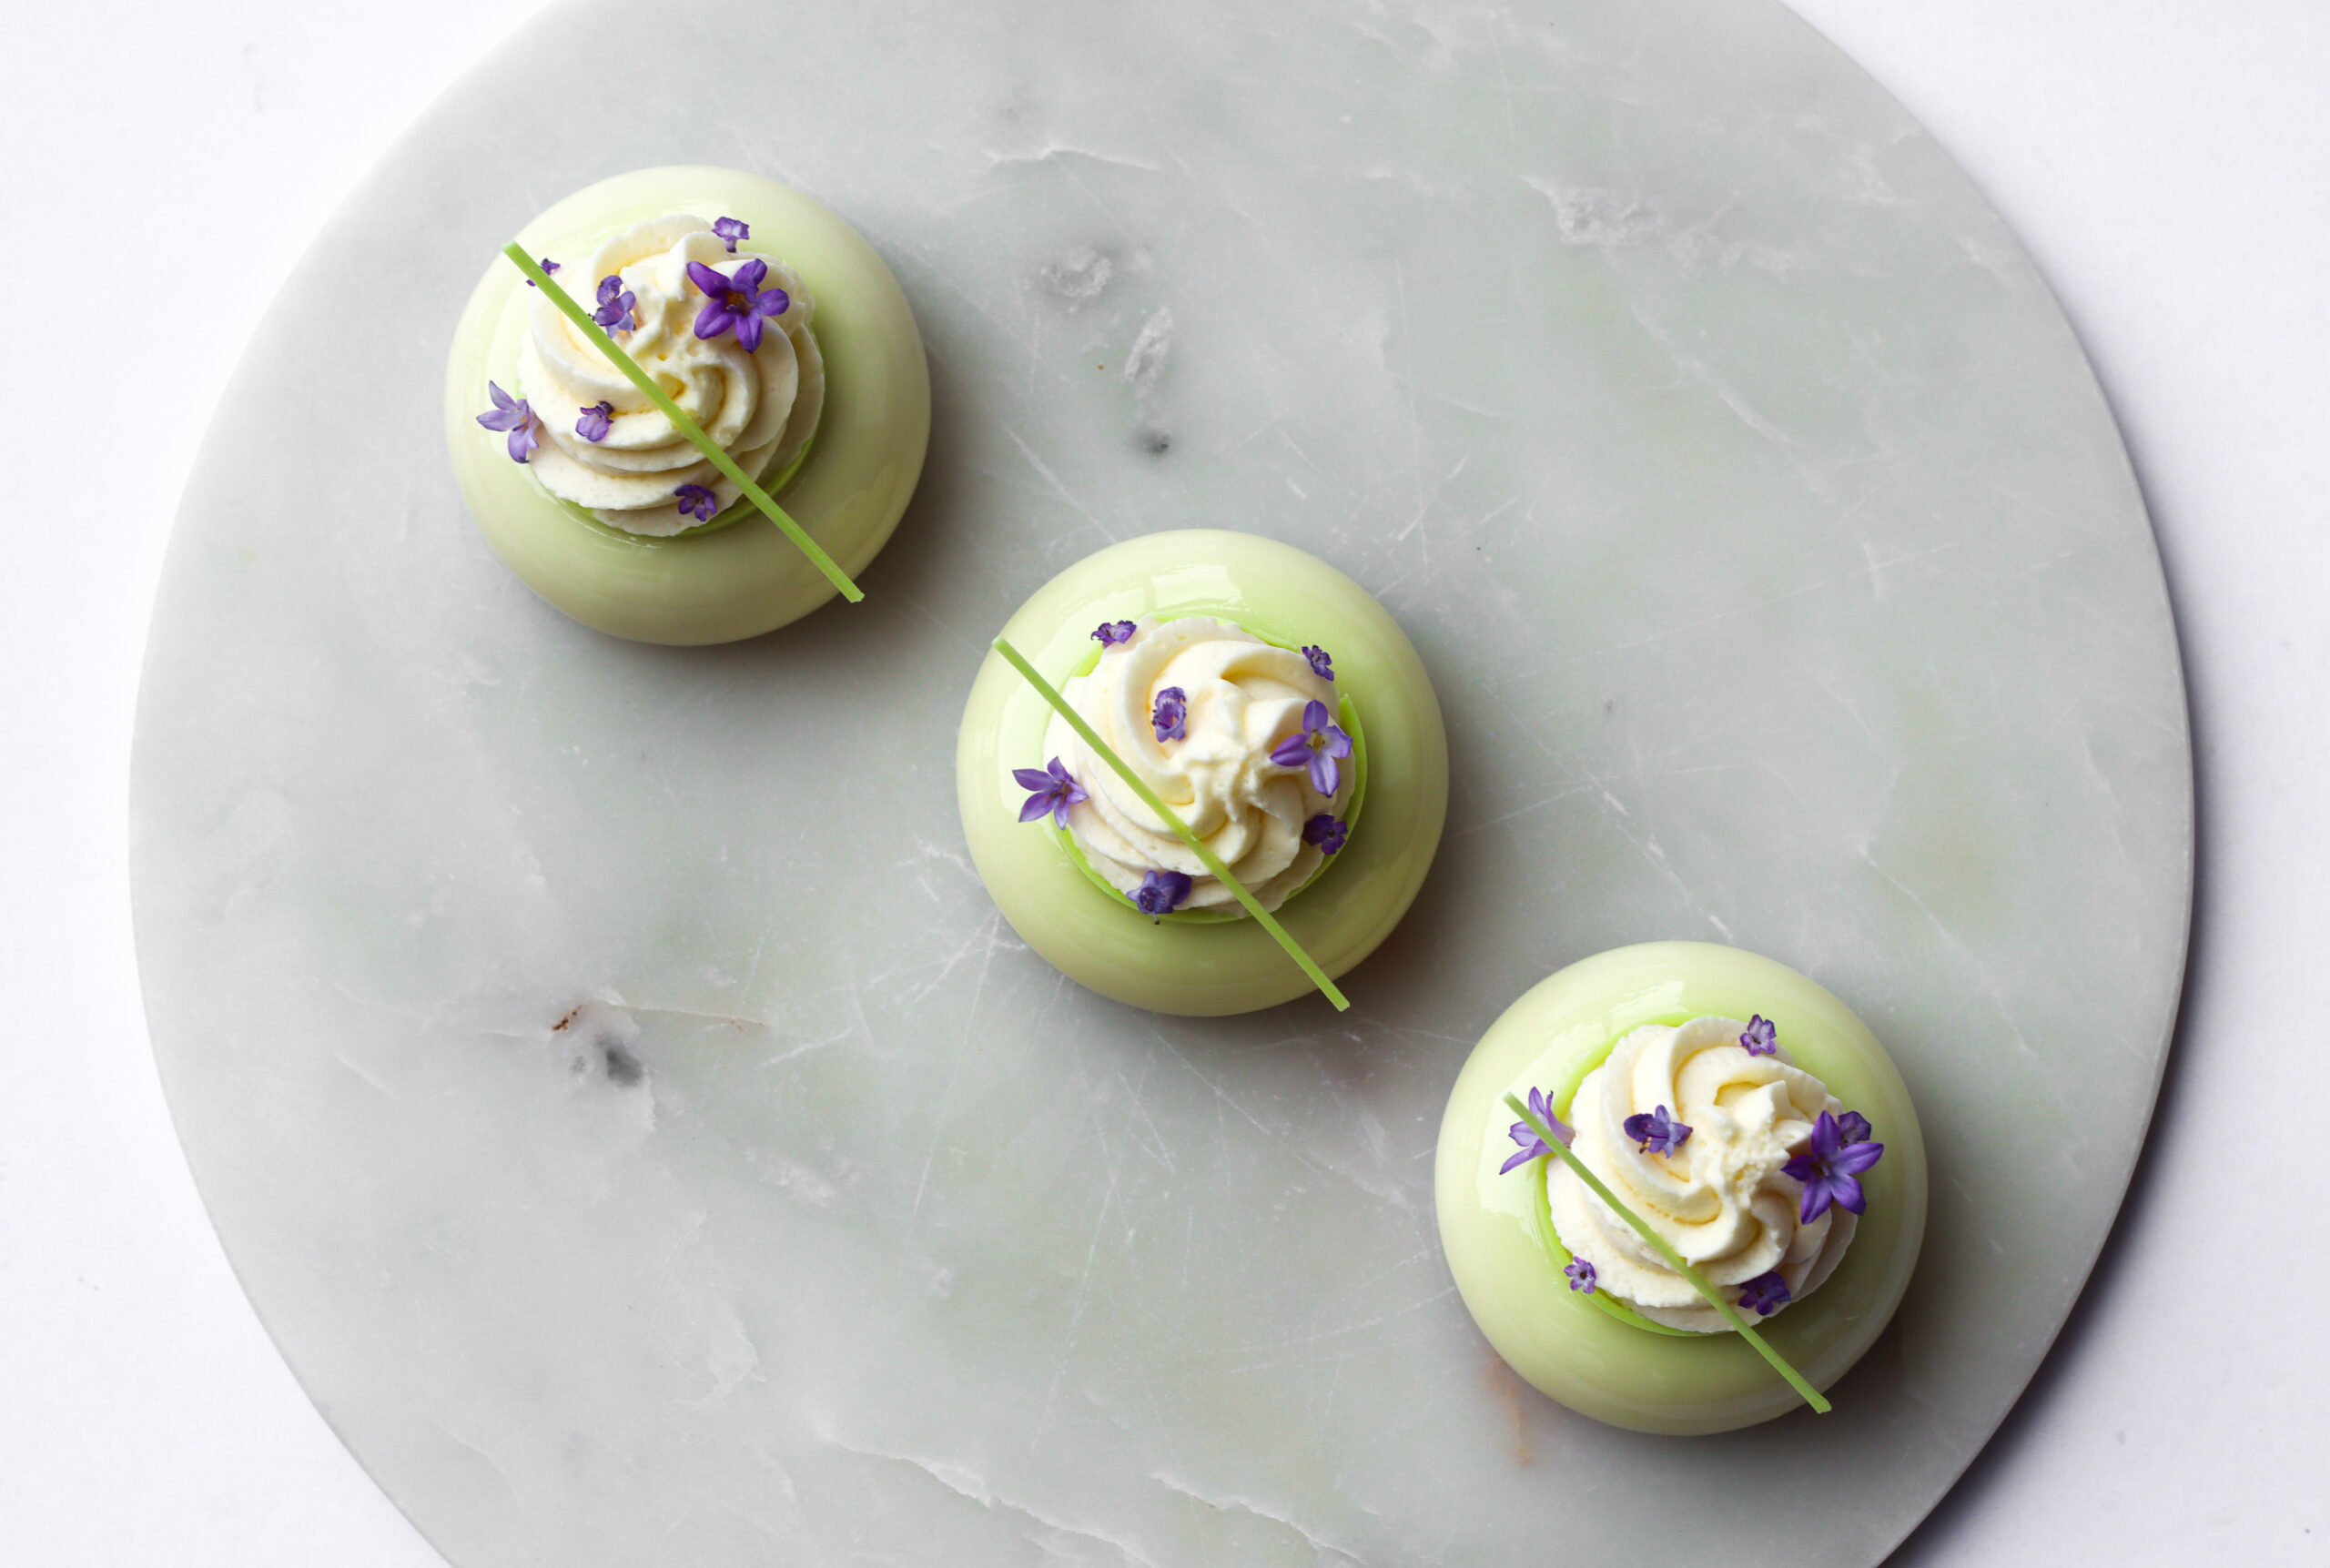
- Use a 4.5 cm cookie cutter to lightly mark the top of each cake so you know where to place the chocolate ribbon. Place a chocolate ribbon on top of each cake.
- Pipe the whipped ganache on top of the cakes.
- Place a chocolate straw on each cake.
- Decorate with flowers.