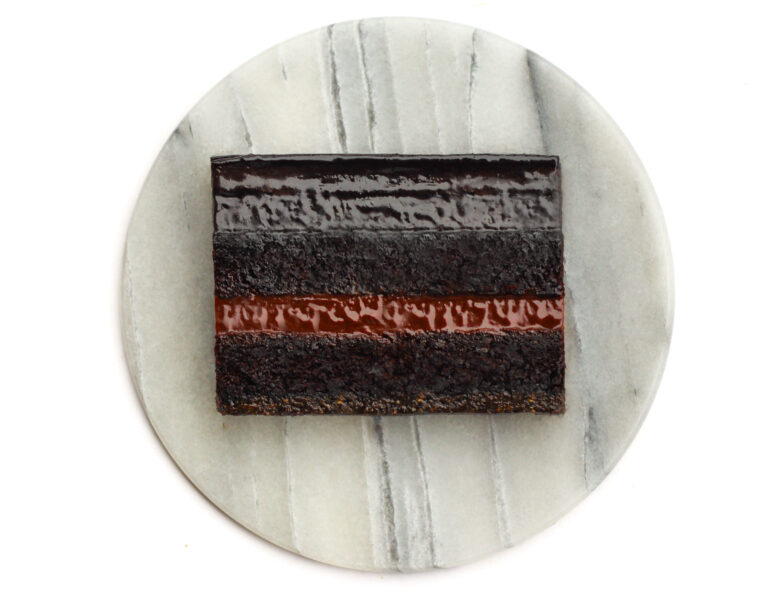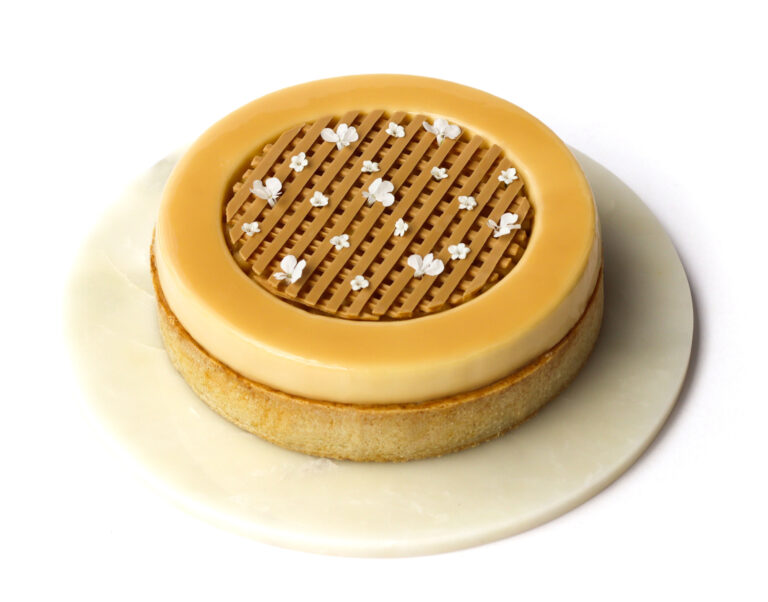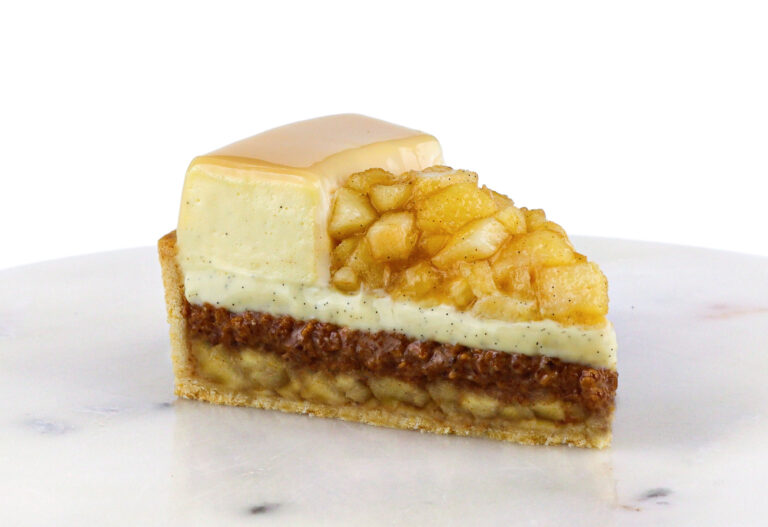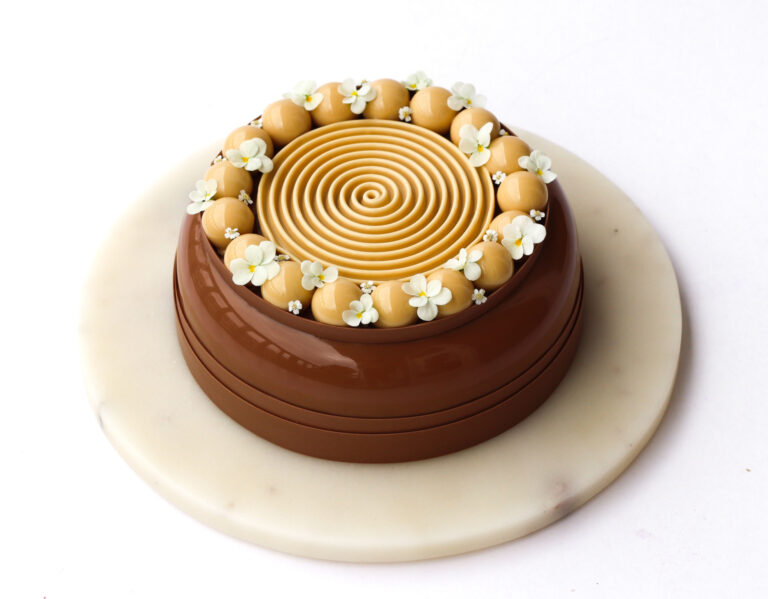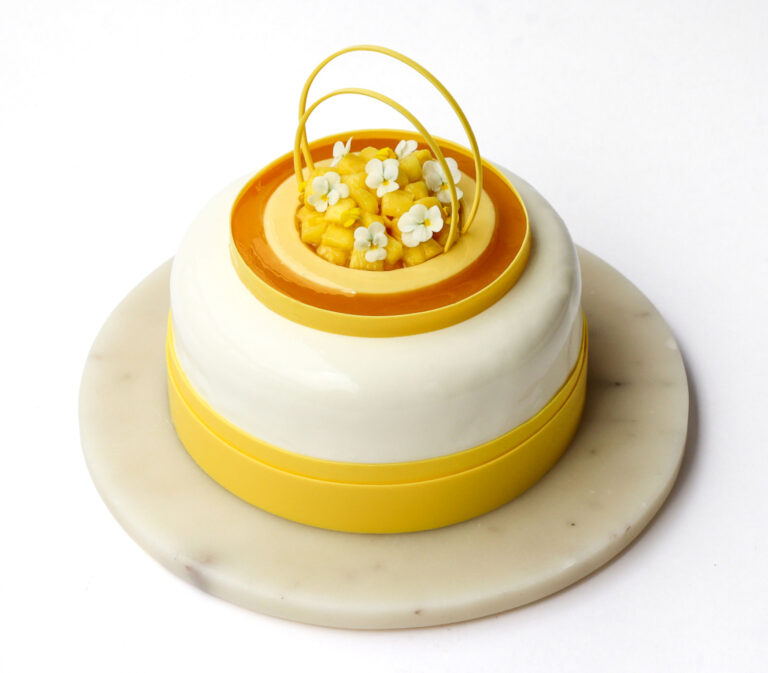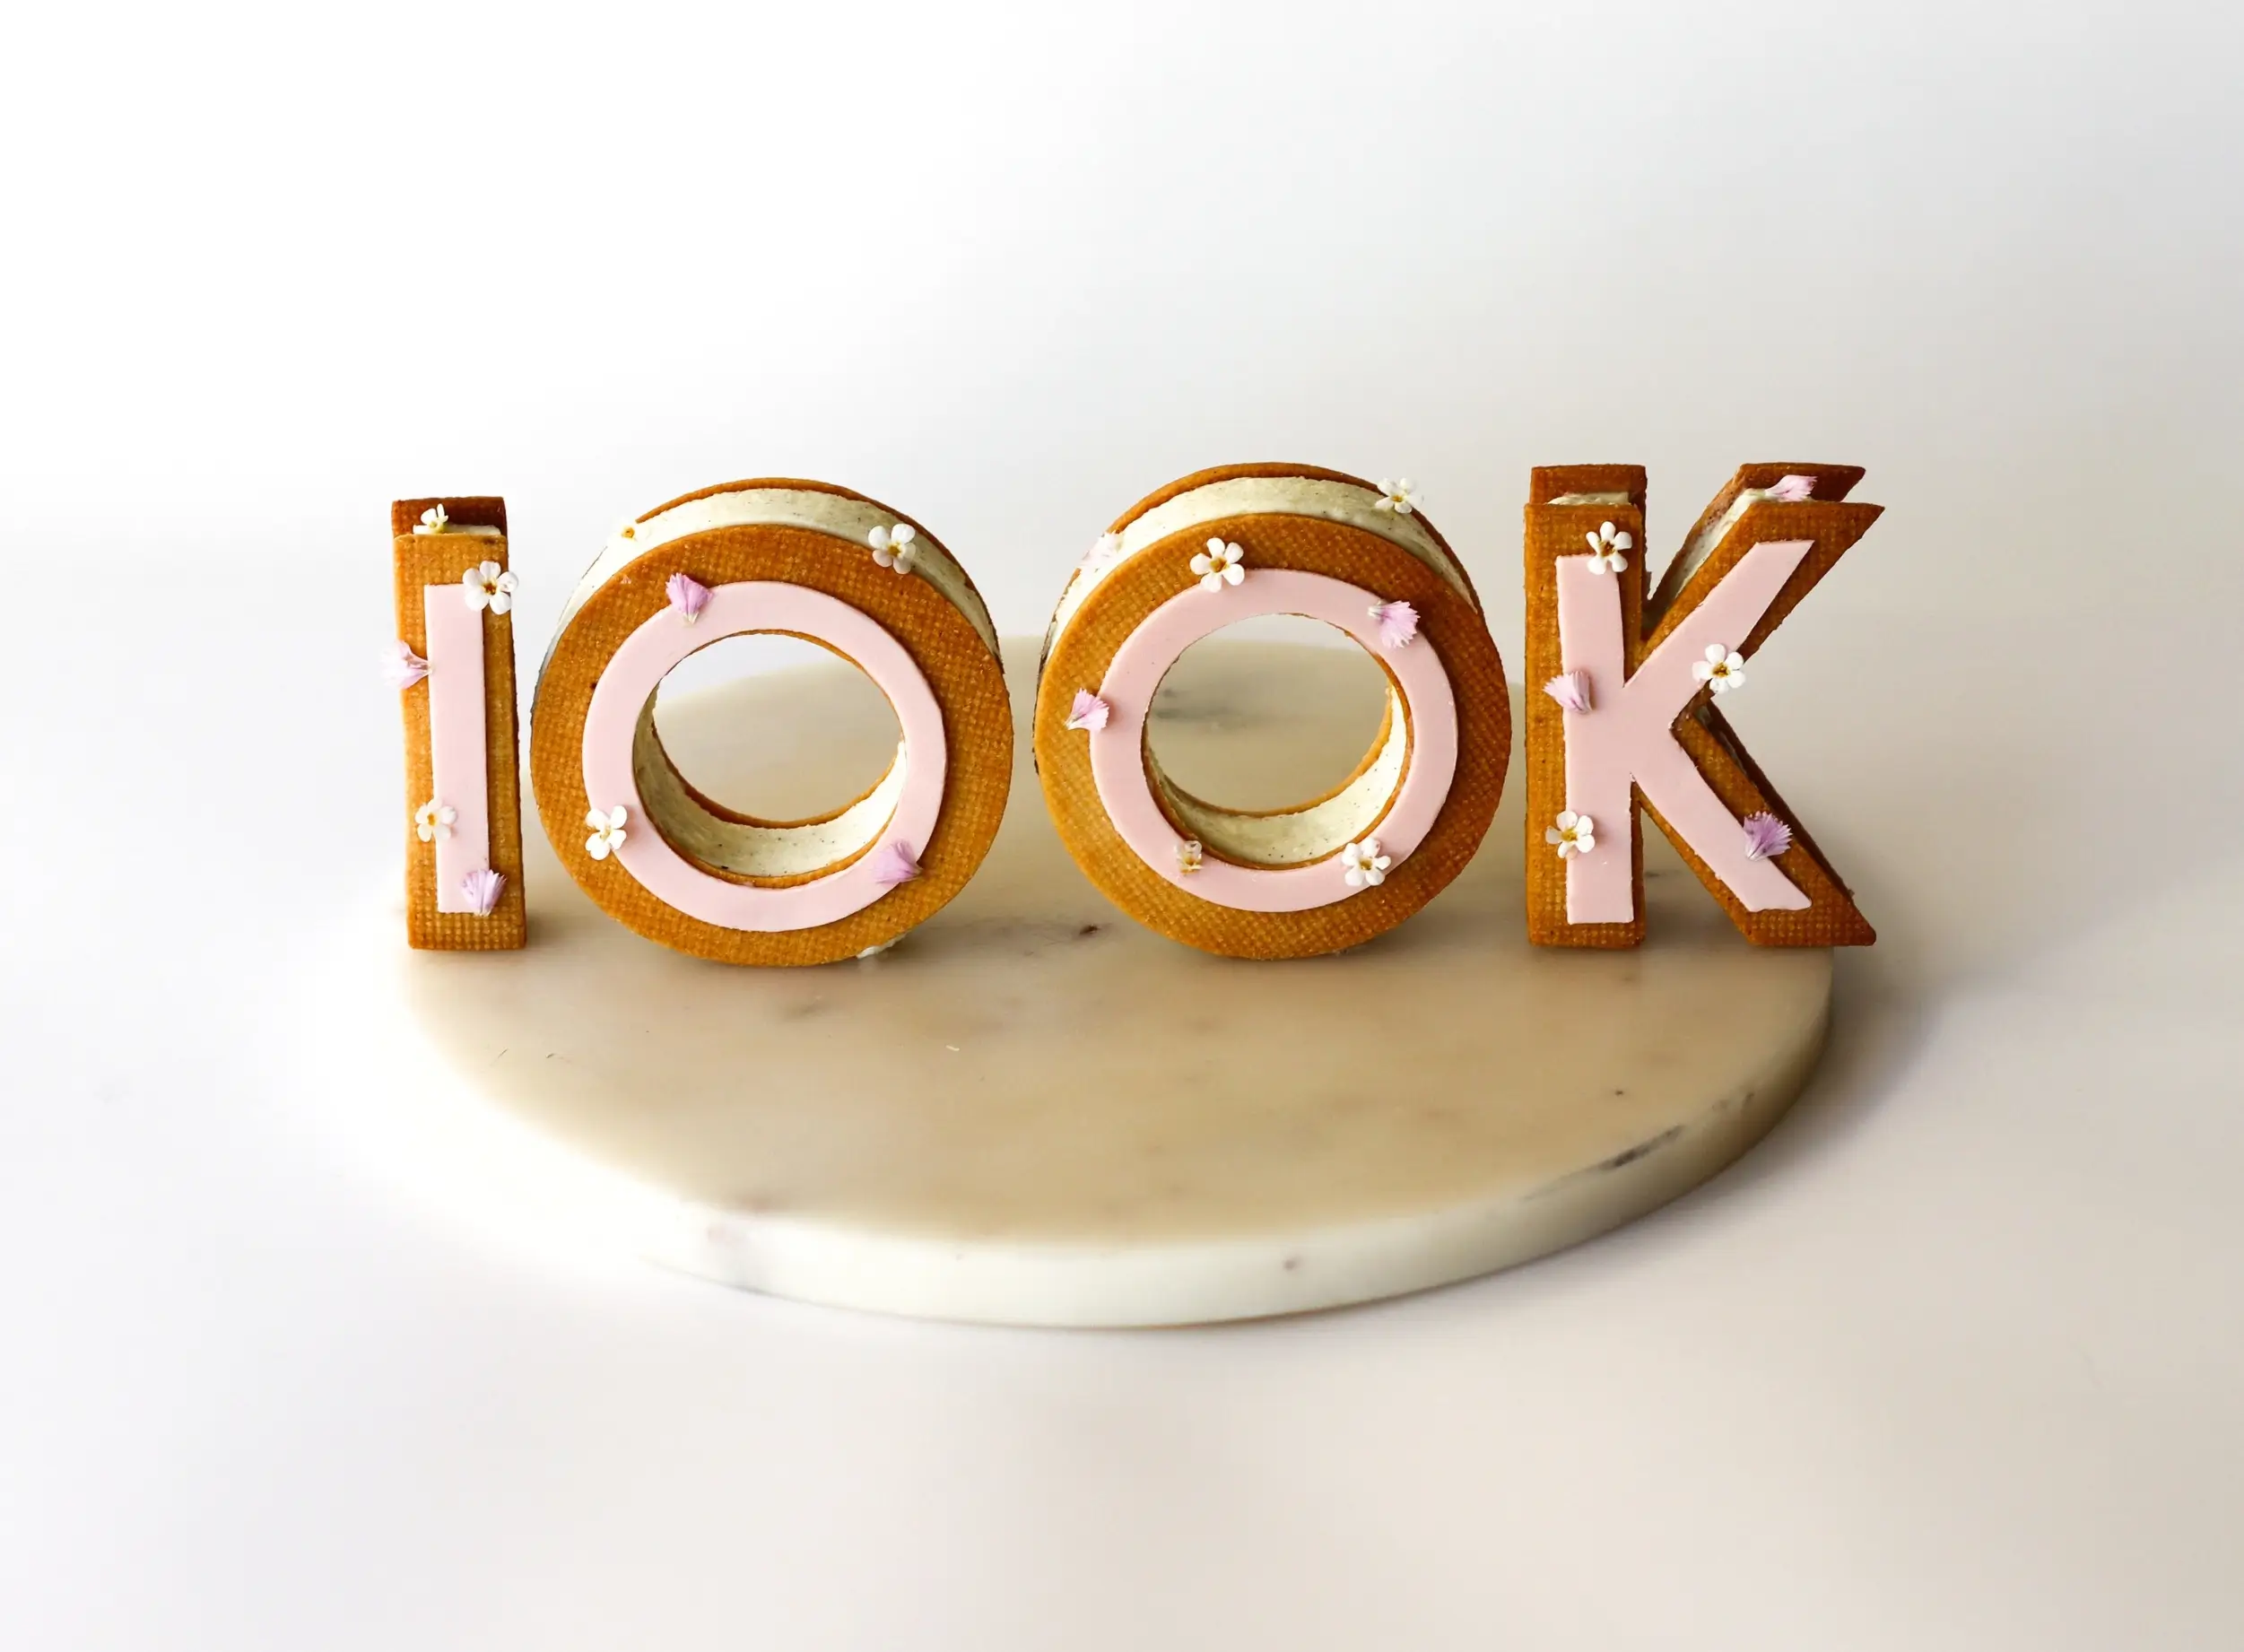

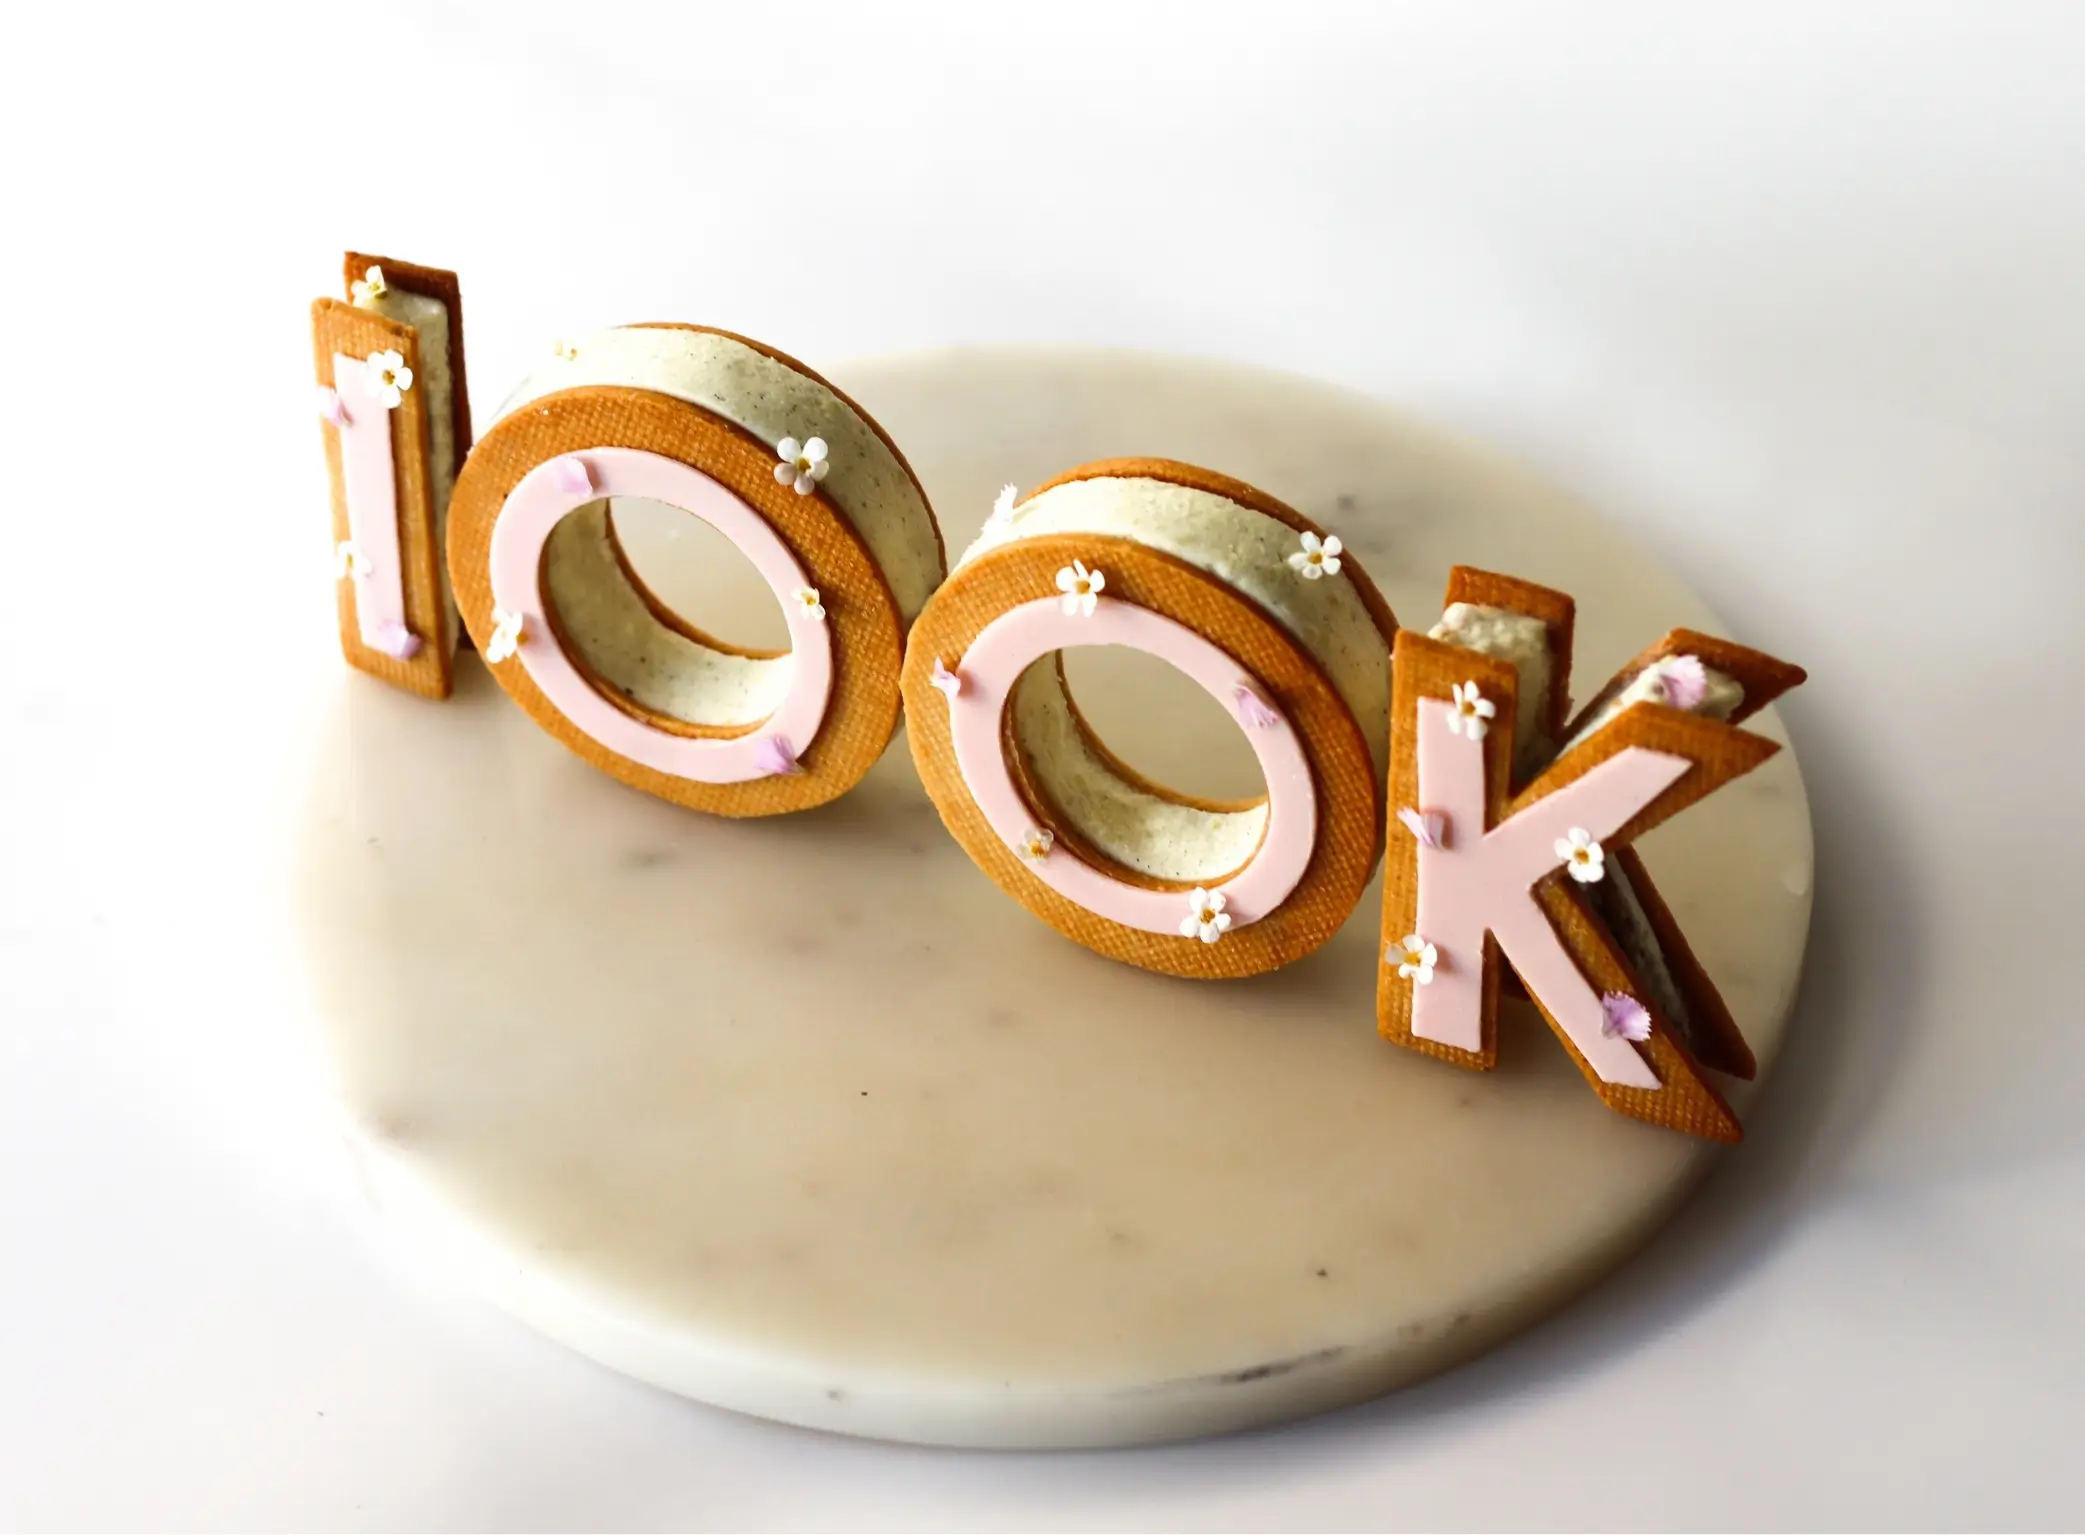
I started sharing my cakes on my Instagram several years ago, and there are now more than 100,000 cake-loving people following along, which I celebrated with these cute cakes.
When I started my profile, I did it mainly to share some of the cakes I made anyway for my family and friends.
Gradually, I started to bake more and share more content, and my profile started to grow, which has now enabled me to make a living doing what I love. It wouldn’t have been possible without all of you who follow my journey and my work, use my recipes, and always show me so much support. Thank you so much for being here. You are the best community I could wish for.
As I’m currently working in Cape Town, South Africa, I chose to make some cakes that reflect the local flavors. South Africa is the world’s largest producer of macadamia nuts, which is why I chose to make an element with them. Cinnamon and Crème Pâtissière (from the local Milk Tart) are also the main elements in many pastries here, so I had to create something with those as well.
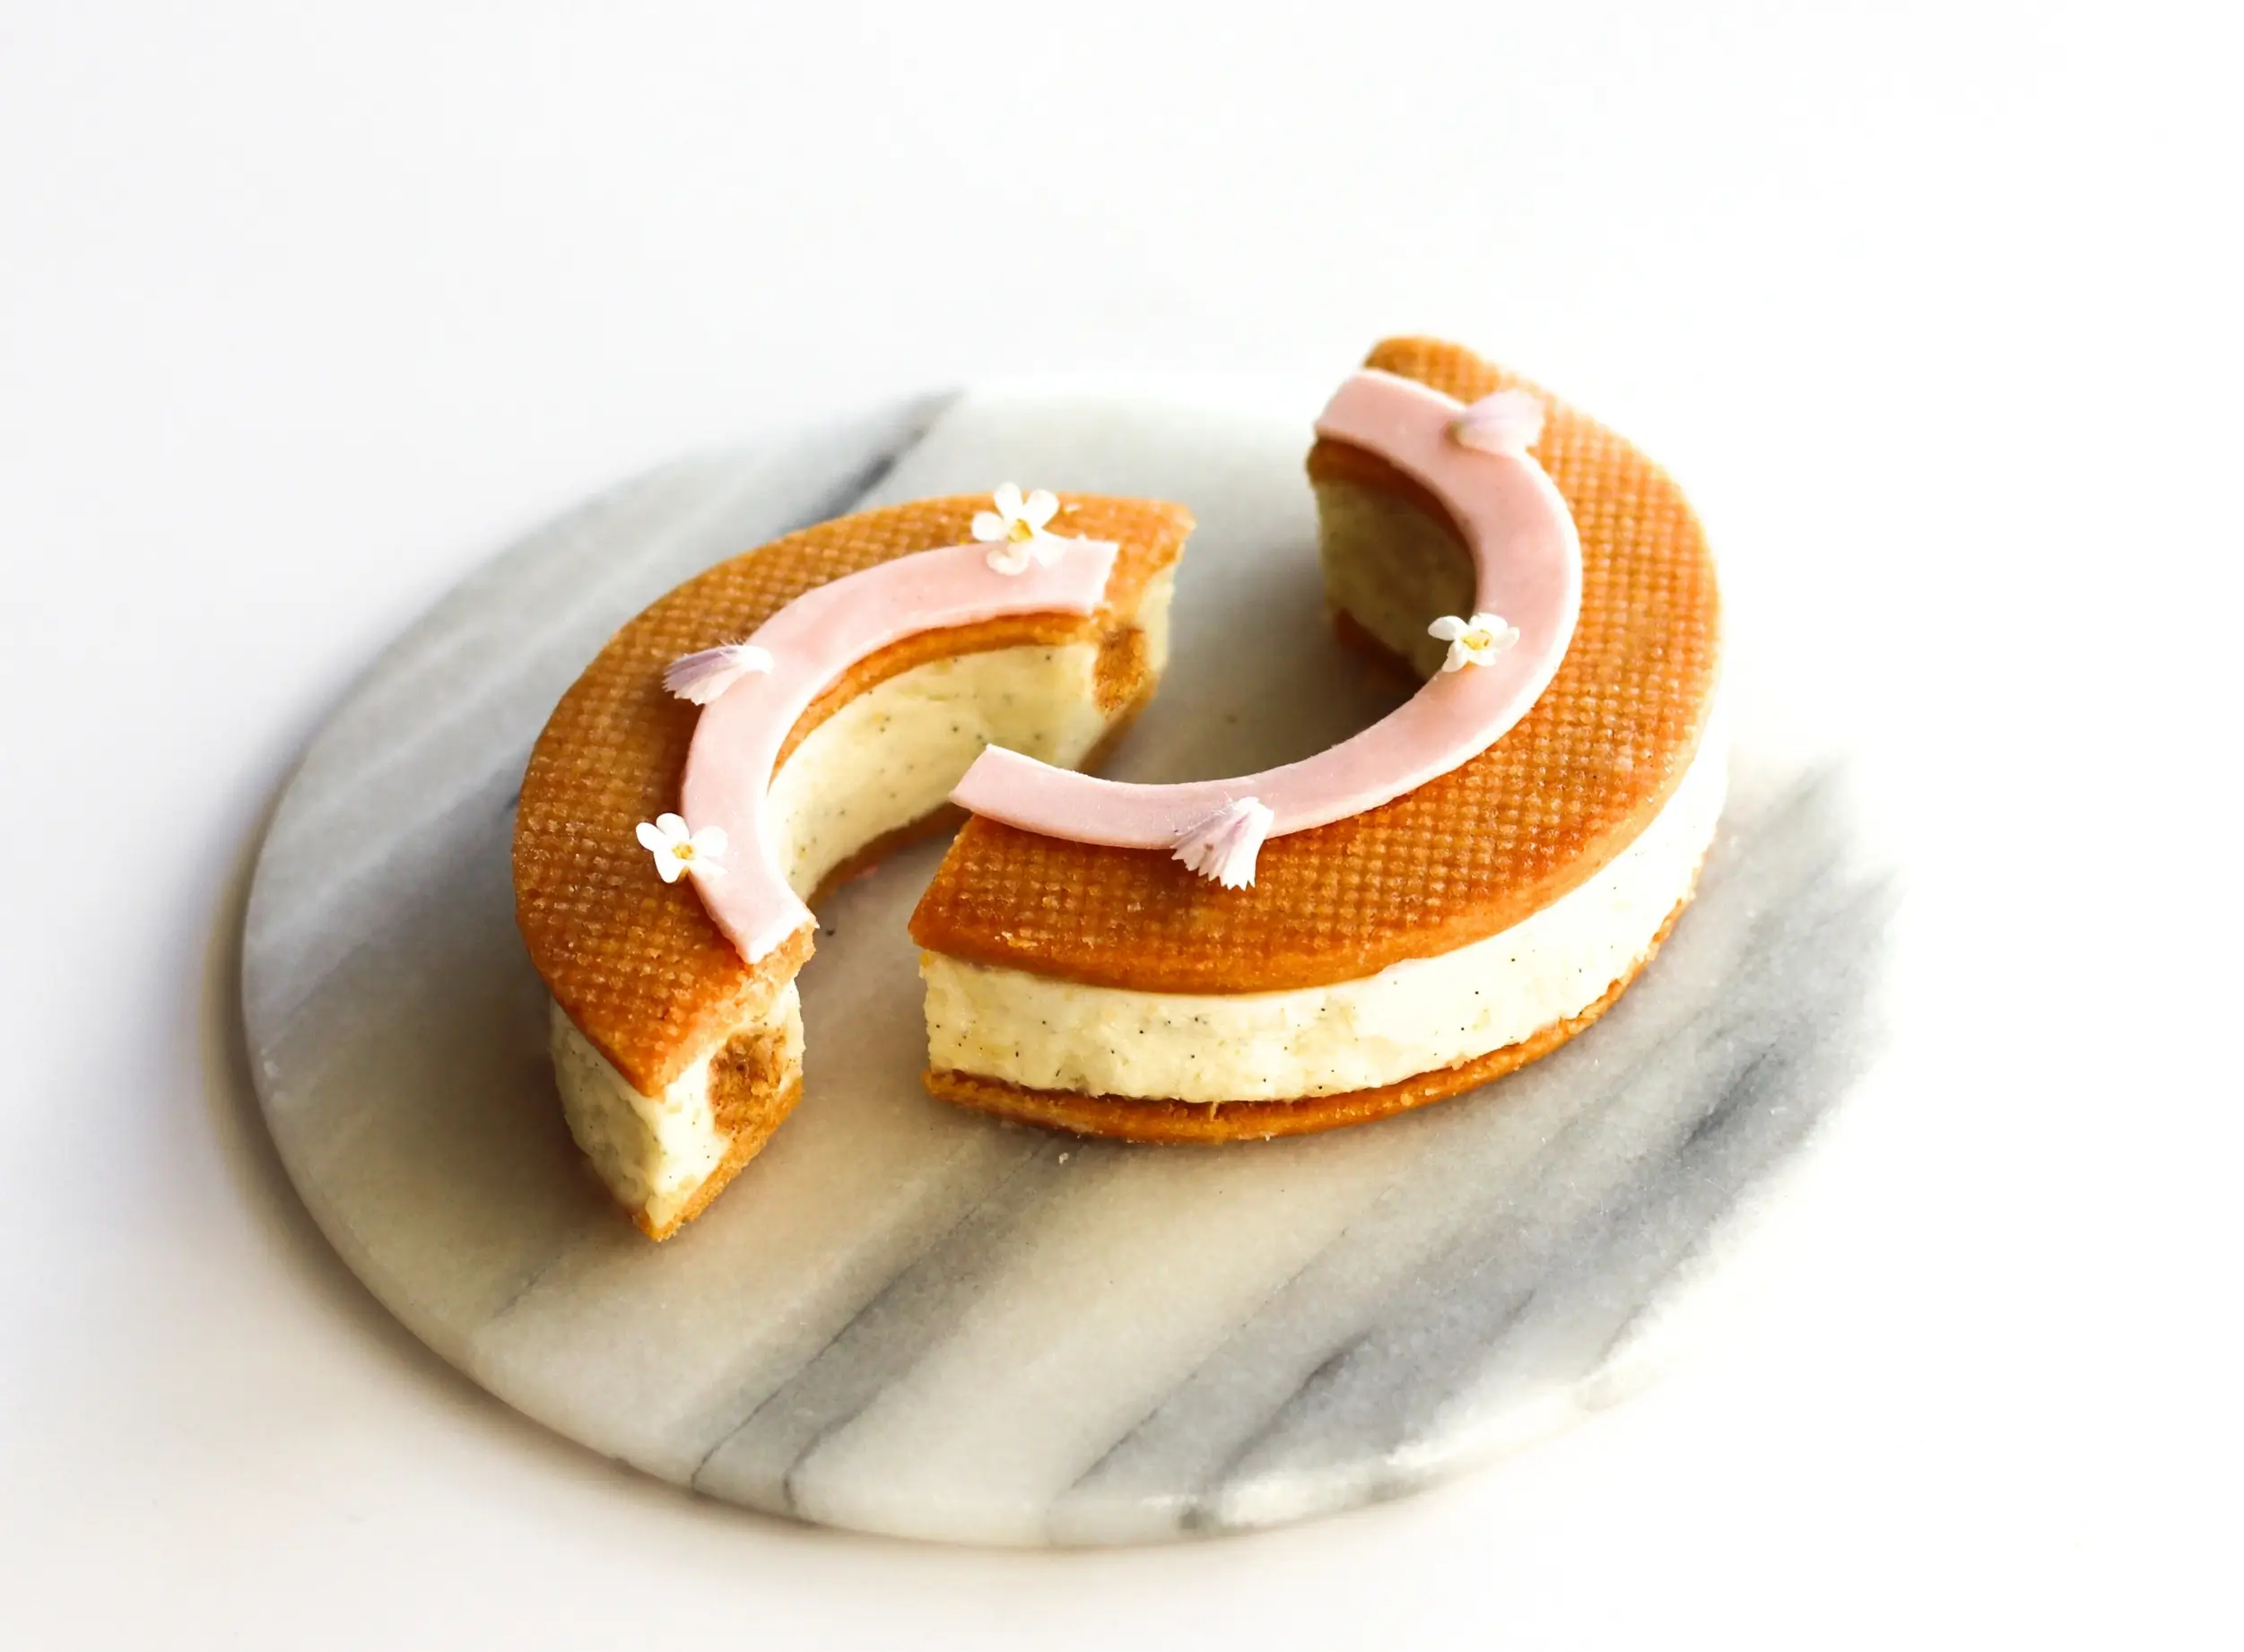
The result is some fantastic cakes with a crunchy, a smooth and a silky element.
If you want to make the cakes with other numbers/letters, you can easily swap them. In that case, you just need to use other cookie cutters/measurements.
Happy baking <
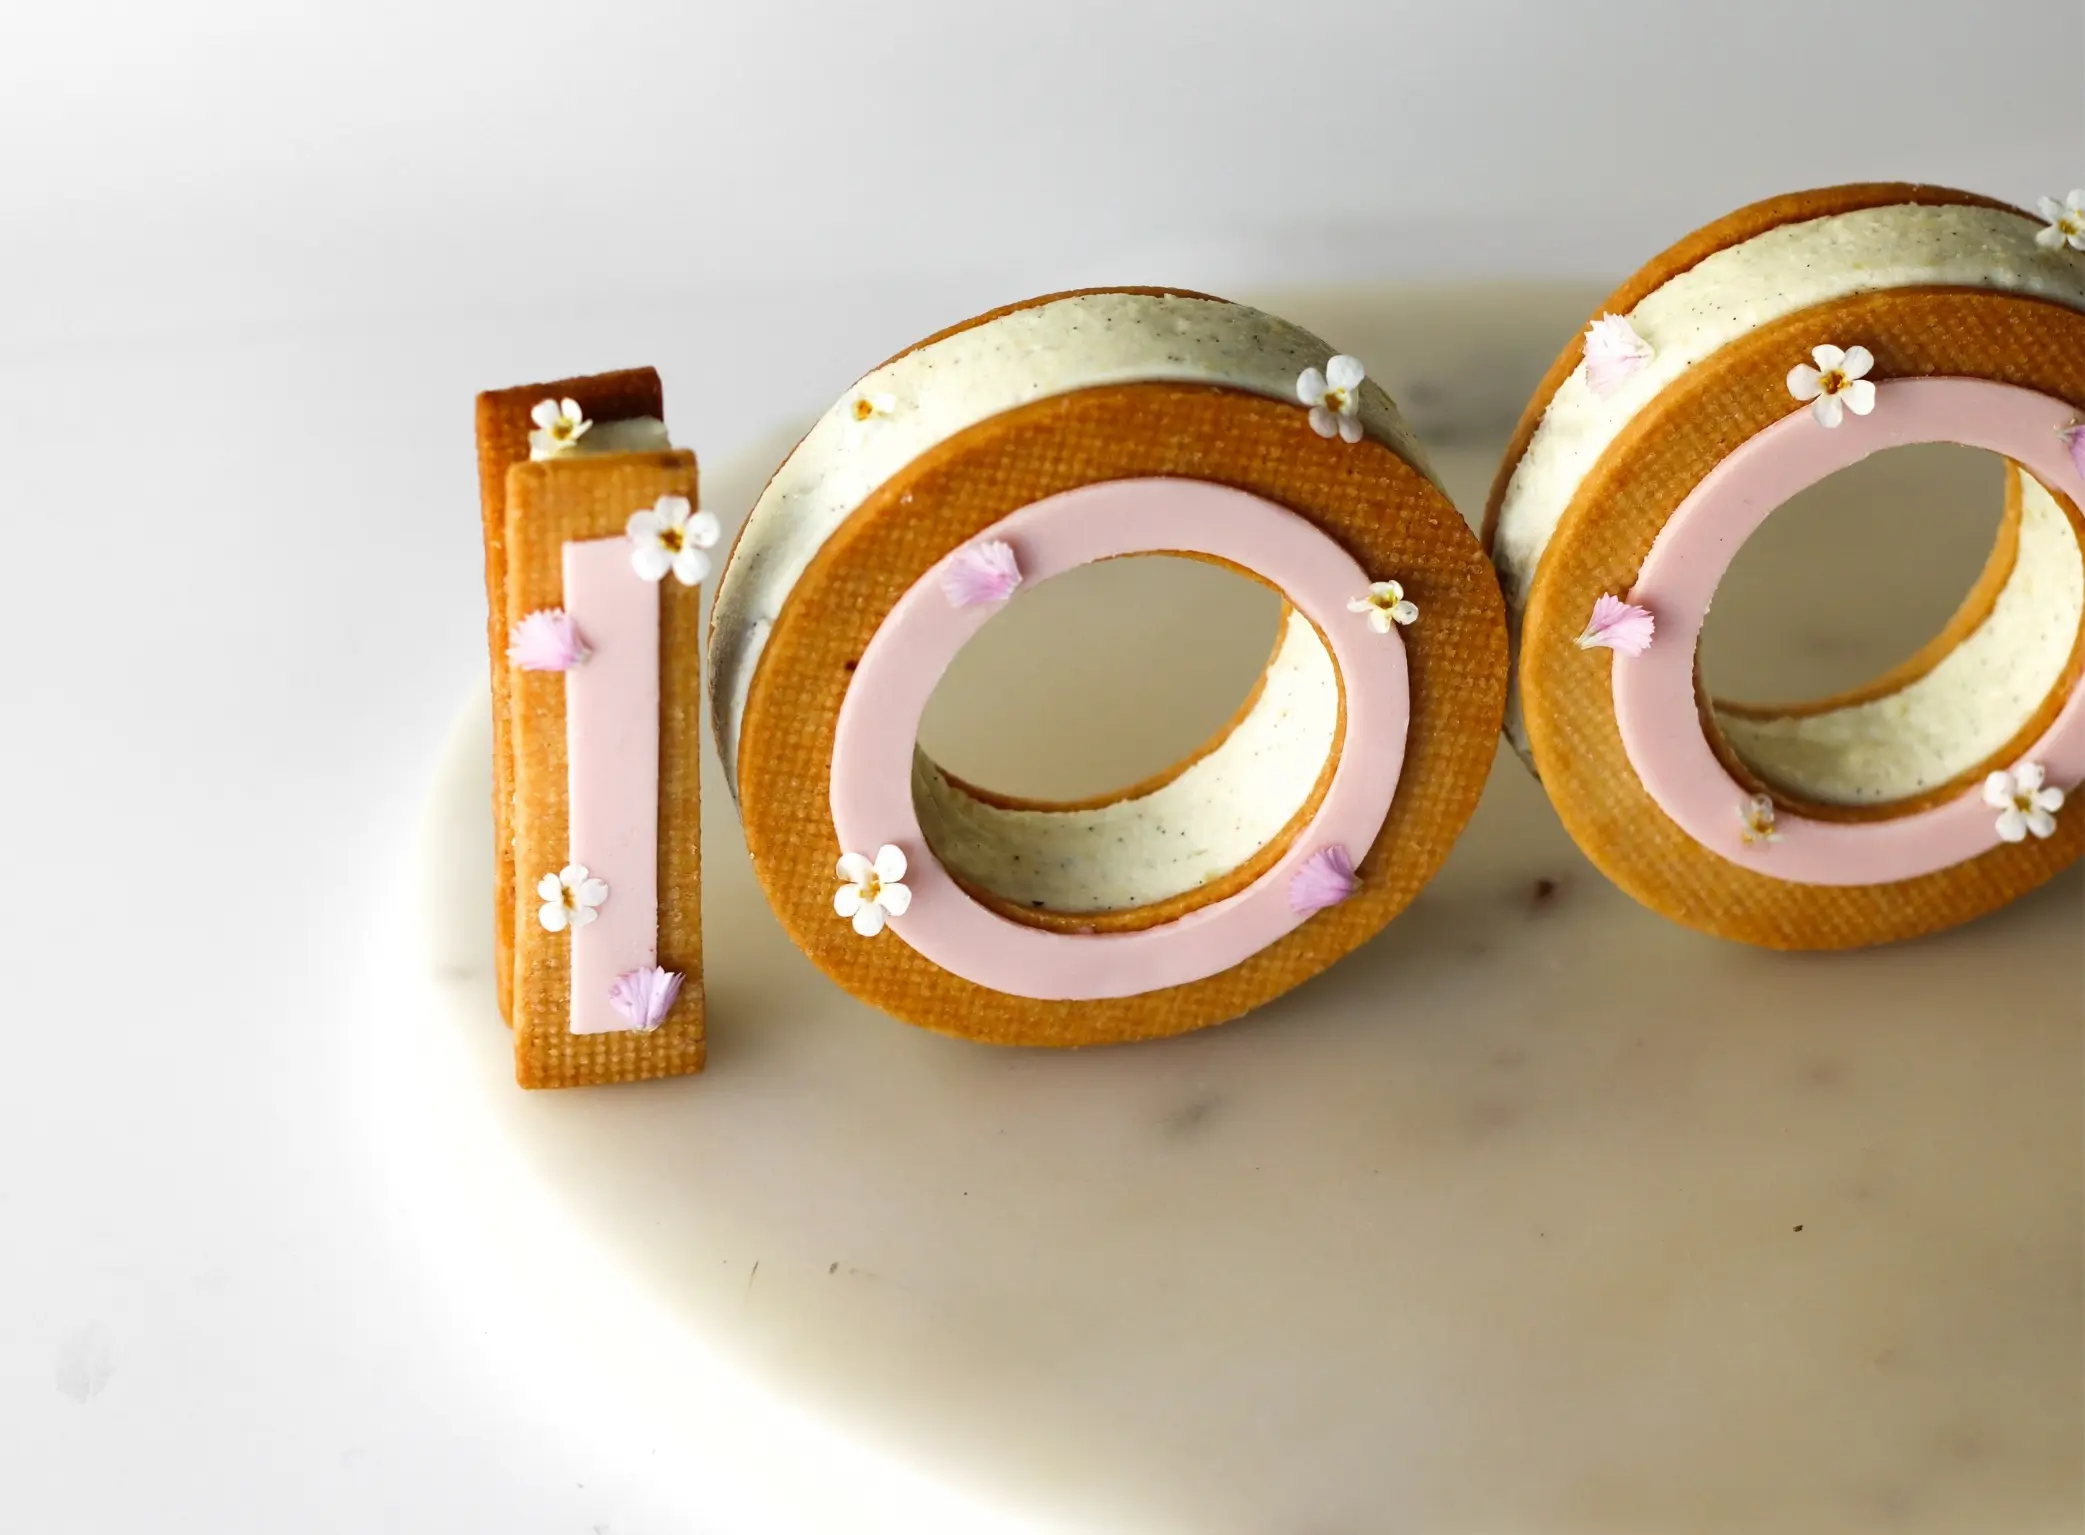
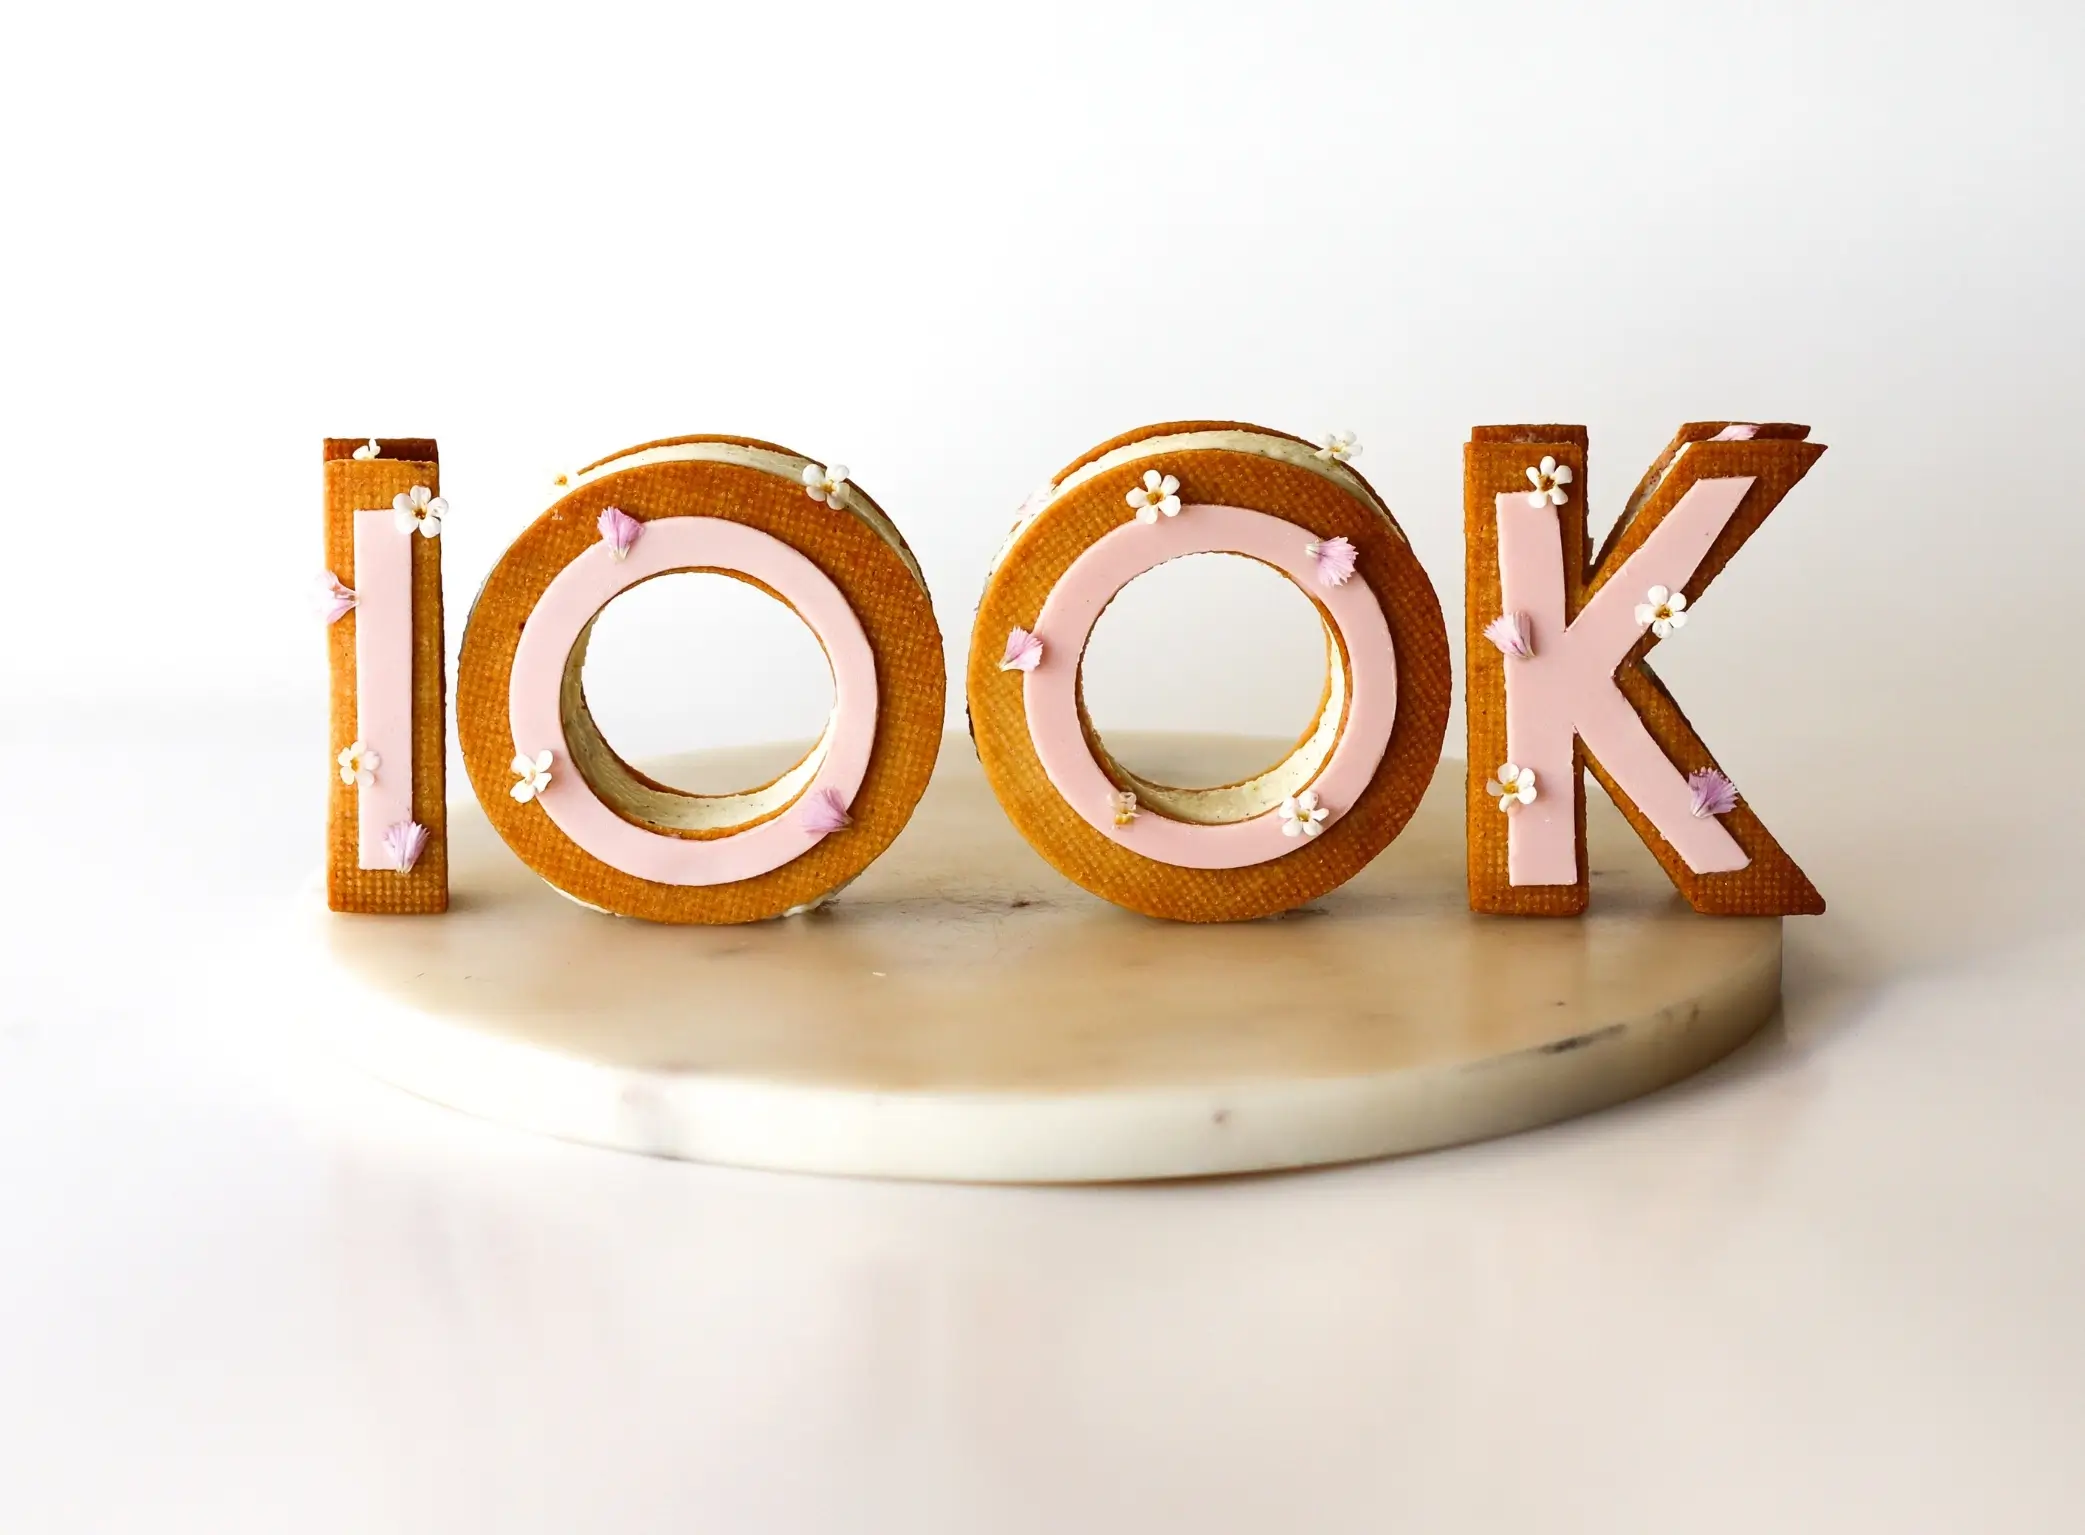
You can see a step-by-step video of how the cakes are made under my highlights on my Instagram here.
The recipe can be adapted to other letters / numbers.
Day 1
Cinnamon and Macadamia Nut Crunch:
- 30 g caster sugar
- 25 g roasted macadamia nuts
- 65 g white chocolate (28%)
- 50 g creamy Biscoff spread
- 35 g feuilletine (or cornflakes)
- 2 tsp cinnamon
- a pinch of salt
- Gently melt the sugar to a golden caramel in a pan, stir in the nuts and pour the mixture onto a piece of parchment paper. Let the nuts cool.
- Finely chop the nuts.
- Carefully melt the chocolate (for example over a water bath) and set aside.
- Fold the finely chopped nuts, feuilletine, Biscoff spread, cinnamon and salt into the chocolate.
- Roll out the crunch layer between two pieces of parchment paper and let it set in the freezer for approximately 5 minutes.
- Then cut out numbers and letters with cookie cutters or a knife in the following sizes:
- 1x 1 number: 0.5 cm × 6.5 cm
- 2x 0 numbers: 7.5 cm diameter protruding to the outer ring + 6 cm diameter protruding to the inner ring
- 1x K letter: 0.5 cm wide × 6.5 cm high
- Put the crunch layers in the fridge until you assemble the cakes.
Tips & Notes:
- Don’t chop the nuts too finely, as this will reduce the crunch effect.
- Level the surface with a glass or a spoon.
Day 1
Caramel Ganache with Biscoff and Cinnamon:
- 60 g caramel chocolate (I use Callebaut Gold 30.4%)
- 75 g creamy Biscoff spread
- 65 ml heavy cream (min. 35%)
- 0.75 tsp cinnamon
- sea salt
- Carefully melt the caramel chocolate and Biscoff spread (for example over a water bath) and set aside in a bowl.
- Heat the heavy cream and cinnamon until almost boiling and pour over the chocolate and Biscoff mixture.
- Stir in the center of the mixture with a rubber spatula until the ganache becomes glossy.
- Blend the ganache with an immersion blender. Season with a good pinch of sea salt.
- Pour the ganache into a piping bag with a round tip and put it in the fridge until you assemble the cakes.
- Take the ganache out approximately 30 minutes before assembling the cakes so that it is not too hard to pipe.
Tips & Notes:
- Only heat the cream until almost boiling, as cream that is too hot will seize the chocolate mixture.
- Stir the mixture with a rubber spatula until glossy.
Day 1
Vanilla Crème Pâtissière Mousse:
Crème Pâtissière:
- 2 vanilla bean pods (or 2 tsp vanilla paste)
- 300 ml whole milk
- 75 g egg yolks (approx. 4 medium egg yolks)
- 40 g caster sugar
- 75 ml whole milk
- 40 g cornstarch
- Whisk the sugar, egg yolks, cornstarch and 75 ml of whole milk together in a bowl.
- Heat 300 ml of whole milk with the vanilla seeds and pod in a pan until almost boiling.
- When the milk is almost boiling, pour it over the egg yolk mixture while whisking.
- Pour the mixture back into the pan and bring it to a boil, whisking constantly.
- When the cream is very thick, take the pan off the heat.
- Transfer the cream to a bowl and cover it with cling film touching the surface. Let it cool completely in the fridge for a few hours.
- When the cream is completely cold, remove the vanilla pod and whisk the cream briefly until smooth and free of lumps.
Mousse:
- 4.75 gelatin sheets (1 sheet = 1.75 g, bloom value 240)
- 1 vanilla bean pod (or 1 tsp vanilla paste)
- 300 g white chocolate (28%)
- 220 g Crème Pâtissière (from previous step)
- 600 ml heavy cream (min. 35%)
- Soak the gelatin in cold water for 5–10 minutes.
- Gently melt the chocolate (for example over a water bath) and set it aside in a bowl.
- Heat 150 ml of heavy cream with the vanilla until almost boiling. Take the pan off the heat and whisk in the gelatin.
- Pour the hot cream over the chocolate while stirring in the center with a rubber spatula until it comes together. Let it cool slightly.
- Add the whipped Crème Pâtissière to the mixture.
- Let the mixture cool to lukewarm.
- Whip 450 ml of heavy cream to soft peaks and fold it into the mixture once it has cooled to lukewarm (if it is too hot, the cream may separate).
- Find a large plastic box that can hold all the letters and numbers you want to use. I used a 27 cm × 21 cm plastic box. Line the box with parchment paper.
- Pour an approximately 2 cm thick layer of the mousse into the plastic box.
- Place the cut-out crunch layers on top of the mousse. Make sure there is enough space between the numbers/letters, as the cut-out cakes will be larger in the end.
- Pipe a layer of ganache on top of the crunch layer on each number/letter.
- Next, pour another layer of mousse on top of the numbers/letters one by one.
As you pour the mousse over each number/letter, mark where the cakes should be cut out (for example by drawing an outline with a toothpick or similar).
This way, you can more easily cut out the cakes in the right place and make sure the inserts are in the middle of the cakes. After setting in the freezer overnight, the numbers/letters are cut out in the following sizes, which you can use as a guide for the outline:- 1x 1 number: 1 cm × 7.5 cm
- 2x 0 numbers: 8 cm diameter protruding to the outer ring + 6 cm diameter protruding to the inner ring
- 1x K letter: 1 cm × 7.5 cm
- Let the cakes set overnight in the freezer.
Tips & Notes:
- Only heat the cream until almost boiling before pouring it over the chocolate, to avoid seizing the chocolate.
- Whip the heavy cream to soft peaks, as overwhipped cream can result in a dense and grainy mousse.
Day 2
Pâte Sablée Pastry:
- 190 g all-purpose flour
- 40 g almond flour
- 75 g icing sugar
- 115 g butter
- 38 g eggs (approx. 0.8 medium eggs)
- a pinch of salt
- Put the flour, almond flour, icing sugar, salt and butter (cut into cubes) into a food processor and quickly mix until the dough is crumbly.
- Transfer the dough to a bowl and quickly combine it with the egg. Be careful not to knead the dough too much.
- Roll out the dough between two pieces of parchment paper and chill it in the fridge for 2 hours, or for approximately 45 minutes in the freezer. It should be very cold when you take it out.
- Cut out letters and numbers in the following sizes (two of each, so there is both a front and a back):
- 2x 1 number: 2 cm × 8 cm
- 4x 0 numbers: 9 cm diameter protruding to the outer ring + 5 cm diameter protruding to the inner ring
- 2x K letter: 2 cm × 8 cm
- Bake the cakes at 175°C / 347°F for approximately 10 minutes until golden. If possible, bake them on a Silikomart Air silicone mat (affiliate link) to give them a fine checkered pattern.
- Let the cakes cool on a cooling rack. Store them in a cake tin until you assemble the cakes.
Tips & Notes:
- Grate the butter or cut it into smaller cubes, as this makes it easier to mix with the dry ingredients.
- Be careful not to over-knead the dough. Only combine until it has a sandy texture and no big pieces of butter remain.
- Quickly combine the dough with the egg, stopping as soon as it comes together into a ball and the ingredients are fully incorporated.
- It’s important to chill the dough in the fridge, as otherwise the cake bases will spread and lose their shape during baking.
Day 2
Chocolate Circles & Chocolate Letters:
- 170 g white chocolate (28%)
- pink food coloring powder
- flowers (edible or secured with safety seal / edible wax)
- glucose syrup
Temper and color the chocolate, then pour it onto an acetate sheet and spread it evenly. Let it set slightly until firm but still flexible, cut out the shapes in the sizes below, then peel off the acetate once fully set. For more guidance, you can see here how to learn to make chocolate circles and chocolate letters.
You will need the following sizes to make the decoration:
- 1x 1 number: 1 cm × 7.5 cm
- 2x 0 numbers: 8 cm diameter protruding to the outer ring + 6 cm diameter protruding to the inner ring
- 1x K letter: 1 cm × 7.5 cm
Day 3
Assembling the Cakes:
- Cut out the frozen cakes in the following sizes. You can use the markings you made before freezing to cut in the right place:
- 1x 1 number: 1 cm × 7.5 cm
- 2x 0 numbers: 8 cm diameter protruding to the outer ring + 6 cm diameter protruding to the inner ring
- 1x K letter: 1 cm × 7.5 cm
- Place the cut-out mousse inserts between the Pâte Sablée cakes.
- Secure the chocolate decoration with a little melted chocolate.
- Decorate with flowers attached with a little glucose syrup.