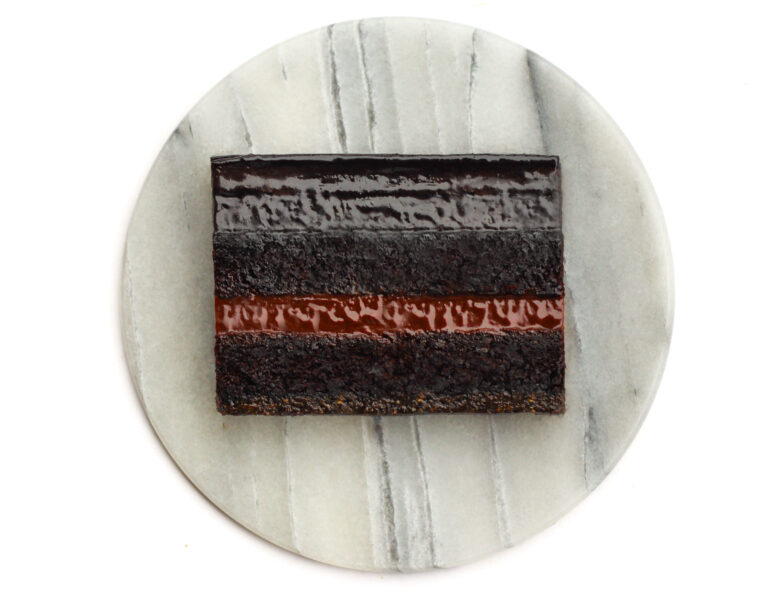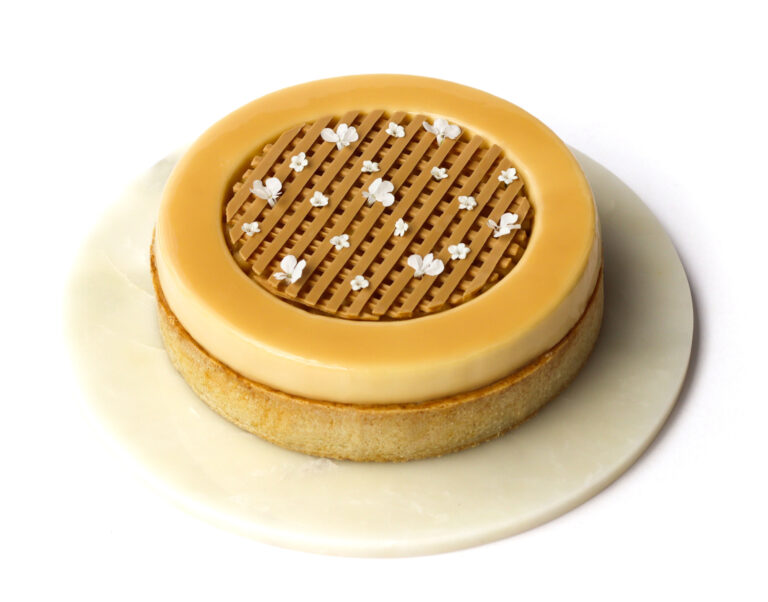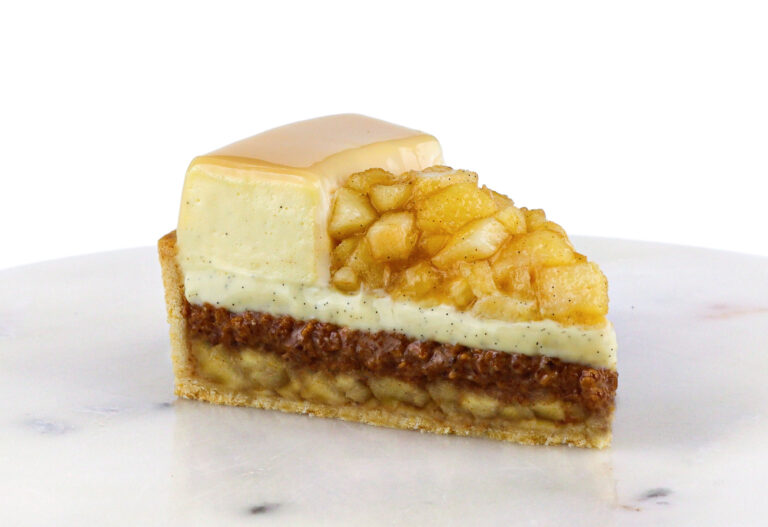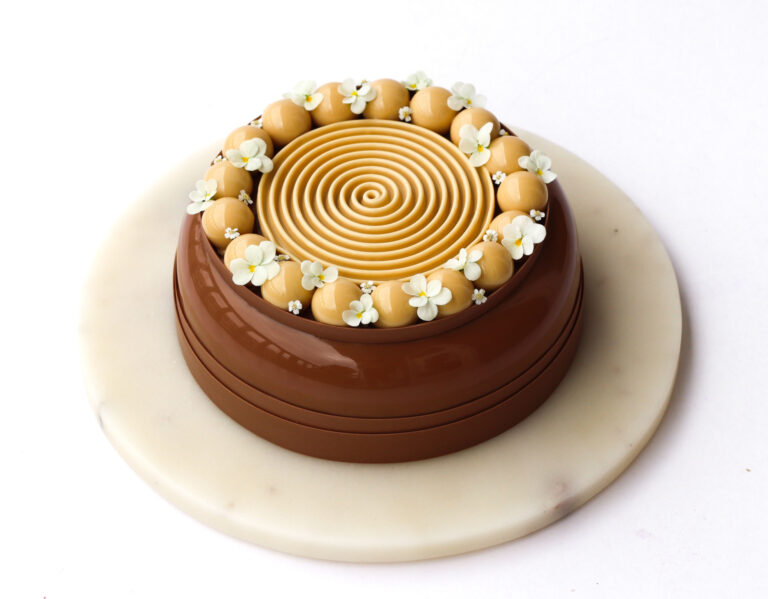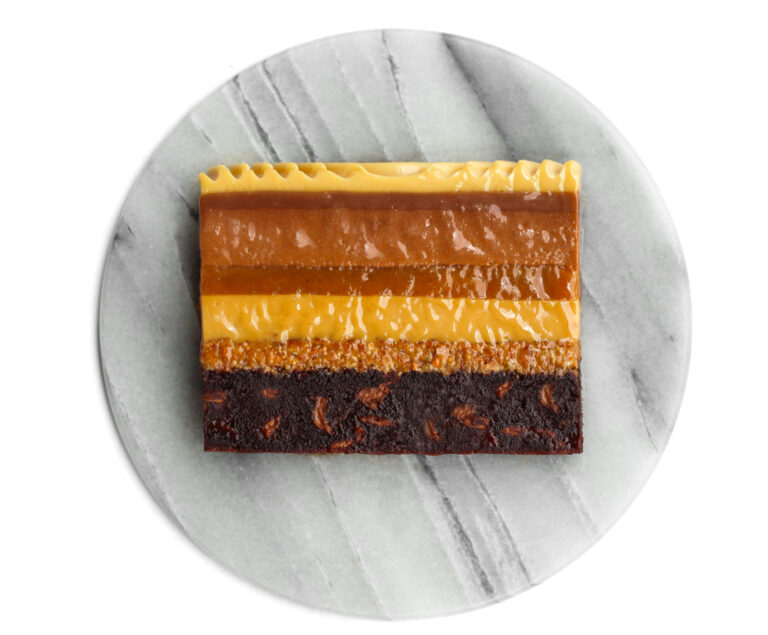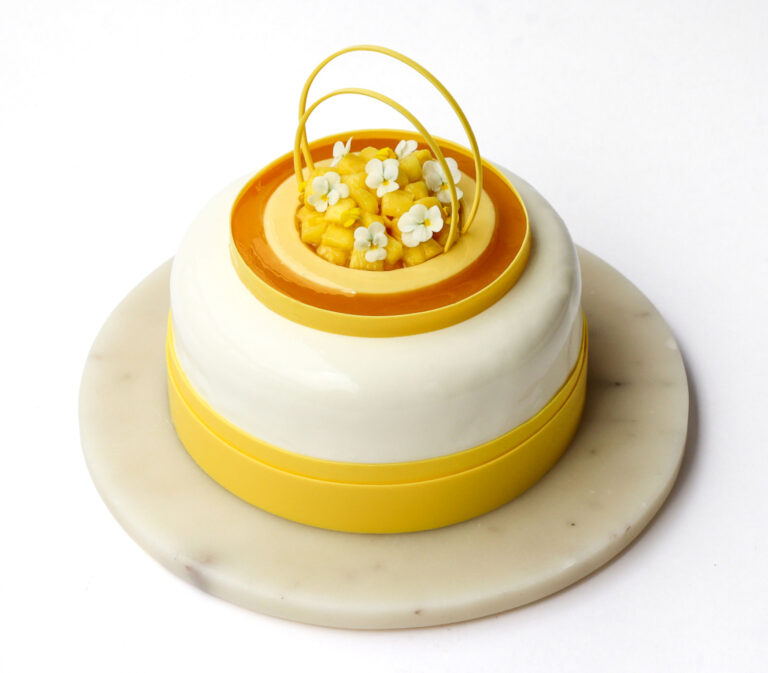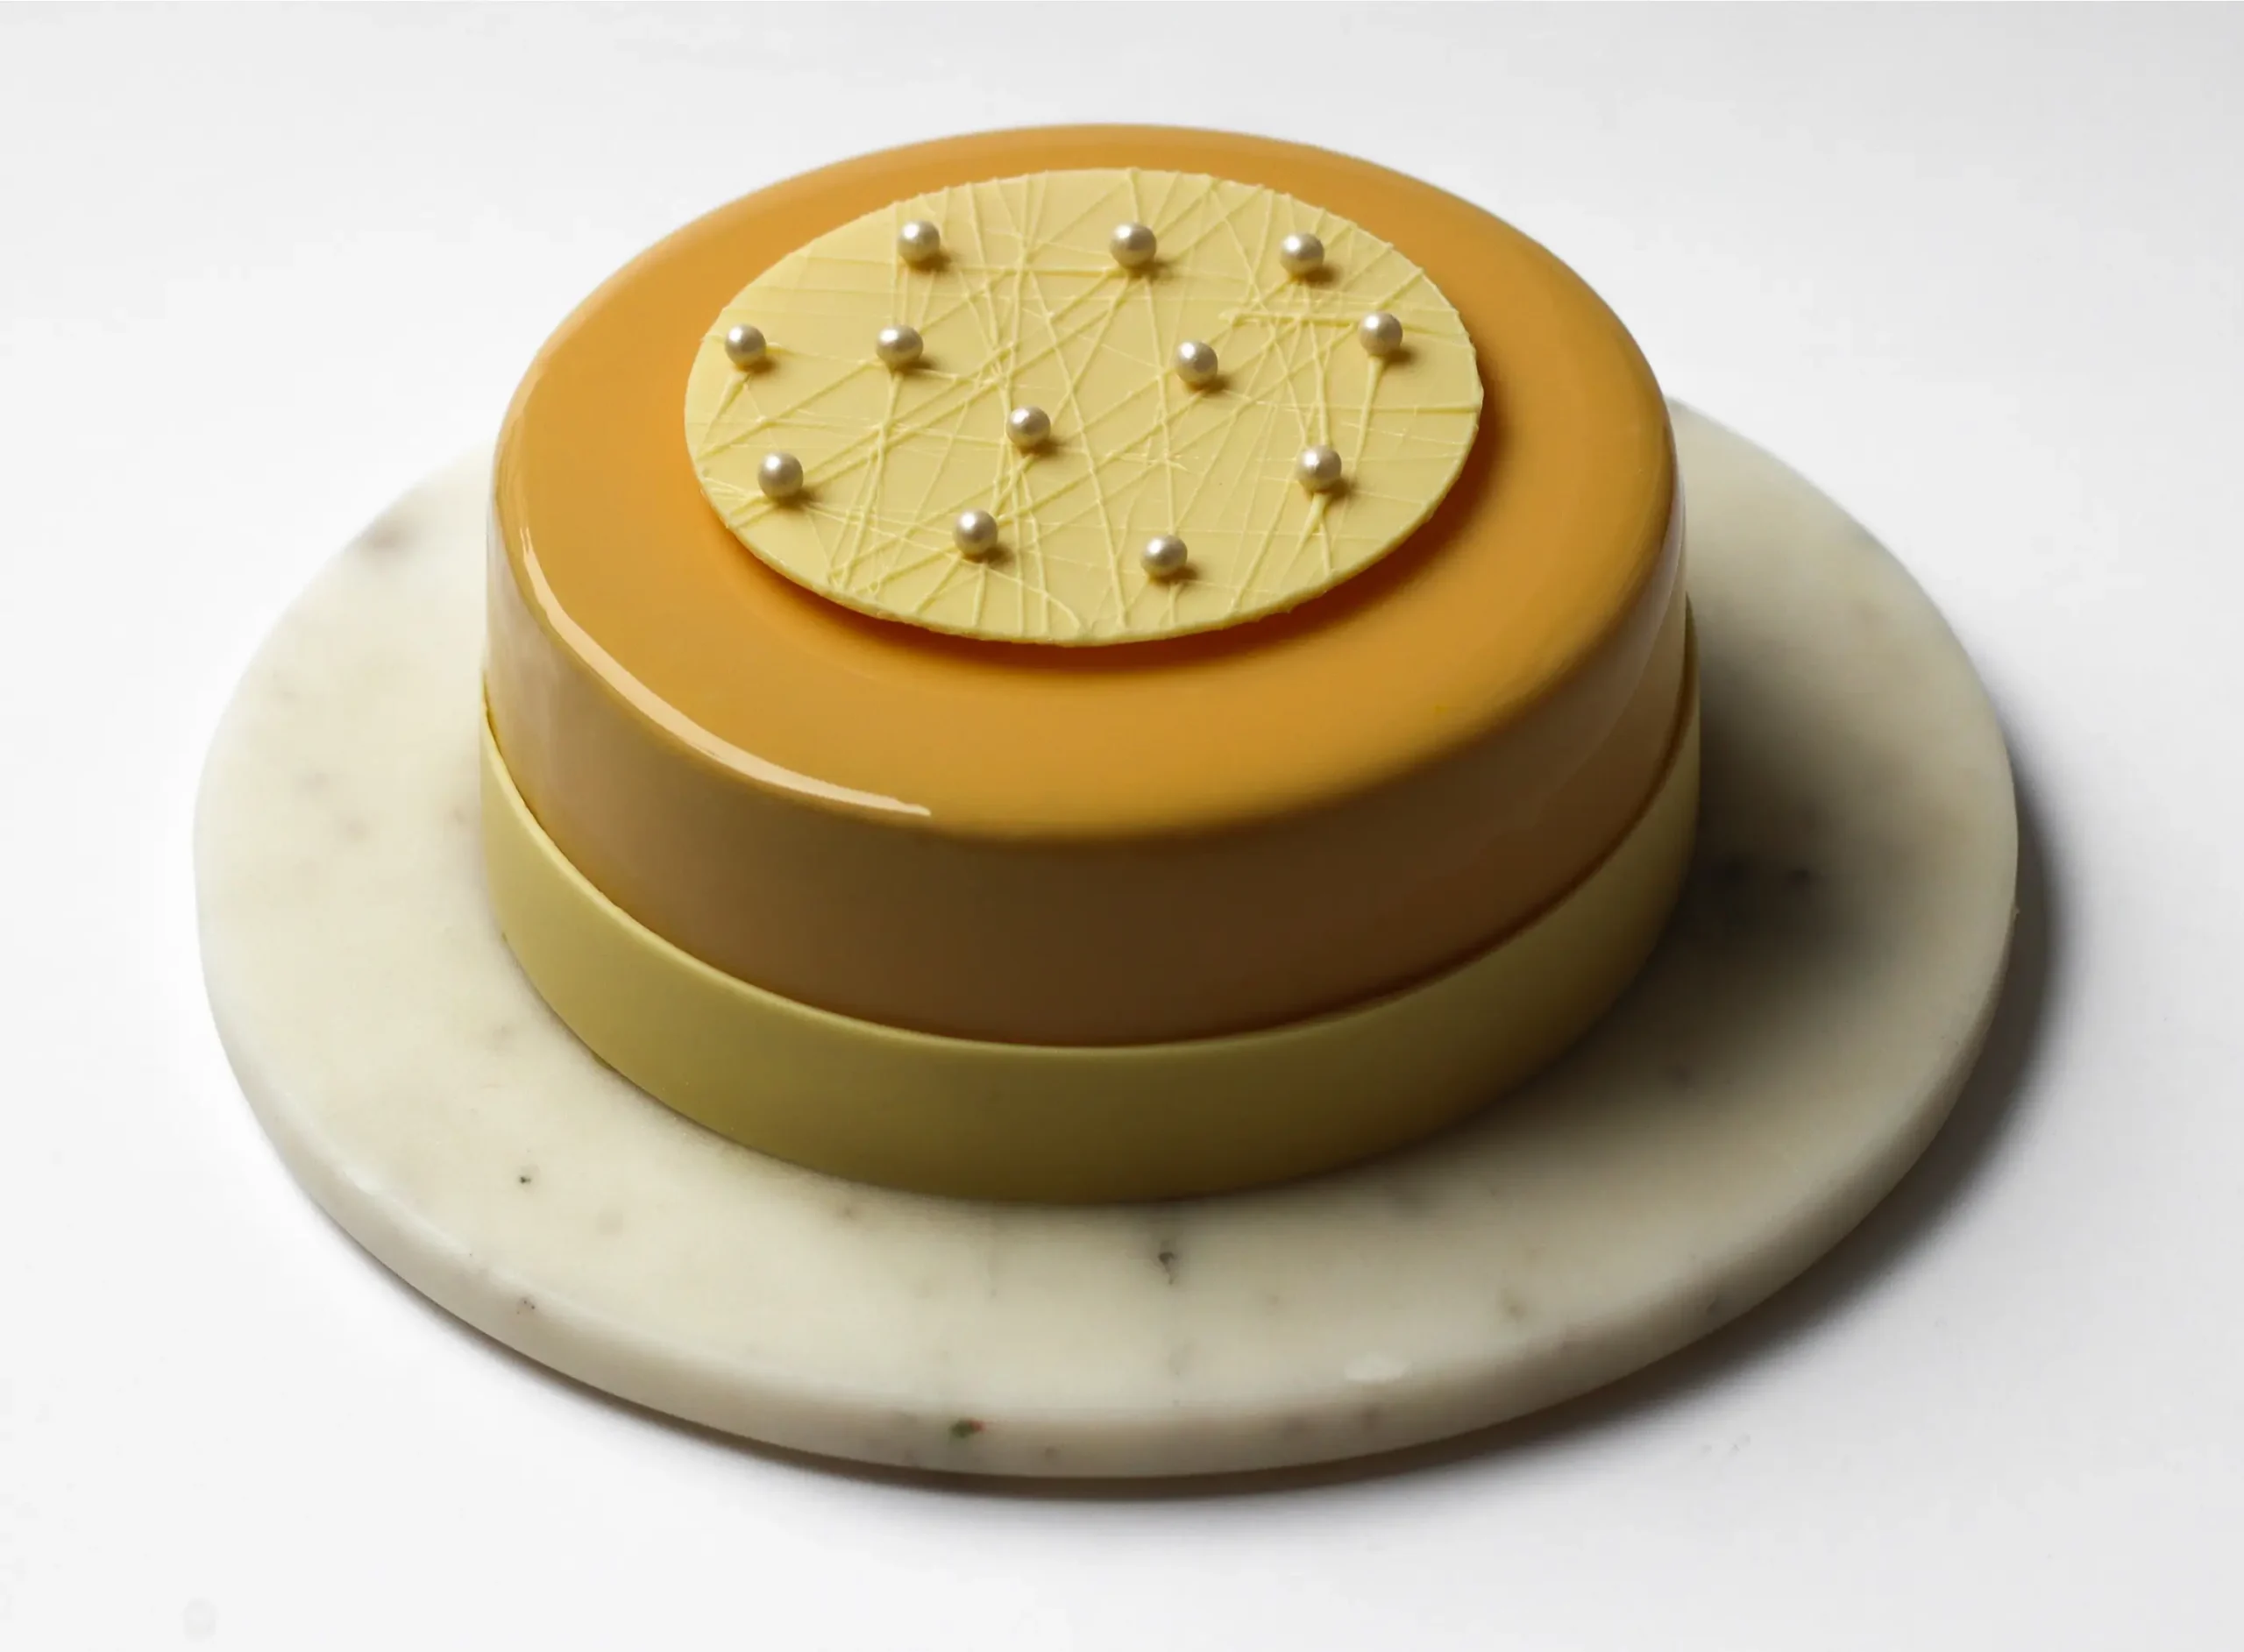

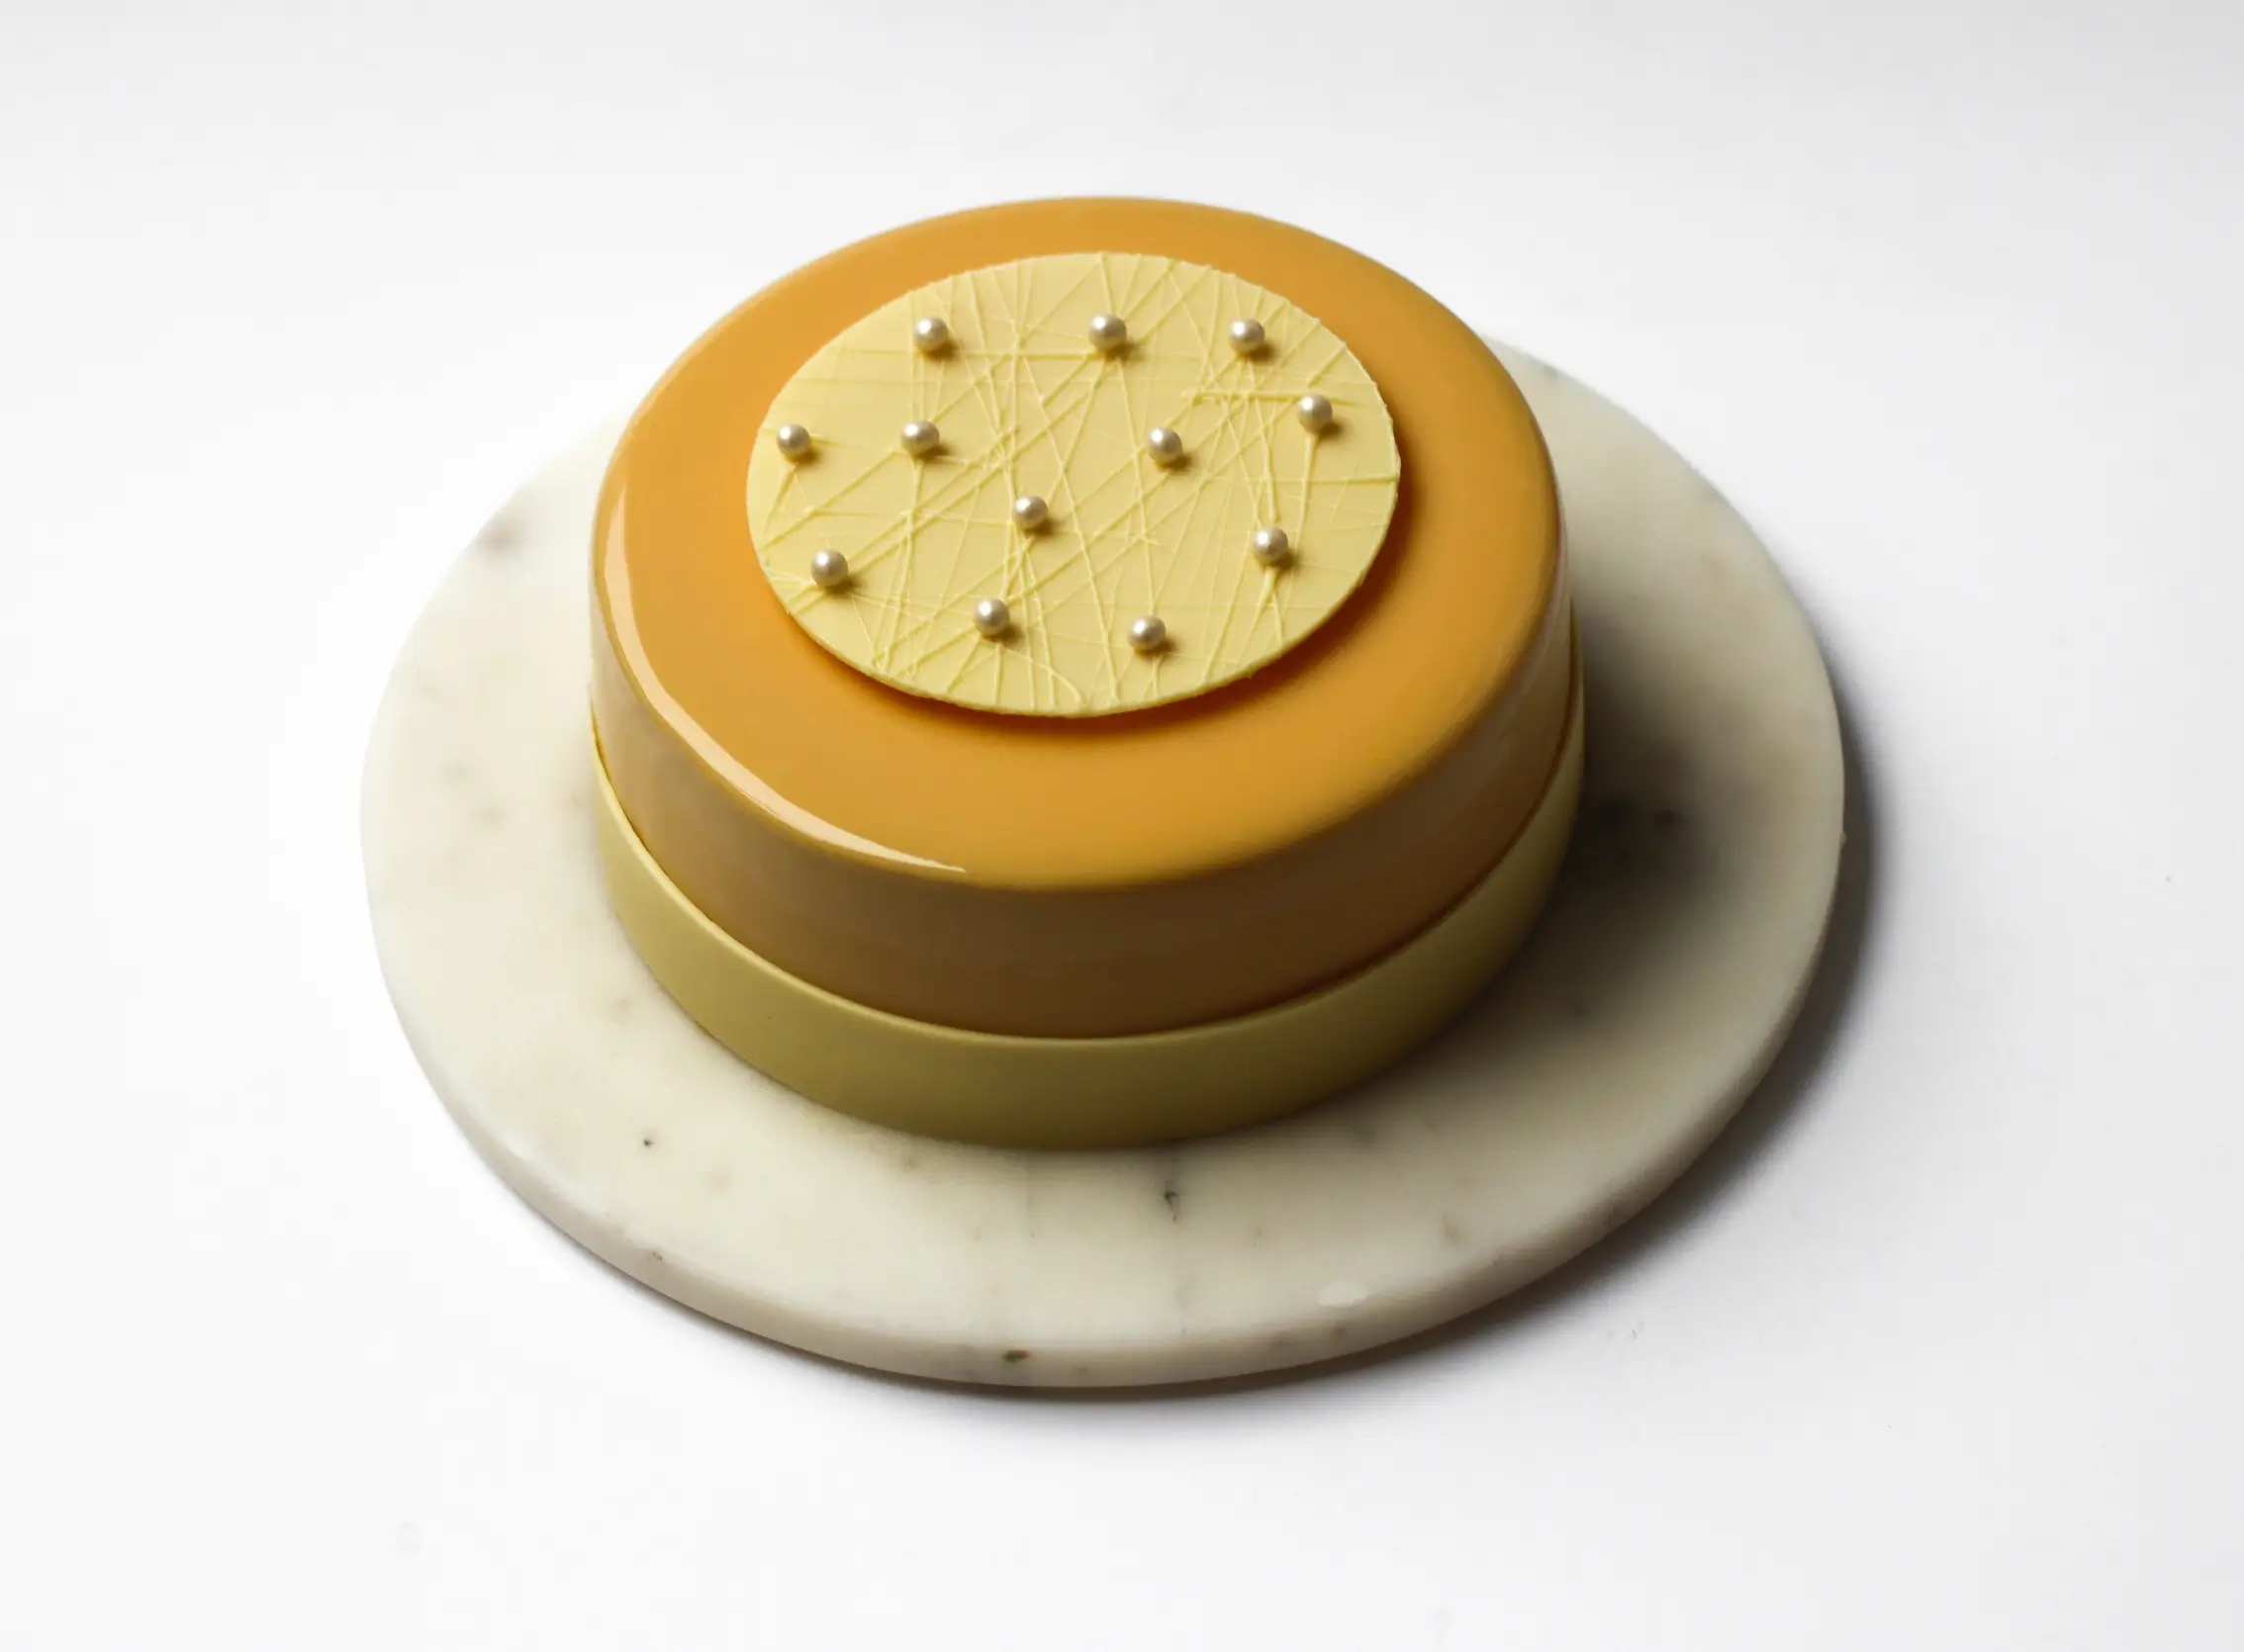
Mmm pumpkin, chai and vanilla – such a great combination! Lovely winter spices that complement each other. It’s the perfect cake for Thanksgiving, for example, or a nice weekend project during the cold winter months. If you like pumpkin, you’ll love this cake!
Happy baking <

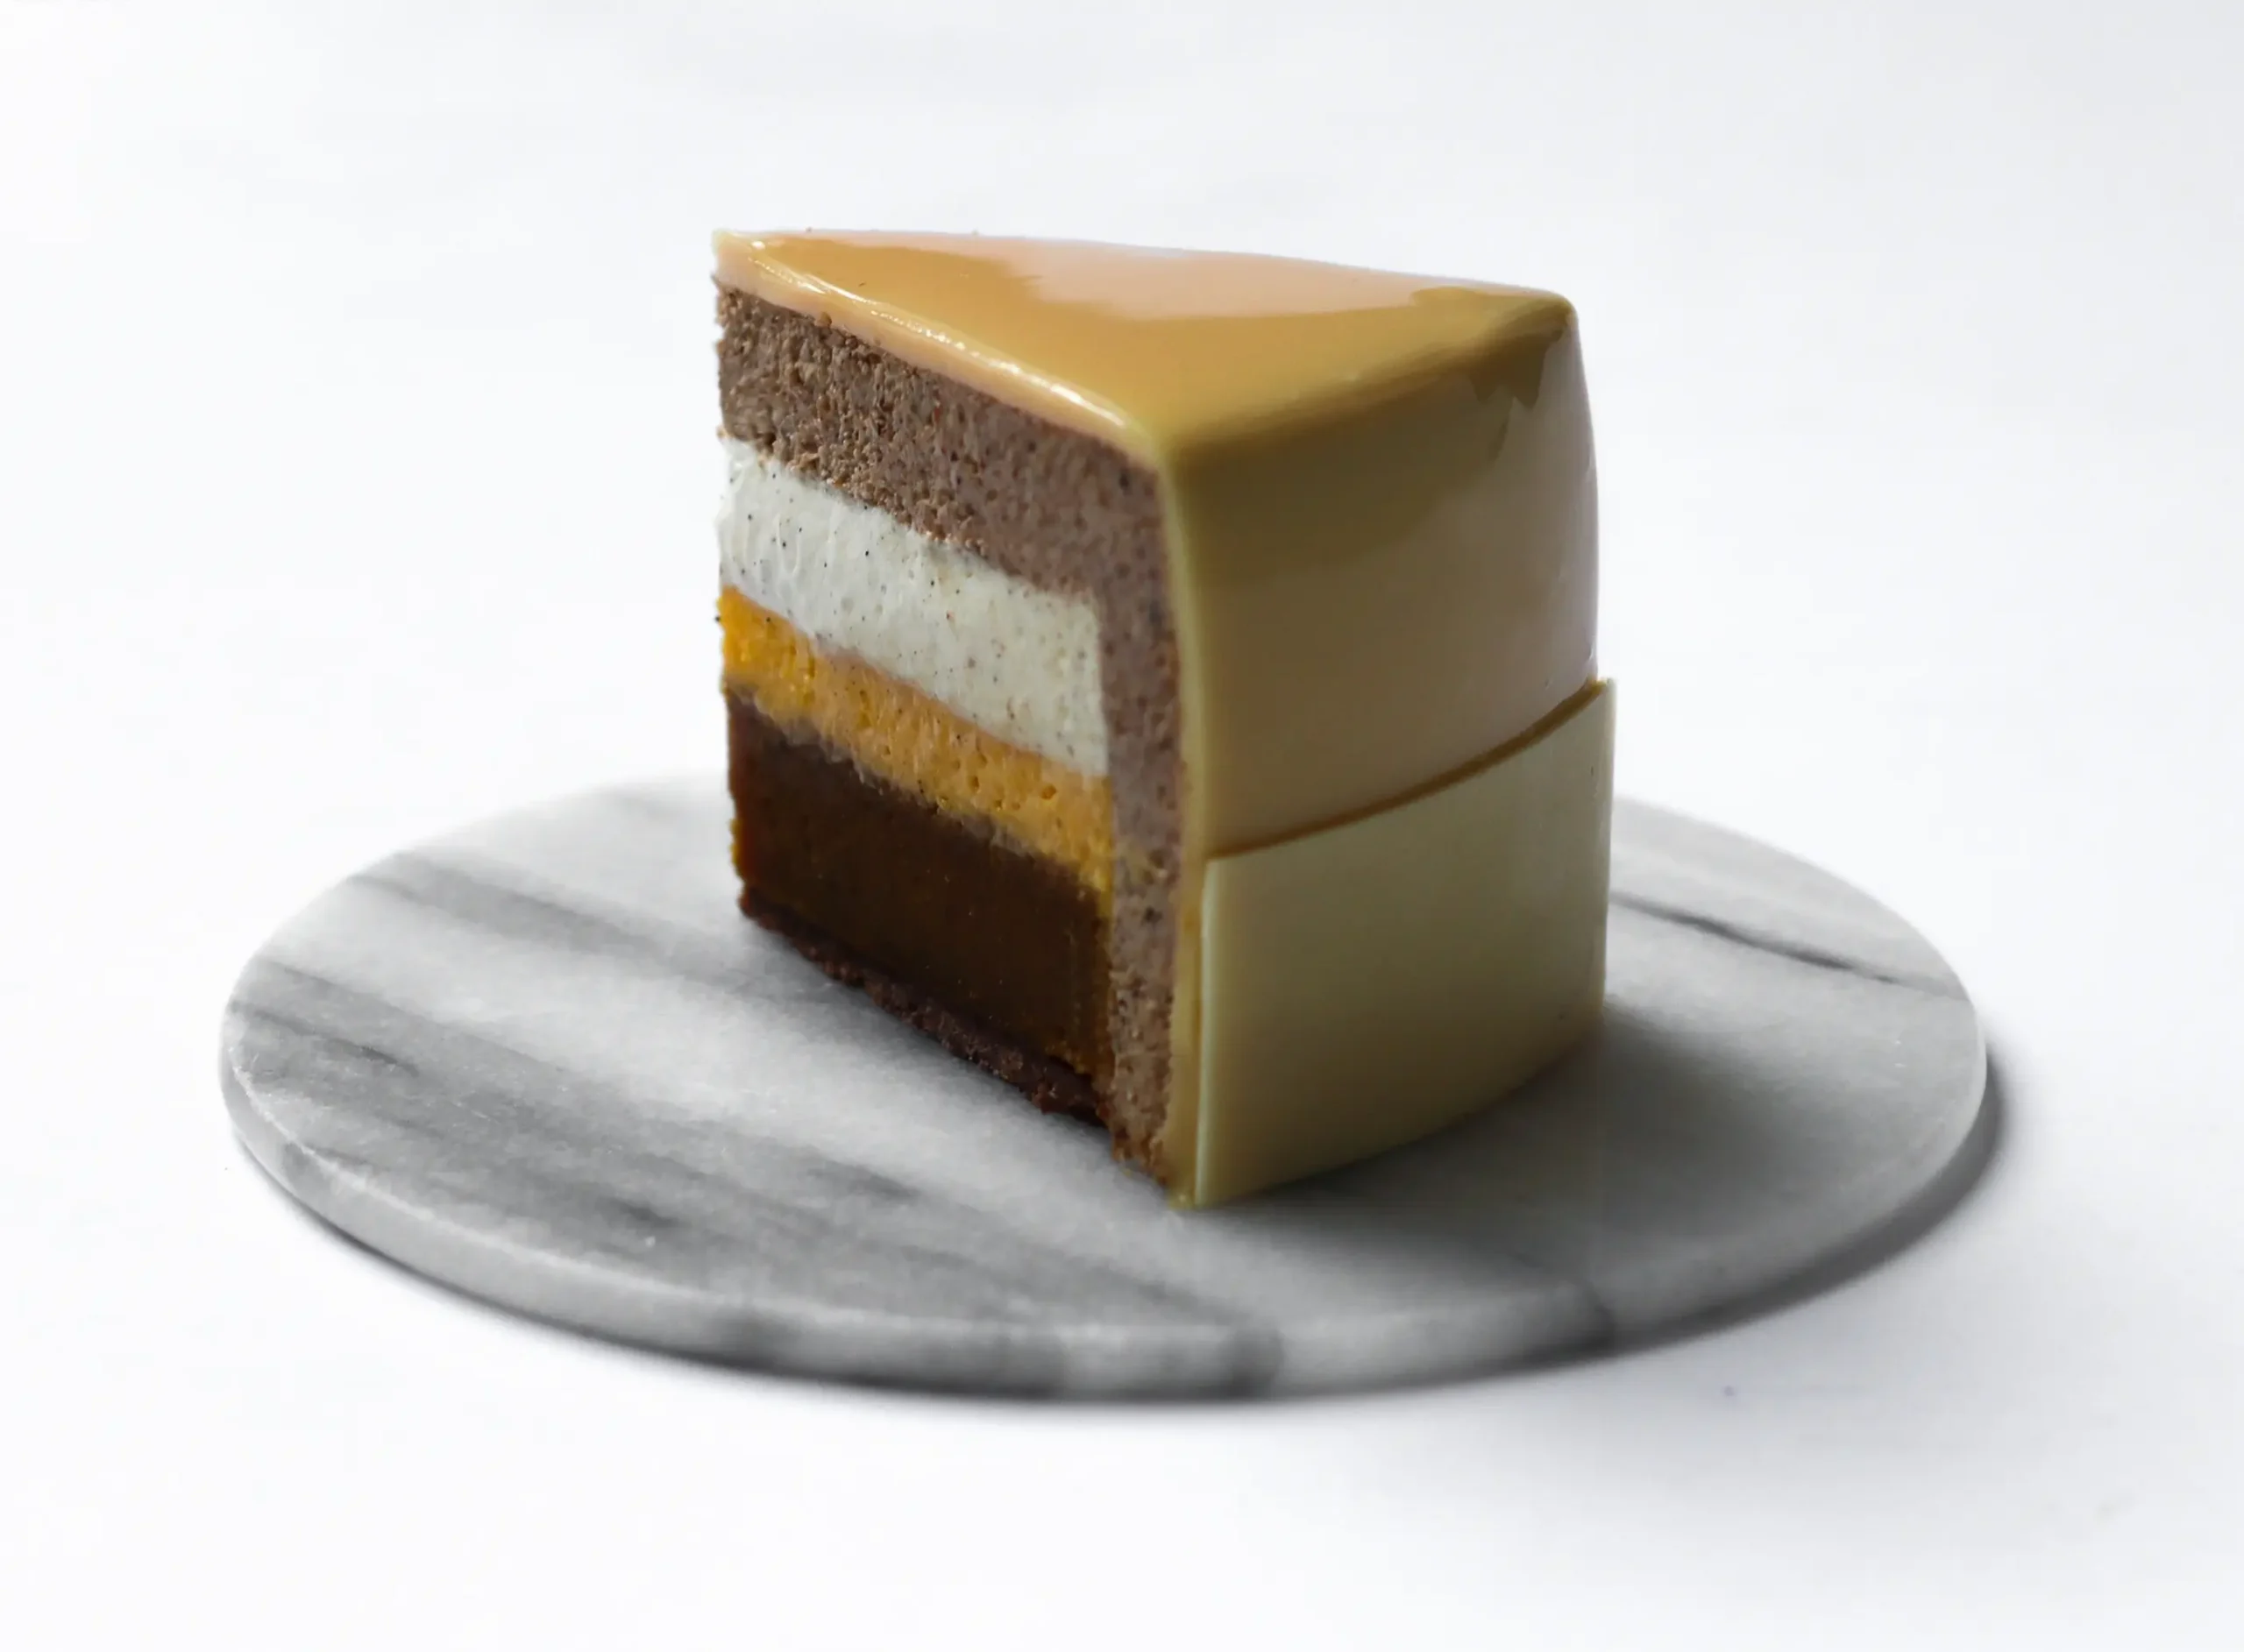
Day 1
Crunch with Hazelnut and Milk Chocolate:
- 35 g caster sugar
- 20 g roasted hazelnuts without shell
- 80 g milk chocolate (33%)
- 50 g Nutella
- 50 g feuilletine (or cornflakes)
- a pinch of salt
- Roast the hazelnuts for approximately 5–7 minutes at 175°C / 347°F. Remove the skins.
- Carefully melt the sugar into a golden caramel in a small saucepan. Immediately add the hazelnuts, then pour the caramelized nuts onto a piece of parchment paper. Let them cool.
- Chop the nuts finely.
- Carefully melt the milk chocolate in a small saucepan (or in a bowl over a pan of simmering water / bain-marie). Set it aside.
- Add the chopped caramelized hazelnuts, feuilletine (or crushed cornflakes), Nutella, and salt to the chocolate.
- Roll out the crunch layer between two pieces of parchment paper and put it in the freezer for approximately 5 minutes.
- Cut out a circle with a cake cutter or pastry ring (16 cm diameter).
- Place the crunch circle in a pastry ring (16 cm diameter) lined with an acetate sheet on the sides and parchment paper on the bottom. Make sure it is even and flat.
Day 1
Pumpkin Cake:
- 1 tsp vanilla paste
- 90 g all-purpose flour
- 50 g brown sugar
- 25 g caster sugar
- 50 ml sunflower oil
- a pinch of baking soda
- a pinch of salt
- 38 g eggs (approx. 0.75 medium eggs)
- 20 ml milk
- 1 Hokkaido pumpkin (make 100 g purée for the cake, save the rest for the pumpkin curd)
- 1.5 tsp chai spice (find the recipe here)
- Pumpkin purée: Cut a Hokkaido pumpkin in half and bake it in the oven for approximately 45 minutes at 175°C / 347°F until tender. Let it cool. Scrape out the pumpkin flesh and blend it with an immersion blender until creamy. Measure 100 g of pumpkin purée and save the rest for the pumpkin curd.
- Whisk the caster sugar, brown sugar, vanilla paste, and sunflower oil with a hand mixer. Stir in the pumpkin purée.
- Add the eggs and milk and whisk again.
- Lastly, mix in the flour, baking soda, salt, and chai spice.
- Pour the batter into a springform pan or pastry ring (16 cm diameter) lined with parchment paper.
- Bake the cake for approximately 20–23 minutes at 175°C / 347°F.
- Let the cake cool, then place it on top of the crunch layer in the pastry ring.
- Put the cake in the freezer.
Tips & Notes:
- If baking with pastry rings, use two rings of different sizes and place a piece of parchment paper in between to keep the batter contained.
Day 1
Pumpkin Curd:
- 0.5 gelatin sheets (1 sheet = 1.75 g, bloom value 240)
- 100 g pumpkin purée (use the remaining pumpkin purée from the previous step)
- 30 ml lemon juice
- 75 g eggs (approx. 1.5 medium eggs)
- 20 g egg yolks (approx. 1 medium egg yolk)
- 30 g caster sugar
- 35 g butter (cold)
- Use 100 ml of the remaining pumpkin purée from the pumpkin cake.
- Soak the gelatin in cold water for 5–10 minutes.
- Stir the pumpkin purée, lemon juice, eggs, egg yolks, and sugar together in a saucepan. Cook slowly, whisking constantly, until the mixture comes to a boil.
- Let the curd simmer for a few minutes, whisking constantly, until it thickens.
- Remove the pan from the heat and add the cold butter, cut into cubes. Whisk in the gelatin.
- Strain the curd through a fine sieve. Blend with an immersion blender until creamy.
- Pour the curd over the pumpkin cake.
- Put the cake back in the freezer. The curd needs to set before the next layer can be added.
Day 1
Vanilla Cream:
- 0.5 gelatin sheets (1 sheet = 1.75 g, bloom value 240)
- 30 g egg yolks (approx. 1.5 medium egg yolks)
- 1.5 tbsp icing sugar
- 1.5 tsp vanilla paste (or 1.5 vanilla bean pods)
- 190 ml heavy cream (min. 35%)
- Soak the gelatin in cold water for 5–10 minutes.
- Whisk the egg yolks and icing sugar in a bowl until thick and foamy. Add the vanilla paste (or the seeds of the vanilla bean pods).
- Heat 20 ml of the heavy cream in a small saucepan until almost boiling. Remove it from the heat and whisk in the gelatin.
- Stir the hot cream into the egg mixture. Let it cool until lukewarm.
- Whip the remaining 170 ml of heavy cream to stiff peaks and gently fold it into the egg mixture.
- Spread the cream over the pumpkin curd.
- Freeze the cake overnight.
Day 2
Chai Latte Mousse:
- 2 gelatin sheets (1 sheet = 1.75 g, bloom value 240)
- 160 g white chocolate (28%)
- 350 ml heavy cream (min. 35%)
- 3 tbsp chai spice (find the recipe here)
- Soak the gelatin in cold water for 5–10 minutes.
- Carefully melt the white chocolate (e.g. in a bowl over a pan of simmering water / bain-marie) and set it aside in a bowl.
- Heat 140 ml of the heavy cream with the chai spice until almost boiling and remove it from the heat. Whisk in the gelatin.
- Pour the hot cream over the chocolate while stirring in the middle of the bowl with a rubber spatula.
- Let it cool until lukewarm.
- Whip the remaining heavy cream (210 ml) to soft peaks and gently fold it into the lukewarm chocolate mixture (if the mixture is too hot, the cream can separate).
- Pour the mousse into a silicone mold (18 cm diameter; I used a Silikomart TOR mold) lined with an acetate sheet (as the cake will be higher than the mold).
- Take the frozen cake out of the freezer and carefully press it down into the chai latte mousse with the vanilla cream facing down.
- Freeze the cake overnight.
Tips & Notes:
- If the mousse is a bit liquid, let it set slightly before adding the frozen cake. Place the mousse-filled mold in the refrigerator until it has set a little (as a rule of thumb, it has set enough when you dip the end of a spoon into the mousse and it forms a soft peak as you lift the spoon from the surface).
Day 3
Glaze:
- 6 gelatin sheets (1 sheet = 1.75 g, bloom value 240)
- 150 g white chocolate (28%)
- 110 ml heavy cream (min. 35%)
- 50 g water
- 140 g caster sugar
- 150 g glucose syrup
- white and orange food coloring paste
- Soak the gelatin in cold water for 5–10 minutes.
- Finely chop the chocolate and put it in a large plastic pitcher.
- Heat the sugar, water, heavy cream, and glucose syrup in a saucepan until almost boiling, then remove from the heat. Whisk in the gelatin.
- Pour the hot mixture over the chocolate in the pitcher and blend with an immersion blender (hold the blender at an angle to avoid air bubbles). Add the white and orange food coloring paste.
- Cover the surface with cling film and cool the glaze down to 34–35°C / 93–95°F.
- Take the cake out of the freezer right before you are ready to glaze. Place it on a cooling rack with parchment paper underneath.
- Pour the glaze over the frozen cake. Use two palette knives to remove the excess glaze from the bottom of the cake.
- Place the cake on a plate and let it thaw in the fridge for approximately 6 hours.
Day 3
Chocolate Decoration:
- 160 g white chocolate (28%)
- chocolate shimmer pearls
Chocolate Ribbons:
- Cut an acetate sheet (3 cm x 58 cm) and place it on the kitchen table.
- Put a pastry ring (18 cm diameter) in the fridge.
- Temper the white chocolate, reserving 50 g for the chocolate pattern. Use the remaining 110 g for the ribbon and the circle.
- Pour the chocolate over the acetate sheet and spread it evenly with a small palette knife. Lift the acetate sheet from the table and run your fingers along the edges to remove any excess chocolate. Leave it on the kitchen table until almost set.
- Place the ribbon around the cold pastry ring and return it to the fridge.
- Once the chocolate has set, remove the acetate sheet and place the ribbon around the cake.
Chocolate Circle:
- Pour the rest of the tempered chocolate between two large acetate sheets and spread it evenly with a rolling pin.
- Place the acetate sheets between two chopping boards and put the chocolate in the refrigerator. This keeps the circle even and flat.
- Once the chocolate has set, cut out a circle with a 12 cm diameter pastry ring.
Chocolate Pattern:
- Melt the reserved 50 g of chocolate and put it in a plastic bag with a tiny hole in the bottom.
- Drizzle the chocolate over the chocolate circle.
- Place shimmer pearls in the chocolate pattern before the chocolate sets.
- Place a few shimmer pearls with a little melted chocolate in the middle on top of the cake.
- Place the chocolate circle on top of the pearls.