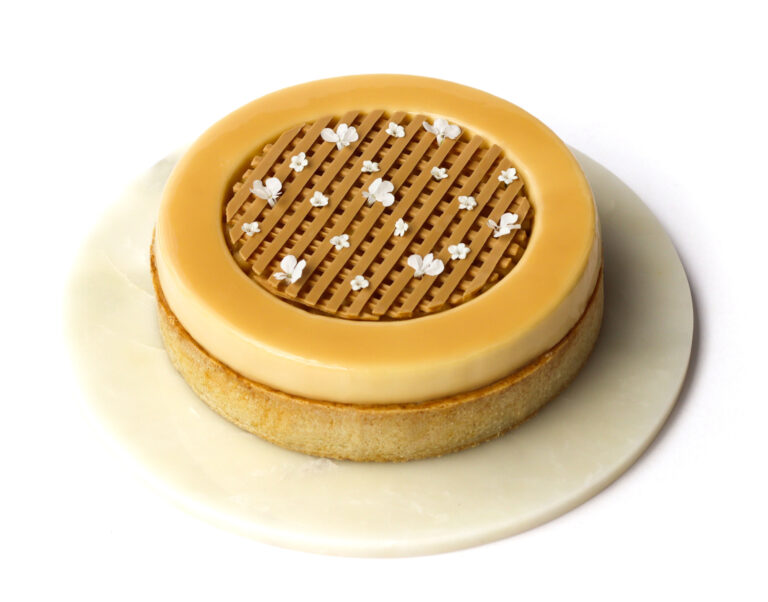
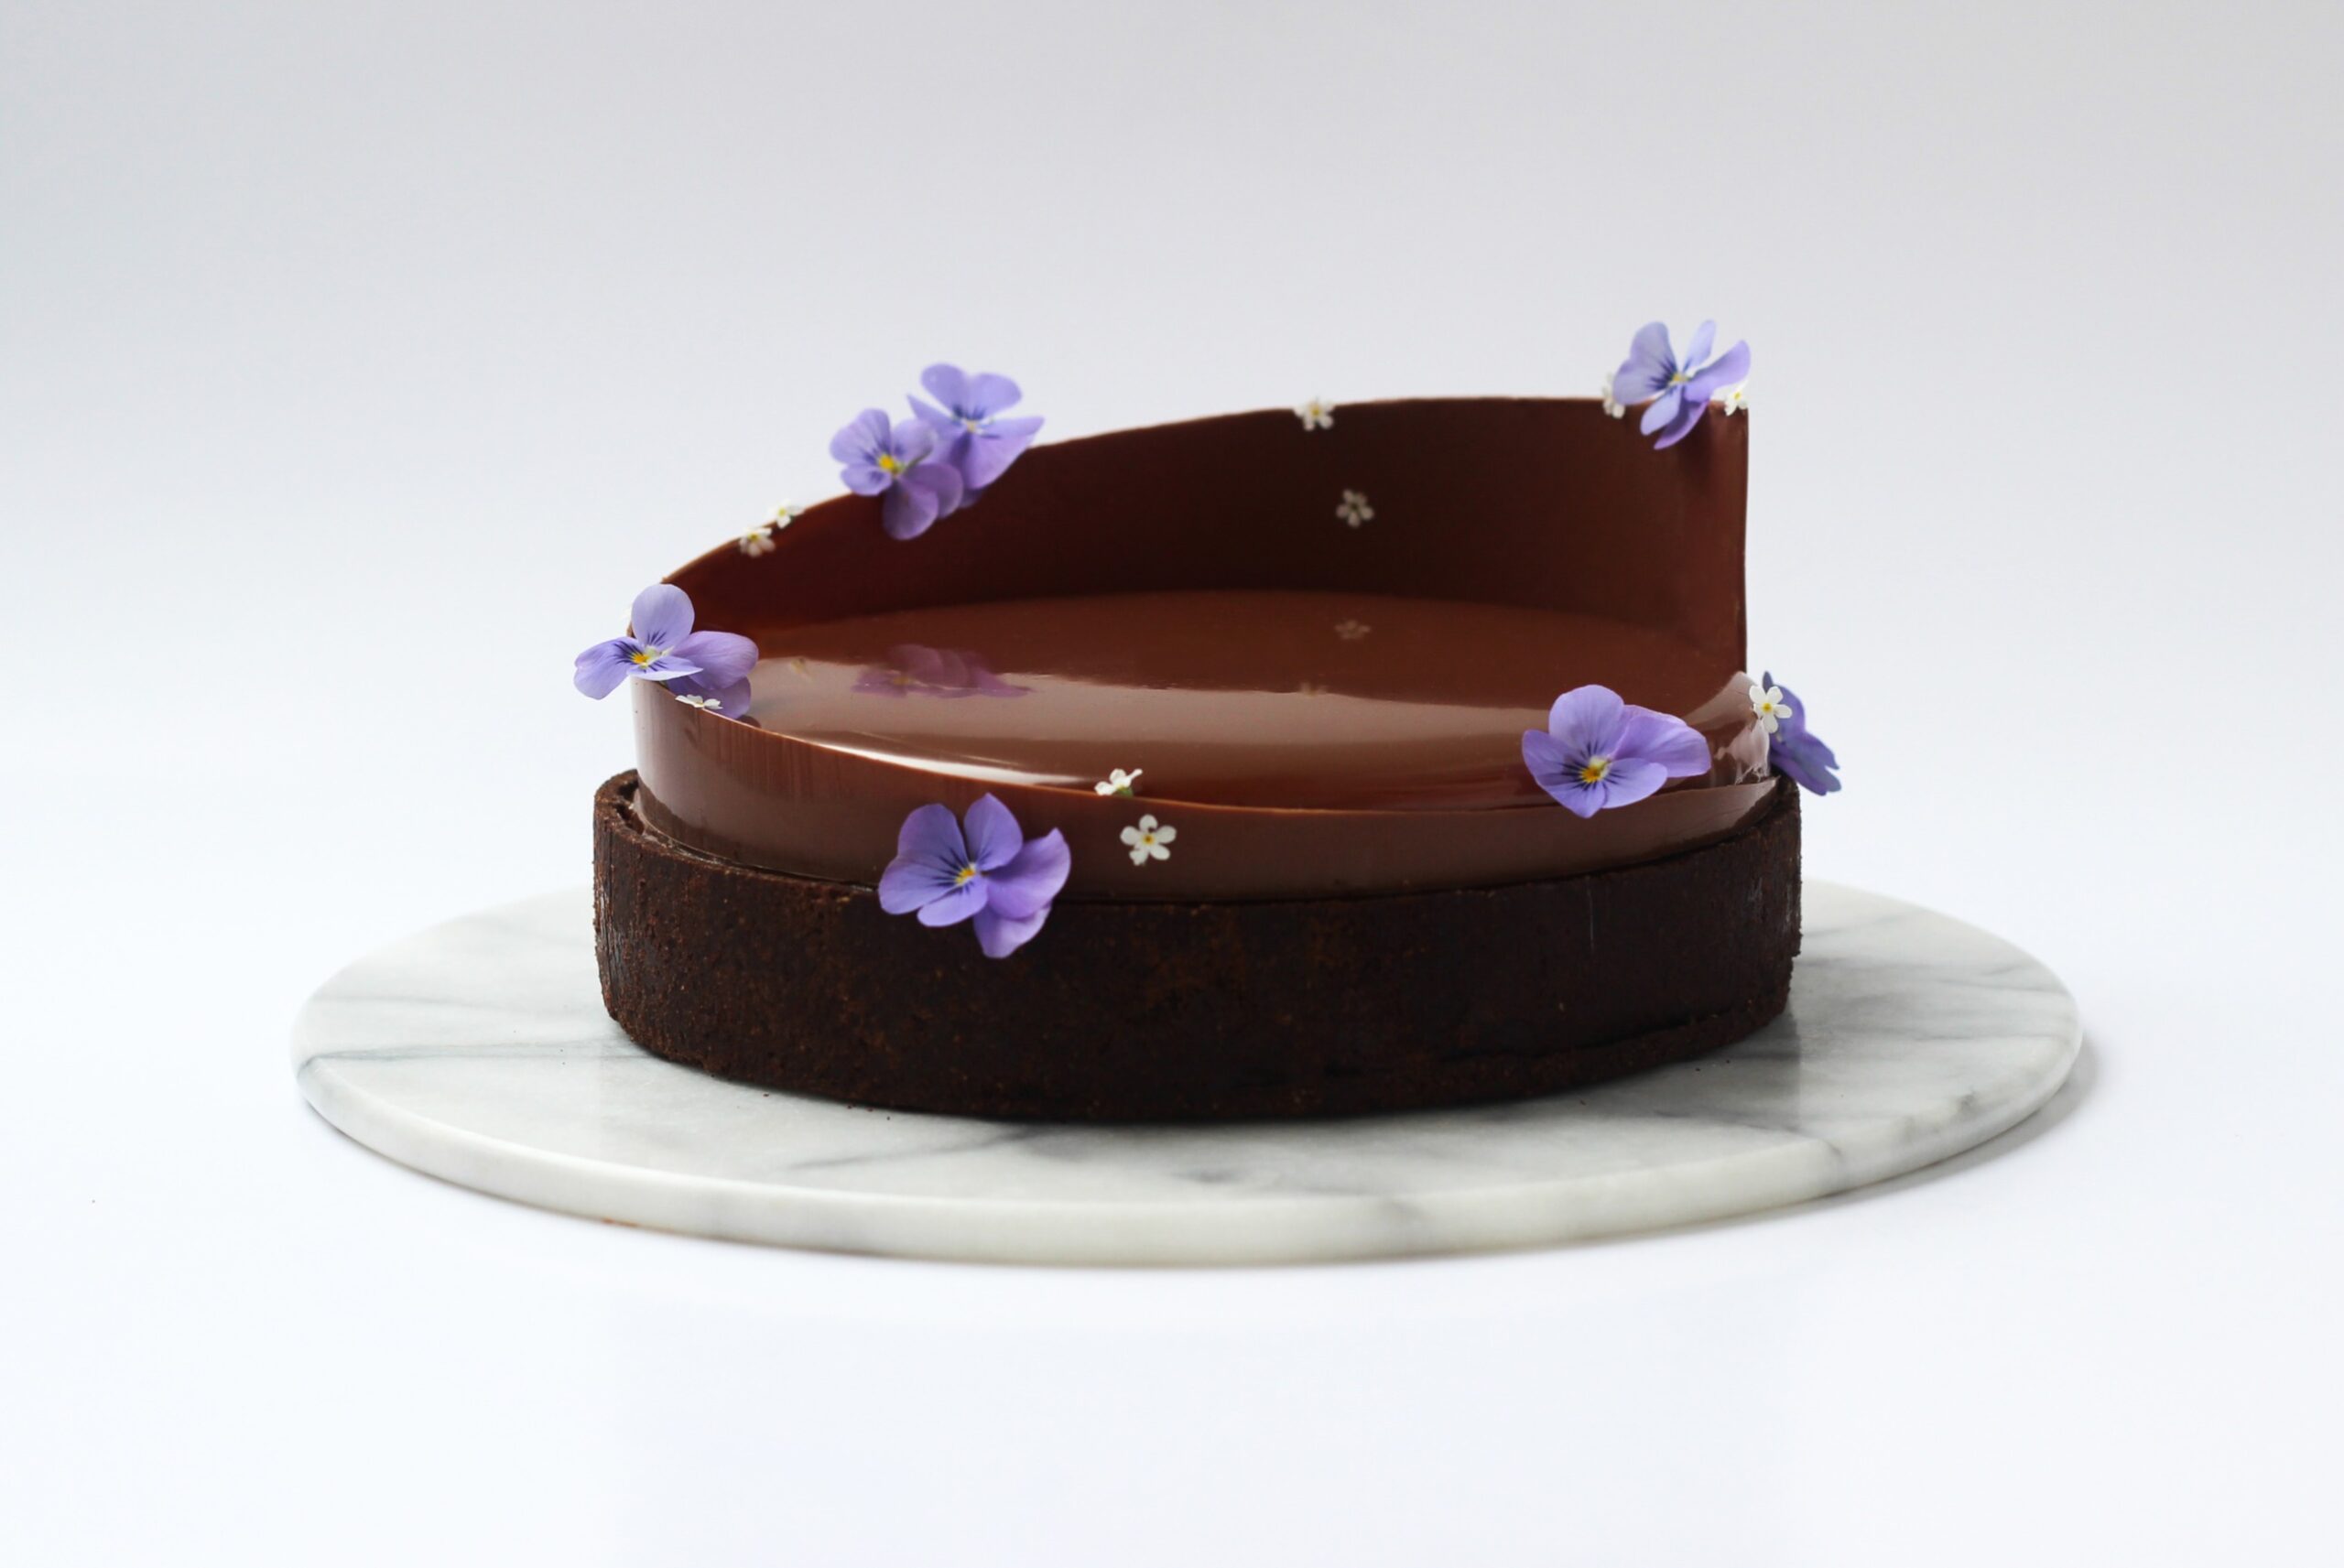
Chocolate and pistachio is simply a fantastic combination!
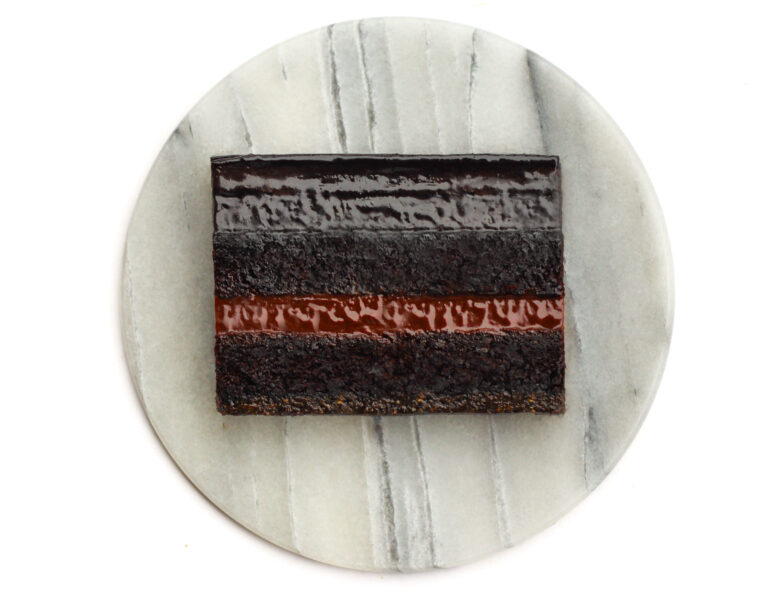
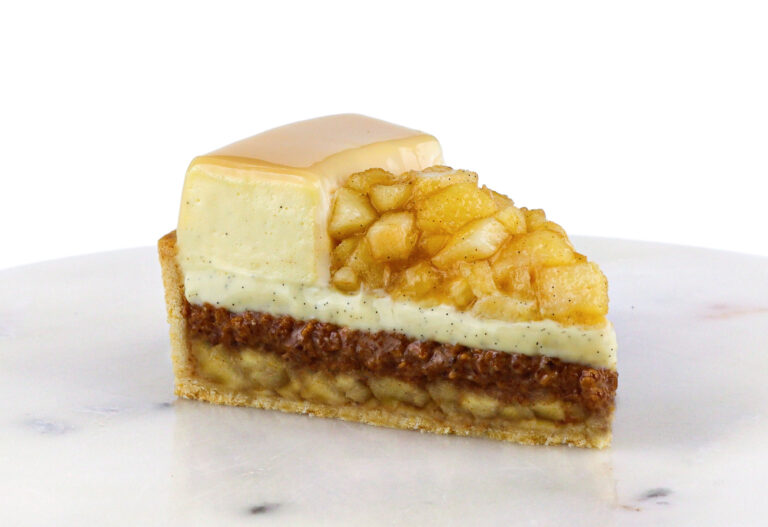
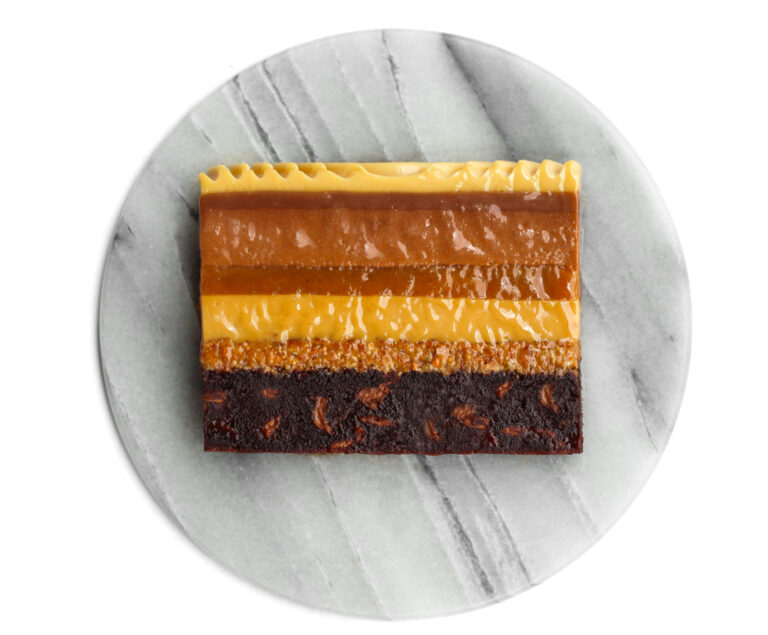
A classic combination that always works well. The different layers give the tart the perfect mix of textures: crispy, crunchy, fudgy and smooth.
Happy baking <3

Day 1
Cocoa Pâte Sablée:
- 140 g all-purpose flour
- 30 g almond flour
- 55 g icing sugar
- 90 g butter
- 25 g eggs (approx. 0.5 medium eggs)
- 20 g cocoa powder
- a pinch of salt
- Put the all-purpose flour, almond flour, icing sugar, cocoa powder, salt and butter (cut into cubes) in a food processor and pulse briefly until the dough is crumbly.
- Transfer the dough to a bowl and quickly combine it with the egg. Be careful not to knead the dough too much.
- Roll out the dough between two pieces of baking paper and let it rest in the refrigerator for 1 hour.
- Line a perforated tart ring (20.5 cm diameter, 3.5 cm high) with the dough and place it on an AirMat or baking paper.
- Pre-bake the tart at 175°C / 347°F for about 10 minutes. Meanwhile, prepare the frangipane.
Tips & Notes:
- Grate the butter or cut it into smaller cubes, as this makes it easier to mix with the dry ingredients.
- Be careful not to over-knead the dough. Only combine until it has a sandy texture and no big pieces of butter remain.
- Quickly combine the dough with the egg, stopping as soon as it comes together into a ball and the ingredients are fully incorporated.
- It’s important to let the dough set in the fridge as the tart shell will otherwise spread and lose its shape during baking.
Day 1
Pistachio Frangipane:
- 75 g pistachio flour (see instructions below)
- 60 g marzipan
- 70 g caster sugar
- 50 g butter (soft)
- 50 g eggs (approx. 1 medium egg)
- a pinch of salt
- Roast the pistachio nuts for 5–7 minutes at 175°C / 347°F. Let them cool and blend them into flour in a small food processor.
- Beat the soft butter, marzipan, sugar and salt together in a bowl until light and fluffy. Stir in the egg.
- Stir in the pistachio flour.
- Spread the frangipane in the pre-baked tart shell.
- Bake the tart at 175°C / 347°F for approximately 12–15 minutes until the frangipane is golden. Let the tart cool completely.
Day 1
Pistachio Crunch:
- 80 g roasted pistachios
- 70 g caster sugar
- 80 g white chocolate (28%)
- Roast the pistachio nuts for 5–7 minutes at 175°C / 347°F. Let them cool.
- Carefully melt the sugar into a golden caramel in a saucepan, stir in the nuts and pour the mixture onto a piece of baking paper. Let the nuts cool.
- Put half of the nuts in a powerful mini chopper and blend until they turn into a liquid praliné.
- Chop the remaining pistachio nuts finely.
- Melt the white chocolate with the praliné. Add the chopped nuts.
- Spread the crunch in the cooled tart and place the tart in the fridge to let the crunch set before adding the next layer.
Tips & Notes:
- Don’t chop the nuts too finely, as this will reduce the crunch effect.
- Level the surface with a glass or a spoon.
Day 1
Milk Chocolate Ganache:
- 225 g milk chocolate (33%)
- 100 ml heavy cream (min. 35%)
- Carefully melt the milk chocolate (e.g. over a water bath) and set it aside in a bowl.
- Heat the heavy cream until almost boiling and pour it over the chocolate.
- Stir in the center of the mixture with a rubber spatula until the ganache becomes glossy.
- Blend the ganache with an immersion blender.
- Pour the ganache on top of the pistachio crunch.
- Put the tart in the fridge overnight. Leave it slightly uncovered and avoid putting it in a tightly sealed box, as this can make the pastry soft instead of crispy.
Tips & Notes:
- Only heat the cream until almost boiling, as cream that is too hot will seize the chocolate mixture.
- Stir the mixture with a spatula until glossy.
Day 1
Pistachio Mousse:
- 2.5 gelatin sheets (1 sheet = 1.75 g, bloom value 240)
- 100 g white chocolate (28%)
- 80 g pistachio paste (made from 80 g pistachio nuts, 1 tsp icing sugar and 1 tsp neutral oil)
- 350 ml heavy cream (min. 35%) (140 ml heated, 210 ml whipped)
- Soak the gelatin in cold water for 5–10 minutes.
- Blend the pistachio nuts with the icing sugar and neutral oil in a mini chopper to make a thick pistachio paste.
- Carefully melt the white chocolate (e.g. over a water bath) with the pistachio paste and pour the mixture into a bowl.
- Heat 140 ml heavy cream until almost boiling. Remove the pan from the heat and whisk in the gelatin.
- Pour the hot cream over the chocolate while stirring in the center with a rubber spatula until it comes together. Let the mixture cool to lukewarm.
- Whip the remaining heavy cream (210 ml) to soft peaks and fold it into the lukewarm mixture (if it is too hot, the cream may separate).
- Pour the mousse into a 19.5 cm diameter silicone mold (or a springform pan with cling film at the bottom).
- Let the mousse set in the freezer overnight.
Tips & Notes:
- Only heat the cream until almost boiling before pouring it over the chocolate to avoid seizing the chocolate.
- Whip the heavy cream to soft peaks, as overwhipped cream can result in a dense and grainy mousse.
Day 2
Milk Chocolate Mirror Glaze:
- 4 gelatin sheets (1 sheet = 1.75 g, bloom value 240)
- 100 g milk chocolate (33%)
- 65 ml heavy cream (min. 35%)
- 35 ml water
- 100 g caster sugar
- 100 g glucose syrup
- Soak the gelatin in cold water for 5–10 minutes.
- Finely chop the milk chocolate and put it in a large jug.
- Bring the sugar, water, heavy cream and glucose syrup to a boil. Remove the pan from the heat and whisk in the gelatin.
- Pour the hot mixture over the chocolate in the jug. Blend with an immersion blender until the glaze comes together (insert the blender at an angle to avoid air bubbles).
- Cover the surface with cling film and let the glaze cool to 34–35°C / 93–95°F.
- Take the frozen mousse out of the freezer just before you want to glaze it. Place the mousse on a cooling rack with baking paper underneath.
- Pour the glaze over the mousse. Use two palette knives to run around the bottom of the mousse on the cooling rack to remove the excess glaze.
- Carefully place the mousse on top of the tart.
- Let the tart thaw in the fridge for approximately 6 hours.
Tips & Notes:
- Let the hot syrup sit on the chocolate for 30 seconds so the chocolate can melt a bit.
- Insert the immersion blender in the jug at an angle to prevent creating air bubbles.
- The mousse needs to be completely frozen when the glaze is poured on. If the correct temperatures have been met, you’ll get a perfectly shiny mirror glaze.
Day 2
Chocolate Spiral & Decoration:
- 200 g milk chocolate (33%)
- edible flowers
- glucose syrup
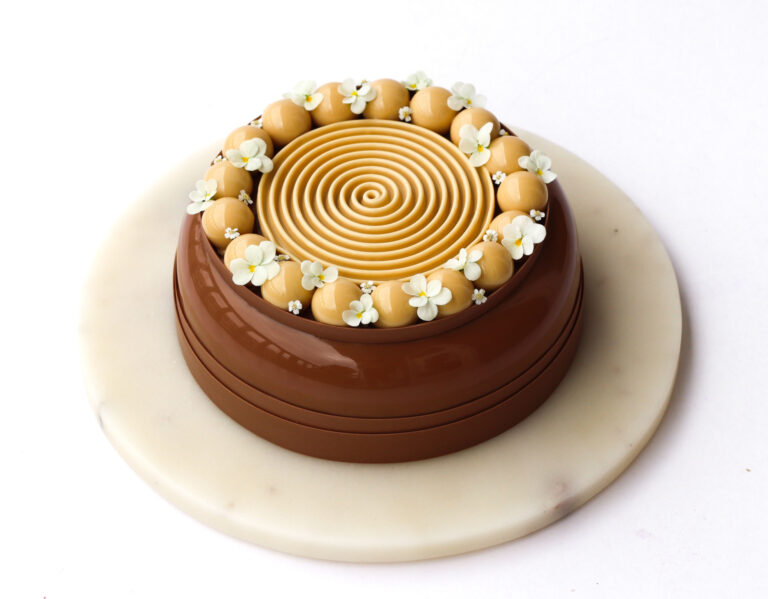
Cut an acetate sheet to the size below. Temper the chocolate, then pour it onto the acetate sheet and spread it evenly. Let it set slightly until firm but still flexible, shape it as described in the steps below, then peel off the acetate once fully set. For more guidance, you can see here how to make a chocolate spiral:
- Chocolate spiral (19.5 cm diameter): 8 cm x 62 cm
- Place the chocolate spiral around the mousse.
- Decorate with edible flowers, fastened with a little glucose syrup.