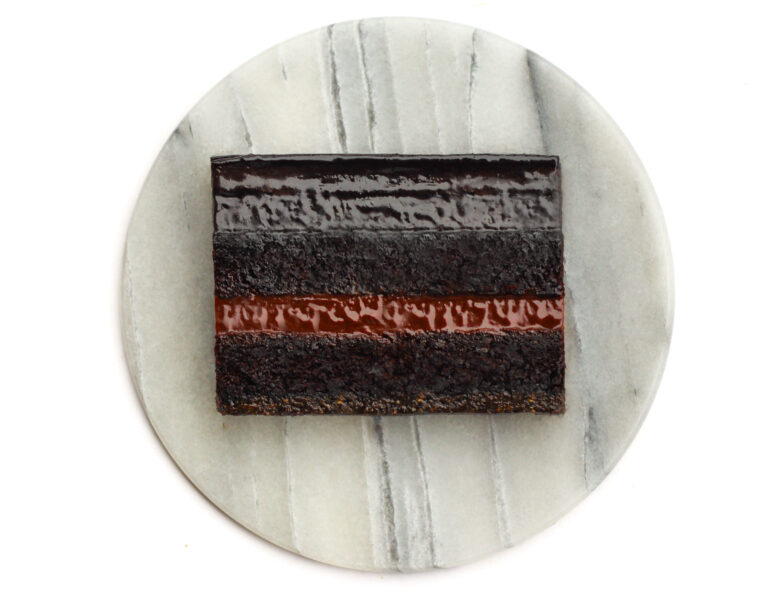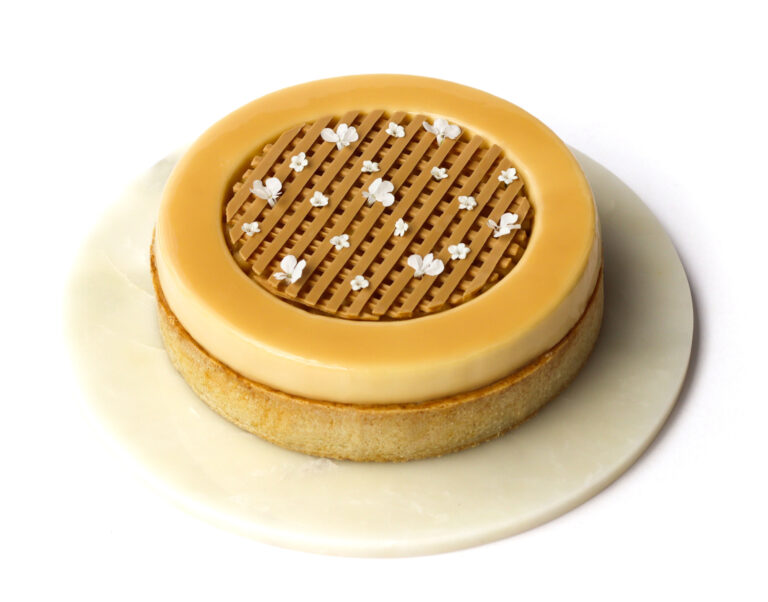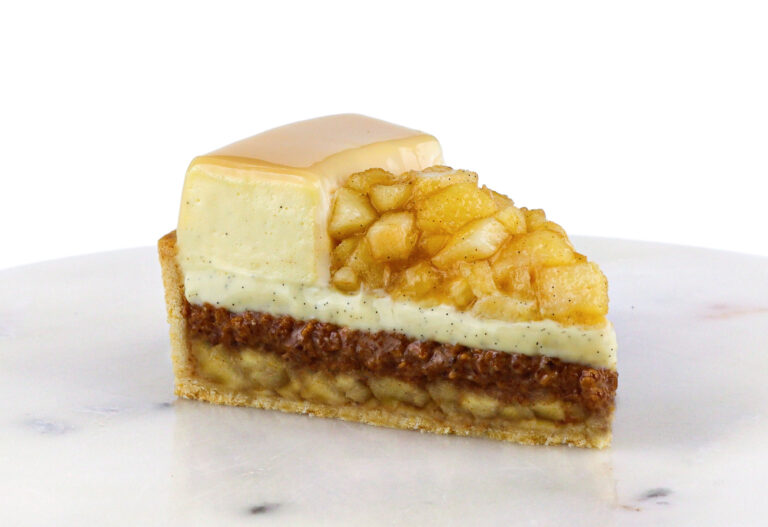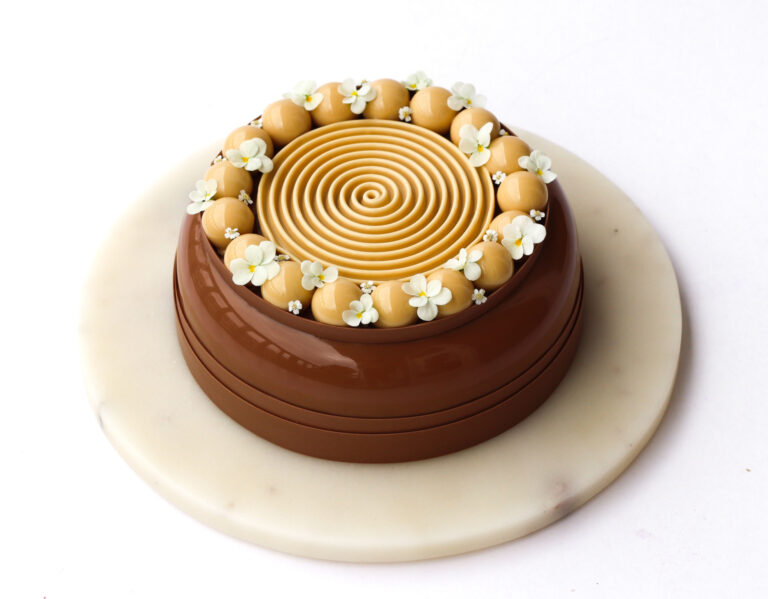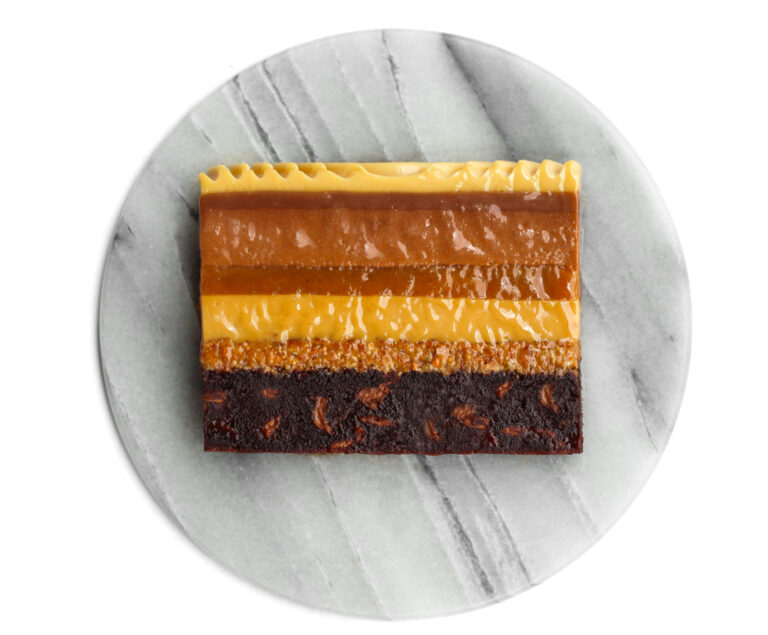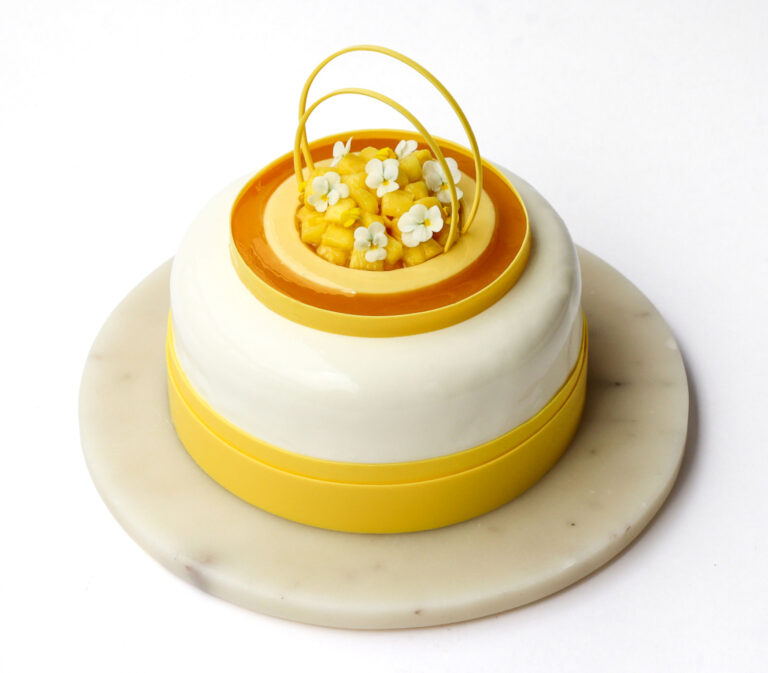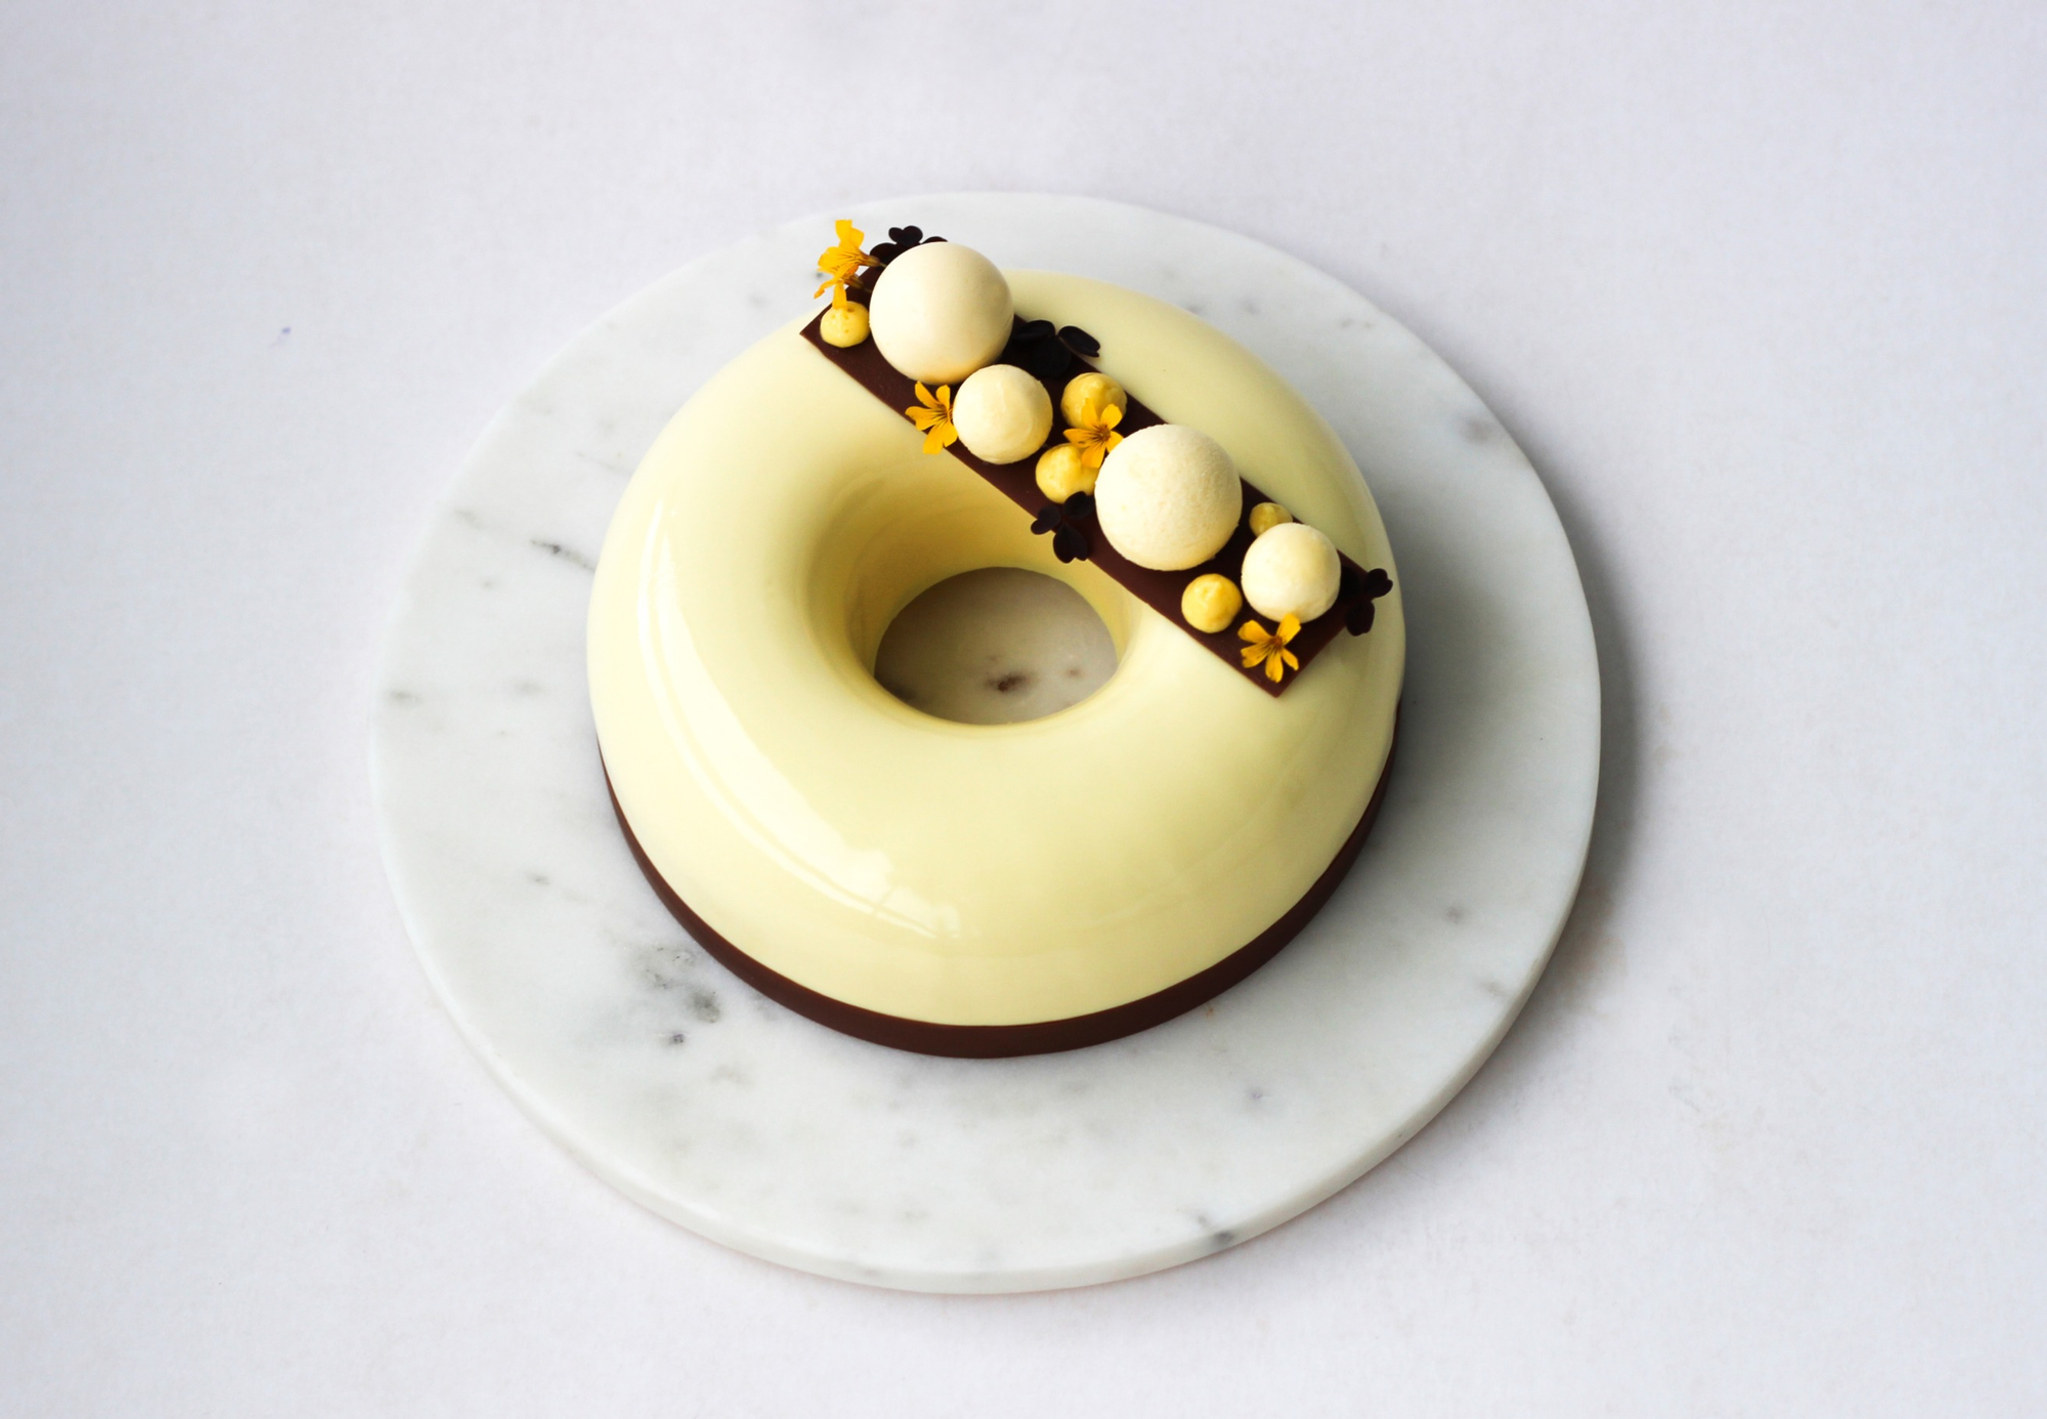
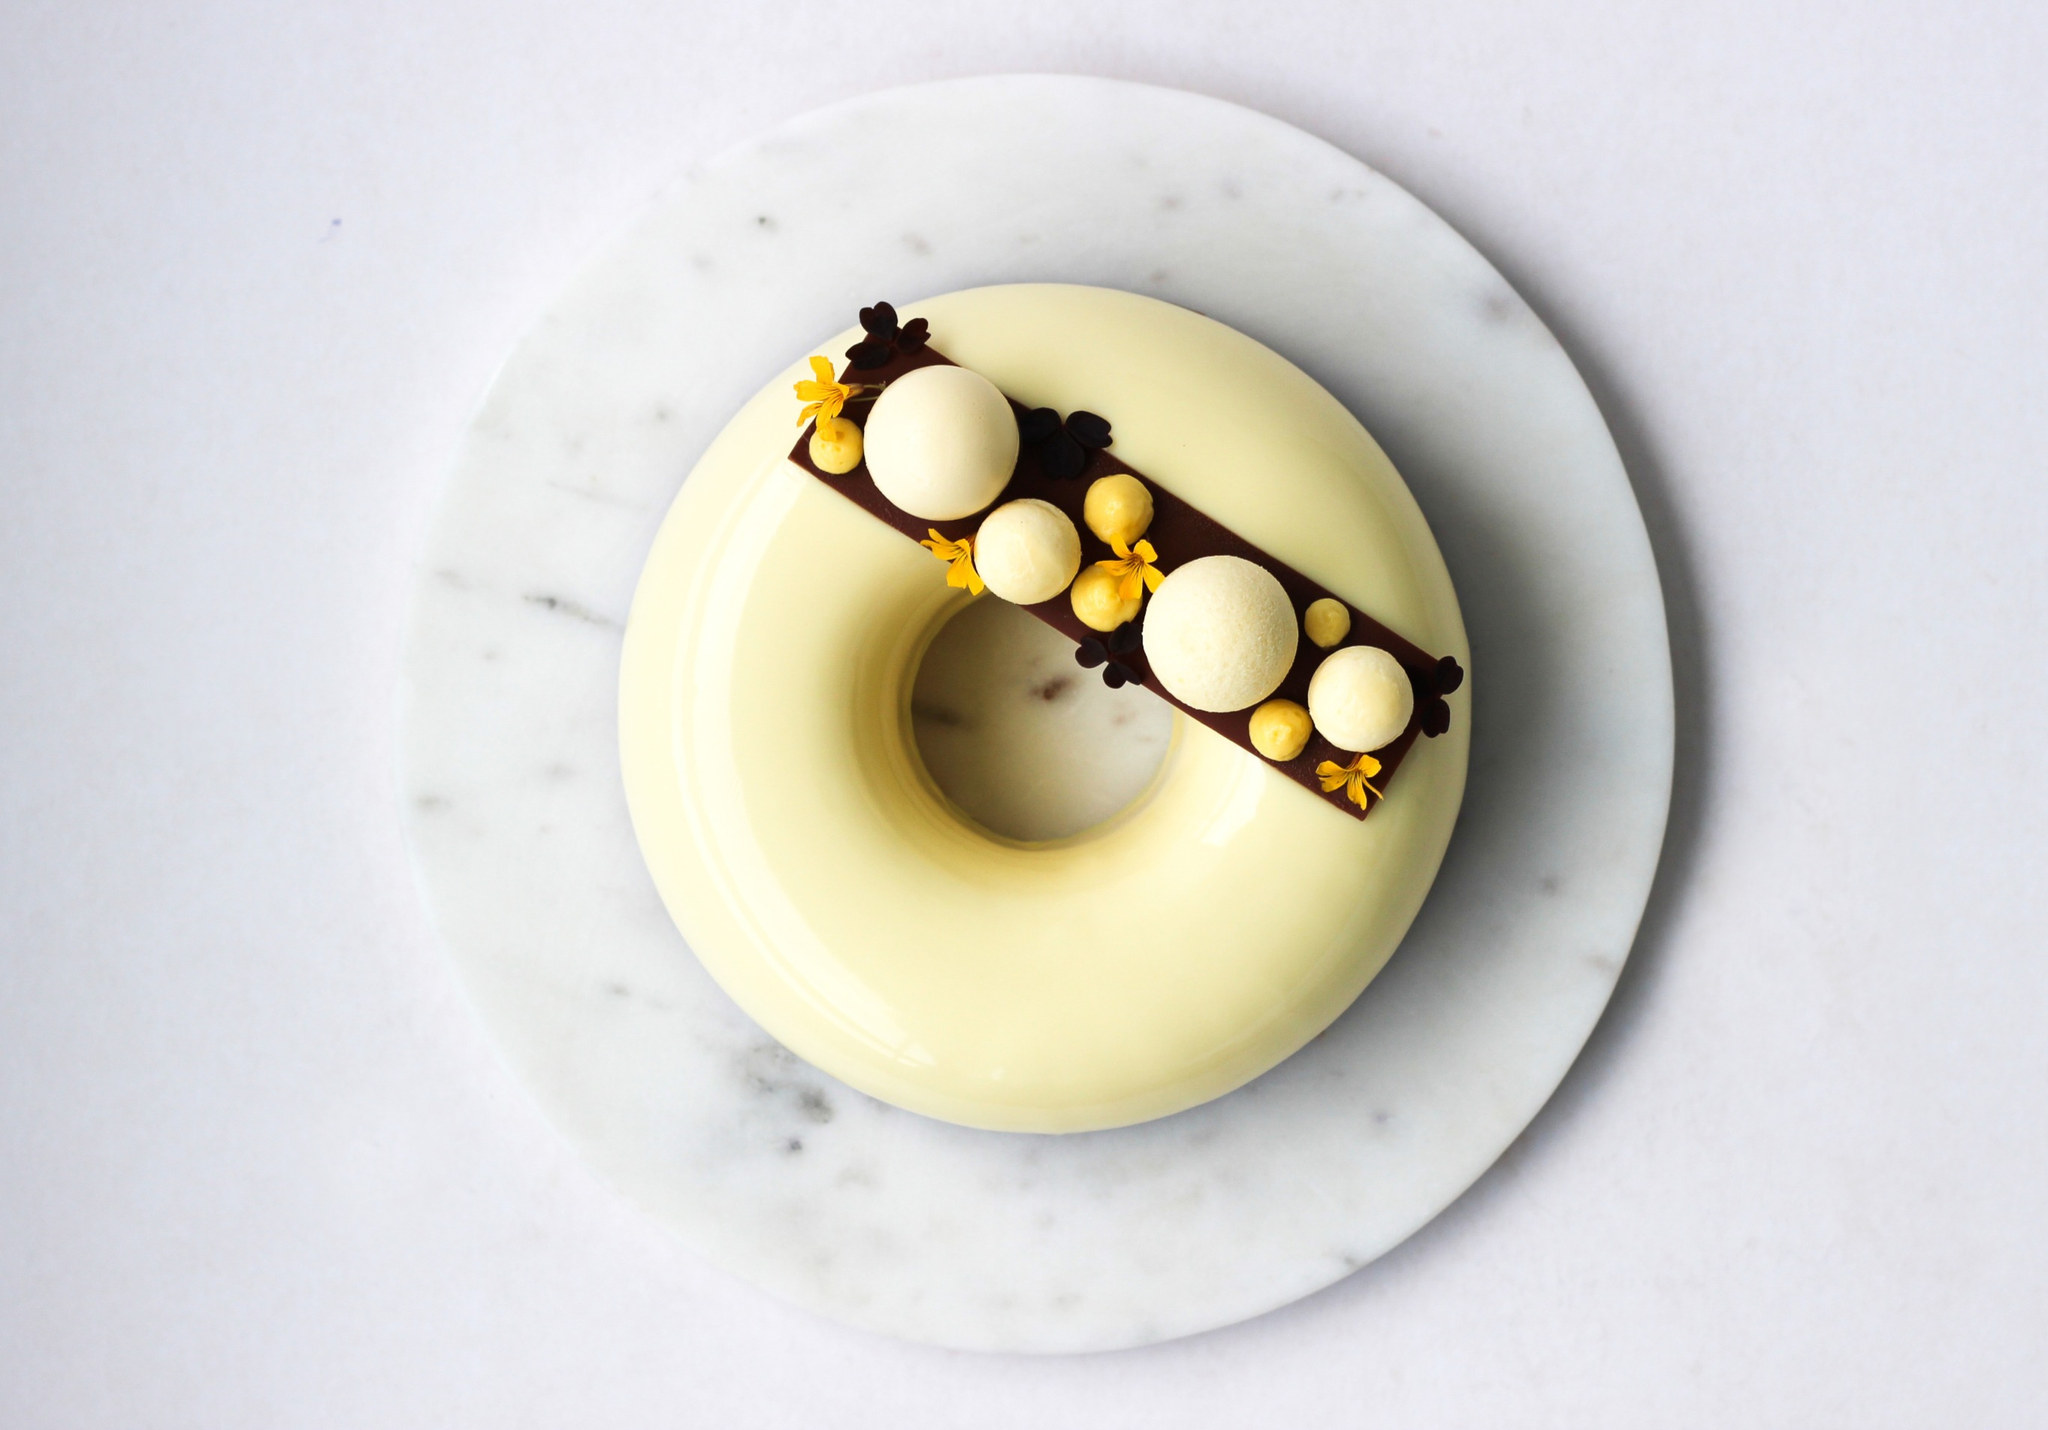
Passion fruit and chocolate are such a wonderful combination. The tart, fresh passion fruit cuts beautifully through the richness of the chocolate and hazelnuts, creating a cake that feels both indulgent and wonderfully balanced.
I think it’s especially fitting for New Year’s, when something fresh, elegant and a little special feels just right.
Happy baking <


Day 1
Milk Chocolate Brownie:
- 100 g milk chocolate (33%)
- 100 g butter
- 70 g caster sugar
- 125 g eggs (approx. 2.5 medium eggs)
- 1 tbsp all-purpose flour
- 80 g caramel chocolate (I use Callebaut Gold 30.4%)
- a pinch of sea salt
- Coarsely chop the chocolate, keeping the milk and caramel chocolate separate.
- Slowly melt the butter in a saucepan (it mustn’t be too hot, as this can cause the chocolate to separate later). Over low heat, add the 100 g of milk chocolate. Stir until all the chocolate has melted.
- Remove the saucepan from the heat and stir in the sugar. Lightly beat the eggs with a fork in a separate bowl.
- Let the batter cool slightly, then gradually add the eggs while whisking with a hand whisk. Finally, fold in the flour and the chopped caramel chocolate (80 g).
- Pour the batter into a lined cake ring or springform pan, 16 cm in diameter.
- Bake the brownie at 180°C / 356°F for about 20–23 minutes. It should be soft in the center and feel slightly underbaked.
- Let the brownie cool completely. Cut out the center using an 8-cm-diameter cake ring.
- Place the brownie in the refrigerator until the crunchy layer can be added on top.
Tips & Notes:
- If baking with pastry rings, use two rings of different sizes and place a piece of baking paper in between to keep the batter contained.
Day 1
Hazelnut & Nutella Crunch:
- 30 g caster sugar
- 15 g roasted hazelnuts
- 65 g milk chocolate (33%)
- 35 g Nutella
- 35 g cornflakes
- a pinch of salt
- Toast the hazelnuts for 5–7 minutes at 175°C / 347°F.
- Gently melt the sugar into a golden caramel in a saucepan, toss in the nuts, and pour the mixture onto a sheet of parchment paper. Let the nuts cool.
- Finely chop the nuts.
- Gently melt the chocolate (if necessary, in a double boiler). Set the saucepan aside.
- Stir the finely chopped hazelnuts, lightly crushed cornflakes, salt, and Nutella into the chocolate.
- Roll out the crunch flat between two sheets of parchment paper and place it in the freezer for 5 minutes.
- Then cut out a base using a 16-cm cake ring.
- Cut out the center using an 8-cm-diameter cake ring.
- Place the crunch layer on top of the brownie and return it to the freezer so it can set completely.
Tips & Notes:
- Don’t chop the nuts too finely, as this will reduce the crunch effect.
- Level the surface with a glass or a spoon.
Day 1
Passion Fruit Curd:
- 0.5 sheet gelatin (1 sheet = 1.75 g, bloom value 240)
- 6 passion fruits (makes approx. 50 g passion fruit purée – store-bought or homemade)
- 25 ml lemon juice
- 75 g eggs (approx. 1.5 medium eggs)
- 20 g egg yolks (approx. 1 medium egg yolk)
- 75 g caster sugar
- 35 g butter (cold)
- Soak the gelatin sheets in cold water for 5–10 minutes.
- If you’re making your own passion fruit purée, cut the passion fruits in half and scrape out the pulp. Strain the pulp to get a smooth purée without seeds.
- Whisk together the passion fruit purée, lemon juice, eggs, egg yolks, and sugar in a saucepan. Slowly heat the mixture to a boil while whisking constantly.
- Let the curd simmer gently for a couple of minutes until it thickens, whisking constantly. Be careful not to use too high a heat, as this can cause the curd to burn.
- Remove the saucepan from the heat and stir in the butter, cut into cubes. Then add the gelatin.
- Strain the passion fruit curd through a fine-mesh strainer. Finally, blend with an immersion blender until completely smooth.
- Pour almost all of the curd into a Savarin Silikomart silicone mold (16 cm in diameter). Reserve a small amount for decorating the top of the cake: transfer it to a piping bag fitted with a round tip and keep it in the refrigerator.
- Place the frozen brownie/crunch layer on top of the passion fruit curd with the crunch layer facing up.
- Let the assembly set completely in the freezer for at least 3 hours.
Tips & Notes:
- Cook the curd over medium heat, whisking constantly, to avoid burning it and overheating the eggs.
- Keep whisking until the curd thickens and increases in volume. This may take several minutes.
Day 2
Passion Fruit Mousse:
- 3 gelatin sheets (1 sheet = 1.75 g, bloom value 240)
- 12 passion fruits (makes approx. 100 g passion fruit purée – store-bought or homemade)
- 100 g caster sugar
- 300 ml heavy cream (min. 35%)
- Soak the gelatin in cold water for 5–10 minutes.
- Bring the passion fruit purée and sugar to a boil in a small saucepan. Remove the saucepan from the heat, strain the mixture, and whisk in the gelatin.
- Let the mixture cool until lukewarm.
- Whip the heavy cream to soft peaks and fold it into the mixture, which has cooled to lukewarm (if it’s too hot, it may cause the heavy cream to separate).
- Pour the mousse into a piping bag. First, divide some of the mousse between a truffle ball silicone mold (2.2 cm) and a truffle ball (3.2 cm) silicone mold so that you have at least 8 half-spheres – this ensures you’ll have 4 that release neatly from the mold.
- Pour the rest of the mousse into a Savarin Silikomart silicone mold (18 cm in diameter).
- Remove the frozen cake from the freezer and place it into the passion fruit mousse with the passion fruit curd facing down.
- Place the cake and the mousse half-spheres in the freezer overnight so they can set completely.
Tips & Notes:
- Let the fruit syrup cool completely, as syrup that’s too hot will seize the whipped cream when added.
- Whip the heavy cream to soft peaks, as overwhipped cream can result in a dense and grainy mousse.
Day 3
Glaze:
- 8 gelatin sheets (1 sheet = 1.75 g, bloom value 240)
- 200 g white chocolate (28%)
- 147 ml heavy cream (min. 35%)
- 67 g water
- 187 g caster sugar
- 200 g glucose syrup
- yellow and white food coloring
- Soak the gelatin in cold water for 5–10 minutes.
- Finely chop the chocolate and place it in a large pitcher.
- Heat the sugar, water, heavy cream, and glucose syrup to a boil. Remove the pot from the heat and whisk in the gelatin.
- Pour the hot mixture over the chocolate in the pitcher. Blend with an immersion blender until the glaze comes together (hold the immersion blender at an angle to avoid air bubbles). Add yellow and white food coloring.
- Cover the top of the glaze with plastic wrap and let it cool to 34–35°C / 93–95°F.
- Remove the frozen cake from the freezer just before glazing.
- Place the cake on a cooling rack lined with parchment paper.
- Pour the glaze over the cake. Use two palette knives to run along the bottom of the cake on the rack to remove the excess glaze.
- Place the cake on a cake platter and let it thaw in the refrigerator for about 6 hours.
Tips & Notes:
- Let the hot syrup sit for 30 seconds so the chocolate can melt a bit.
- Insert the immersion blender in the jug at an angle to prevent creating air bubbles.
- The cake needs to be completely frozen when the glaze is poured on. If the correct temperatures have been met, you’ll get a perfectly shiny mirror glaze.
Day 3
Decoration:
- 100 g milk chocolate (33%)
- flowers (edible or secured with safety seal / edible wax)
Chocolate Ribbon:
Cut a piece of acetate sheet (58 cm x 1.5 cm) and lay it out on the kitchen counter:
- Place a cake ring (18 cm in diameter) in the refrigerator.
- Temper the chocolate.
- Pour the chocolate onto the acetate sheet, smooth the surface with a small palette knife, peel the acetate sheet off the counter, and run your fingers along the edge of the acetate sheet to remove any chocolate residue.
- When the chocolate has almost set, wrap the ribbon around the chilled cake ring with the chocolate side facing inward, and return it to the refrigerator.
- Remove the acetate sheet once the chocolate has set and wrap the ribbon around the cake.
Chocolate Rectangle:
Cut a piece of acetate sheet (17 cm x 4 cm) and set it aside on the kitchen counter:
- Temper the chocolate.
- Pour the chocolate onto the acetate sheet, smooth the surface with a small palette knife, peel the acetate sheet off the counter, and run your fingers along the edge of the acetate sheet to remove any chocolate residue.
- Once the chocolate has almost set, place the acetate sheet between two cutting boards and transfer it to the refrigerator. This ensures that the chocolate slab remains completely flat while it sets.
- Remove the acetate sheet once the chocolate has set. Place it on top of the cake.
Day 3
Assembly:
- Pipe small dollops of the reserved passion fruit curd onto the chocolate slab.
- Garnish with the flowers.