Advertisement // The recipe is developed in collaboration with Sugarflair
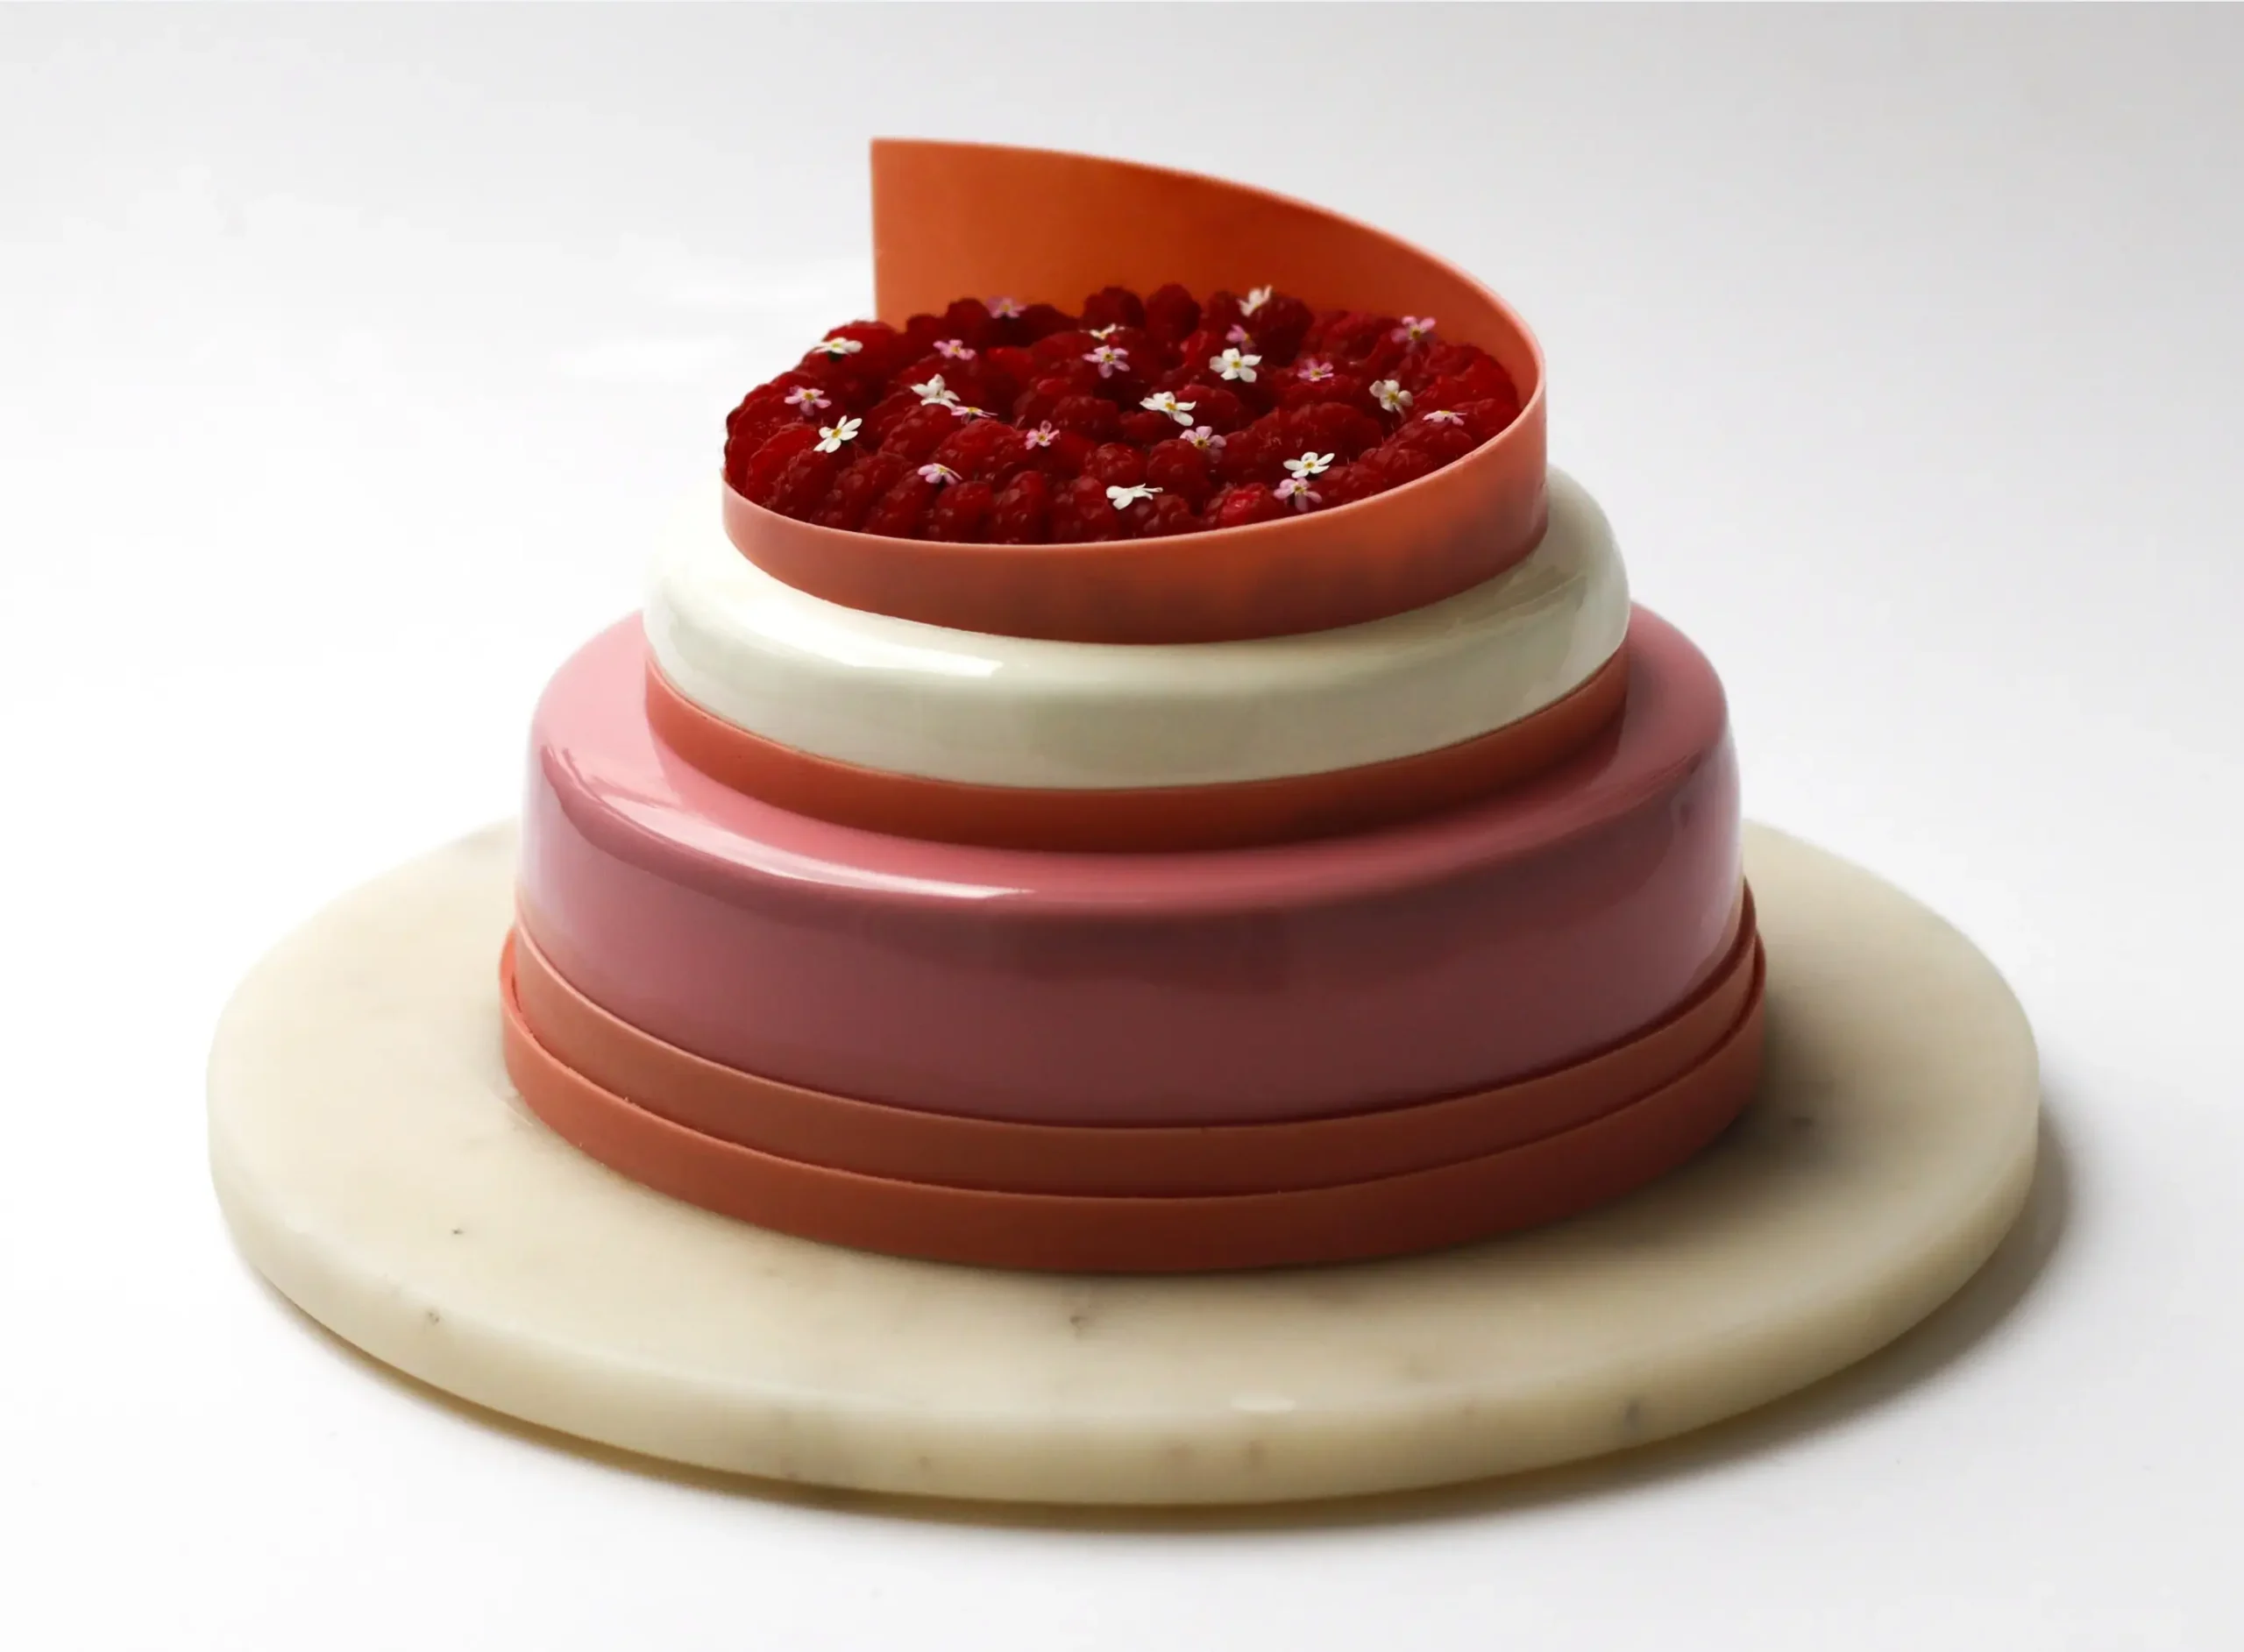
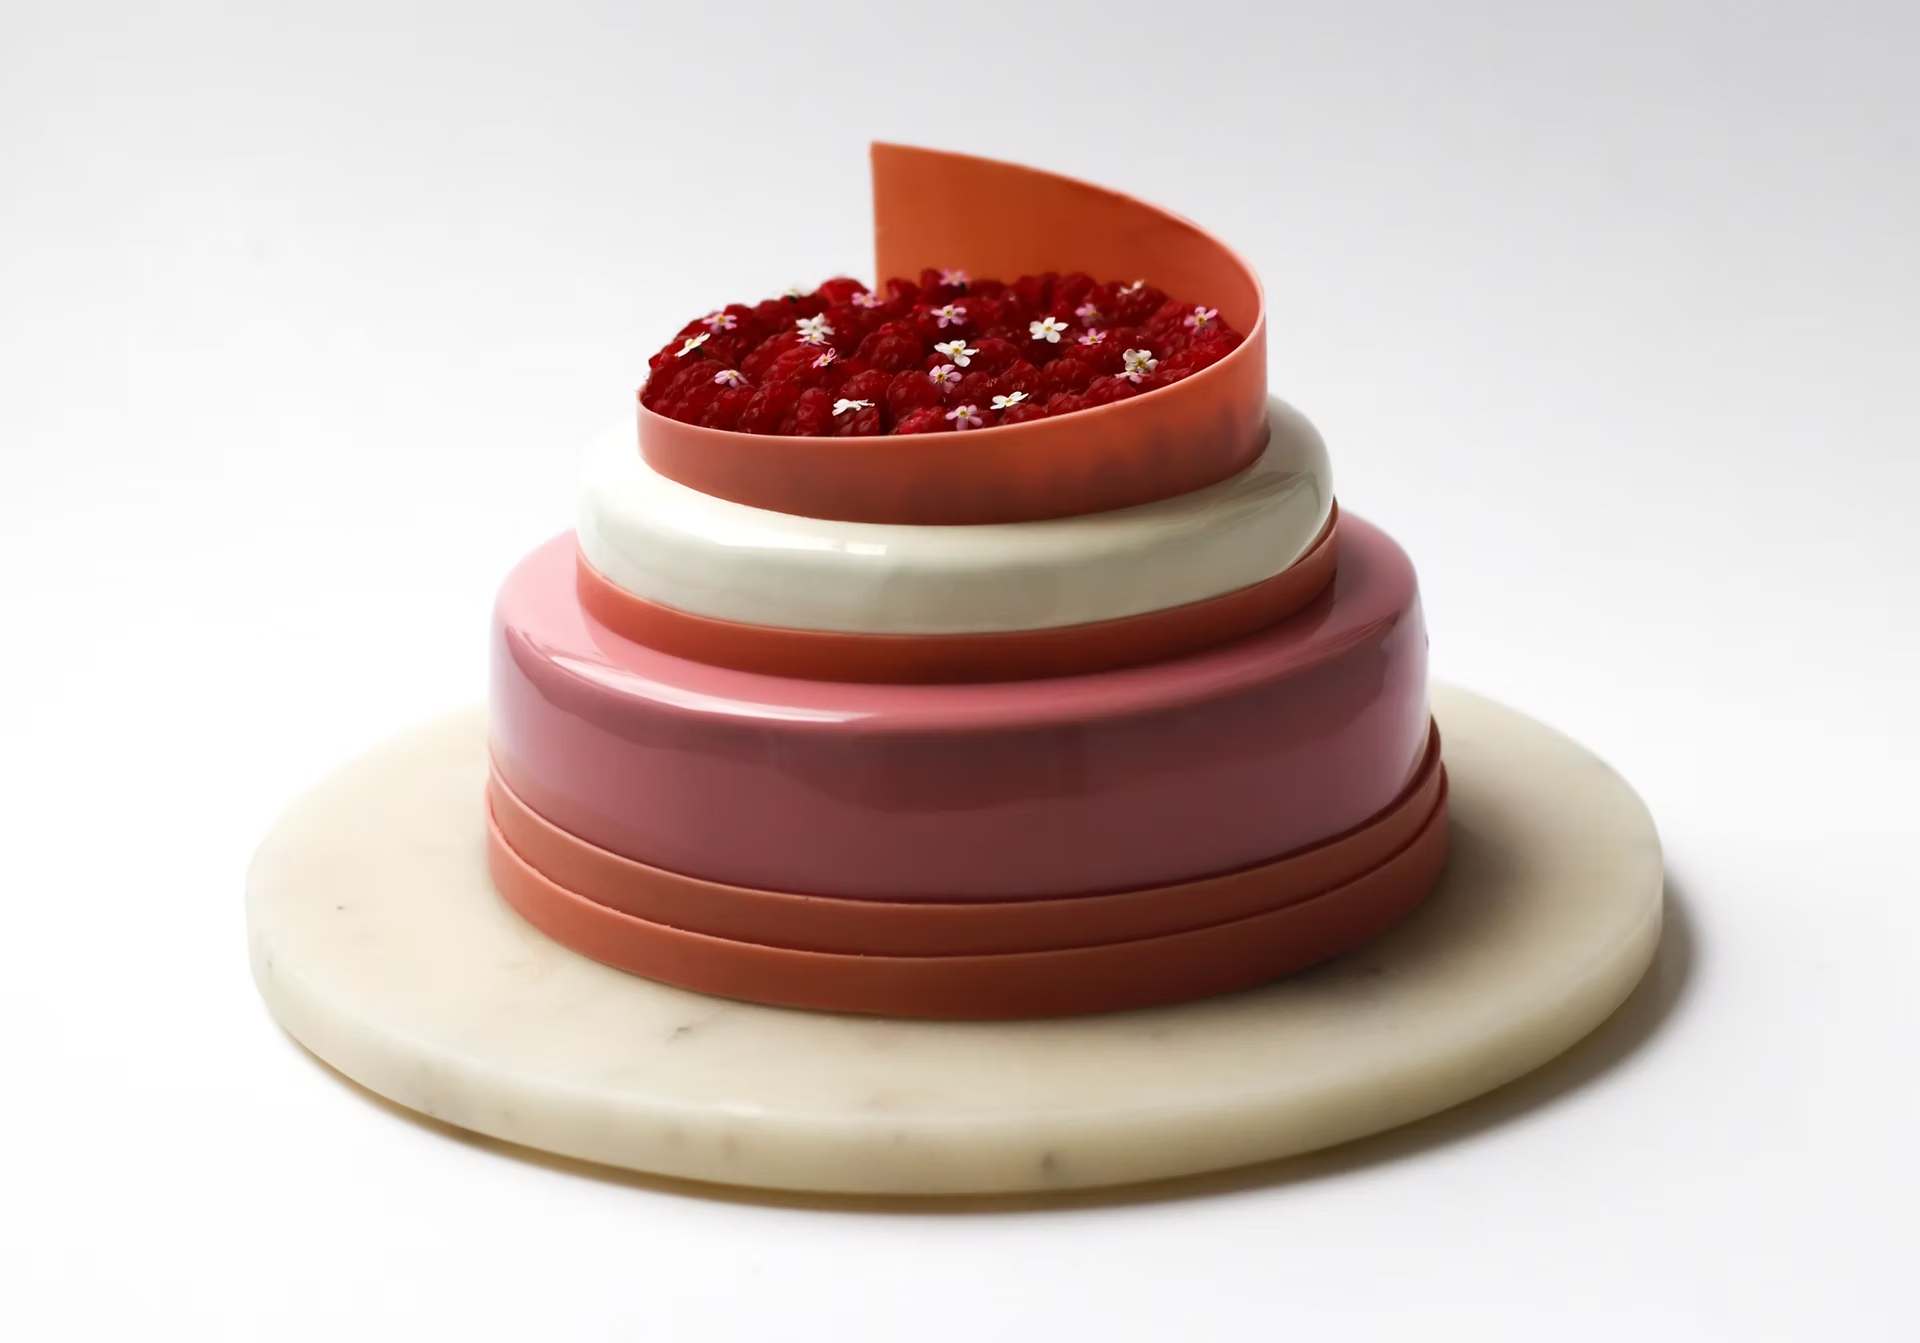
This Nutella/raspberry cake is simply amazing! The fresh raspberry flavor tastes perfect in combination with Nutella, making it a fresh and not too heavy cake. This is also why this cake went straight into my top 5 favorite recipes.
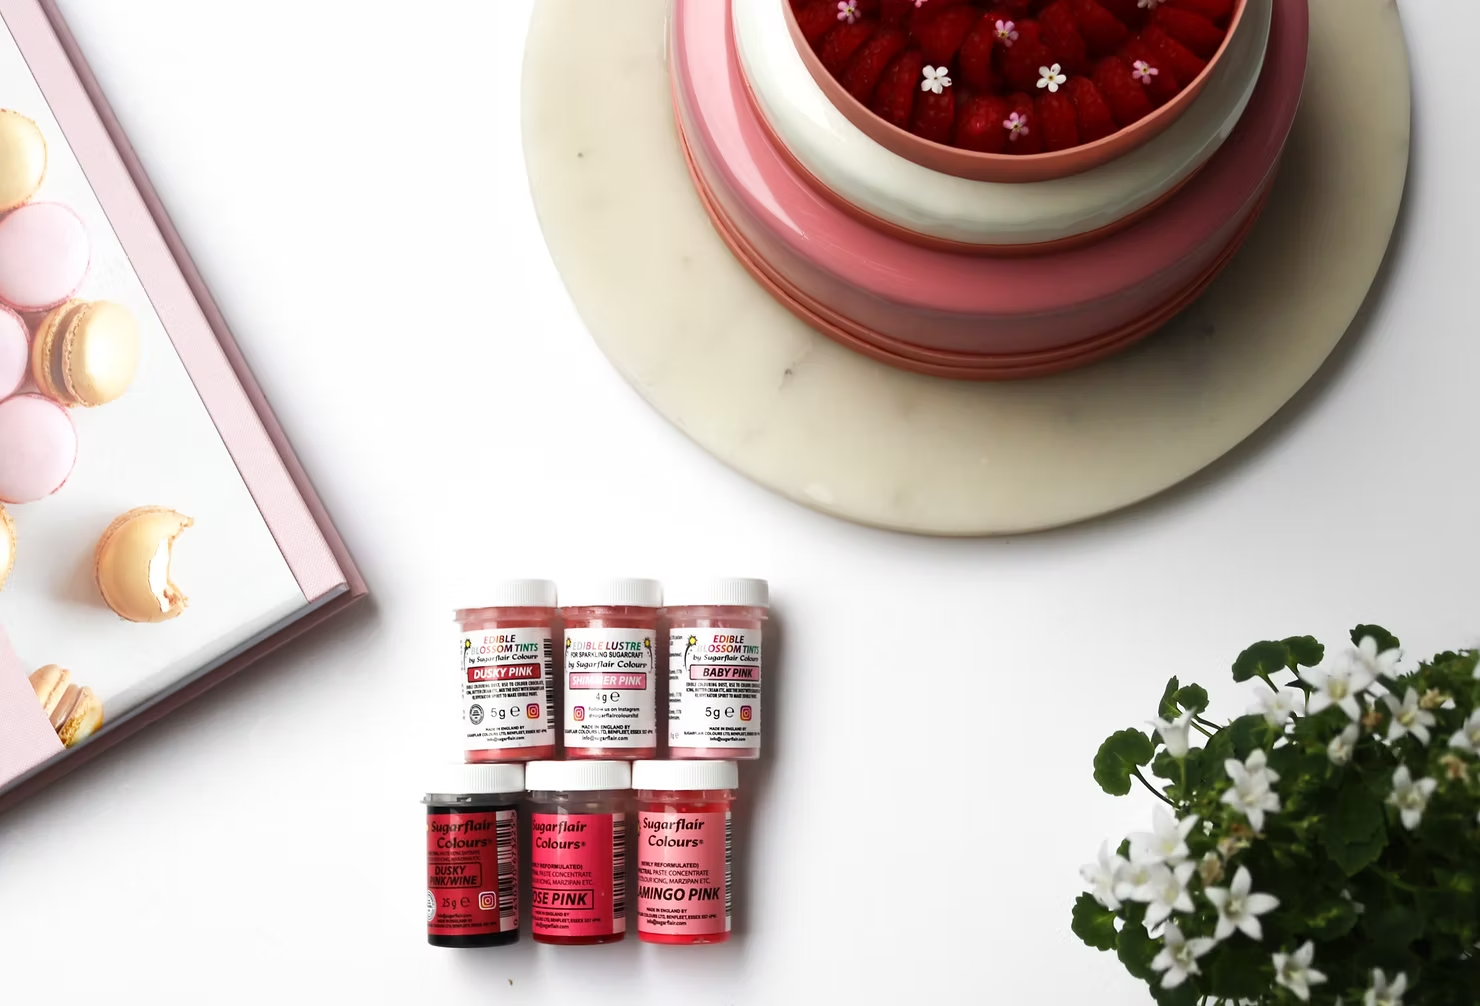
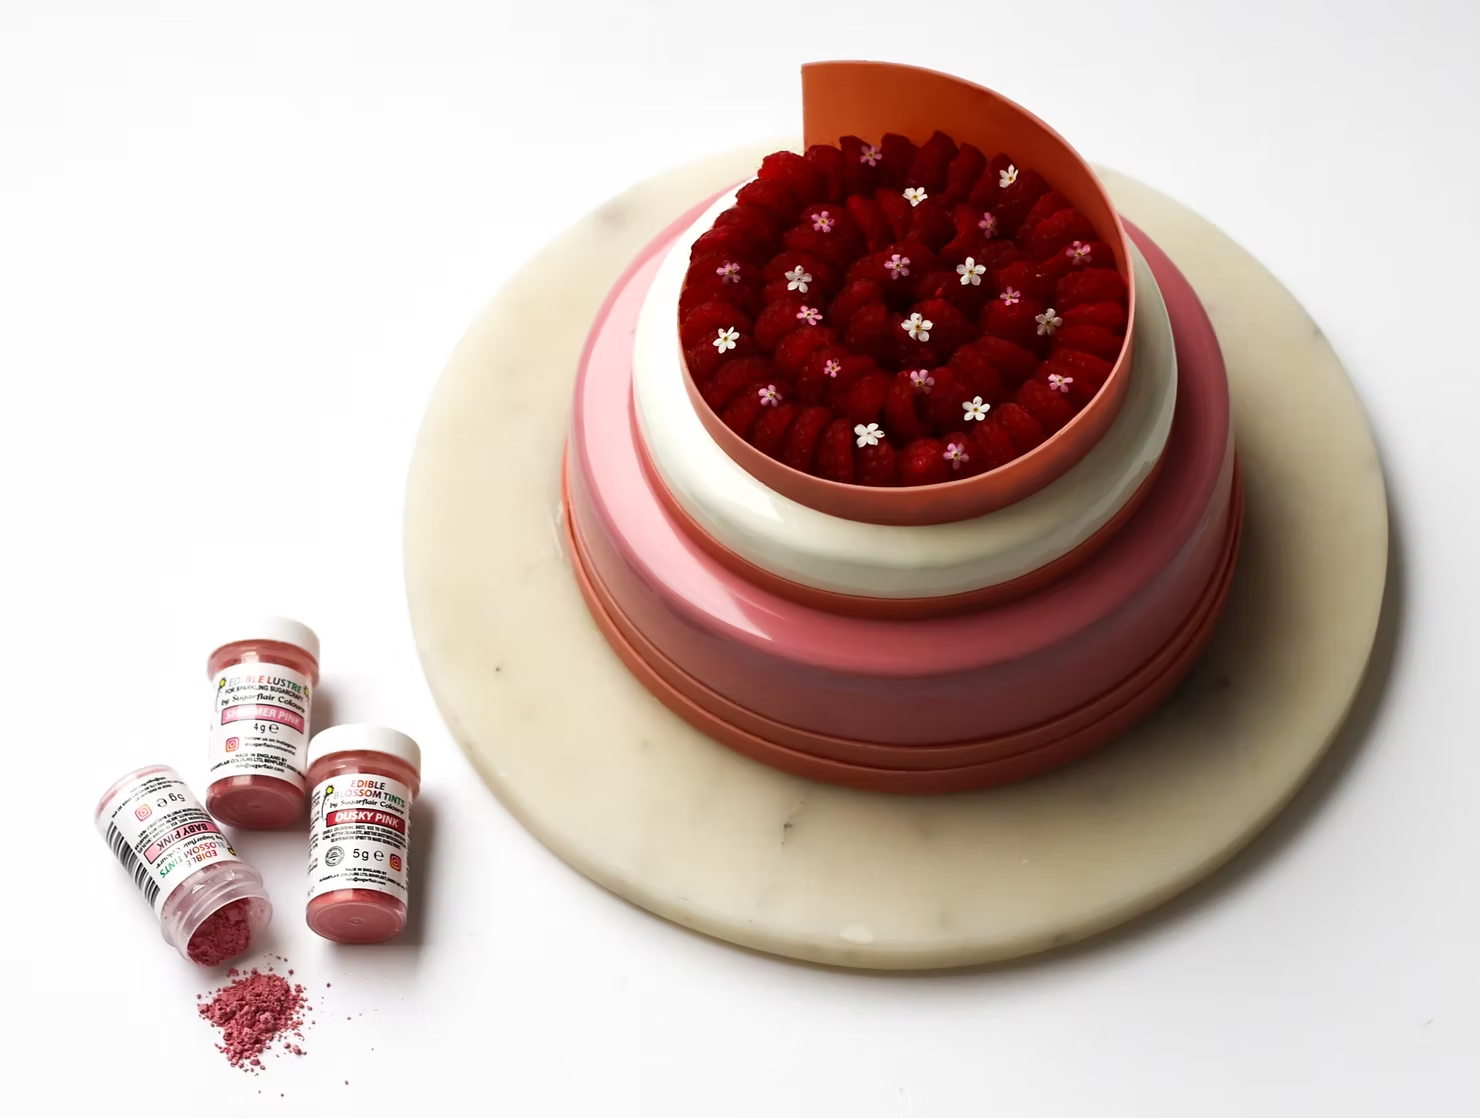
I’ve used Sugarflair‘s amazing chocolate powder colors and glaze paste colors to give the cake the perfect pink shade, matching the raspberry flavor inside.
Sugarflair is a family-run powder and paste color brand that has been around for more than 40 years. They only use the best quality ingredients to ensure strong and intense colors. The colors are very rich, which means that you don’t have to use a lot to achieve an intense color.
I’ve used Sugarflair since I started baking more than 10 years ago and swear by their colors for coloring both chocolate and glaze, as they really are the best!
I’m therefore so excited to be a Sugarflair ambassador, where I will continuously show how I use the different colors to make cake designs.
The right colors make a huge difference to the look of a cake, and I always match them with the flavors of the cake inside.
You can find the different Sugarflair powder colors and paste colors that I’ve used for the cake here.
Happy baking <3
You can see the step-by-step video of how the cake is made under my highlights on my Instagram here

Day 1
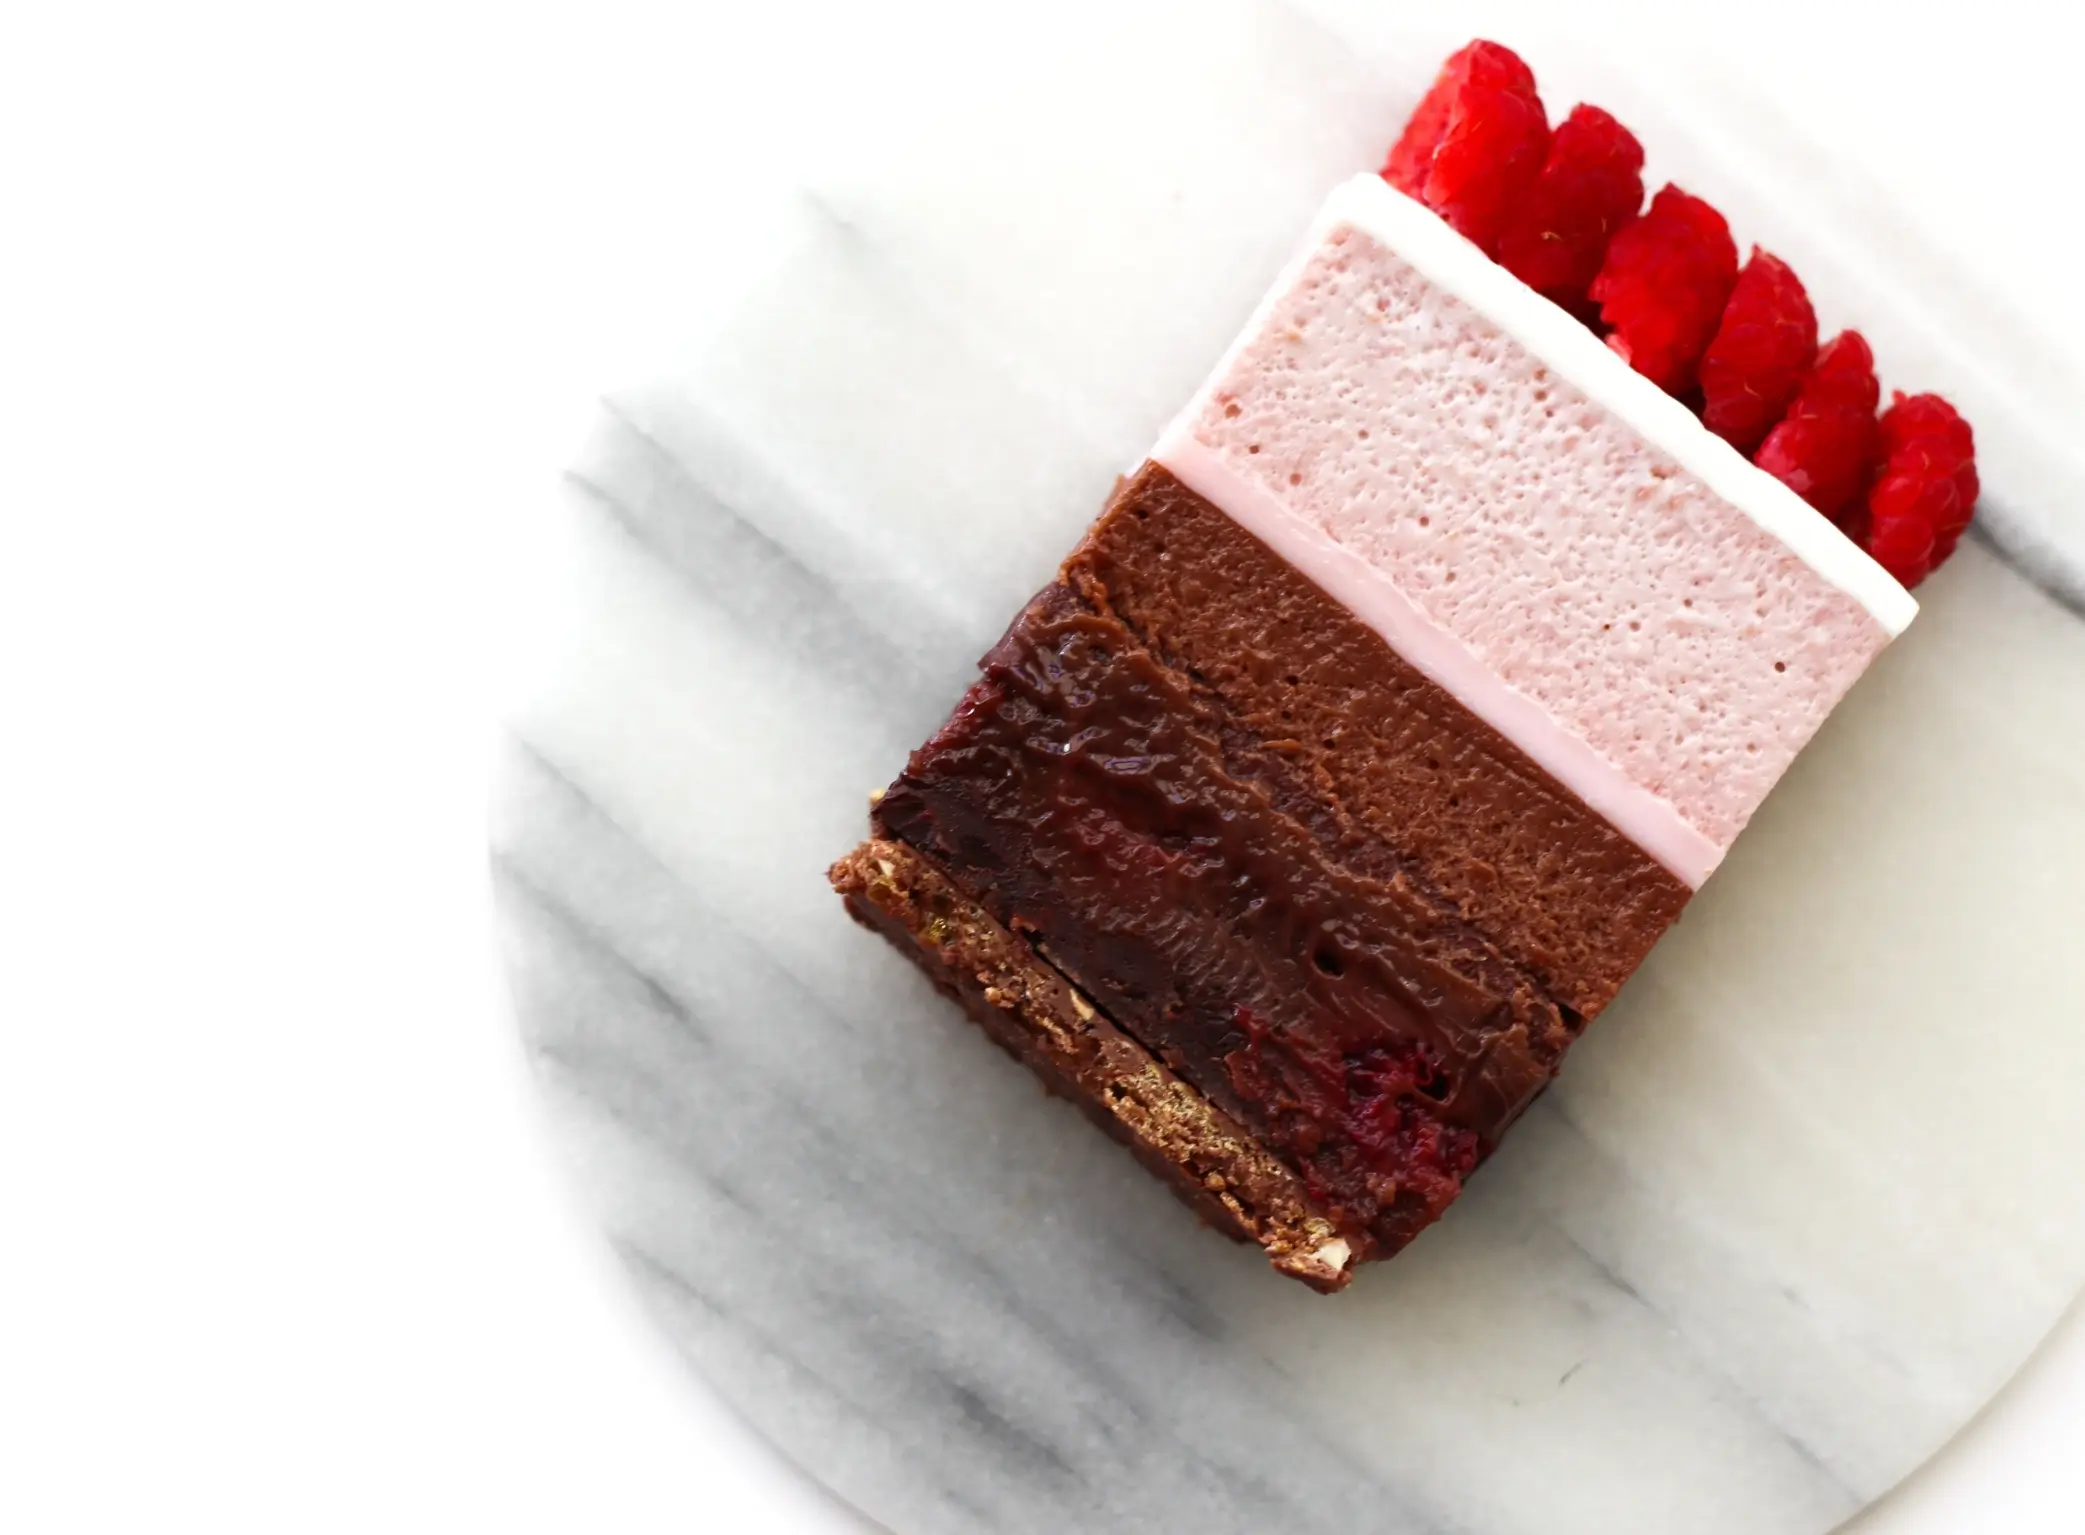
Nutella and Hazelnut Crunch:
- 25 g caster sugar
- 15 g hazelnuts
- 65 g milk chocolate (33%)
- 35 g Nutella
- 35 g feuilletine (or cornflakes)
- salt
- Roast the hazelnuts in the oven at 175°C / 347°F for 5–7 minutes and remove the shells.
- Carefully melt the sugar to a golden caramel in a pan, stir in the nuts and pour the mixture onto a piece of parchment paper. Allow the nuts to cool.
- Chop the nuts.
- Carefully melt the chocolate and Nutella (for example over a water bath) and set aside.
- Stir the chopped hazelnuts, feuilletine (or cornflakes) and a pinch of salt into the chocolate.
- Roll out the crunch between two pieces of parchment paper and put it in the fridge until set.
- Cut out a circle of the crunch with a 16 cm pastry ring.
- Place the crunch layer in a clean pastry ring (16 cm in diameter) lined with an acetate sheet, with parchment paper at the bottom.
Tips & Notes:
- Don’t chop the nuts too finely, as this will reduce the crunch effect.
- Level the surface with a glass or a spoon.
Day 1
Brownie with Raspberry and Nutella:
- 55 g dark chocolate (54%)
- 30 g Nutella
- 70 g butter
- 80 g caster sugar
- 100 g eggs (approx. 2 medium eggs)
- 0.5 tbsp all-purpose flour
- 60 g milk chocolate (33%)
- a pinch of salt
- 50–60 g frozen raspberries
- Coarsely chop the chocolate.
- Melt the butter slowly in a saucepan (it must not be too hot, as this can cause the chocolate to separate afterwards). Over low heat, add the dark chocolate and stir until it has melted completely. Remove the saucepan from the heat and mix in the Nutella.
- Stir in the sugar. Lightly beat the eggs with a fork in another bowl.
- Allow the batter to cool slightly and gradually add the eggs while beating with a hand whisk. Finally, fold in the flour, salt and the chopped milk chocolate.
- Pour the batter into a lined pastry ring or springform pan (16 cm in diameter). Add the frozen raspberries to the batter.
- Bake the brownie at 180°C / 356°F for approximately 20–25 minutes. It should be sticky in the middle and feel slightly underbaked.
- Allow the brownie to cool completely.
- Place the brownie on top of the crunch layer in the pastry ring (optional: you can use a little melted chocolate to ‘glue’ the two elements together). Gently level the surface with a glass.
- Put the cake in the freezer while you prepare the next layer.
Tips & Notes:
- If baking with pastry rings, use two rings of different sizes and place a piece of parchment paper in between to keep the batter contained.
Day 1
Nutella Ganache with Raspberry:
- 100 g milk chocolate (33%)
- 100 g Nutella
- 45 ml heavy cream (min. 35%)
- 150 g frozen raspberries (approx.)
- sea salt
- Raspberry purée: Boil the raspberries and strain the juice so that you get 55 ml of raspberry purée.
- Carefully melt the chocolate and Nutella in a saucepan (for example over a water bath) and set aside in a bowl.
- Heat the heavy cream and raspberry purée until almost boiling and pour over the chocolate and Nutella mixture.
- Stir in the center of the ganache with a rubber spatula until the ganache becomes glossy. Season with a pinch of sea salt.
- Spread the ganache on top of the cake.
- Put the cake in the freezer and let it freeze overnight.
Tips & Notes:
- Only heat the cream until almost boiling, as cream that is too hot will seize the chocolate mixture.
- Stir the mixture with a rubber spatula until glossy.
Day 2
Nutella Mousse:
- 2.25 gelatin sheets (1 sheet = 1.75 g, bloom value 240)
- 200 g milk chocolate (33%)
- 100 g Nutella
- 300 ml heavy cream (min. 35%)
- Soak the gelatin in cold water for 5–10 minutes.
- Carefully melt the chocolate and Nutella in a saucepan (for example over a water bath) and set aside in a bowl.
- Heat 100 ml of heavy cream until almost boiling. Remove the pan from the heat and whisk in the gelatin.
- Pour the hot mixture over the chocolate while stirring in the center with a rubber spatula until combined. Let the mixture cool to lukewarm.
- Whip 200 ml of heavy cream to soft peaks and fold it into the mixture once it has cooled to lukewarm (if it is too hot, the cream may separate).
- Pour the mousse into a silicone mold of 18 cm in diameter (I’ve used a Silikomart TOR mold) lined with an acetate sheet (as the cake will be slightly taller than the mold).
- Take the frozen cake out of the freezer and place it in the Nutella mousse with the ganache facing down.
- Put the cake in the freezer overnight so it can set completely.
Tips & Notes:
- If the mousse is runny, it needs to set a little before the frozen cake can be added. Place the mousse in the mold in the fridge until it has set slightly (as a rule of thumb, it has set enough when you dip the end of a spoon into the mousse and a soft peak forms when you lift the spoon).
- Only heat the cream until almost boiling before pouring it over the chocolate, to avoid seizing the chocolate.
- Whip the heavy cream to soft peaks, as overwhipped cream can result in a dense and grainy mousse.
Day 2
Hazelnut Mousse with Raspberry:
- 1.75 gelatin sheets (1 sheet = 1.75 g, bloom value 240)
- 55 g white chocolate (28%)
- For 50 g hazelnut paste:
- 50 g roasted hazelnuts without shell
- 0.75 tsp icing sugar
- 0.75 tsp neutral oil
- 150 g frozen raspberries (approx.)
- 150 ml heavy cream (min. 35%)
- Raspberry purée: Boil the raspberries and strain the juice so that you get 50 ml of raspberry purée.
- Soak the gelatin in cold water for 5–10 minutes.
- Carefully melt the white chocolate (for example over a water bath) and set it aside in a bowl.
- Blend the hazelnuts with the icing sugar and oil in a mini chopper into a thick hazelnut paste.
- Stir the hazelnut paste into the chocolate.
- Heat 15 ml of heavy cream and the raspberry purée until almost boiling. Remove the saucepan from the heat and whisk in the gelatin.
- Pour the hot mixture over the chocolate while stirring in the center with a rubber spatula until combined. Let the mixture cool to lukewarm.
- Whip 135 ml of heavy cream to soft peaks and fold it into the mixture once it has cooled to lukewarm (if it is too hot, the cream may separate).
- Pour a 2.5 cm tall layer of mousse into a 14 cm silicone mold or a 14 cm pastry ring lined with an acetate sheet, with cling film at the bottom.
- Put the mousse in the freezer overnight so it can set completely.
Tips & Notes:
- If you use a pastry ring, make sure the cling film is pulled completely tight to get a smooth mousse surface.
Day 3
Glaze for the Nutella Cake:
- 6 gelatin sheets (1 sheet = 1.75 g, bloom value 240)
- 150 g white chocolate (28%)
- 110 ml heavy cream (min. 35%)
- 50 g water
- 140 g caster sugar
- 150 g glucose syrup
- Flamingo Pink, Rose Pink, Dusky Pink and White Extra Sugarflair paste color
- Soak the gelatin in cold water for 5–10 minutes.
- Finely chop the white chocolate and put it in a large jug.
- Heat the sugar, water, heavy cream and glucose syrup until almost boiling. Remove the pan from the heat and whisk in the gelatin.
- Pour the hot mixture over the chocolate in the jug. Blend with an immersion blender until the glaze comes together (insert the immersion blender at an angle to avoid air bubbles). Add Flamingo Pink, Rose Pink, Dusky Pink and White Extra Sugarflair paste color for a beautiful pink color.
- Cover the jug with cling film and let the glaze cool to 34–35°C / 93–95°F.
- Take the frozen cake out of the freezer just before glazing. Place the cake on a cooling rack with parchment paper underneath.
- Pour the glaze over the cake. Use two palette knives to run the bottom of the cake around on the rack to remove the excess glaze.
- Place the cake on a cake plate and let it thaw in the fridge for approximately 6 hours.
Tips & Notes:
- Let the hot mixture sit for 30 seconds so the chocolate can melt a little.
- Insert the immersion blender in the jug at an angle to prevent creating air bubbles.
- The cake needs to be completely frozen when the glaze is poured on. If the correct temperatures have been met, you’ll get a perfectly shiny mirror glaze.
Day 3
Glaze for the Hazelnut Mousse:
- 3 gelatin sheets (1 sheet = 1.75 g, bloom value 240)
- 75 g white chocolate (28%)
- 55 ml heavy cream (min. 35%)
- 25 g water
- 70 g caster sugar
- 75 g glucose syrup
- White Extra Sugarflair paste color
- Start making this glaze when you are almost ready to glaze the Nutella cake, or once you have glazed it.
- Soak the gelatin in cold water for 5–10 minutes.
- Finely chop the white chocolate and put it in a large jug.
- Heat the sugar, water, heavy cream and glucose syrup until almost boiling. Remove the pan from the heat and whisk in the gelatin.
- Pour the hot mixture over the chocolate in the jug. Blend with an immersion blender until the glaze comes together (insert the immersion blender at an angle to avoid air bubbles). Add White Extra Sugarflair paste color for a strong white color.
- Cover the jug with cling film and let the glaze cool to 34–35°C / 93–95°F.
- Take the frozen mousse out of the freezer just before glazing. Place the mousse on a cooling rack with parchment paper underneath.
- Pour the glaze over the mousse. Use two palette knives to run the bottom of the mousse around on the rack to remove the excess glaze.
- Carefully place the glazed mousse on top of the cake.
- Put the cake back in the fridge until you are ready to decorate it.
Day 3
Chocolate Decoration:
- 220 g white chocolate (28%)
- Baby Pink, Shimmer Pink & Dusky Pink Sugarflair food coloring powder
- 400–600 g fresh raspberries
- flowers (edible or secured with safety seal / edible wax)
Cut acetate sheets to the sizes below. Temper and color the chocolate, then pour it onto the acetate sheets and spread it evenly. Let it set slightly until firm but still flexible, shape it as described in the steps below, then peel off the acetate once fully set. For more guidance, you can see here how to learn to make chocolate ribbons and chocolate spirals:
- Chocolate ribbon 1, around the cake (18 cm diameter): 1 cm x 58 cm
- Chocolate ribbon 2, around the cake (18 cm diameter): 2 cm x 58 cm
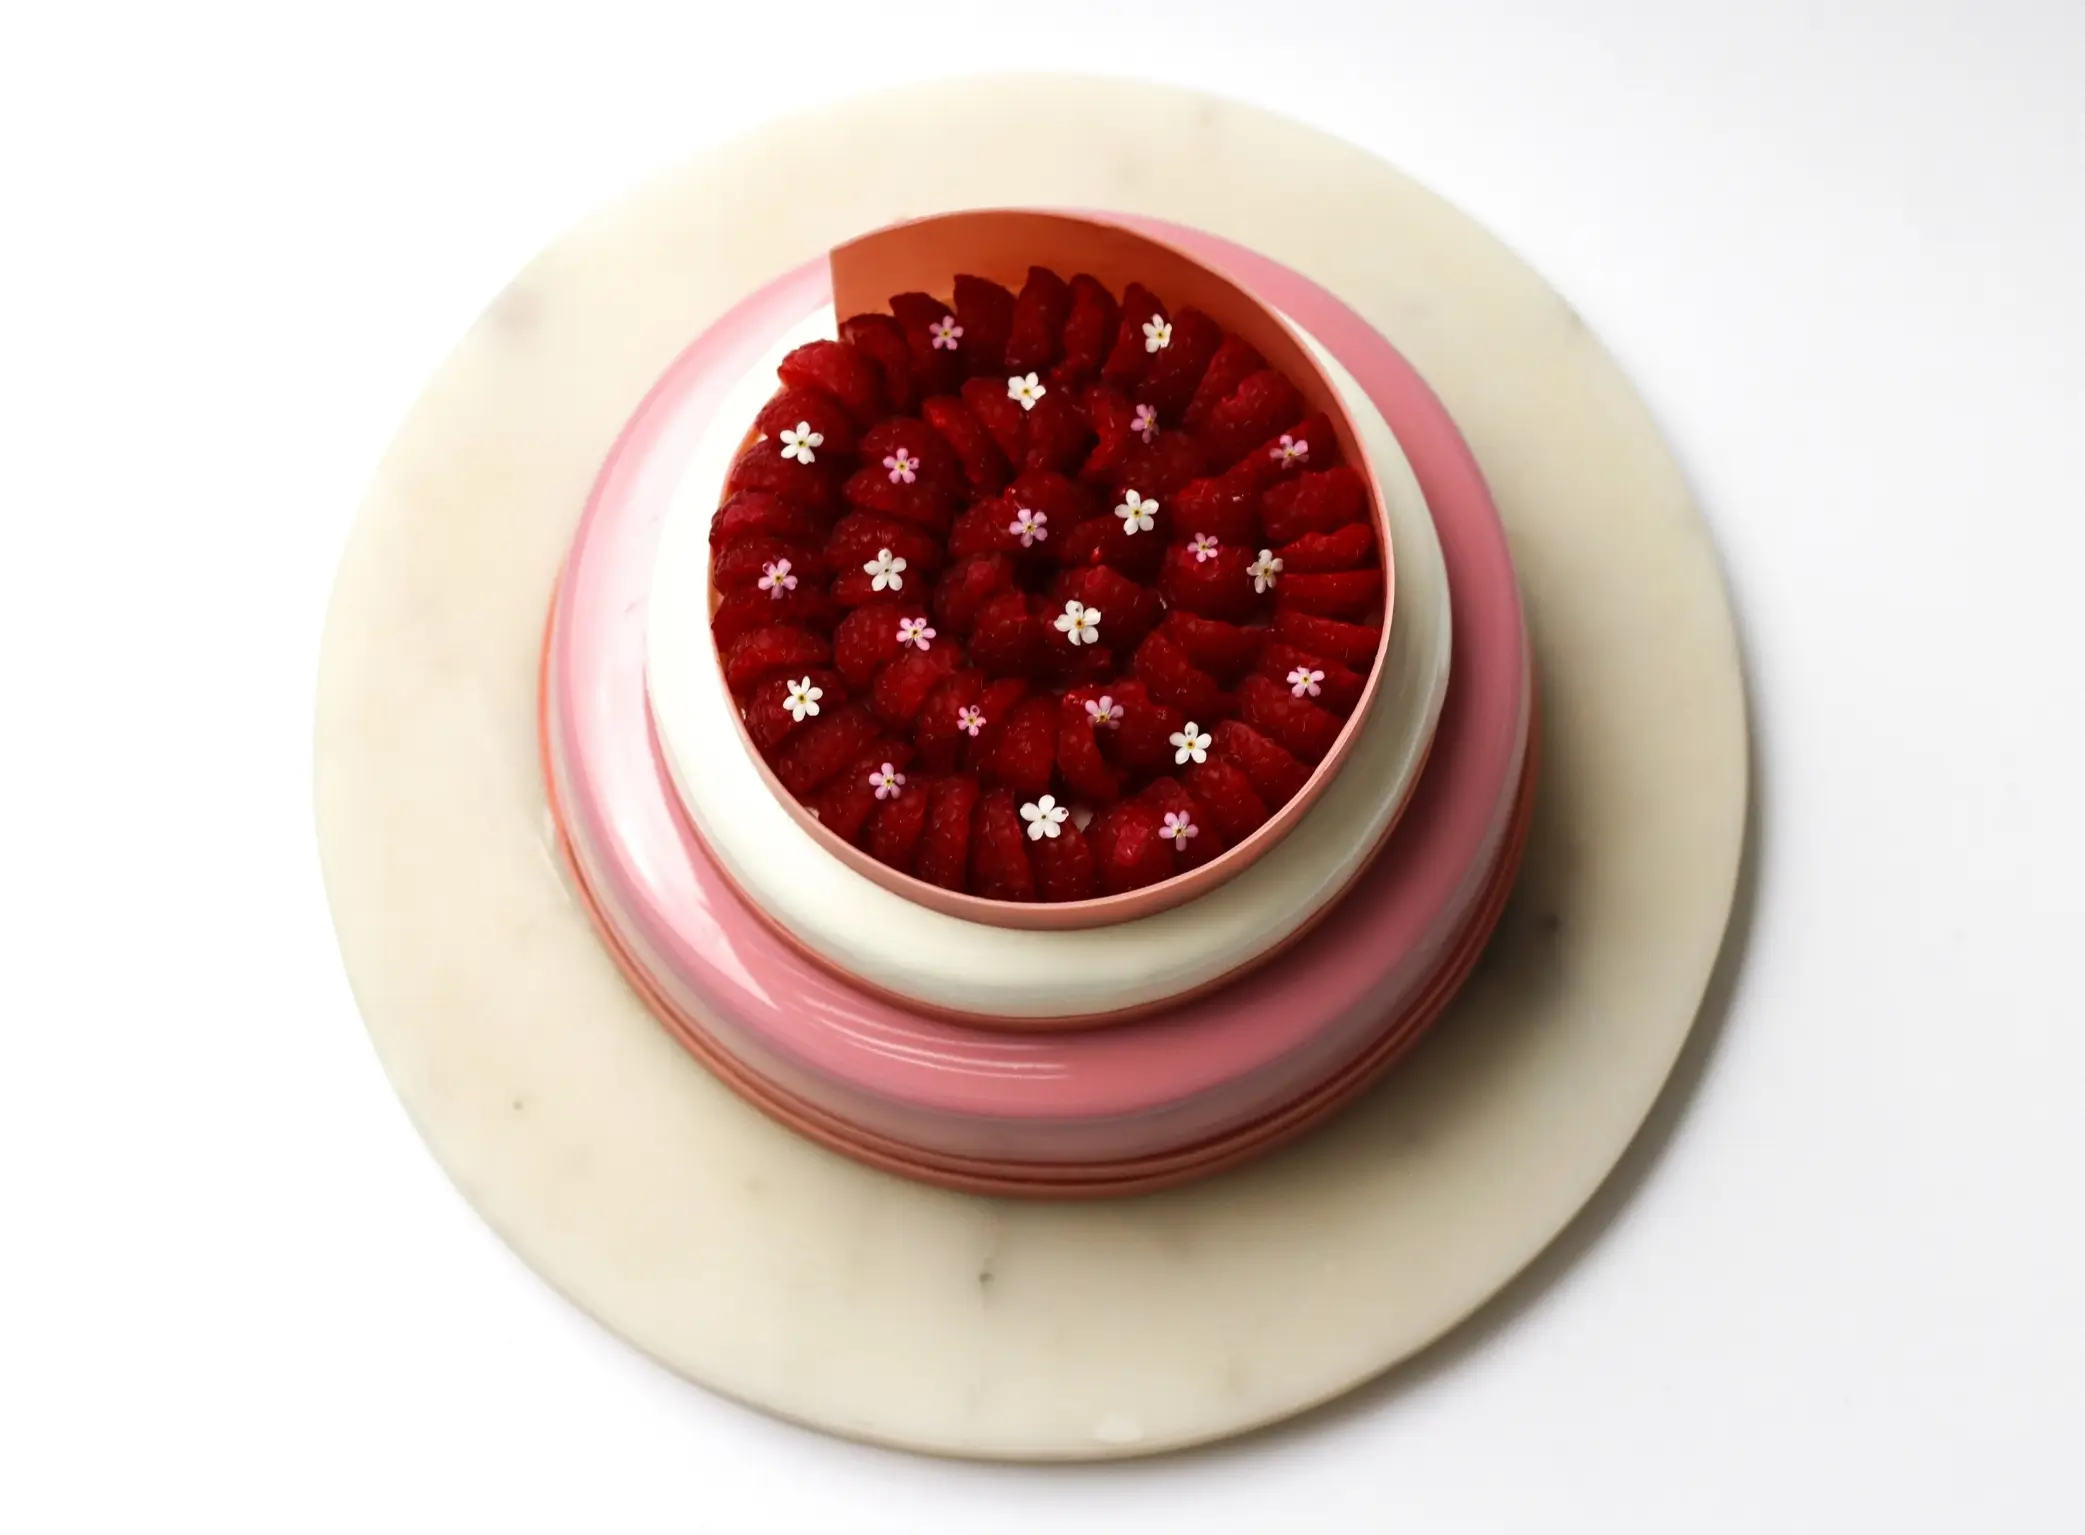
- Chocolate spiral, on top of the cake (12 cm diameter): 4.5 cm x 39 cm
- Place the chocolate ribbons around the cake. I used Sugarflair Baby Pink, Shimmer Pink and Dusky Pink food coloring powders to color the chocolate.
- Place the chocolate spiral on top of the cake. I used Sugarflair Baby Pink, Shimmer Pink and Dusky Pink food coloring powders to color the chocolate.
Decoration:
- Cut the fresh raspberries in half (use raspberries of the same size, as this gives a more consistent pattern) and gently place them inside the chocolate spiral on top of the cake.
- Decorate with flowers.