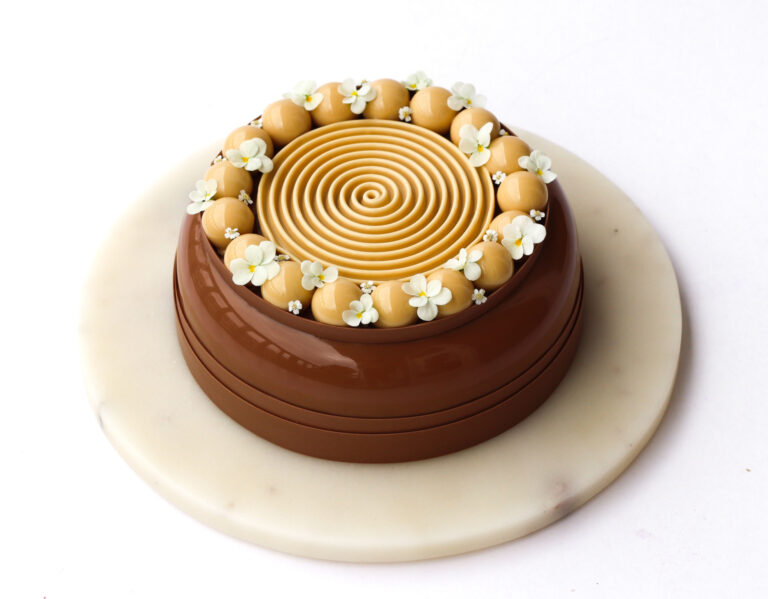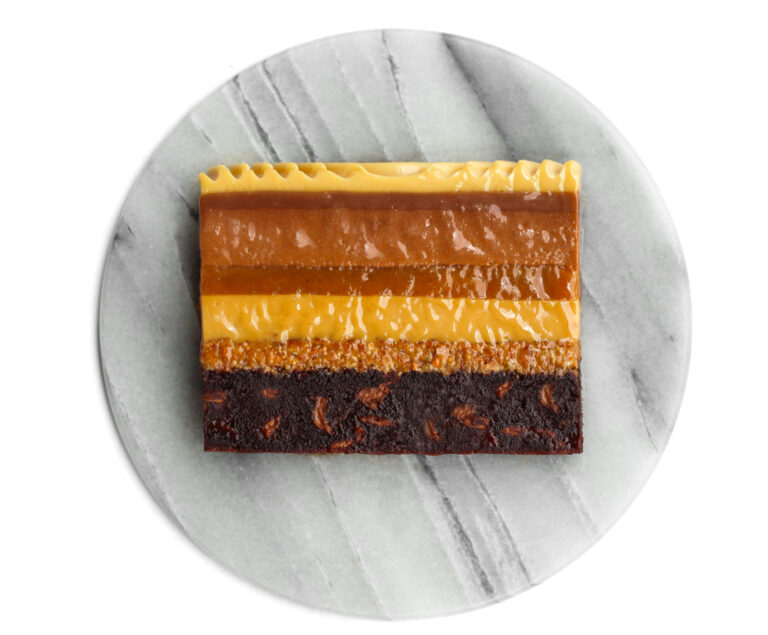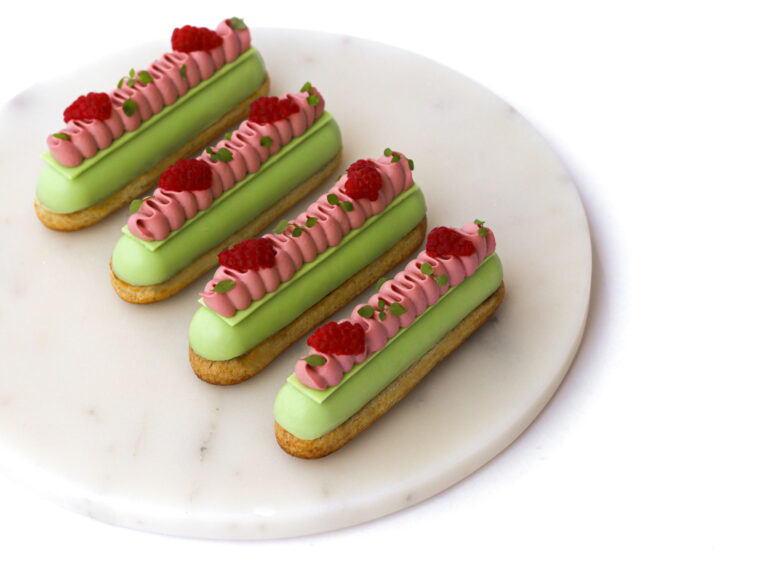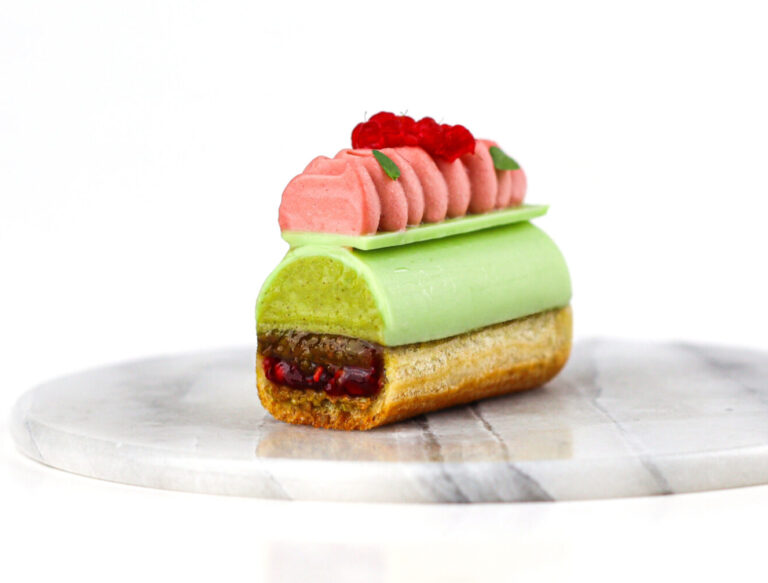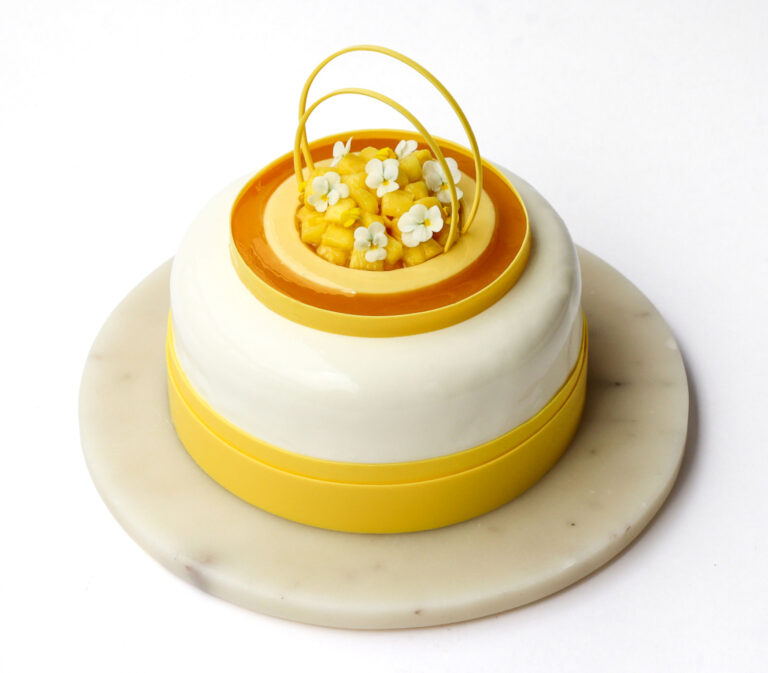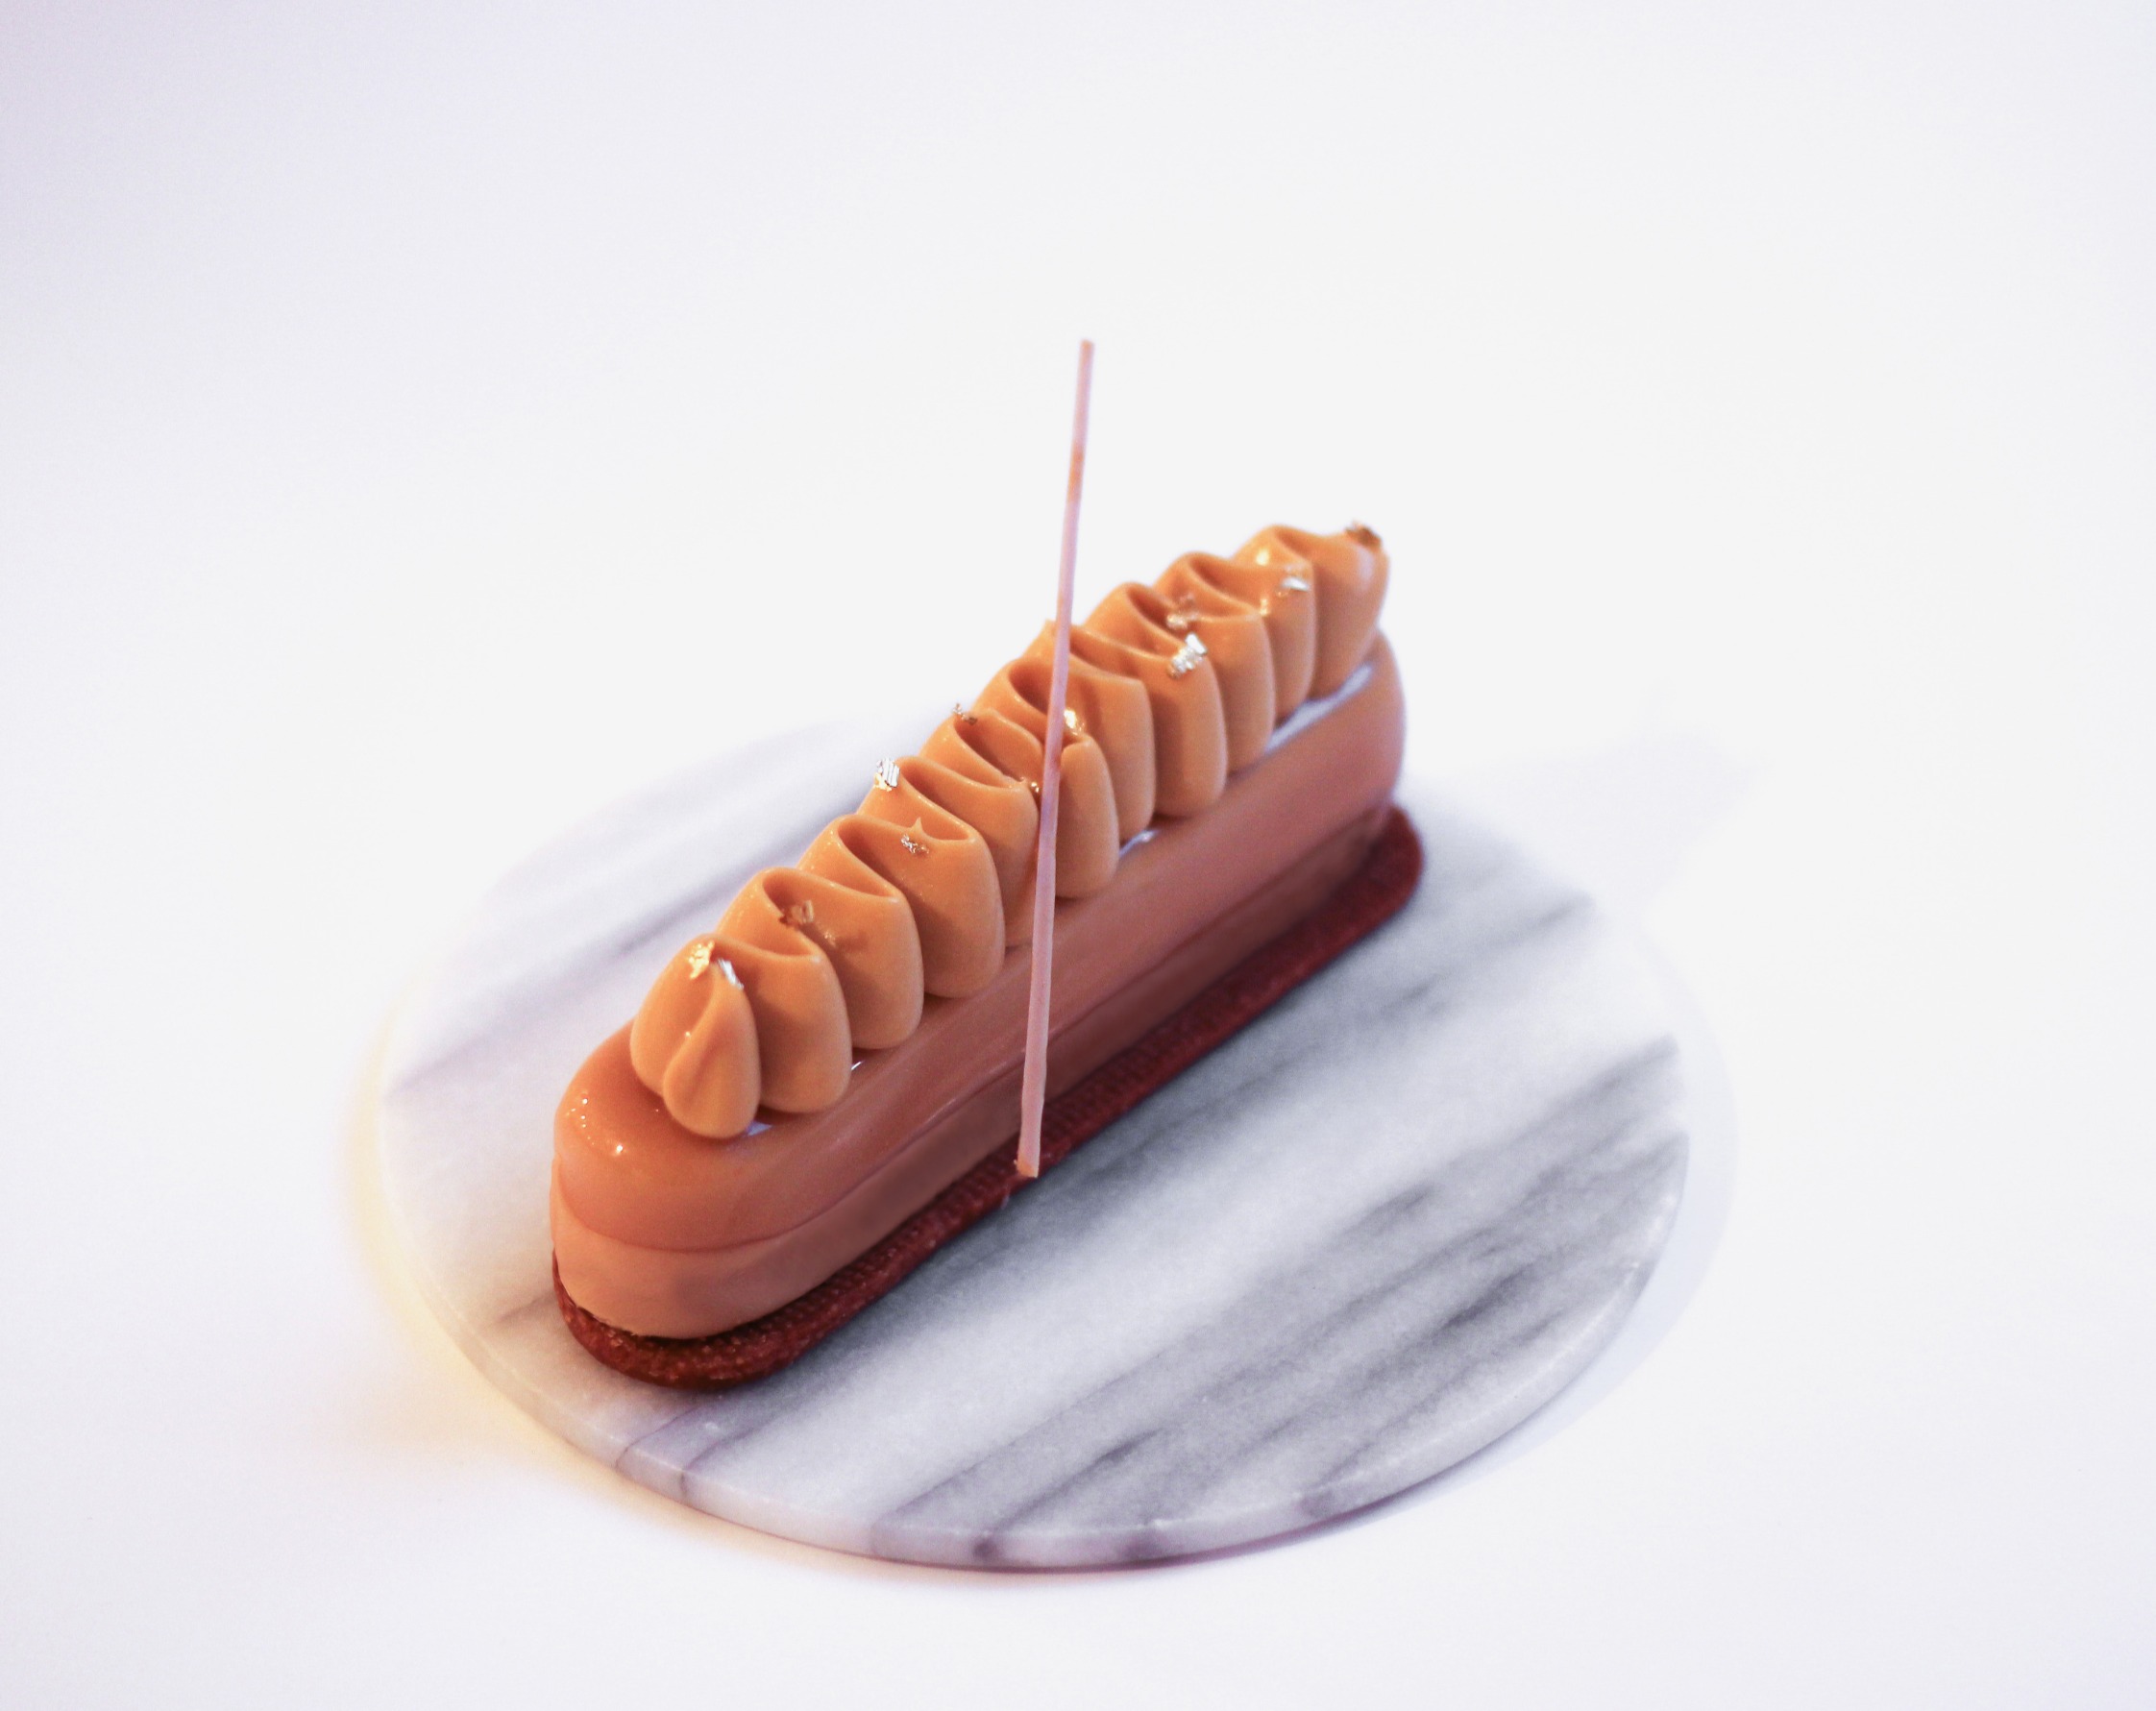
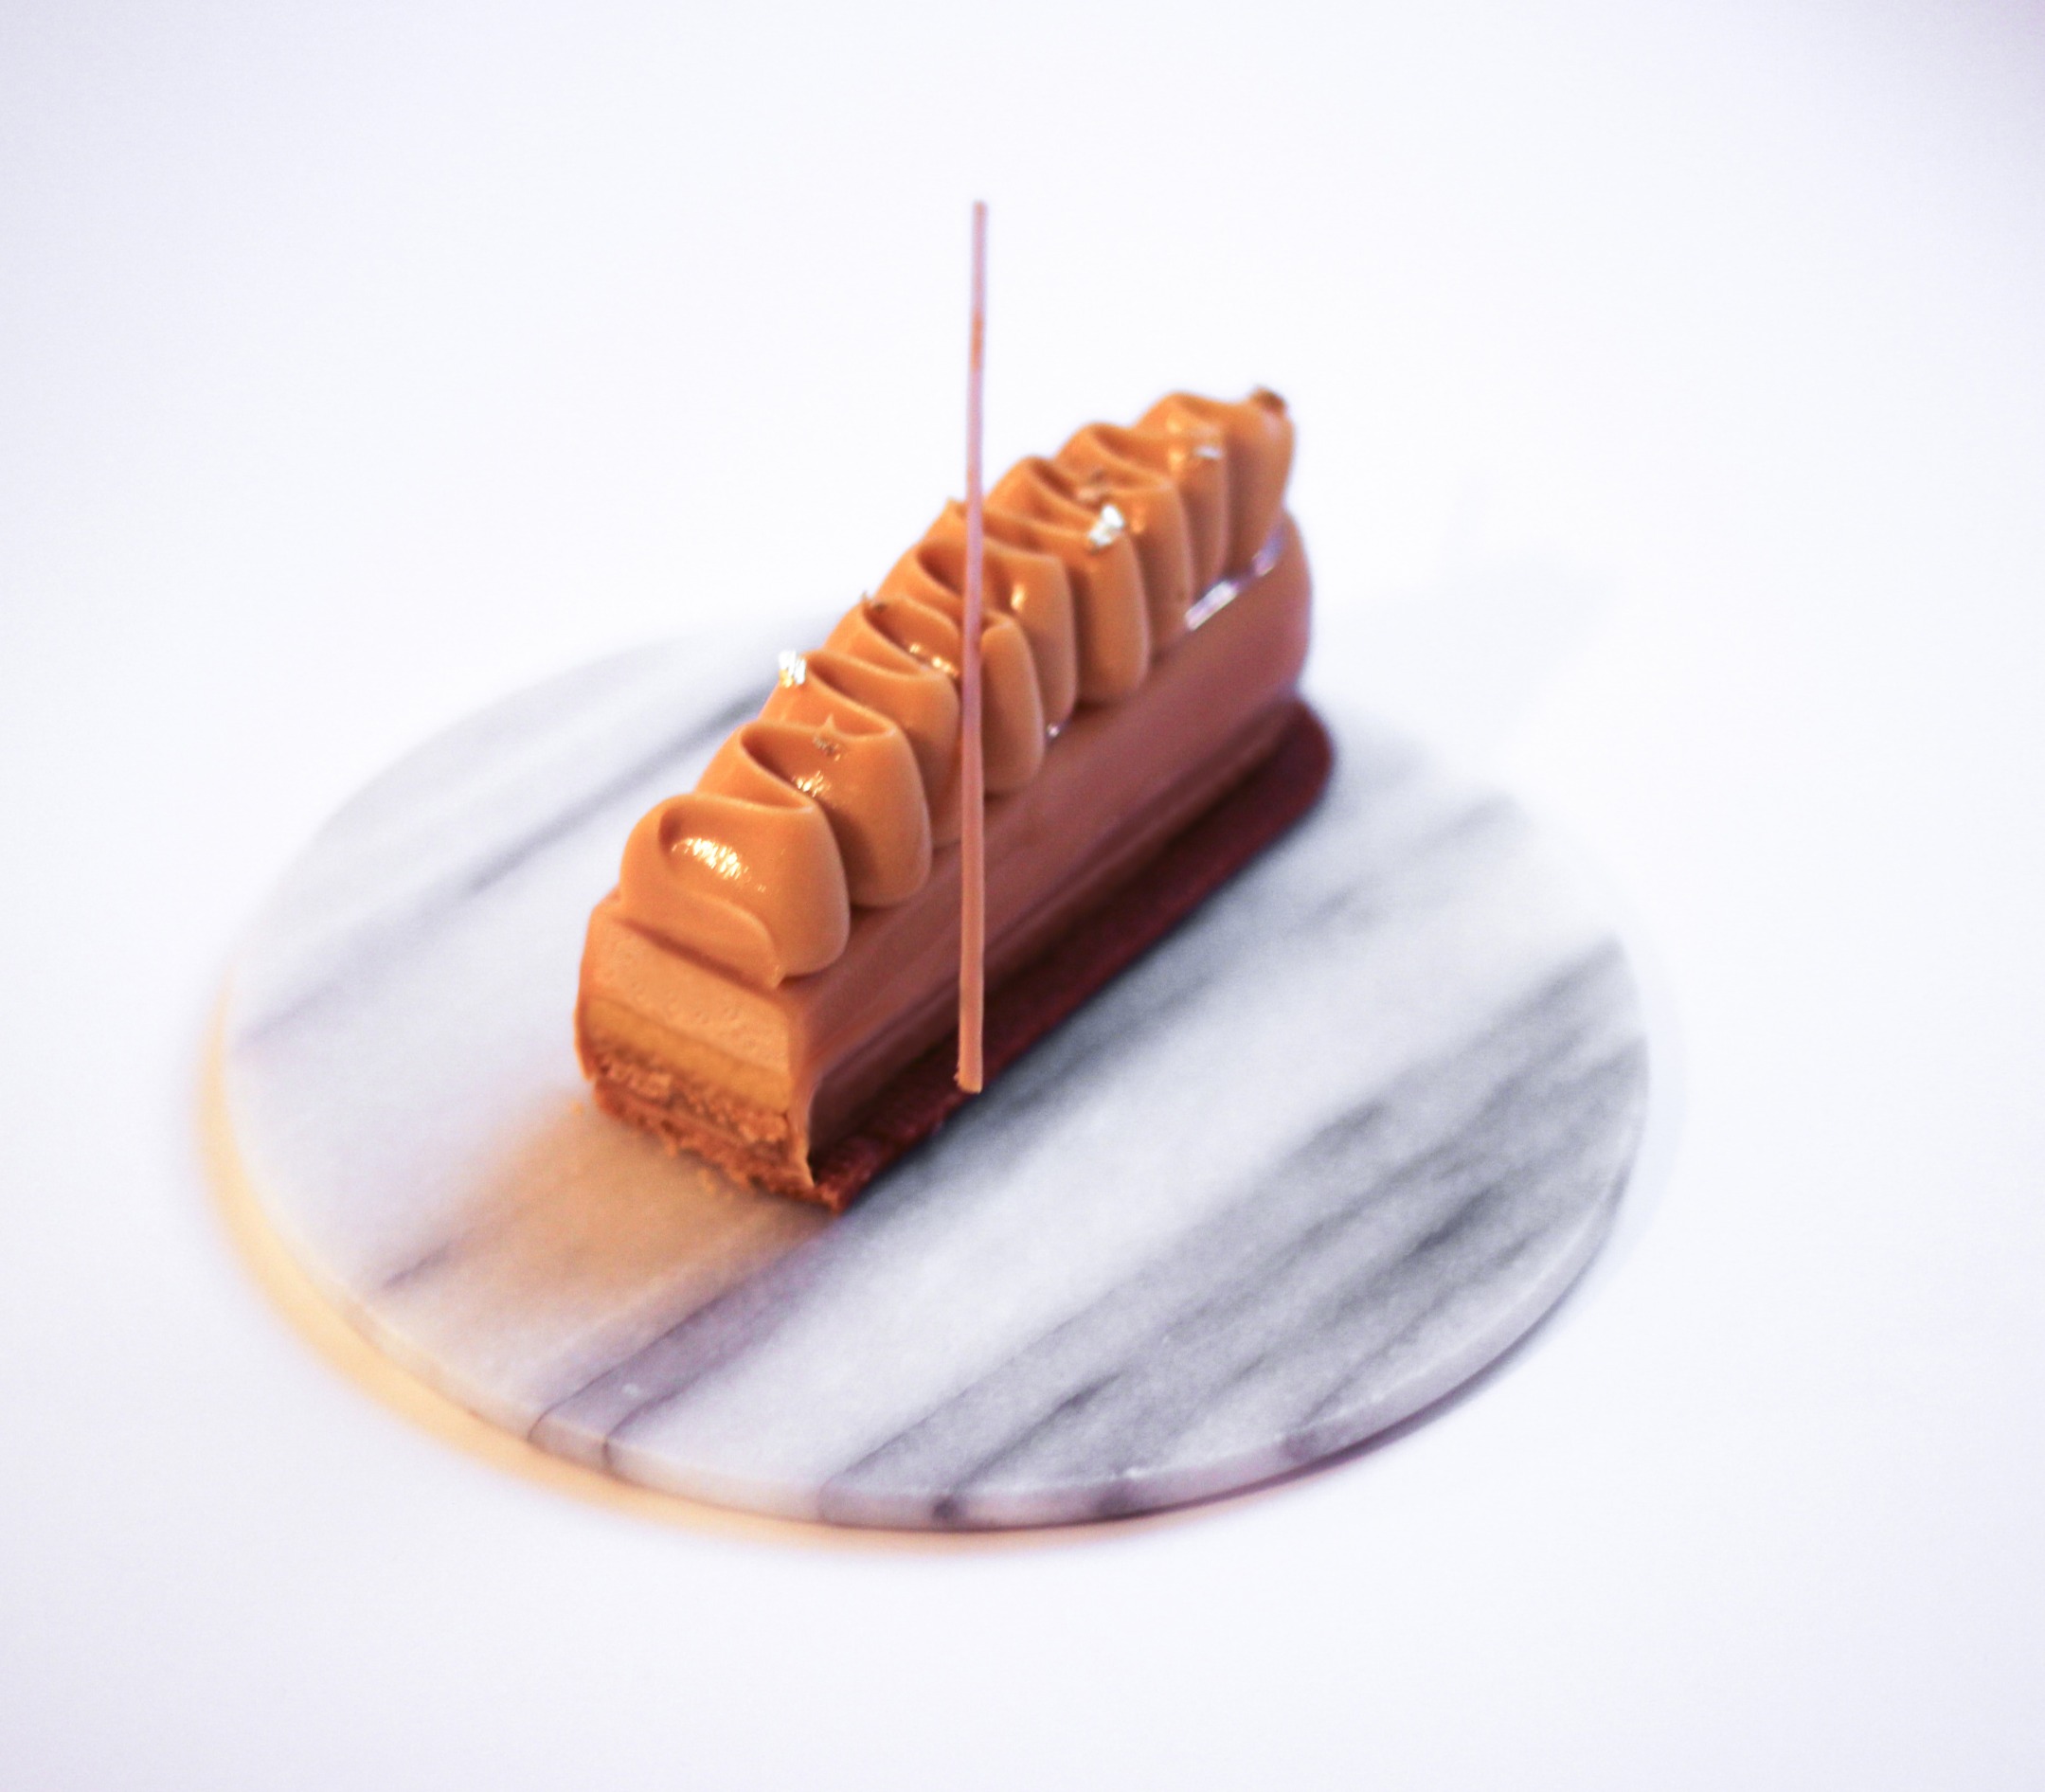
These little portioned cakes are perfect for New Year’s, with their elegant golden look and the combination of caramel, passion fruit, and chocolate.
They also take inspiration from the traditional Danish wreath cake, but with a more modern twist and individual portions. The caramel and chocolate make them rich and indulgent, while the passion fruit adds a fresh, tart contrast. They’re a lovely choice if you want to serve something a little extra special to your guests.
There are various techniques involved, but that’s also what makes it such a fun baking project. If you have the time and feel like trying something a little different, these are a great one to take on.
Happy baking <
Day 1
Caramel Mousse:
- 1.75 gelatin sheets (1 sheet = 1.75 g, bloom value 240)
- 170 g caramel chocolate (I use Callebaut Gold 30.4%)
- 250 ml heavy cream (min. 35%)
- a generous pinch of sea salt
- Soak the gelatin sheets in cold water for 5–10 minutes.
- Gently melt the chocolate (if necessary, in a double boiler) and set it aside in a bowl.
- Heat 85 ml of heavy cream and the salt to a boil. Remove the pot from the heat and whisk in the gelatin.
- Pour the hot heavy cream over the chocolate while stirring in the center with a spatula until it comes together. Let the mixture cool to lukewarm.
- Whip 165 ml of heavy cream to a light foam and fold it into the mixture that has cooled to lukewarm (if it’s too hot, it can cause the heavy cream to separate).
- Pour the mousse into a piping bag and fill a Fashion Eclair Silikomart silicone mold, filling each mold halfway.
- Place the molds in the freezer while you prepare the next layer. The surface must set before the next layer can be poured on.
Day 1
Passion Fruit Curd:
- 0.5 sheet of gelatin (1 sheet = 1.75 g, bloom value 240)
- 6 passion fruits (or 50 g passion fruit purée – can be store-bought or homemade)
- 25 ml lemon juice
- 75 g eggs (approx. 1.5 medium eggs)
- 20 g egg yolks (approx. 1 medium egg yolk)
- 75 g caster sugar
- 35 g butter
- Soak the gelatin sheets in cold water for 5–10 minutes.
- If you’re making your own passion fruit purée: Cut the passion fruits in half and scrape out the pulp. Strain the pulp to get a smooth purée without seeds.
- Whisk together the passion fruit purée, lemon juice, eggs, egg yolks, and sugar in a saucepan. Slowly heat the mixture to a boil while whisking constantly.
- Let the cream simmer for a couple of minutes until it thickens, while continuing to whisk constantly. Be careful not to use too high a heat, as this can cause the cream to burn. Simmer for a few minutes while whisking constantly until the cream thickens.
- Remove the saucepan from the heat and stir in the butter, cut into cubes. Then add the gelatin.
- Strain the passion fruit curd through a fine-mesh strainer. Finally, blend with a hand blender until completely smooth
- Fill the cakes with the passion fruit curd, leaving about 1/4 of the space in each mold for the crunchy layer and wreath cake base.
- Let it set slightly (not completely frozen, but not runny either) before spreading the crunchy layer on top.
Day 1
Caramel & Passion Fruit Crunch:
- 20 g caster sugar
- 20 g roasted, shelled hazelnuts
- 75 g caramel chocolate (I use Callebaut Gold 30.4%)
- 35 g dulce de leche
- 35 g cornflakes
- 1 tsp freeze-dried passion fruit powder
- a pinch of salt
- Toast the hazelnuts for 5–7 minutes at 175°C / 347°F.
- Gently melt the sugar into a golden caramel in a saucepan, stir in the nuts, and pour the mixture onto a sheet of parchment paper. Let the nuts cool.
- Chop the nuts very finely.
- Gently melt the chocolate (in a double boiler, if desired). Set the saucepan aside.
- Stir the finely chopped hazelnuts, lightly crushed cornflakes, salt, freeze-dried passion fruit powder, and dulce de leche into the chocolate.
- Spread a thin layer into each mold, making sure the crunch layer extends all the way to both sides and forms an even layer.
Day 1
Wreath Cake Base:
- 200 g raw marzipan
- 60 g icing sugar
- 30 g egg whites (approx. 1 medium egg white)
- Mix all the ingredients together.
- Spread the mixture onto a sheet of parchment paper. Smooth the surface with a palette knife.
- Bake the dough for 6–9 minutes at 200°C / 392°F until the surface is golden brown.
- Once the dough has cooled, cut out 10 bases using the cookie cutter that comes with the Fashion Eclair Silikomart silicone mold.
- Arrange the layers in the molds on top of the crunchy layer. Make sure the layers are even and extend all the way to the edges so that the cakes will have a straight edge later.
Day 1
Passion Fruit & Caramel Crémeux:
- 240 g caramel chocolate (I use Callebaut Gold 30.4%)
- 80 g egg yolks (approx. 4 medium egg yolks)
- 40 g caster sugar
- 230 ml heavy cream (min. 35%)
- 100 g passion fruit purée
- Gently melt the chocolate (if necessary, in a double boiler) and set it aside in a bowl.
- Whisk the egg yolks and sugar together quickly in another bowl.
- Heat the heavy cream and passion fruit purée to a boil in a small saucepan. When the mixture reaches a boil, pour it over the egg yolk/sugar mixture while whisking briefly.
- Pour the mixture back into the saucepan and gently heat it to 83°C / 181°F.
- Remove the saucepan from the heat and strain the mixture.
- Pour the hot mixture over the caramel chocolate while stirring in the center with a spatula until it comes together. Blend the crémeux with an immersion blender until completely smooth.
- Pour the crémeux into a piping bag fitted with a Wilton 125 rose petal tip and refrigerate overnight.
Day 2
Pâte Sablée:
- 155 g all-purpose flour
- 25 g almond flour
- 60 g icing sugar
- 95 g butter (cold)
- 25 g eggs (approx. 0.5 medium eggs)
- a pinch of salt
- Add flour, almond flour, powdered sugar, salt, and butter (cut into cubes) to a food processor and pulse quickly until the mixture resembles coarse crumbs.
- Transfer the dough to a bowl and quickly incorporate the egg. Be careful not to over-knead the dough.
- Roll out the dough between two sheets of parchment paper and let it rest in the refrigerator for 2 hours, or about 45 minutes in the freezer. It should be very cold when you take it out.
- Cut out the bases using the cookie cutter that comes with the Fashion Eclair mold (the largest one) and bake the bases in the oven at 175°C / 347°F for about 10 minutes (preferably on an Air Mat placed both under and over the dough for more even baking) until they are a deep golden brown.
- Let the bases cool on a wire rack. It’s important that they lie flat while cooling; otherwise, the bases will warp, which can cause them to tip over.
- Store the bases in a cookie jar until ready to use.
Day 2
Chocolate Straws & Chocolate Coating:
Chocolate Straws:
- 50 g caramel chocolate (I use Callebaut Gold 30.4%)
- Temper the chocolate.
- Pour the chocolate into a freezer bag with a very small hole in one corner at the bottom.
- Pipe small, straight lines of chocolate onto a piece of acetate sheet.
- Let the chocolate set in the refrigerator.
- When it’s time to decorate the cakes, peel the strands off the acetate sheet.
Chocolate Coating:
- 250 g caramel chocolate (I use Callebaut Gold 30.4%)
- 25 g neutral oil
(Must be made at the same time as the glaze)
- Gently melt the chocolate (if necessary, over a double boiler) then stir in the oil.
- Place the chocolate in a plastic container that is only slightly larger than the cakes. Have it ready when the cakes are to be glazed.
Day 2
Caramel Glaze:
- 10 gelatin sheets (17.5 g, bloom value 240)
- 250 g caramel chocolate (I use Callebaut Gold 30.4%)
- 183 ml heavy cream (min. 35%)
- 83 g water
- 233 g caster sugar
- 250 g glucose syrup
- 0.75 tsp edible gold dust
- Soak the gelatin sheets in cold water for 5–10 minutes.
- Finely chop the chocolate and place it in a large pitcher.
- Heat the sugar, water, heavy cream, and glucose syrup to a boil. Remove the pot from the heat and whisk in the gelatin.
- Pour the hot mixture over the chocolate in the pitcher. Blend with an immersion blender until the glaze comes together (insert the hand blender at an angle to avoid air bubbles).
- Add gold dust and blend again.
- Cover the top of the glaze with plastic wrap and let it cool to 34-35°C / 93-95°F.
- Remove the frozen cakes from the freezer just before glazing. Place the cakes on a wire rack lined with parchment paper.
- Pour the glaze over the cakes. Use a small palette knife to run the bottom of the cake around the rack to remove any glaze drips.
- Immediately insert two toothpicks or small wooden skewers into the top of each cake, using them to carefully hold and dip the bottom of the cake into the melted chocolate. Work quickly, otherwise the cakes may begin to dry out. Run the bottom of the cake along the side of the container to remove any excess chocolate.
- Place each cake on a Pâte Sablée base.
Day 2
Assembly & Decoration:
- Remove the crémeux from the refrigerator 30–45 minutes before decorating the cakes so it can be piped neatly.
- Pipe the crémeux onto the tops of the cakes in a neat pattern.
- Place one chocolate straw on each cake.
- Garnish with gold dust.