
Advertisement for Lakrids by Bülow
Everyone who knows me knows that I absolutely LOVE licorice. It has always been my favorite candy, and honestly, I could eat licorice in just about anything.
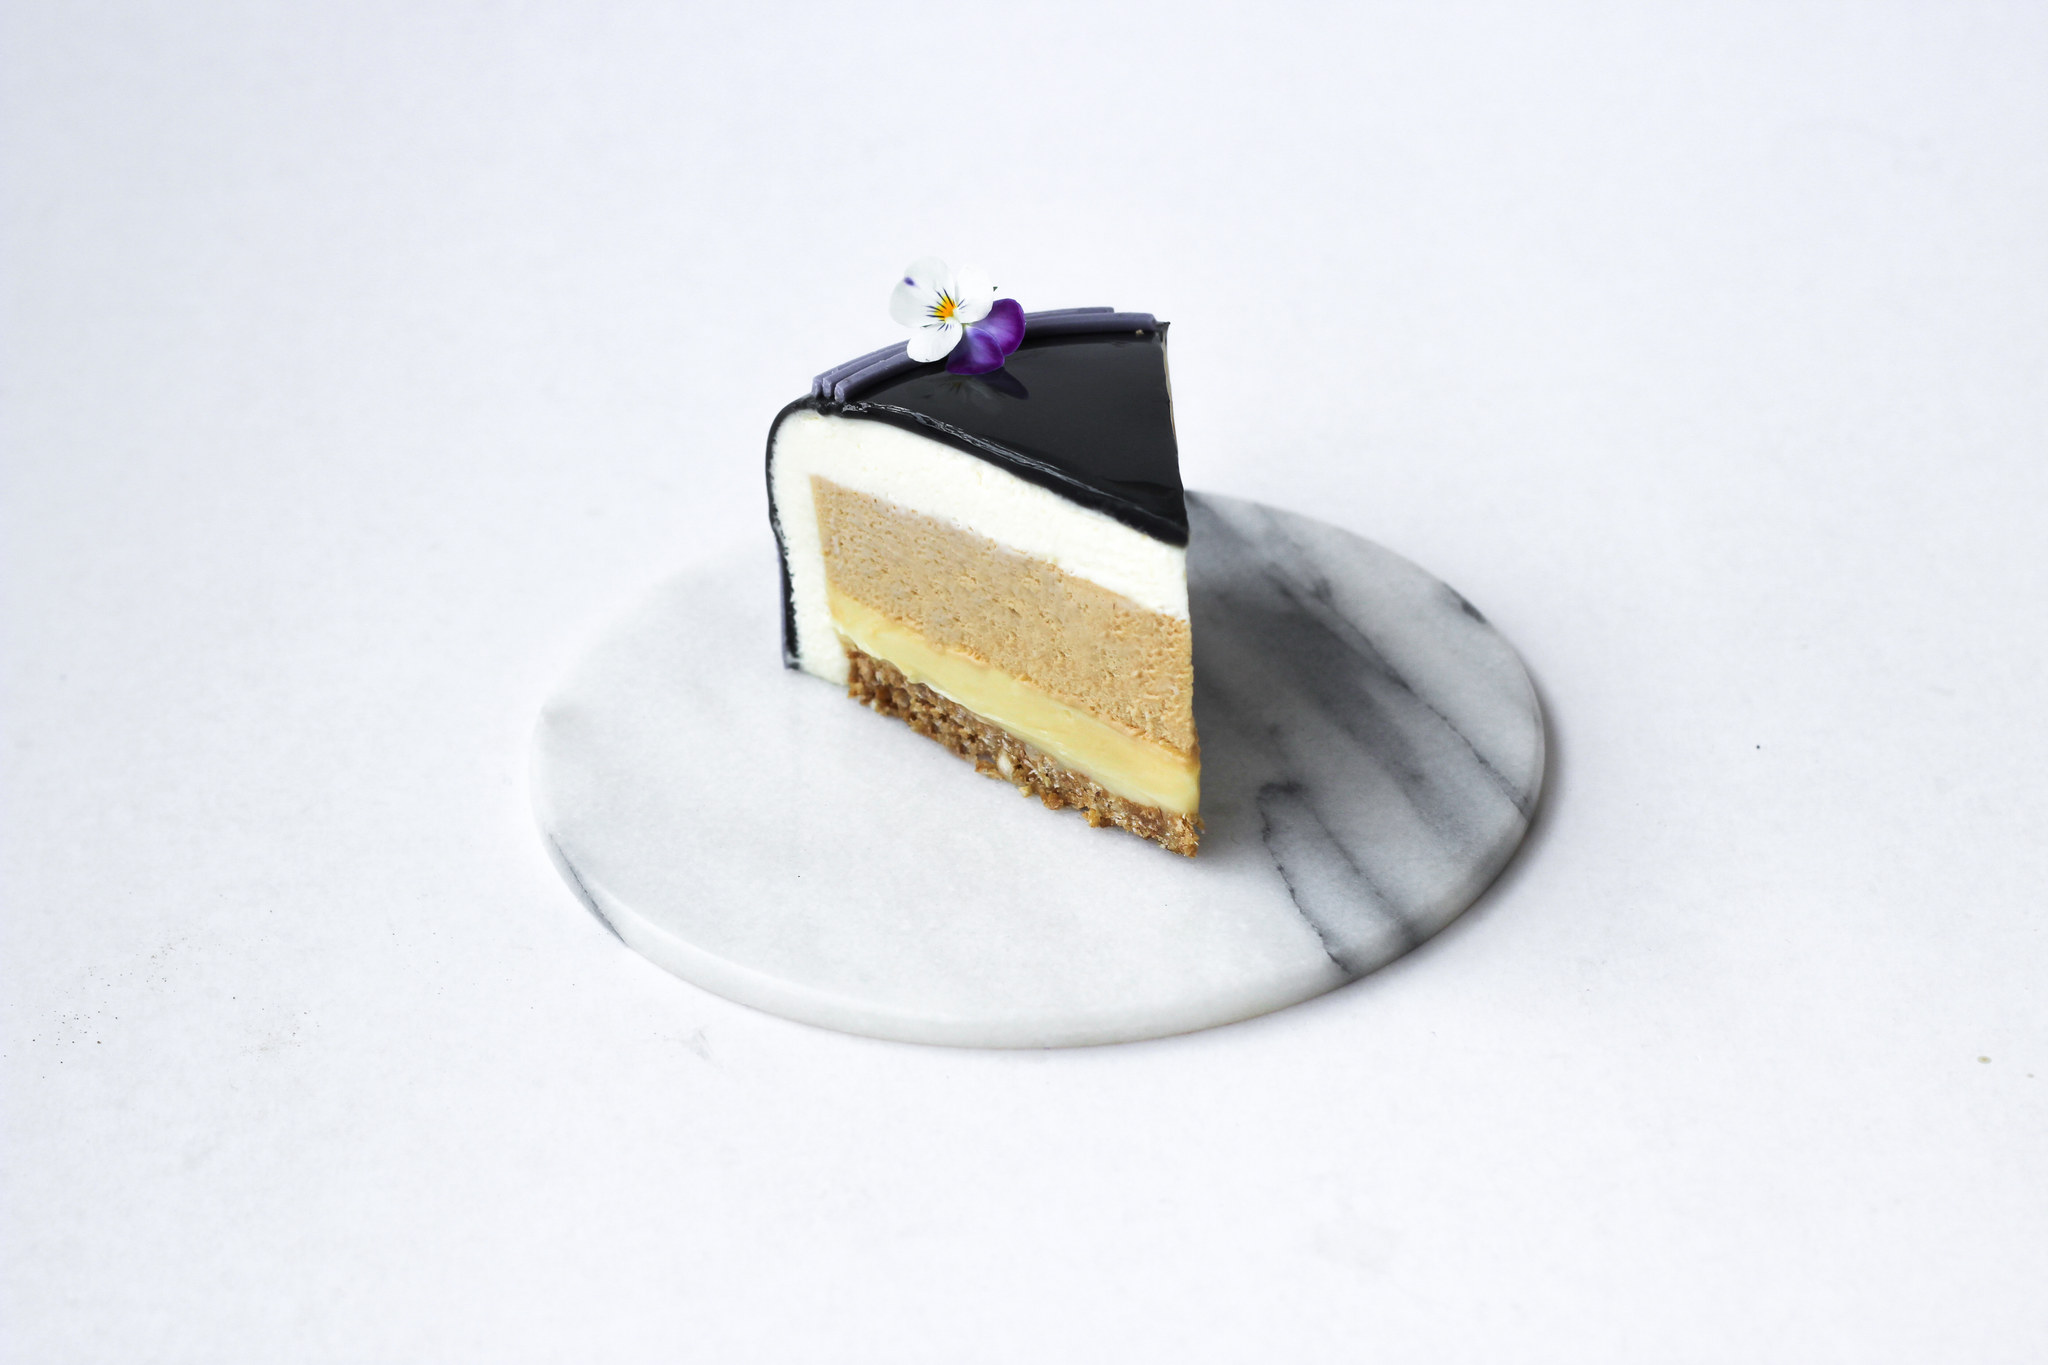
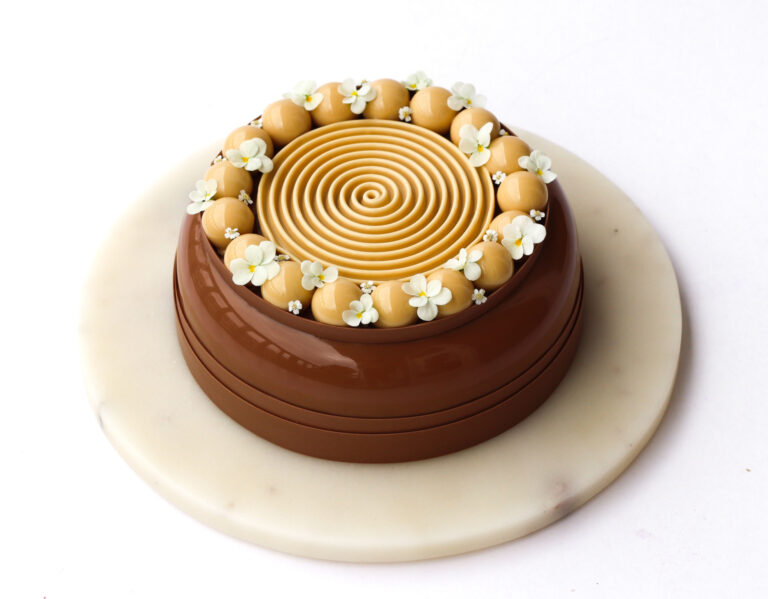
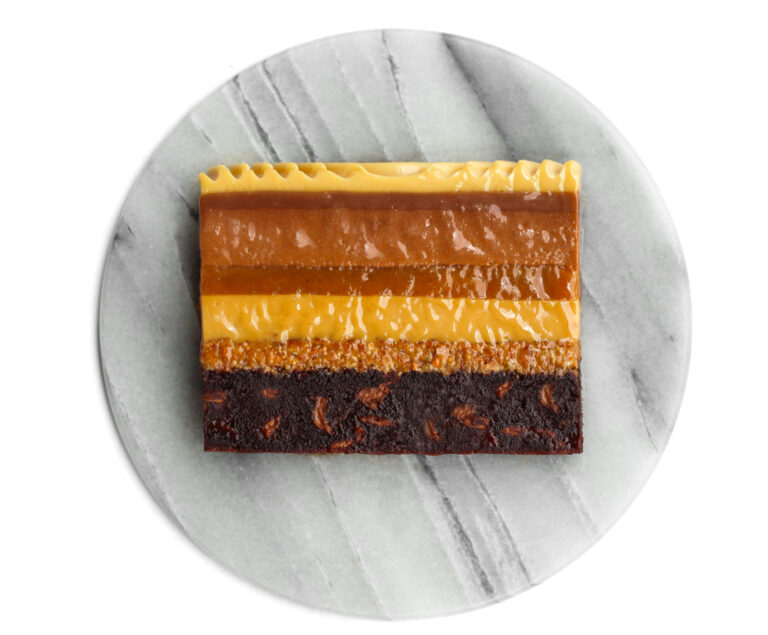
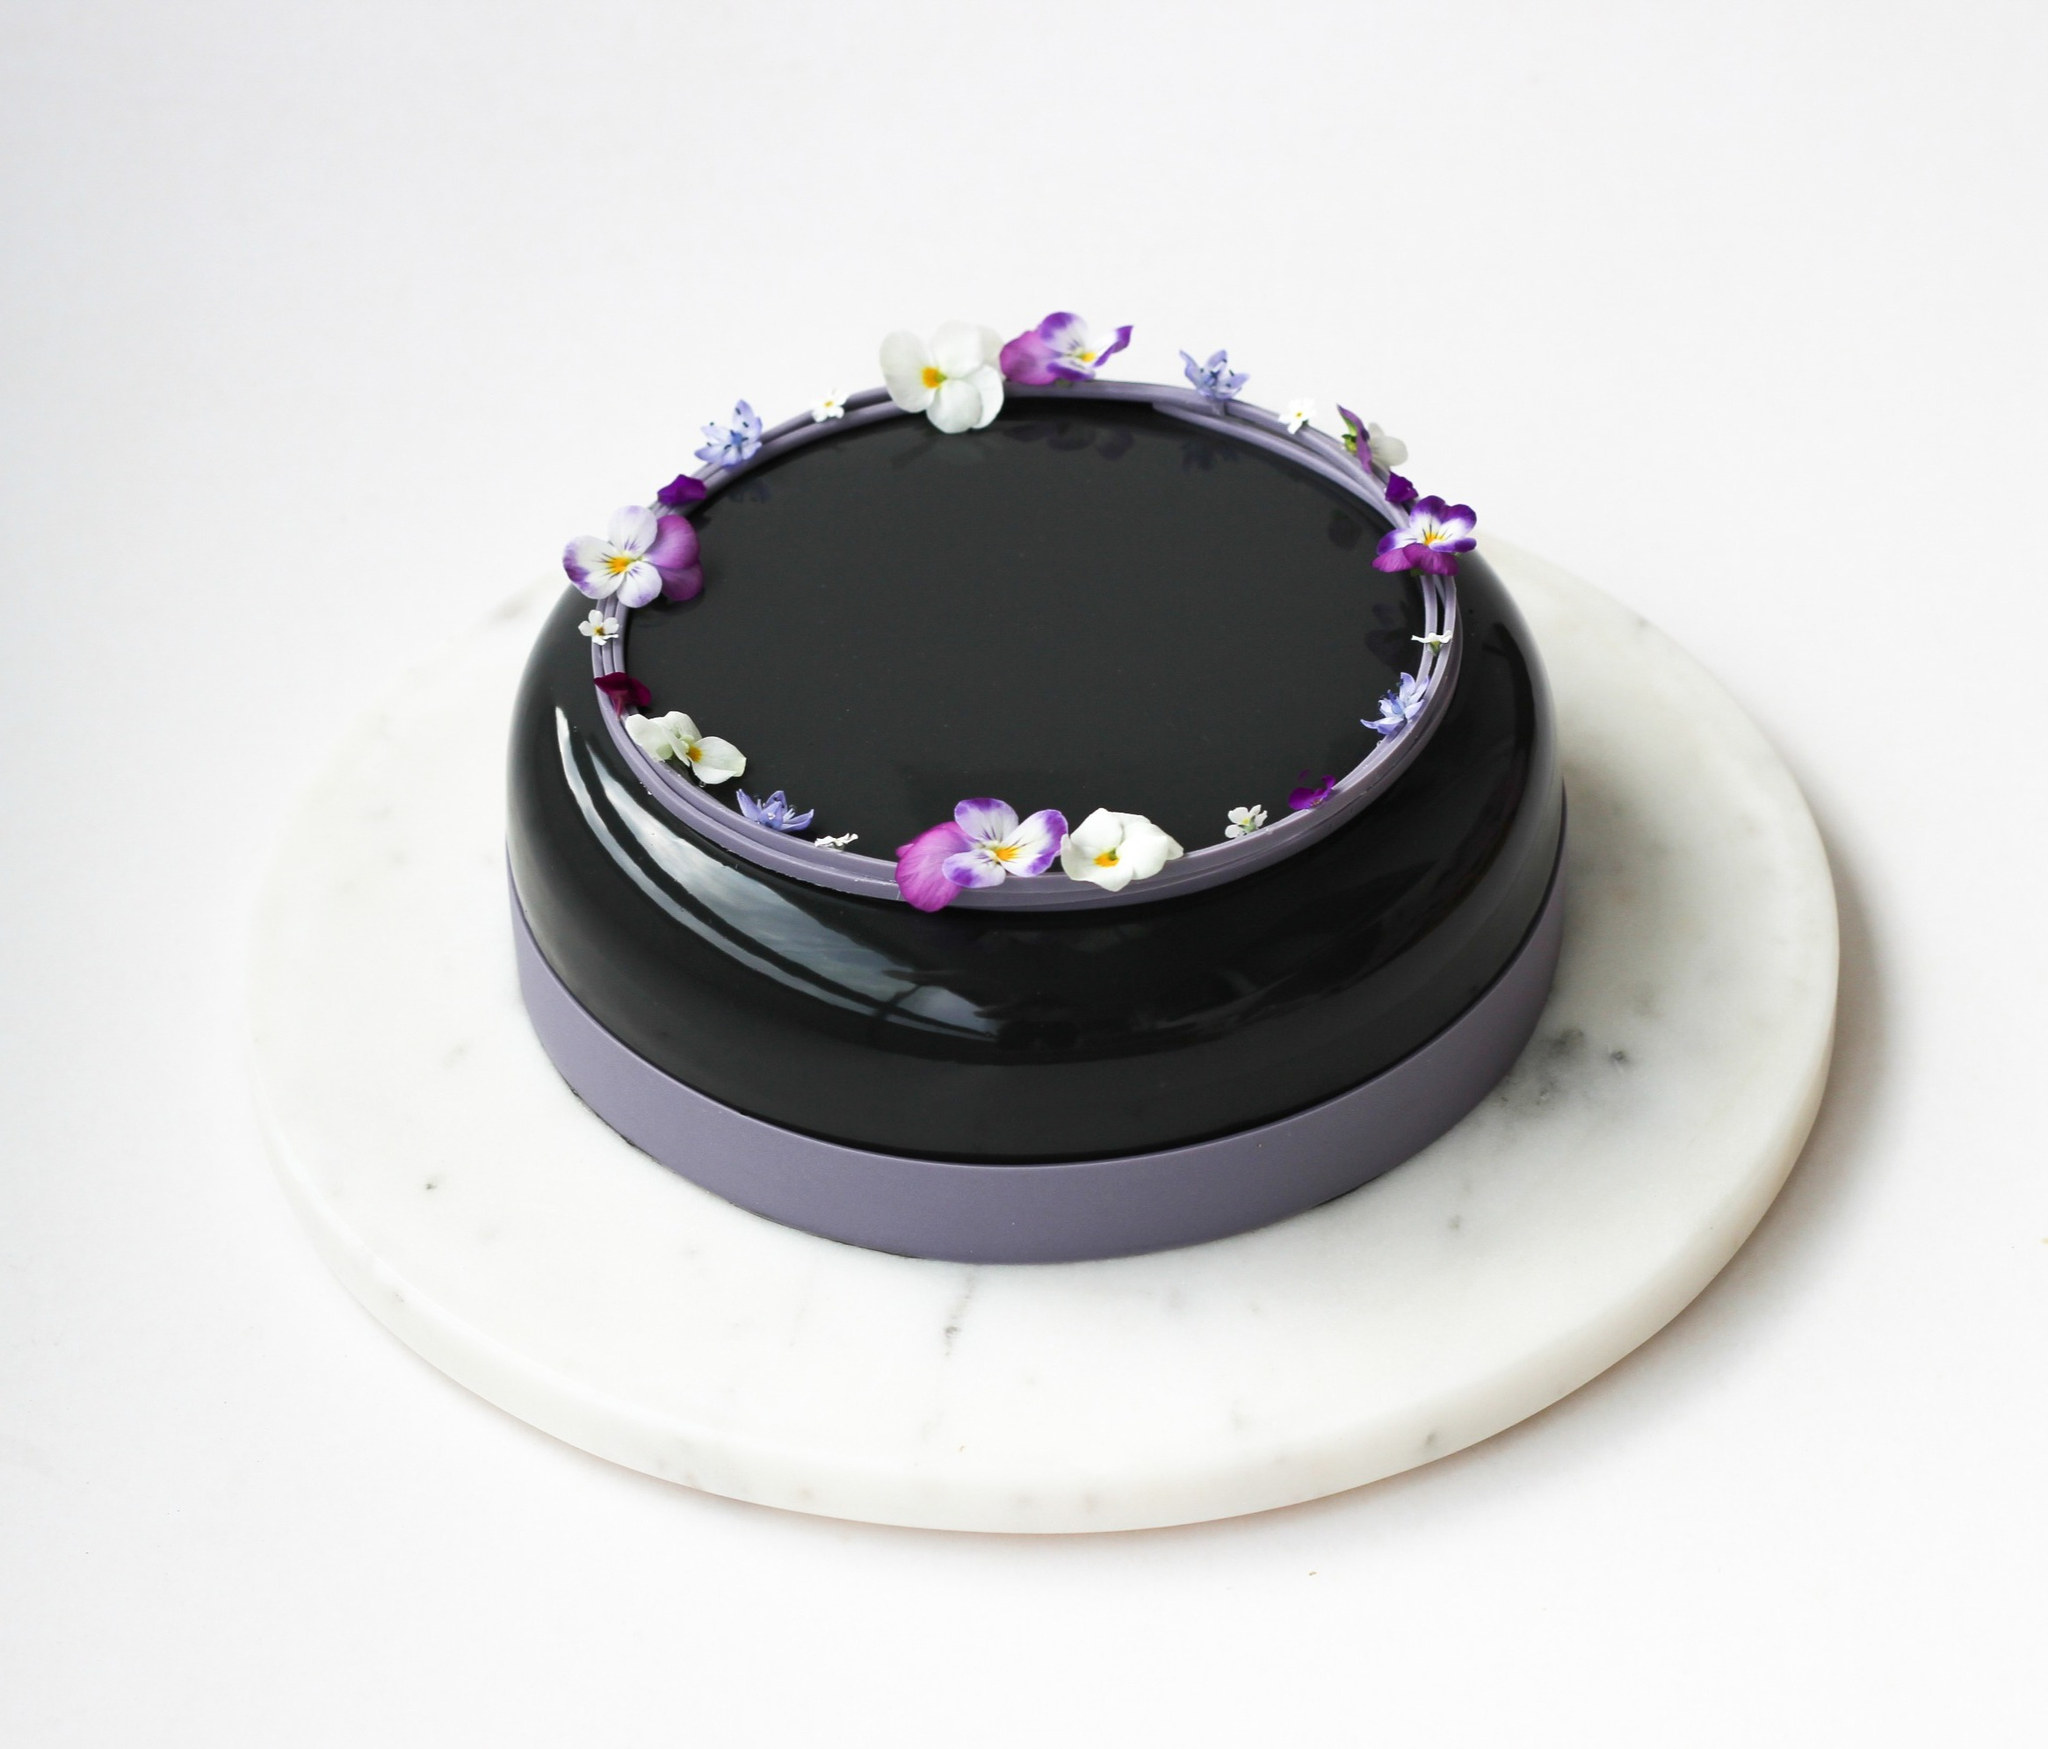
So naturally, this licorice cake with lemon, white chocolate, and caramel was a huge hit with me. Several people have also told me that it reminds them a little of Kung Fu ice cream, which only made me love it even more. The combination of sweet caramel, bright lemon, creamy white chocolate, and that unmistakable licorice flavor is simply irresistible.
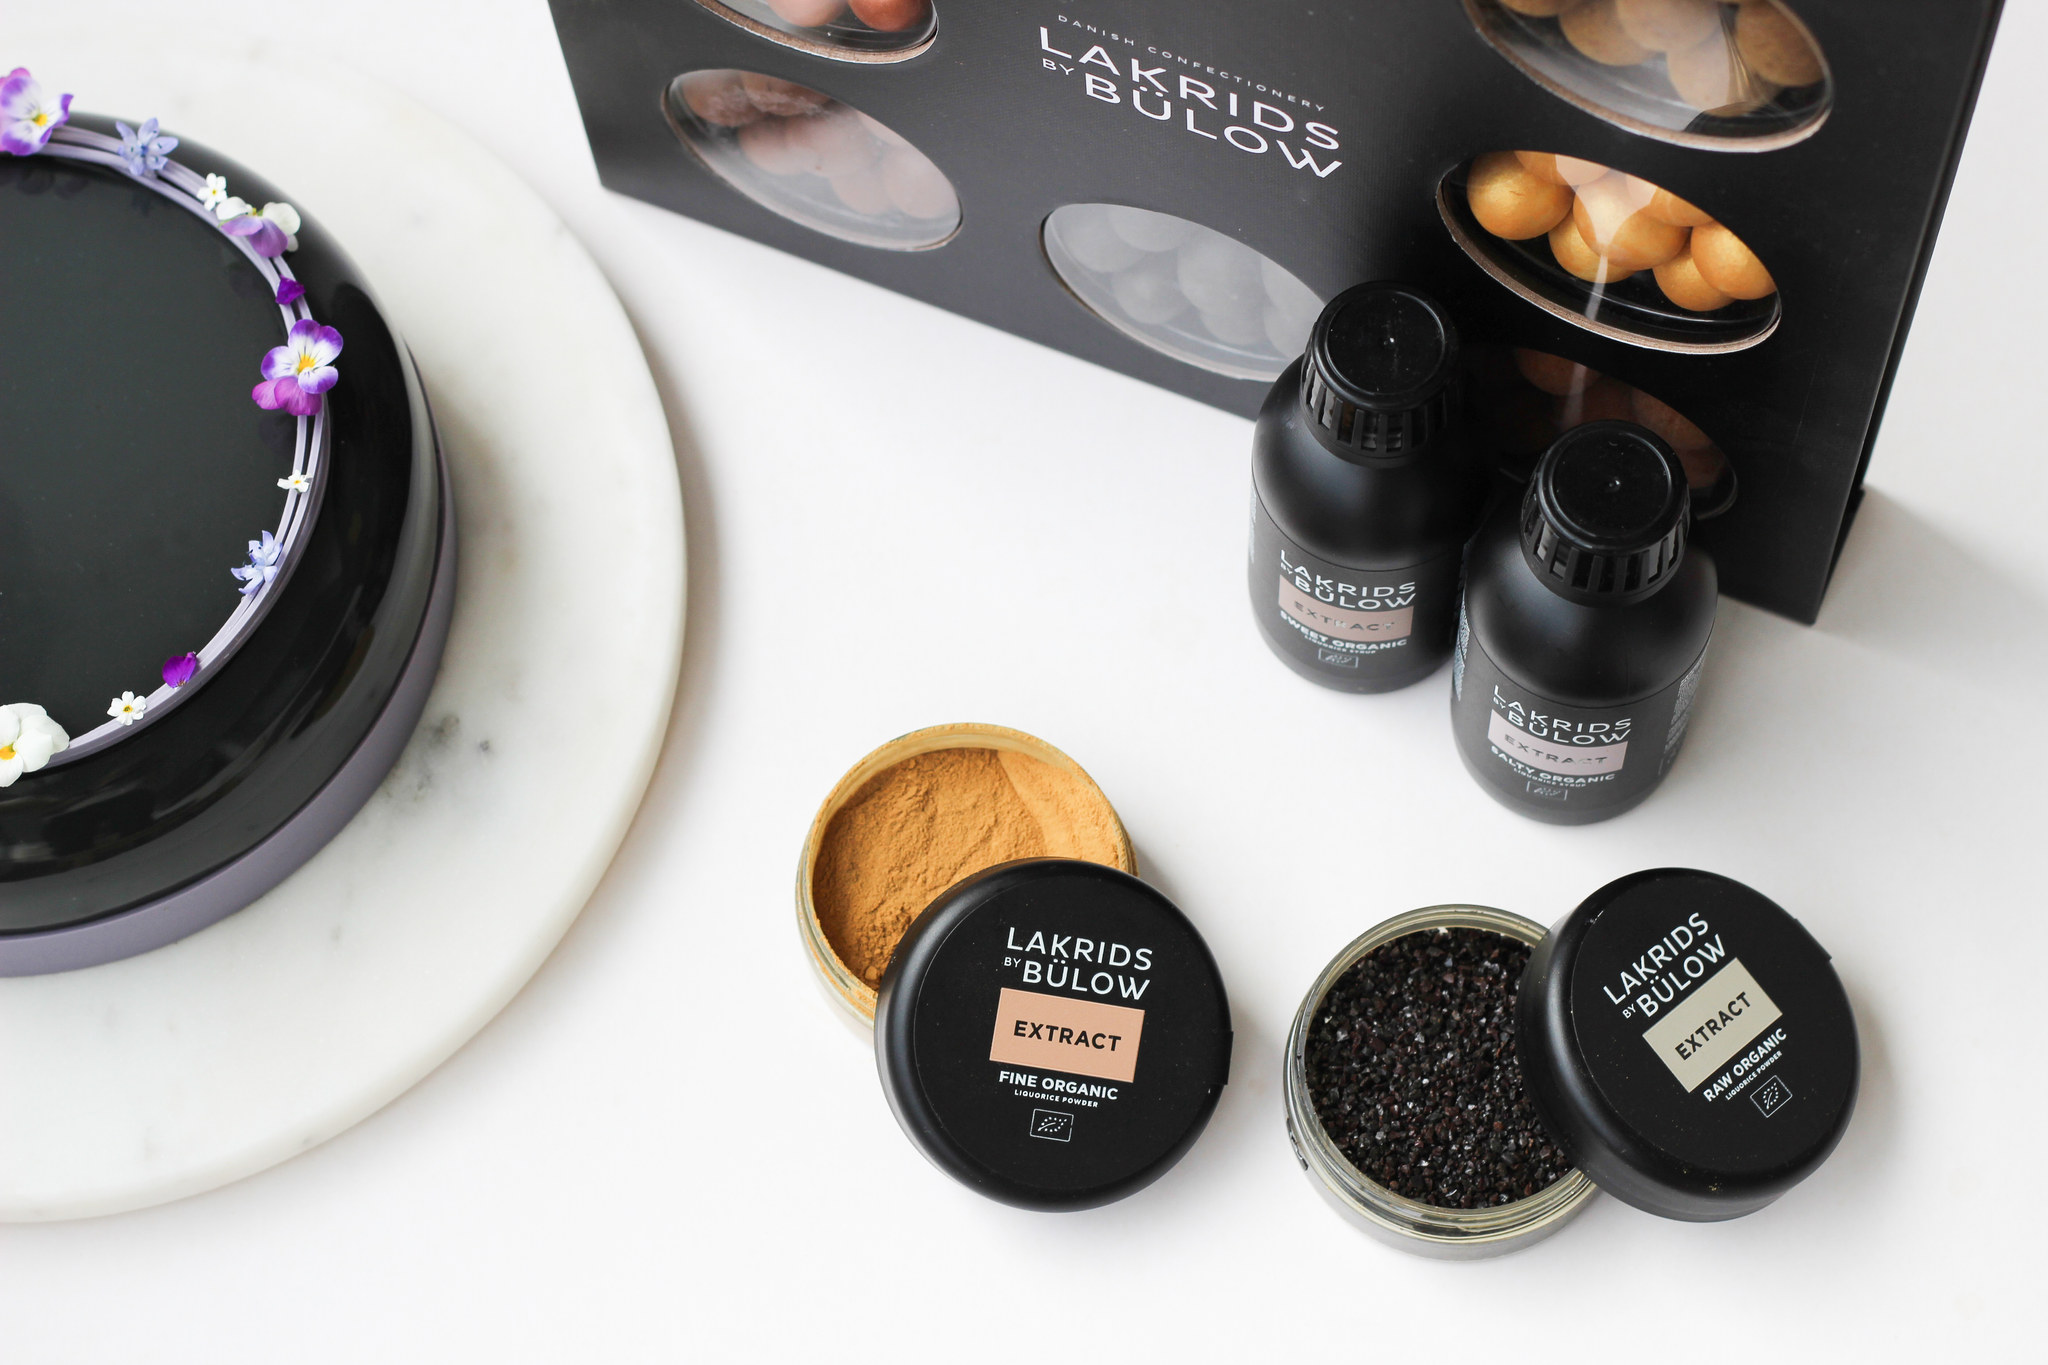
The cake is made in collaboration with Lakrids by Bülow , who make the most amazing licorice products. In my opinion, they sell the highest quality licorice products. I made this cake with Lakrids by Bülow sweet licorice syrup and Lakrids by Bülow fine raw licorice powder (the closest thing you can get to real licorice root), which gives the elements in the cake pure licorice flavor.
In addition to the fantastic taste, Lakrids by Bülow’s products are also organic and produced locally in my home country of Denmark.
Besides using the licorice powder and syrup in this cake, there are so many other ways to use them. The licorice syrup is delicious in an iced coffee or drizzled over ice cream, while the licorice powder is perfect for making licorice swirls (if you haven’t tried them, you really should!) or adding a subtle licorice flavor to a ganache for filled chocolates.
There are truly so many possibilities!
Happy baking <

Almond & Licorice Cookie Crust:
- 100 g oatmeal cookies
- 35 g blanched almonds
- 55 g butter
- 2 tsp licorice powder (from Lakrids by Bülow)
- a pinch of salt
- Toast the blanched almonds for 5–7 minutes at 200°C / 392°F. Let them cool completely.
- Crush the cookies and almonds into crumbs by placing them in a freezer bag and pounding with a rolling pin.
- Melt the butter and mix it with the cookie crumbs, salt, and raw licorice powder.
- Spread the cookie mixture into a cake ring (16 cm in diameter) lined with an acetate sheet and parchment paper on the bottom. Press the base evenly with a glass and place it in the freezer.
Lemon Ganache:
- 225 g white chocolate (28%)
- 90 ml heavy cream (min. 35%)
- 6 tbsp lemon juice
- Gently melt the white chocolate (if necessary, over a double boiler) and set the chocolate aside in a bowl.
- Heat the heavy cream to a boil and pour it over the white chocolate.
- Stir the mixture from the center outwards with a spatula until the ganache becomes glossy
- Gradually add the lemon juice, tasting as you go, until the ganache has the desired balance of sweetness and acidity.
- Pour the ganache over the cookie base and return the cake to the freezer. The ganache needs to set slightly before the next layer can be added.
Tips & Notes:
- Only heat the cream almost to a boil, as a too hot cream will seize the chocolate mixture.
- Stir the mixture with a spatula until glossy.
Licorice Mousse:
- 2 gelatin sheets (1 sheet = 1.75 g, bloom value 240)
- 3 tbsp lemon juice
- 50 g sweet licorice syrup (from Lakrids by Bülow)
- 50 g caster sugar
- 200 ml heavy cream (min. 35%)
- Soak the gelatin sheets in cold water for 5–10 minutes.
- Heat the sugar, lemon juice, and licorice syrup to a boil in a saucepan. Remove the saucepan from the heat and whisk in the gelatin.
- Let the mixture cool until lukewarm.
- Whip the heavy cream to soft peaks and fold it into the mixture, which has cooled to lukewarm (if it’s too hot, the heavy cream may separate).
- Pour the licorice mousse over the cake. Let the cake set completely in the freezer for at least 3 hours.
Tips & Notes:
- Only heat the cream almost to a boil before pouring it over the chocolate to avoid seizing the chocolate.
- Whip the heavy cream to soft peaks, as overwhipped cream can result in a dense and grainy mousse.
White Chocolate Mousse:
- 1.75 gelatin sheets (1 sheet = 1.75 g, bloom value 240)
- 135 g white chocolate (28%)
- 300 ml heavy cream (min. 35%)
- Soak the gelatin sheets in cold water for 5–10 minutes.
- Gently melt the white chocolate (if necessary, over a double boiler) and set the chocolate aside in a bowl.
- Heat 120 ml of heavy cream to a boil. Remove the saucepan from the heat and whisk in the gelatin.
- Pour the hot heavy cream over the chocolate while stirring in the center with a spatula until it comes together.
- Let the mixture cool to lukewarm.
- Whip the remaining heavy cream (180 ml) to soft peaks and fold it into the mixture, which has cooled to lukewarm (if it’s too hot, it may cause the heavy cream to separate).
- Pour the mousse into an 18-cm-diameter silicone mold (I used a Silikomart Universo mold) lined with an acetate sheet (since the cake will rise higher than the mold). If you’re using an Universo mold, place the acetate sheet at the bottom of the mold and make sure it fits snugly against the bottom (with the edge facing upward), otherwise the cake will have an indentation in the mousse.
- Since the mousse has a slightly runny consistency, it needs to set a bit before the frozen cake can be placed inside. Therefore, put the mousse in the mold in the refrigerator until it has set slightly (as a rule of thumb, it’s set enough when you can dip the end of a spoon into the mousse and a soft peak forms when you lift the spoon out).
- Remove the frozen cake from the freezer and place it into the white chocolate mousse with the licorice mousse facing down.
- Place the cake in the freezer overnight so it can set completely.
Caramel / Licorice Glaze:
- 6 gelatin sheets (10.5 g, bloom value 240)
- 150 g caramel chocolate (I use Callebaut Gold 30.4%)
- 100 ml heavy cream (min. 35%)
- 25 ml water
- 25 g sweet licorice syrup (from Lakrids by Bülow)
- 2 tsp raw licorice powder (from Lakrids by Bülow)
- 150 g caster sugar
- 15 g glucose syrup
- black food coloring powder (liquid food coloring cannot be used for this glaze)
- Soak the gelatin sheets in cold water for 5–10 minutes.
- Finely chop the caramel chocolate and place it in a large pitcher.
- Heat the sugar, water, heavy cream, licorice syrup, licorice powder, and glucose syrup to a boil. Remove the saucepan from the heat and whisk in the gelatin.
- Pour the hot mixture over the chocolate in the pitcher. Add the black powdered food coloring and blend with an immersion blender until the glaze is completely smooth and evenly colored. Hold the blender at an angle to avoid incorporating air bubbles.
- Cover the glaze with plastic wrap and let it cool to 34-35°C / 93-95°F.
- Remove the frozen cake from the freezer just before glazing. Place the cake on a cooling rack lined with parchment paper.
- Pour the glaze over the cake. Use a small palette knife to run along the bottom of the cake on the rack to remove any glaze strands.
- Place the cake on a cake plate and let it thaw in the refrigerator for at least 6 hours.
Tips & Notes:
- Let the hot syrup set for 30 seconds so the chocolate can melt a bit.
- Insert the immersion blender in the jug at an angle to prevent creating air bubbles.
- The cake needs to be completely frozen when the glaze is poured on. If the correct temperatures have been met, you’ll get a perfectly shiny mirror glaze.
Decoration:
- 160 g white chocolate (28%)
- purple food coloring power
- flowers (edible or secured with safety seal / edible wax)
- glucose syrup (for attaching the flowers)
(See how I make chocolate ribbons and chocolate rings under the “Peanutkage” highlights on my Instagram here.)
Cut two pieces of acetate sheet and lay them out on the kitchen counter:
- Chocolate Ribbon: 58 cm x 2 cm
- Chocolate Rings: 46 cm x 5 cm or 8 cm
Chocolate Ribbon:
- Place a cake ring (18 cm diameter) in the refrigerator.
- Temper the chocolate and add purple powdered food coloring.
- Pour the chocolate onto the acetate sheet, smooth the surface with a small palette knife, peel the acetate sheet off the counter, and run your fingers along the edge of the acetate sheet to remove any excess chocolate.
- When the chocolate has almost set, place the ribbon around the cold cake ring with the chocolate facing inward and return it to the refrigerator.
- Remove the acetate sheet once the chocolate has set and place the ribbon around the cake.
Chocolate Rings:
- Place a cake ring (14 cm diameter) in the refrigerator.
- Temper the chocolate and add purple powdered food coloring.
- Pour the chocolate over the acetate sheet and smooth the surface with a small palette knife.
- Run a chocolate scraper with small ridges over the acetate sheet.
- Peel the acetate sheet off the table and run your fingers along the edge of the acetate sheet to remove any chocolate residue.
- Once the chocolate has almost set, wrap the ribbon around the chilled cake ring with the chocolate facing inward, and return it to the refrigerator.
- Remove the rings once the chocolate has set.
- Place 3 chocolate rings on the cake.
- Garnish with various flowers, secured with a small dab of glucose syrup.